2006 LAND ROVER FRELANDER 2 sunroof
[x] Cancel search: sunroofPage 2733 of 3229
13
Quick start
R
Seat belts and Child restraints
A warning indicator on the
instrument pack will illuminate to
alert you that the driver's or front
passenger's seat be lt is unbuckled.
Child seats
It is important to remember that the child's
weight, rather than age, determines the type of
seat that is required. See CHILD SEATS
(page 64).
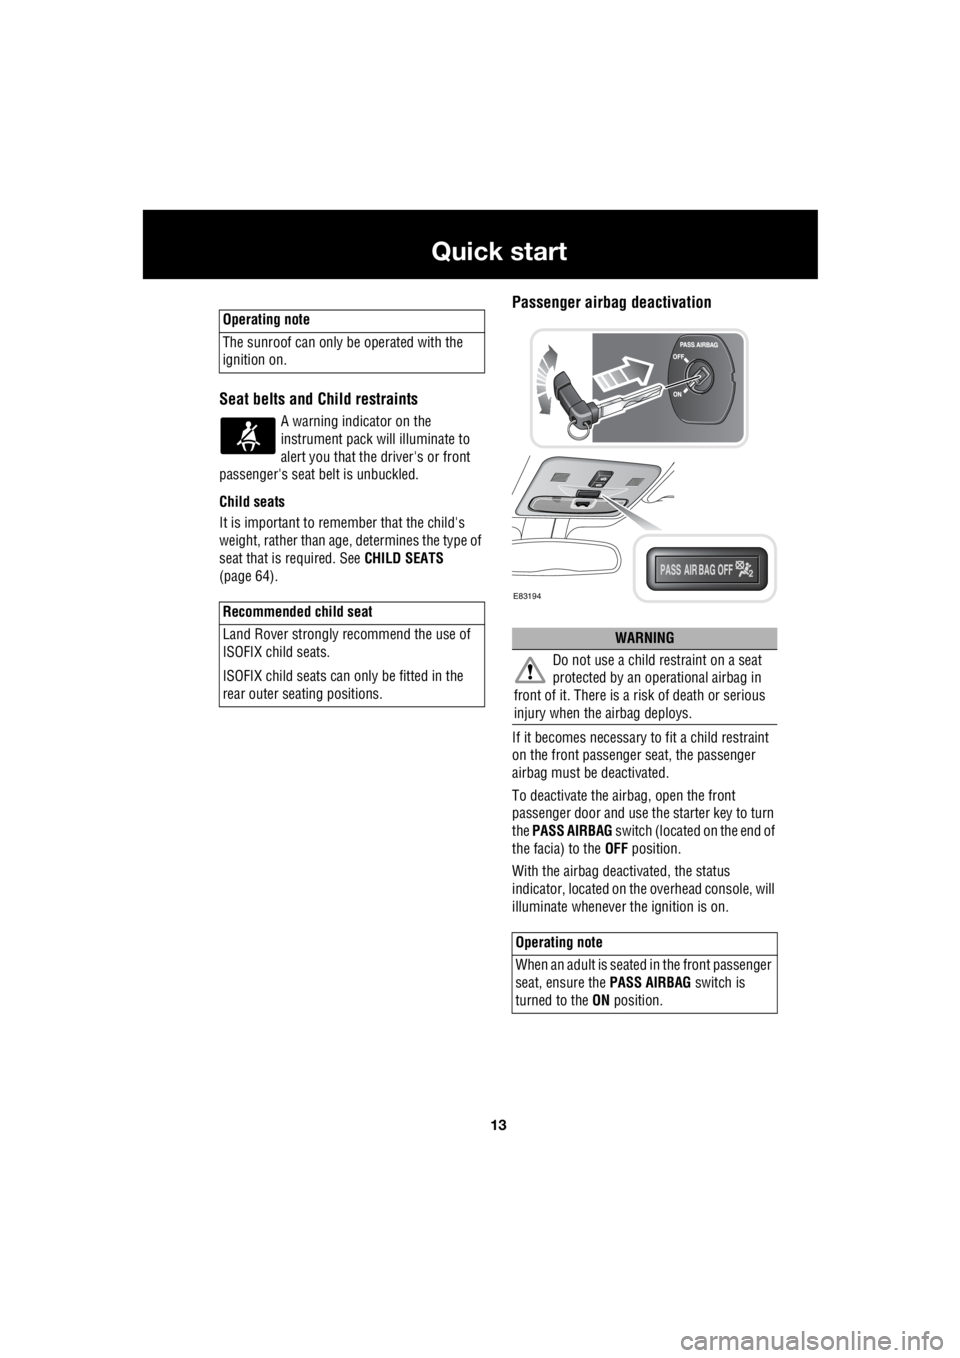
Passenger airbag deactivation
If it becomes necessary to fit a child restraint
on the front passenger seat, the passenger
airbag must be deactivated.
To deactivate the airbag, open the front
passenger door and use the starter key to turn
the PASS AIRBAG switch (located on the end of
the facia) to the OFF position.
With the airbag deactivated, the status
indicator, located on the overhead console, will
illuminate whenever the ignition is on.
Operating note
The sunroof can only be operated with the
ignition on.
Recommended child seat
Land Rover strongly recommend the use of
ISOFIX child seats.
ISOFIX child seats can only be fitted in the
rear outer seating positions.
WARNING
Do not use a child restraint on a seat
protected by an oper ational airbag in
front of it. There is a ri sk of death or serious
injury when the airbag deploys.
Operating note
When an adult is seated in the front passenger
seat, ensure the PASS AIRBAG switch is
turned to the ON position.
E83194
Page 2762 of 3229
Keys and remote controls
42
L
Single and double locking
The vehicle can be locked in two ways.
Single locking
Single locking secures the vehicle and prevents
the doors being opened from outside of the
vehicle. The doors can be unlocked and opened
from inside the vehicle.
Double locking
Double locking secures the vehicle and
prevents the doors being opened from inside
or outside of the vehicle. The doors can not be
unlocked or opened from inside the vehicle.
This provides additional security if the vehicle
is left unattended. The vehicle cannot be
opened by breaking a window and operating
the door locks from inside the vehicle.
Locking
Press briefly to single lock the
vehicle, and partially activate the
alarm. The hazard warning lamps
will flash to indicate that the vehicle is locked.
A second press within three seconds will
double lock the vehicle and fully arm the alarm.
The hazard warning lamps will flash again to
indicate the enhanced lock/alarm state.
Note: The fuel filler flap can only be opened
when the vehicle is unlocked. Global closing
Press and hold the lock button for three
seconds to single lock the vehicle, fully arm the
alarm, and close all of the windows.
Note: For safety reasons, th e sunroof does not
close automatically. It sh ould be closed in the
normal way before exiting the vehicle.
Automatic relocking
If a door, or the tailgate, are not opened within
one minute of unlocking the vehicle, doors will
lock again automatically.
Approach lighting
When approaching the vehicle
during darkness press to switch on
the approach illumination. Press
again to turn the approach lamps off.
The approach ill umination period
set at the factory is thirty seconds.
This can be configured by a Land
Rover Dealer/Authorised Repairer to provide
illumination lasting between Zero and 120
seconds.
WARNING
Never double lock the vehicle with
people, children, or pets inside. In the
event of an emergency th ey would be unable to
escape, and the emergency services would be
unable to release them quickly.
WARNING
Ensure that no children, pets, or
obstructions are in any open aperture
before operating globa l closing. Safety
mechanisms are in place to prevent serious
injury, however, inju ries can still occur.
Page 2765 of 3229
45
Alarm
R
AlarmARMING THE ALARM
The engine is automatically
immobilised when the remote
control is removed from the starter
control unit. The alarm system is automatically
armed when the remote lock button is pressed.
The hazard lamps will flash to indicate that the
alarm is armed.
Full alarm
To set full alarm protection ensure that all the
windows and the sunroof are closed. Then
press the lock button twice within three
seconds. The hazard warn ing lights will flash
twice to confirm the alarm state.
Once fully armed the alarm will sound if :-
• the bonnet, tailgate, or a door are opened.
• movement is detected within the vehicle
interior.
• a window, front or rear windscreen, or
sunroof glass are broken.
• the vehicle is raised or tilted.
• the vehicle battery is disconnected.
• an attempt is made to disconnect the alarm
siren.
Note: If the alarm is armed and a window or the
sunroof are left open the alarm will sound due
to movement of air currents.
Partial alarm
To set partial alarm protection, briefly press the
lock button once. The hazard warning lights
will flash once to confirm the alarm state.
Once partially armed the alarm will sound if :-
• the bonnet, tailgate, or a door are opened.
• the vehicle battery is disconnected.
• an attempt is made to disconnect the alarm
siren. Note:
This setting should be used in
circumstances such as travelling on a ferry,
when pets are to be left in the vehicle, when a
window must be left open etc
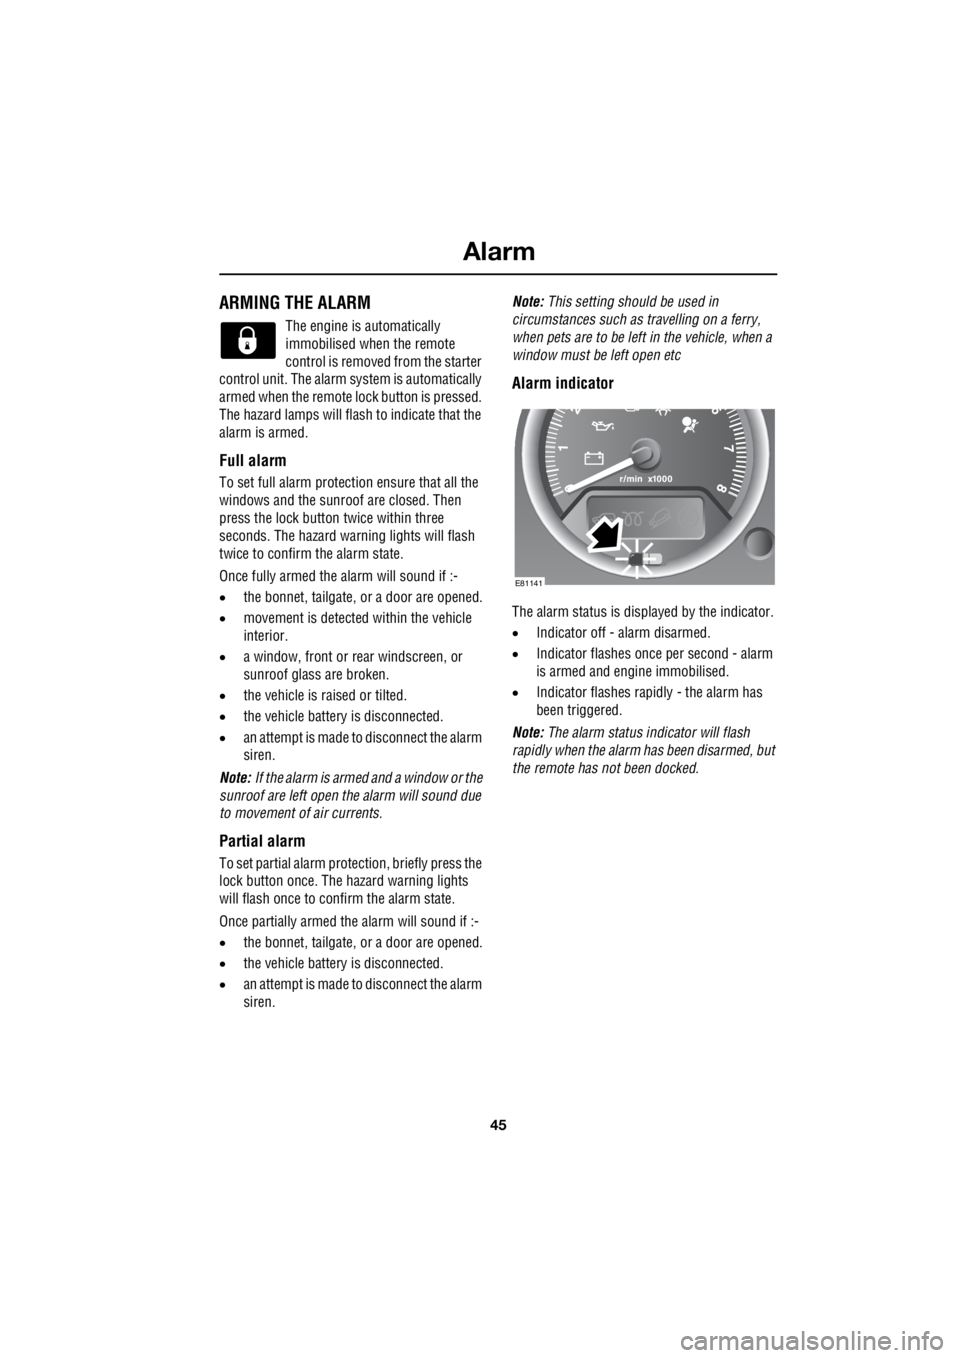
Alarm indicator
The alarm status is disp layed by the indicator.
• Indicator off - alarm disarmed.
• Indicator flashes once per second - alarm
is armed and engine immobilised.
• Indicator flashes rapidly - the alarm has
been triggered.
Note: The alarm status in dicator will flash
rapidly when the alarm has been disarmed, but
the remote has not been docked.
E81141
Page 2825 of 3229
105
Climate control
R
ELECTRIC SUNROOF
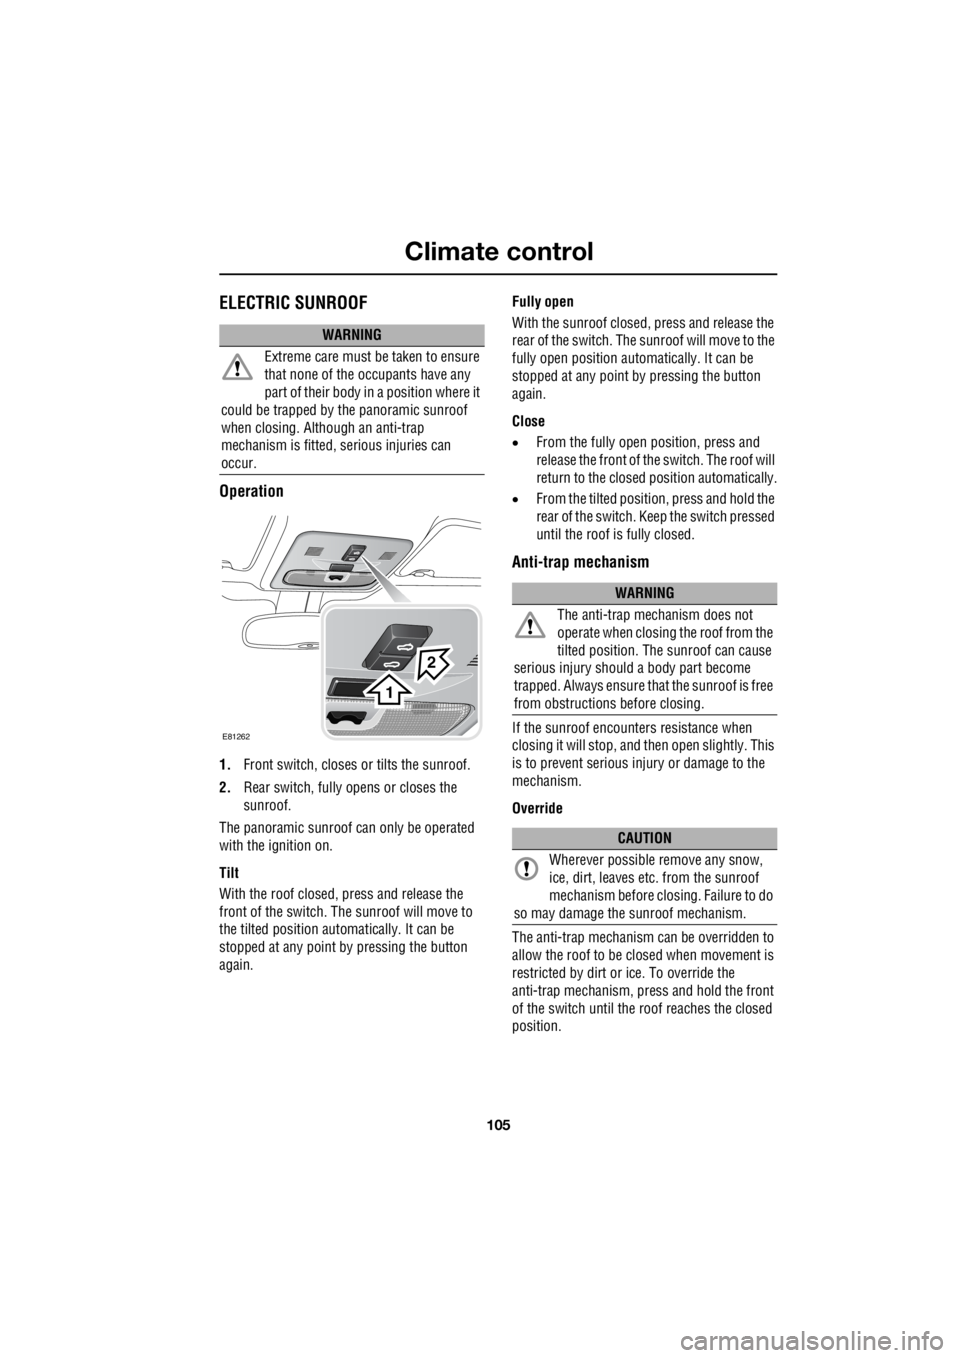
Operation
1. Front switch, closes or tilts the sunroof.
2. Rear switch, fully ope ns or closes the
sunroof.
The panoramic sunroof can only be operated
with the ignition on.
Tilt
With the roof closed, press and release the
front of the switch. The sunroof will move to
the tilted position automatically. It can be
stopped at any point by pressing the button
again. Fully open
With the sunroof closed, press and release the
rear of the switch. The sunroof will move to the
fully open position auto matically. It can be
stopped at any point by pressing the button
again.
Close
• From the fully open position, press and
release the front of the switch. The roof will
return to the closed position automatically.
• From the tilted positi on, press and hold the
rear of the switch. Keep the switch pressed
until the roof is fully closed.
Anti-trap mechanism
If the sunroof encounters resistance when
closing it will stop, a nd then open slightly. This
is to prevent serious injury or damage to the
mechanism.
Override
The anti-trap mechanism can be overridden to
allow the roof to be closed when movement is
restricted by dirt or ice. To override the
anti-trap mechanism, press and hold the front
of the switch until the roof reaches the closed
position.
WARNING
Extreme care must be taken to ensure
that none of the oc cupants have any
part of their body in a position where it
could be trapped by the panoramic sunroof
when closing. Although an anti-trap
mechanism is fitted, serious injuries can
occur.
2
1
E81262
WARNING
The anti-trap mechanism does not
operate when closing the roof from the
tilted position. The sunroof can cause
serious injury should a body part become
trapped. Always ensure th at the sunroof is free
from obstructions before closing.
CAUTION
Wherever possible remove any snow,
ice, dirt, leaves etc. from the sunroof
mechanism before closing. Failure to do
so may damage the sunroof mechanism.
Page 2826 of 3229
Climate control
106
L
Calibration
If the battery is disconnected, or the power
supply is interrupted, whilst the sunroof is
partially open it will need to be recalibrated.
Once the battery is re connected, or the power
supply is restored, recalibrate the sunroof as
follows :-
1. Switch the ignition on.
2. Press the front of the sunroof switch, and
hold for twenty seconds.
3. After twenty seconds the sunroof will
begin to move. Keep the front of the switch
pressed until the sunroof has fully opened,
then closed.
4. Once the open/close cycle has completed
and the sunroof ha s stopped moving,
release the switch.
The sunroof can now be operated as normal.
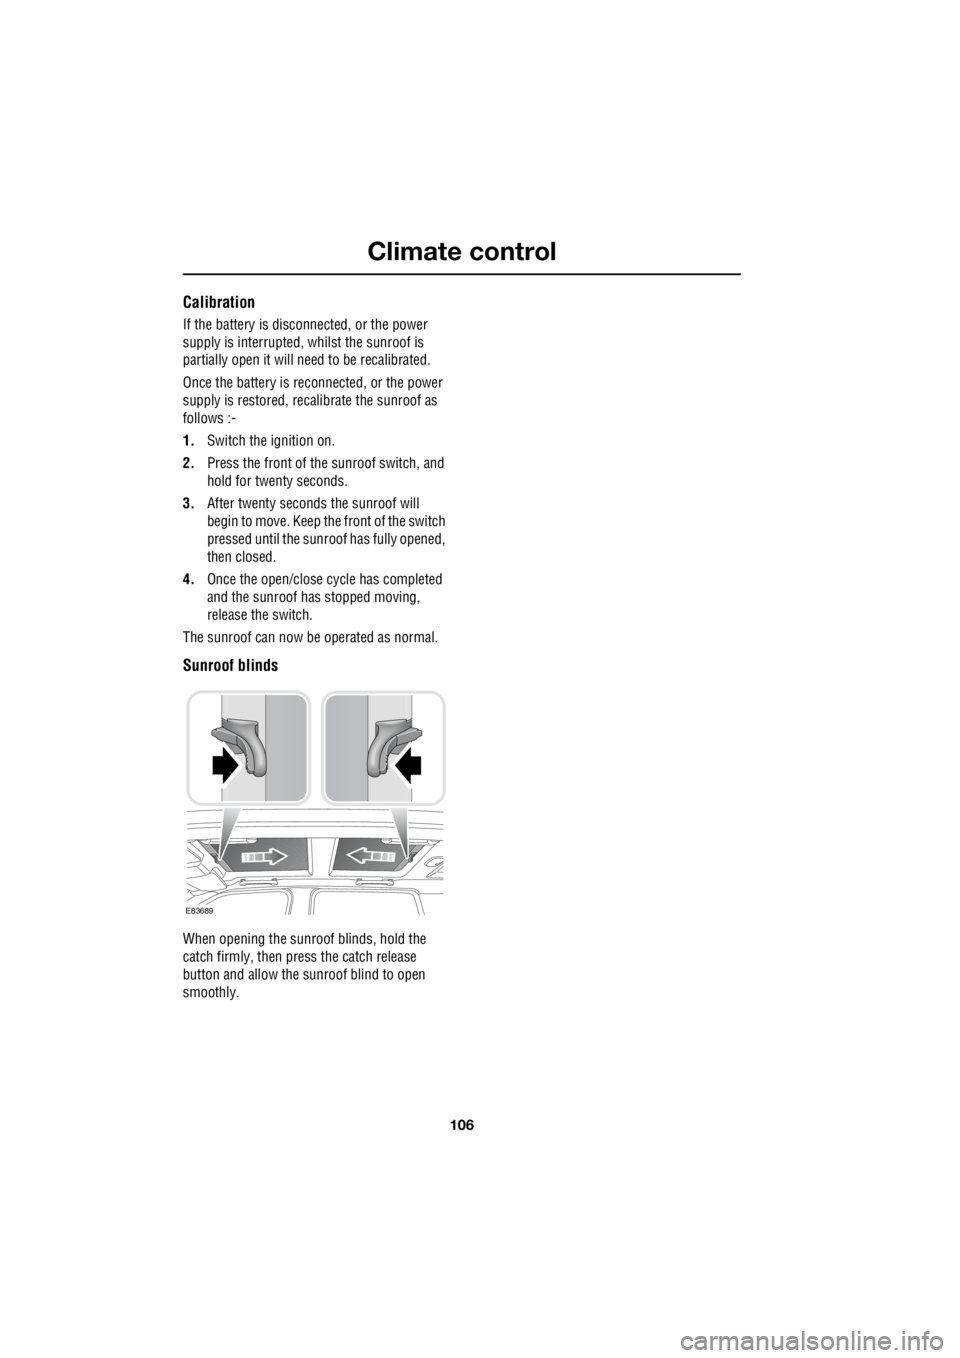
Sunroof blinds
When opening the sunroof blinds, hold the
catch firmly, then press the catch release
button and allow the sunroof blind to open
smoothly.
E83689
Page 2865 of 3229
145
Fuel and refuelling
R
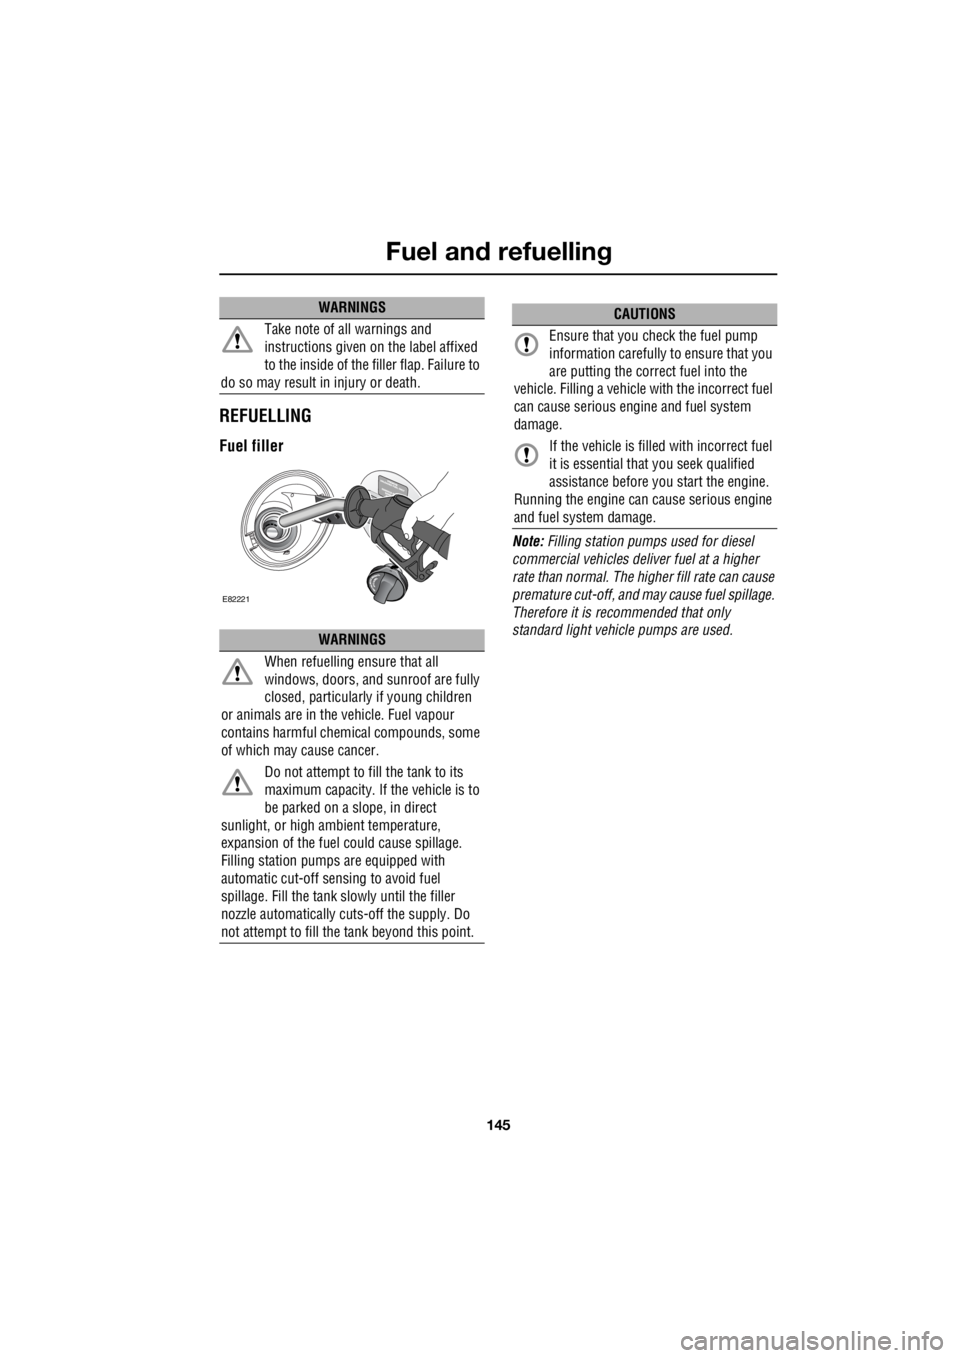
REFUELLING
Fuel filler
Note: Filling station pumps used for diesel
commercial vehicles deliver fuel at a higher
rate than normal. The hi gher fill rate can cause
premature cut-off, and may cause fuel spillage.
Therefore it is recommended that only
standard light vehicle pumps are used.
Take note of all warnings and
instructions given on the label affixed
to the inside of the filler flap. Failure to
do so may result in injury or death.
WARNINGS
When refuelling ensure that all
windows, doors, and sunroof are fully
closed, particularly if young children
or animals are in the vehicle. Fuel vapour
contains harmful chem ical compounds, some
of which may cause cancer.
Do not attempt to fill the tank to its
maximum capacity. If the vehicle is to
be parked on a slope, in direct
sunlight, or high ambient temperature,
expansion of the fuel could cause spillage.
Filling station pumps are equipped with
automatic cut-off sensing to avoid fuel
spillage. Fill the tank sl owly until the filler
nozzle automatically cuts -off the supply. Do
not attempt to fill the tank beyond this point.
WARNINGS
E82221
CAUTIONS
Ensure that you check the fuel pump
information carefully to ensure that you
are putting the correct fuel into the
vehicle. Filling a vehicle with the incorrect fuel
can cause serious engi ne and fuel system
damage.
If the vehicle is filled with incorrect fuel
it is essential that you seek qualified
assistance before you start the engine.
Running the engine can cause serious engine
and fuel system damage.
Page 2874 of 3229
Vehicle care
154
L
Vehicle careCLEANING THE ALLOY WHEELS
Wash the wheels with soap and water, this
should be done more frequently when the
wheels are exposed to he avy dirt deposits, salt,
clay etc. If you are unsure how often to clean
the wheels in particular conditions, seek advice
from your Land Rover Dealer/Authorised
Repairer.
Land Rover approved wheel cleaner should be
used to remove heavy soiling.
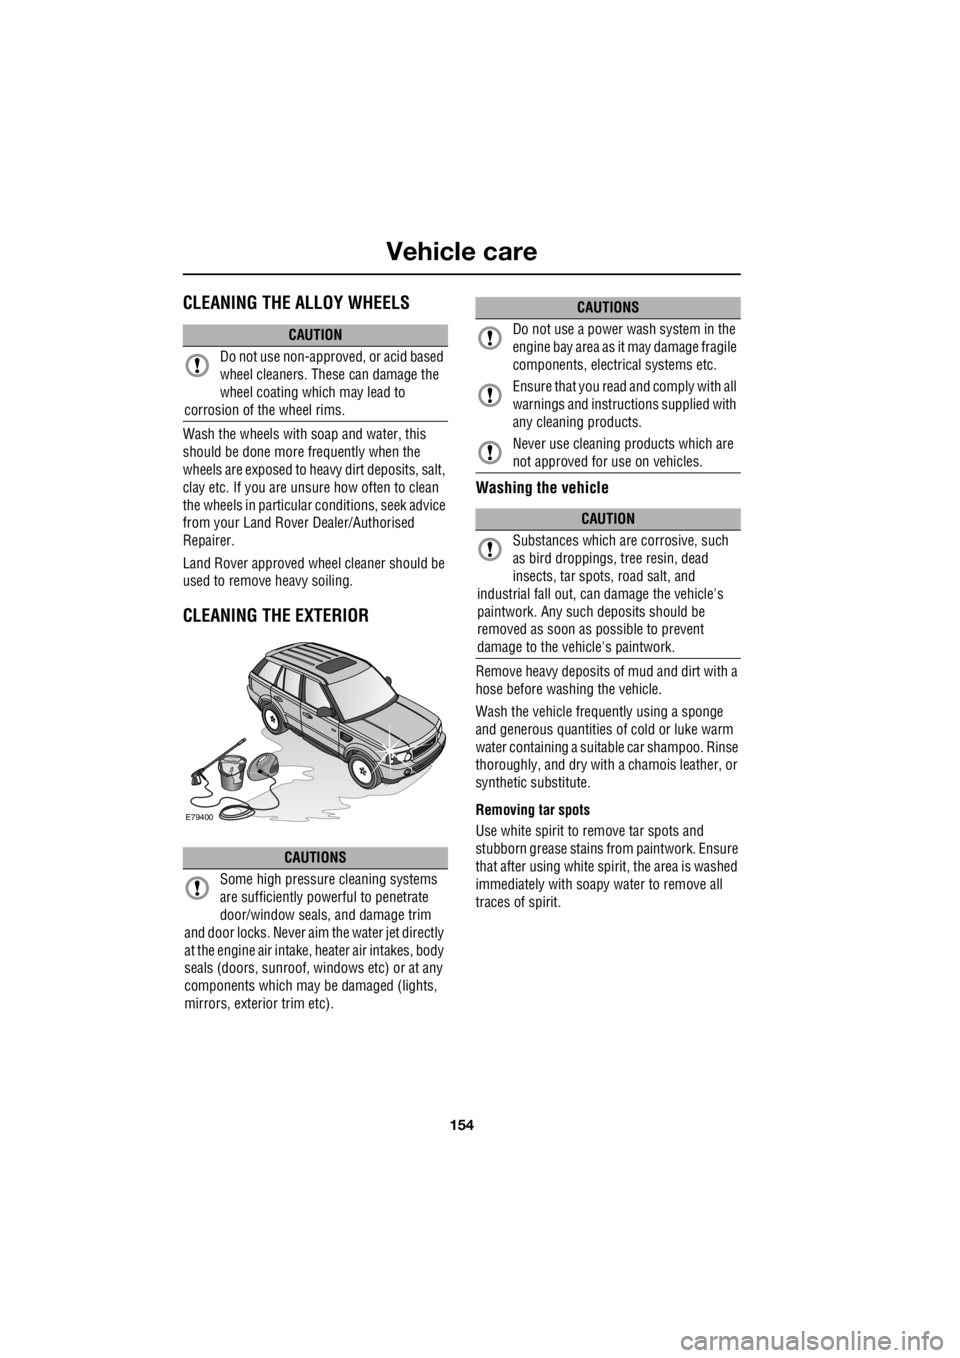
CLEANING THE EXTERIOR
Washing the vehicle
Remove heavy deposits of mud and dirt with a
hose before washing the vehicle.
Wash the vehicle frequently using a sponge
and generous quantities of cold or luke warm
water containing a suit able car shampoo. Rinse
thoroughly, and dry with a chamois leather, or
synthetic substitute.
Removing tar spots
Use white spirit to remove tar spots and
stubborn grease stains from paintwork. Ensure
that after using white spirit, the area is washed
immediately with soapy water to remove all
traces of spirit.
CAUTION
Do not use non-approved, or acid based
wheel cleaners. These can damage the
wheel coating which may lead to
corrosion of the wheel rims.
CAUTIONS
Some high pressure cleaning systems
are sufficiently pow erful to penetrate
door/window seals, and damage trim
and door locks. Never aim the water jet directly
at the engine air intake, heater air intakes, body
seals (doors, sunroof, windows etc) or at any
components which may be damaged (lights,
mirrors, exterior trim etc).
E79400
Do not use a power wash system in the
engine bay area as it may damage fragile
components, electrical systems etc.
Ensure that you read and comply with all
warnings and instruct ions supplied with
any cleaning products.
Never use cleaning products which are
not approved for use on vehicles.
CAUTION
Substances which are corrosive, such
as bird droppings, tr ee resin, dead
insects, tar spots, road salt, and
industrial fall out, can damage the vehicle's
paintwork. Any such deposits should be
removed as soon as possible to prevent
damage to the vehicle's paintwork.
CAUTIONS
Page 2920 of 3229

Fuses
200
L
Fuse number Rating (Amps) Fuse co lour Circuits protected
F1 5 tan Rain sensor
F2 10 red SRS
F3 5 tan ABS
F4 5 tan Instrument pack - Accelerator pedal - Light
Switch Module
F5 - - -
F6 15 blue Audio unit
F7 7.5 brown Steering wheel controls
F8 5 tan Instrument pack
F9 15 blue Headlamp main beam
F10 15 blue Sunroof
F11 7.5 brown Reverse lights and interior mirror dip
F12 - - -
F13 15 blue Front fog lamps
F14 15 blue Screen wash
F15 - - -
F16 - - -
F17 7.5 brown Interior lighting
F18 - - -
F19 5 tan Electric seat adjustment
F20 15 blue Rear wiper
F21 5 tan Alarm
F22 20 yellow Fuel pump
F23 20 yellow Steering column lock
F24 - - -
F25 10 red Tailgate - Fuel filler flap
F26 5 tan Diagnostic socket and alarm
F27 5 tan Start button and climate control
F28 5 tan Brake lights