Page 2736 of 3229
16
Quick start
L
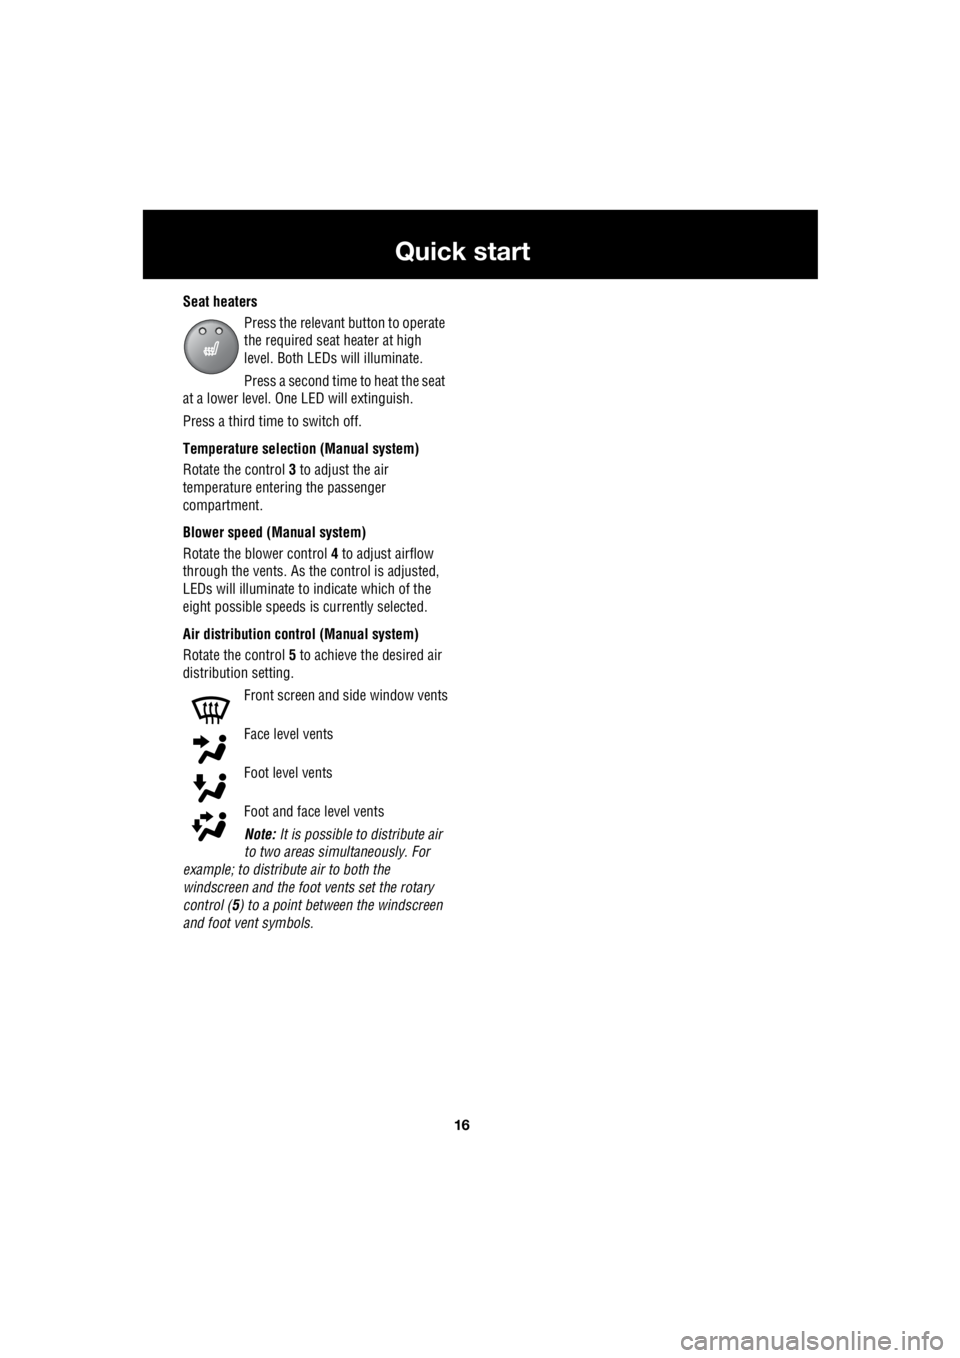
Seat heaters Press the relevant button to operate
the required seat heater at high
level. Both LEDs will illuminate.
Press a second time to heat the seat
at a lower level. One LED will extinguish.
Press a third time to switch off.
Temperature selection (Manual system)
Rotate the control 3 to adjust the air
temperature entering the passenger
compartment.
Blower speed (Manual system)
Rotate the blower control 4 to adjust airflow
through the vents. As the control is adjusted,
LEDs will illuminate to indicate which of the
eight possible speeds is currently selected.
Air distribution control (Manual system)
Rotate the control 5 to achieve the desired air
distribution setting.
Front screen and side window vents
Face level vents
Foot level vents
Foot and face level vents
Note: It is possible to distribute air
to two areas simultaneously. For
example; to distribute air to both the
windscreen and the foot vents set the rotary
control ( 5) to a point between the windscreen
and foot vent symbols.
Page 2738 of 3229
18
Quick start
L
1. Exterior lamps master switch
2. Direction indicators/headlam ps/trip computer switch
3. Cruise control switches
4. Instrument pack
5. Audio/telephone switches
6. Washer/wiper switch
7. Start stop engine button
8. Master unlock switch
9. Hazard warning switch
10. Master lock switch
11. Audio unit
12. Heater/air conditioning controls
13. Dynamic Stability Control (DSC) switch
14. Gear selector
15. Touch screen
16. Parking brake
17. Terrain Response control switch
18. Hill Descent Control (HDC) switch
19. Starter control unit
20. Steering column adjustment lever
21. Horn switches
22. Facia illumination dimmer control
Page 2773 of 3229
53
Seats
R
Raising the rear seats
The process for raising the rear seat is the
reverse of folding.
When the seat back has been raised fully, and
is locked into position, the release button will
pop-up.
Note: The red warning section will only be
visible if the seat back has not been locked into
position.
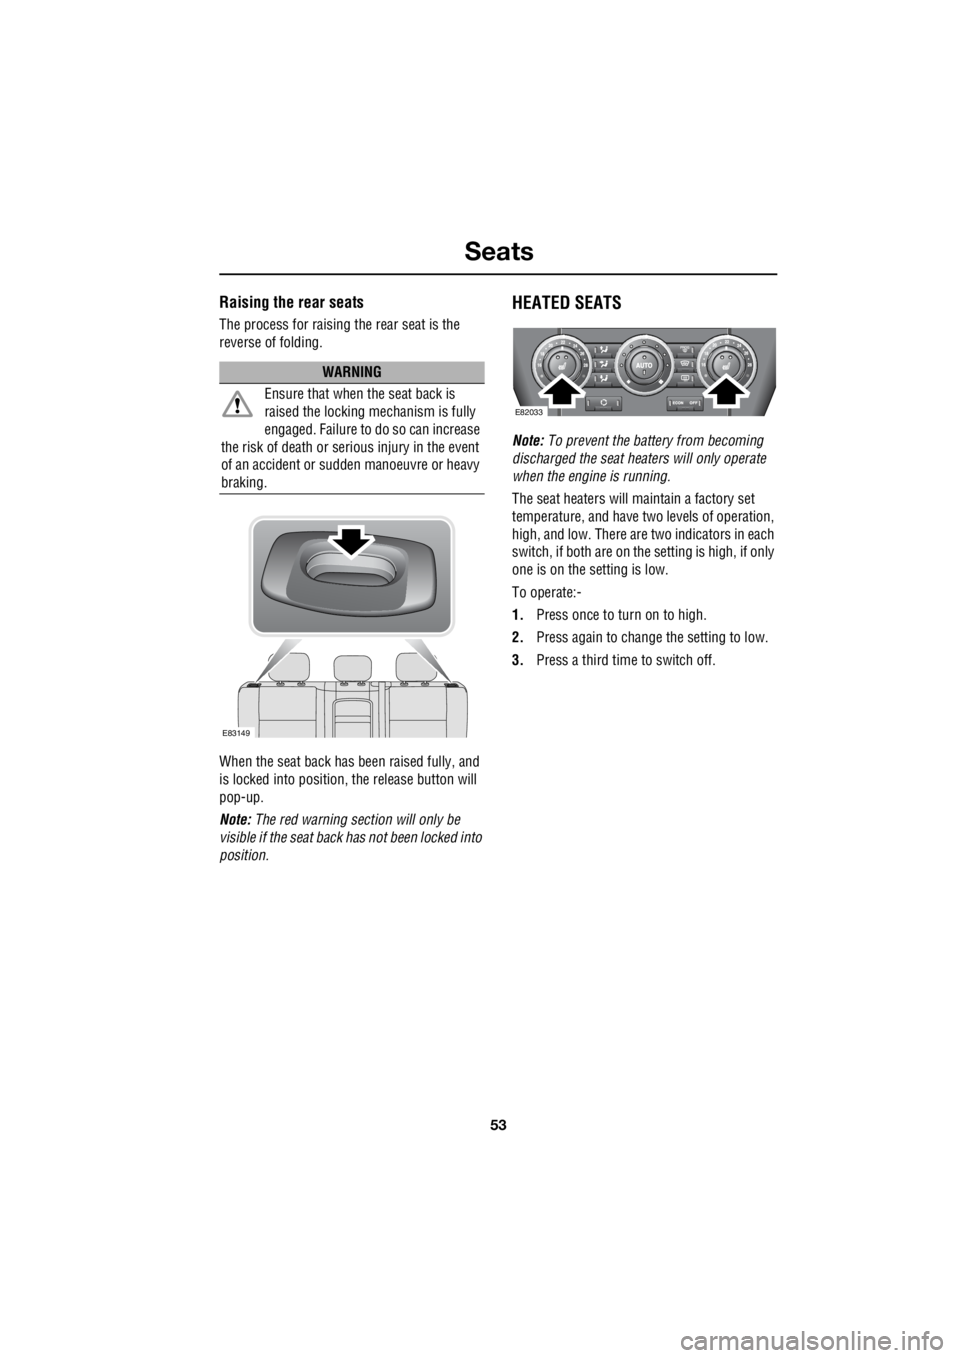
HEATED SEATS
Note: To prevent the battery from becoming
discharged the seat heaters will only operate
when the engine is running.
The seat heaters will maintain a factory set
temperature, and have two levels of operation,
high, and low. There are two indicators in each
switch, if both are on the setting is high, if only
one is on the setting is low.
To operate:-
1. Press once to turn on to high.
2. Press again to change the setting to low.
3. Press a third time to switch off.
WARNING
Ensure that when the seat back is
raised the locking mechanism is fully
engaged. Failure to do so can increase
the risk of death or serious injury in the event
of an accident or s udden manoeuvre or heavy
braking.
E83149
E82033
Page 2822 of 3229
Climate control
102
L
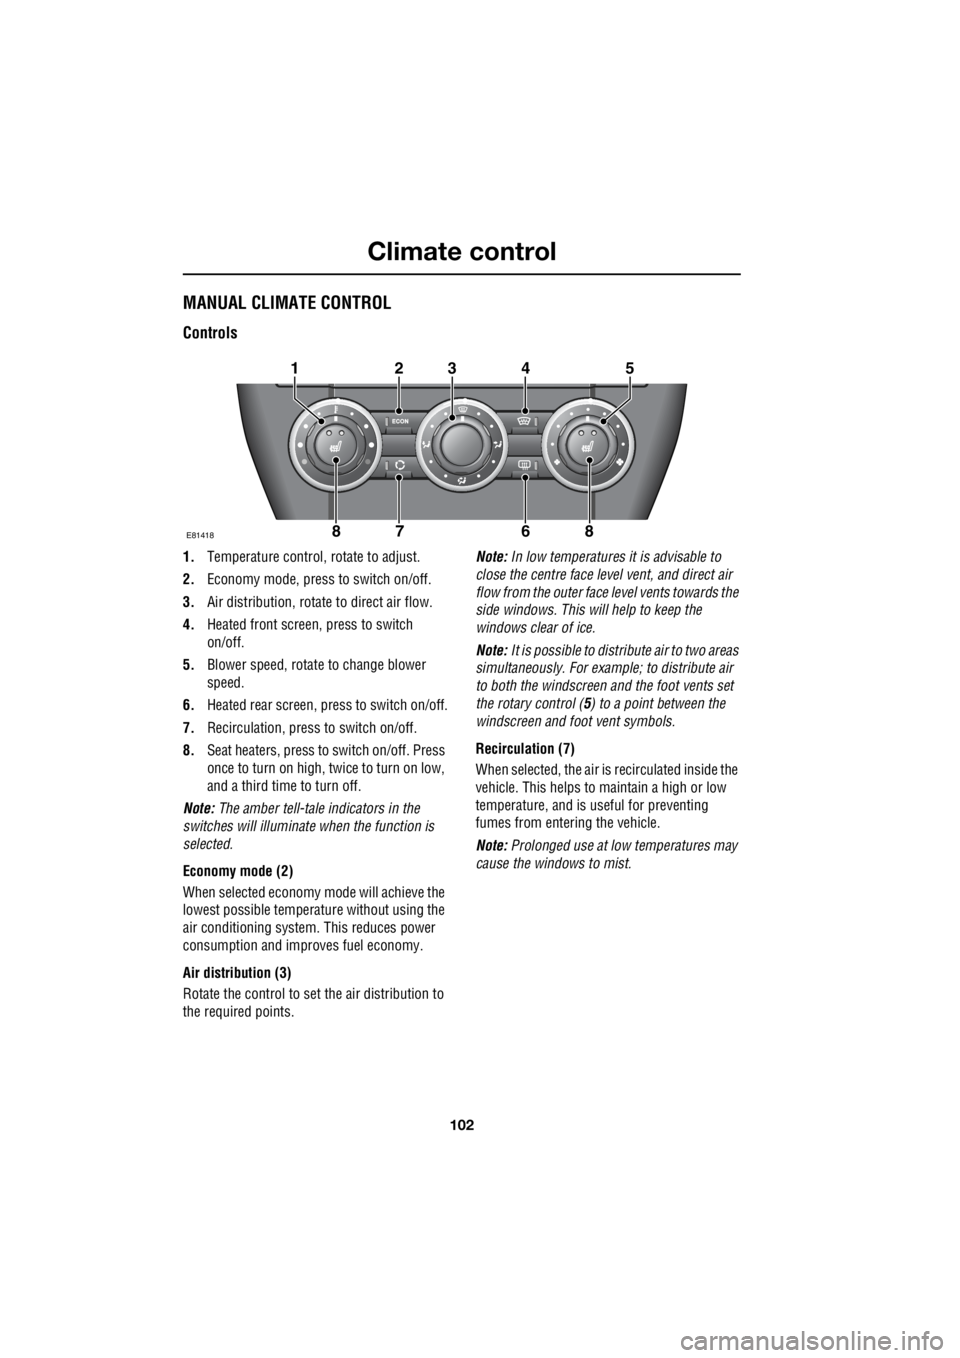
MANUAL CLIMATE CONTROL
Controls
1. Temperature control, rotate to adjust.
2. Economy mode, press to switch on/off.
3. Air distribution, rotate to direct air flow.
4. Heated front screen, press to switch
on/off.
5. Blower speed, rotate to change blower
speed.
6. Heated rear screen, press to switch on/off.
7. Recirculation, pres s to switch on/off.
8. Seat heaters, press to switch on/off. Press
once to turn on high, twice to turn on low,
and a third time to turn off.
Note: The amber tell-tale indicators in the
switches will illuminate when the function is
selected.
Economy mode (2)
When selected economy mo de will achieve the
lowest possible temperature without using the
air conditioning system . This reduces power
consumption and impr oves fuel economy.
Air distribution (3)
Rotate the control to set the air distribution to
the required points. Note:
In low temperatures it is advisable to
close the centre face le vel vent, and direct air
flow from the outer face level vents towards the
side windows. This will help to keep the
windows clear of ice.
Note: It is possible to distribute air to two areas
simultaneously. For example; to distribute air
to both the windscreen a nd the foot vents set
the rotary control ( 5) to a point between the
windscreen and foot vent symbols.
Recirculation (7)
When selected, the air is recirculated inside the
vehicle. This helps to maintain a high or low
temperature, and is useful for preventing
fumes from entering the vehicle.
Note: Prolonged use at low temperatures may
cause the windows to mist.
E81418
12345
8678
Page 2823 of 3229
103
Climate control
R
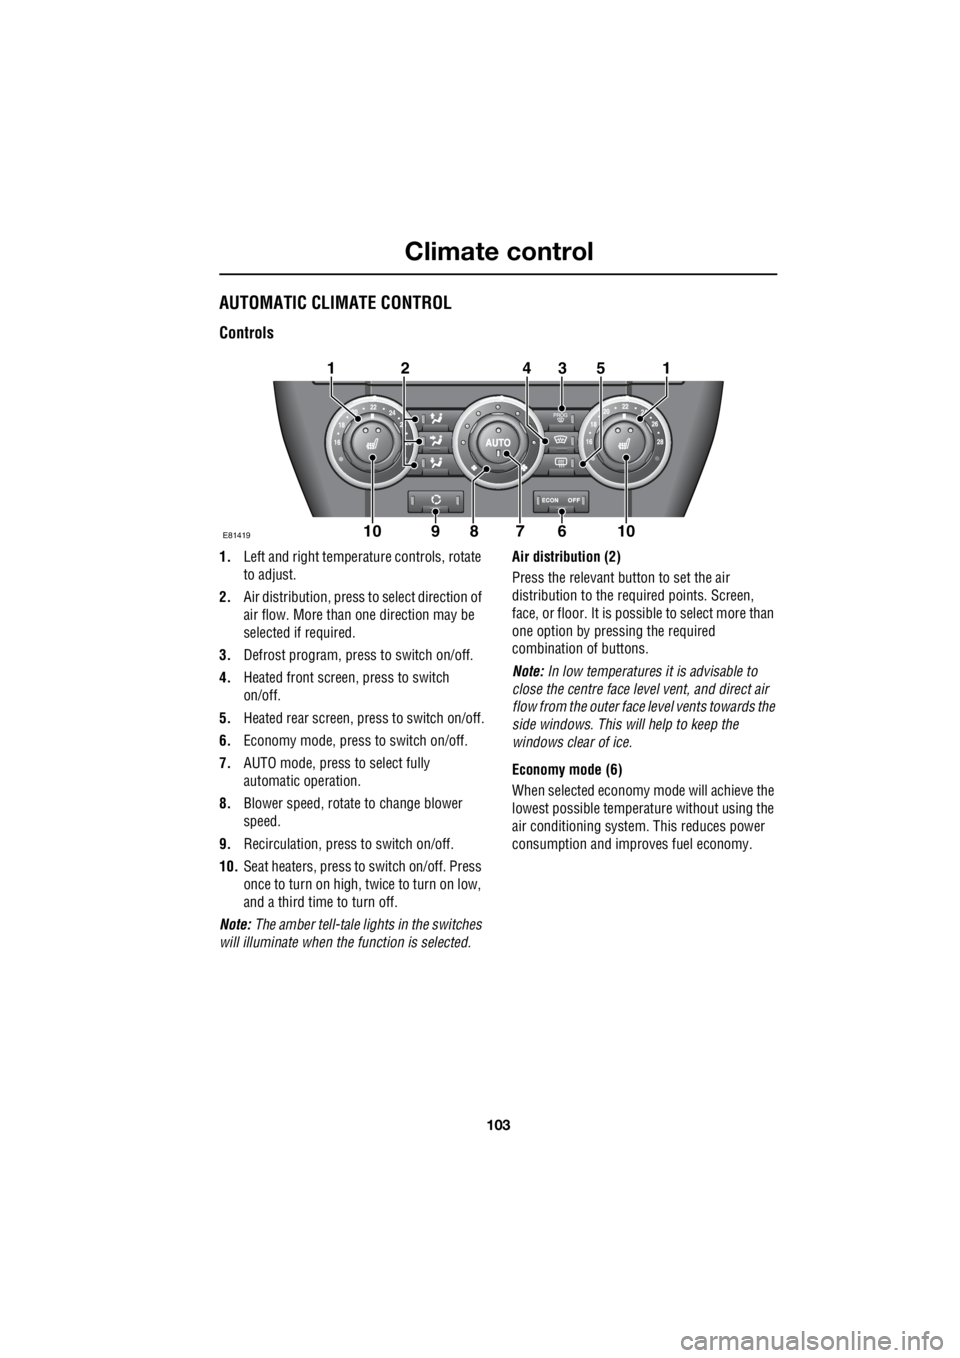
AUTOMATIC CLIMATE CONTROL
Controls
1. Left and right temperat ure controls, rotate
to adjust.
2. Air distribution, press to select direction of
air flow. More than one direction may be
selected if required.
3. Defrost program, press to switch on/off.
4. Heated front screen, press to switch
on/off.
5. Heated rear screen, press to switch on/off.
6. Economy mode, press to switch on/off.
7. AUTO mode, press to select fully
automatic operation.
8. Blower speed, rotate to change blower
speed.
9. Recirculation, press to switch on/off.
10. Seat heaters, press to switch on/off. Press
once to turn on high, twice to turn on low,
and a third time to turn off.
Note: The amber tell-tale lights in the switches
will illuminate when the function is selected. Air distribution (2)
Press the relevant button to set the air
distribution to the required points. Screen,
face, or floor. It is possible to select more than
one option by pressing the required
combination of buttons.
Note: In low temperatures it is advisable to
close the centre face leve l vent, and direct air
flow from the outer face level vents towards the
side windows. This will help to keep the
windows clear of ice.
Economy mode (6)
When selected economy mode will achieve the
lowest possible temperat ure without using the
air conditioning system . This reduces power
consumption and impr oves fuel economy.
E81419
131
6910
254
1078
Page 2824 of 3229
Climate control
104
L
Auto mode (7)
When the Auto function is selected, you have
the opportunity to select a fully automatic
operation, or manually adjust the fan speed and
the direction of air flow. All other adjustments
which are necessary to maintain the
temperature that you have selected are made
automatically by the climate control system.
There are two tell-tale indicators on the Auto
button. The round indicator represents the
blower control, and th e rectangular indicator
the air distribution control. In fully automatic
mode both indicators illuminate, the round
indicator will extinguish if the blower speed is
changed manually, and the rectangular
indicator extinguishes if the air distribution is
changed manually.
To resume fully automatic operation at any
time, press the Auto button.
Recirculation (9)
When selected, the air is recirculated inside the
vehicle. This helps to ma intain a high or low
temperature, and is useful for preventing
fumes from entering the vehicle.
A single brief press will se lect recirculation for
four minutes. The system will then revert to
fresh air intake to prevent misting.
Pressing and holding the button will select
recirculation until it is switched off. This state
is indicated by three flashes of the tell-tale lamp
in the switch.
Note: Prolonged use at low temperatures may
cause the windows to mist.HEATED WINDOWS AND MIRRORS
The heated windscreen is switched on by
briefly pressing the switch (4).
Note: The operation of the heated mirrors is
fully automatic, and requires no driver
intervention.
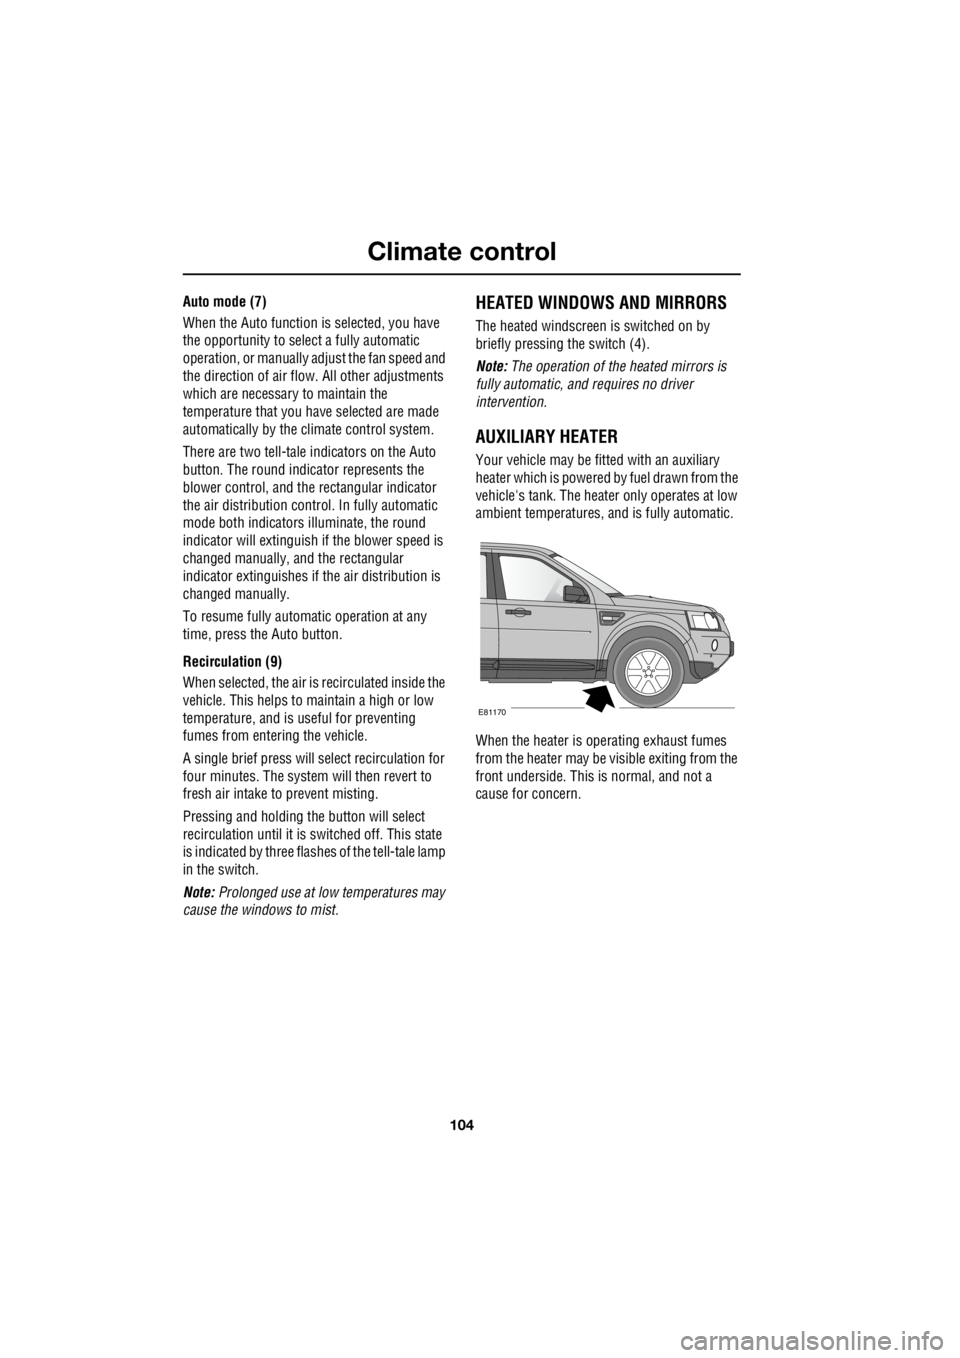
AUXILIARY HEATER
Your vehicle may be fitted with an auxiliary
heater which is powered by fuel drawn from the
vehicle's tank. The heater only operates at low
ambient temperatures, and is fully automatic.
When the heater is operating exhaust fumes
from the heater may be visible exiting from the
front underside. This is normal, and not a
cause for concern.
E81170
Page 2874 of 3229
Vehicle care
154
L
Vehicle careCLEANING THE ALLOY WHEELS
Wash the wheels with soap and water, this
should be done more frequently when the
wheels are exposed to he avy dirt deposits, salt,
clay etc. If you are unsure how often to clean
the wheels in particular conditions, seek advice
from your Land Rover Dealer/Authorised
Repairer.
Land Rover approved wheel cleaner should be
used to remove heavy soiling.
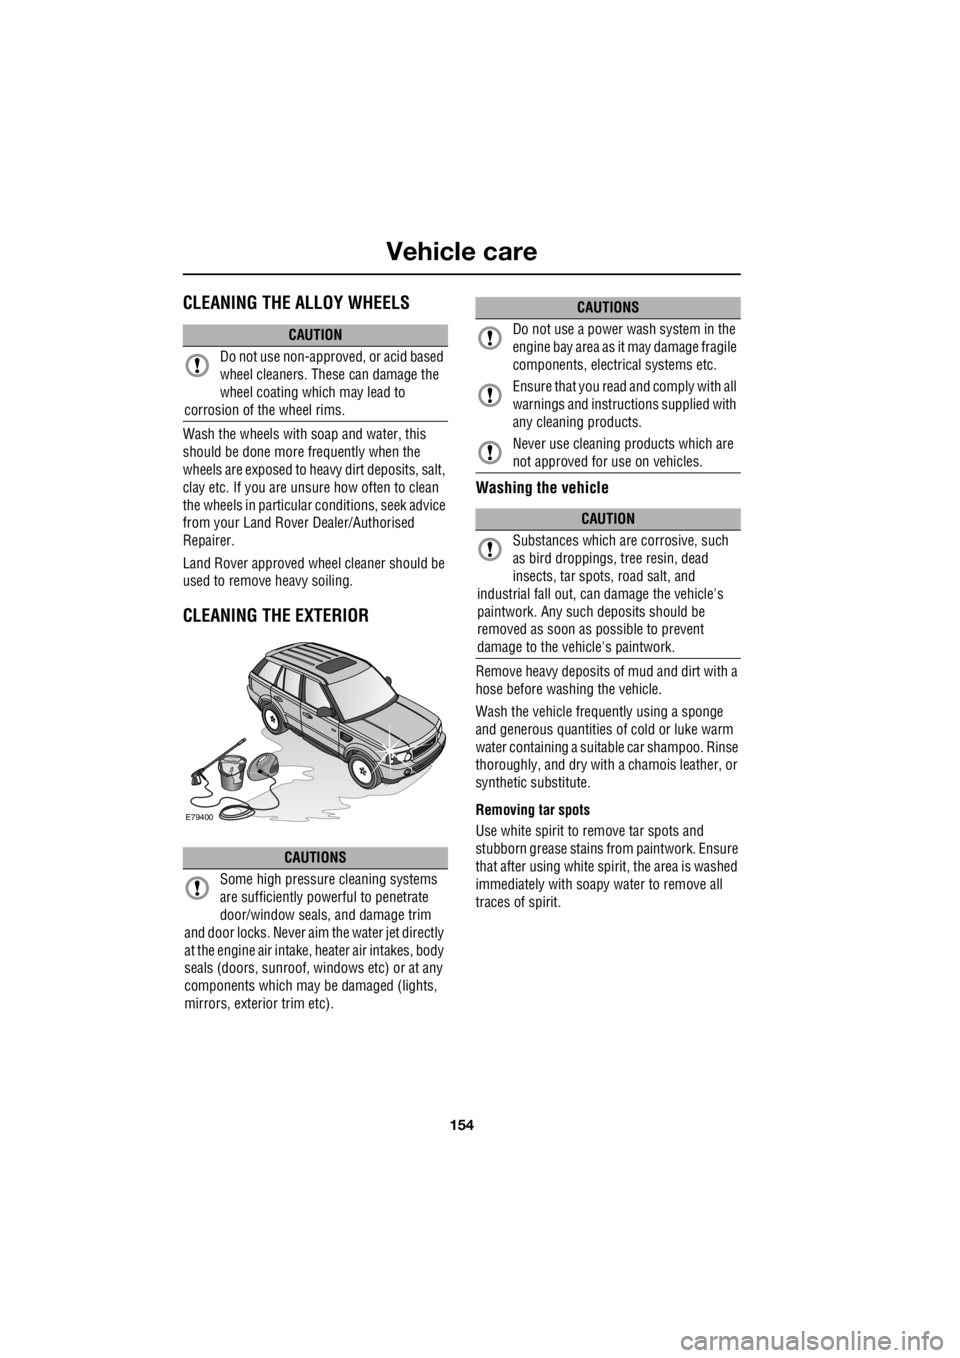
CLEANING THE EXTERIOR
Washing the vehicle
Remove heavy deposits of mud and dirt with a
hose before washing the vehicle.
Wash the vehicle frequently using a sponge
and generous quantities of cold or luke warm
water containing a suit able car shampoo. Rinse
thoroughly, and dry with a chamois leather, or
synthetic substitute.
Removing tar spots
Use white spirit to remove tar spots and
stubborn grease stains from paintwork. Ensure
that after using white spirit, the area is washed
immediately with soapy water to remove all
traces of spirit.
CAUTION
Do not use non-approved, or acid based
wheel cleaners. These can damage the
wheel coating which may lead to
corrosion of the wheel rims.
CAUTIONS
Some high pressure cleaning systems
are sufficiently pow erful to penetrate
door/window seals, and damage trim
and door locks. Never aim the water jet directly
at the engine air intake, heater air intakes, body
seals (doors, sunroof, windows etc) or at any
components which may be damaged (lights,
mirrors, exterior trim etc).
E79400
Do not use a power wash system in the
engine bay area as it may damage fragile
components, electrical systems etc.
Ensure that you read and comply with all
warnings and instruct ions supplied with
any cleaning products.
Never use cleaning products which are
not approved for use on vehicles.
CAUTION
Substances which are corrosive, such
as bird droppings, tr ee resin, dead
insects, tar spots, road salt, and
industrial fall out, can damage the vehicle's
paintwork. Any such deposits should be
removed as soon as possible to prevent
damage to the vehicle's paintwork.
CAUTIONS
Page 2917 of 3229

197
Fuses
R
Fuse number Rating (Amps) Fuse colour Circuits protected F1 5 tan Glow plugs
F2 15 blue Automatic transmission
F3 80 - Cooling fans
F4 60 - Glow plugs
F5 - - -
F6 (Diesel) 10 red Engine management F6 (Petrol) 15 blue Engine management F7 5 tan Relays
F8 (Diesel) 10 red Engine management F8 (Petrol) 15 blue Engine management
F9 (Diesel) 10 red Engine management
F9 (Petrol) 15 blue Engine management
F10 (Petrol) 10 red Engine management
F11 (Diesel) 10 red Engine management
F11 (Petrol) 10 red Engine management
F12 (Diesel) 10 red Engine management
F12 (Petrol) 20 yell ow Engine management
F13 15 blue Air Conditioning
F14 (Diesel) 15 blue Engine management
F15 40 green Starter motor
F16 (Diesel) 100 - Diesel PTC heater F17 60 - Passenger compartment fuse box supply
F18 60 - Passenger compartment fuse box supply
F19 60 - Luggage compartment fuse box supply
F20 60 - Luggage compartment fuse box supply
F21 60 - Luggage compartment fuse box supply - Audio unit
F22 30 pink Windscreen wipers
F23 - - -