Page 5253 of 5621
SE-72
AUTOMATIC DRIVE POSITIONER
Revision: 2006 January2006 M35/M45
Lifting Switch (Front) Circuit CheckNIS0026N
1. CHECK FUNCTION
With CONSULT-II
With “LIFT FR SW-UP, LIFT FR SW-DN” on the DATA MONITOR,
operate the lifting switch (front) to check ON/OFF operation.
Without CONSULT-II
1. Turn ignition switch OFF.
2. Check voltage between driver seat control unit connector and
ground.
OK or NG
OK >> Lifting switch (front) circuit is OK.
NG >> GO TO 2.
Monitor item [OPERA-
TION or UNIT]Contents
LIFT FR SW–
DN"ON/
OFF"ON / OFF status judged from the FR lifter switch
(DOWN) signal is displayed.
LIFT FR SW–
UP"ON/
OFF"ON / OFF status judged from the FR lifter switch (UP)
signal is displayed.
PIIA0323E
Driver seat
control unit
connectorTerminals
ConditionVoltage (V)
(Approx.)
(+) (–)
B20413
GroundLifting switch (front) ON
(DOWN operation)0
Other than above Battery voltage
28Lifting switch (front) ON
(UP operation)0
Other than above Battery voltage
PIIB6174E
Page 5255 of 5621
SE-74
AUTOMATIC DRIVE POSITIONER
Revision: 2006 January2006 M35/M45
Lifting Switch (Rear) Circuit CheckNIS0026O
1. CHECK FUNCTION
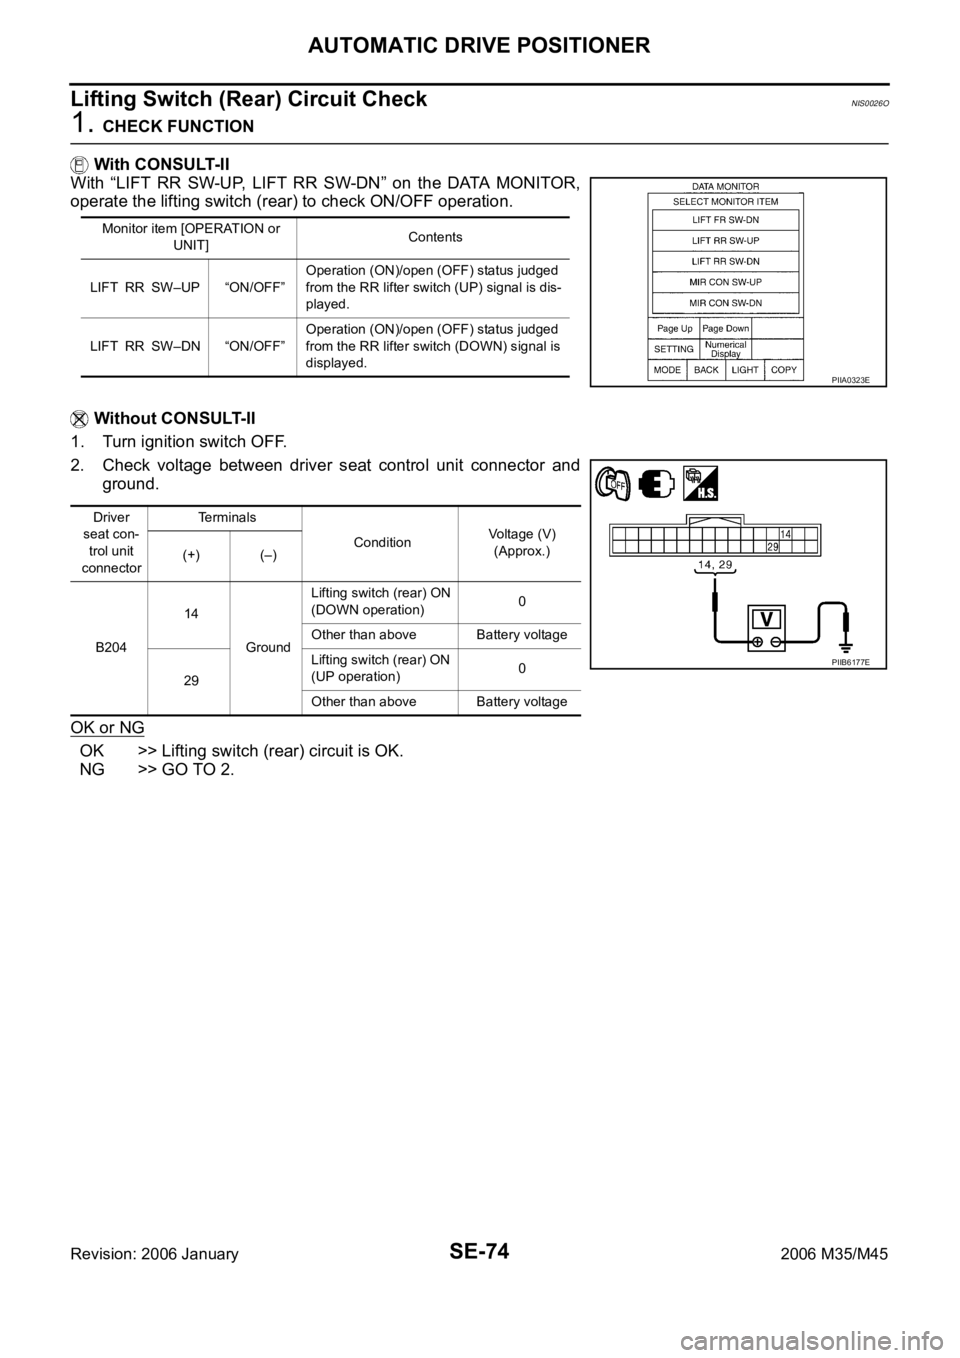
With CONSULT-II
With “LIFT RR SW-UP, LIFT RR SW-DN” on the DATA MONITOR,
operate the lifting switch (rear) to check ON/OFF operation.
Without CONSULT-II
1. Turn ignition switch OFF.
2. Check voltage between driver seat control unit connector and
ground.
OK or NG
OK >> Lifting switch (rear) circuit is OK.
NG >> GO TO 2.
Monitor item [OPERATION or
UNIT]Contents
LIFT RR SW–UP “ON/OFF”Operation (ON)/open (OFF) status judged
from the RR lifter switch (UP) signal is dis-
played.
LIFT RR SW–DN “ON/OFF”Operation (ON)/open (OFF) status judged
from the RR lifter switch (DOWN) signal is
displayed.
PIIA0323E
Driver
seat con-
trol unit
connectorTerminals
ConditionVoltage (V)
(Approx.)
(+) (–)
B20414
GroundLifting switch (rear) ON
(DOWN operation)0
Other than above Battery voltage
29Lifting switch (rear) ON
(UP operation)0
Other than above Battery voltage
PIIB6177E
Page 5257 of 5621
SE-76
AUTOMATIC DRIVE POSITIONER
Revision: 2006 January2006 M35/M45
Telescopic Switch Circuit CheckNIS0026Q
1. CHECK FUNCTION
With CONSULT-II
With “TELESCO SW-FR, TELESCO SW-RR” on the DATA MONITOR, operate the ADP steering switch to
check ON/OFF operation.
Without CONSULT-II
1. Turn ignition switch OFF.
2. Check voltage between automatic drive positioner control unit connector and ground.
OK or NG
OK >> Telescopic switch circuit is OK.
NG >> GO TO 2.
Monitor item
[OPERATION or UNIT]Contents
TELESCO SW-FR “ON/OFF”(ON/OFF) status judged from the telescoping
switch (FR) signal is displayed.
TELESCO SW-RR “ON/OFF” (ON/OFF) status judged from the telescoping
switch (RR) signal is displayed.
PIIA0315E
Automatic
drive posi-
tioner con-
trol unit
connectorTerminals
Telescopic switch conditionVoltage (V)
(Approx.)
(+) (–)
M611
GroundFORWARD 0
Other than above 5
27BACKWARD 0
Other than above 5
PIIB6181E
Page 5259 of 5621
SE-78
AUTOMATIC DRIVE POSITIONER
Revision: 2006 January2006 M35/M45
Tilt Switch Circuit CheckNIS0026R
1. CHECK FUNCTION
With CONSULT-II
With “TILT SW-UP,TILT SW-DOWN” on the DATA MONITOR, operate the ADP steering switch to check ON/
OFF operation.
Without CONSULT-II
1. Turn ignition switch OFF.
2. Check voltage between automatic drive positioner control unit connector and ground.
OK or NG
OK >> Tilt switch circuit is OK.
NG >> GO TO 2.
Monitor item
[OPERATION or UNIT]Contents
TILT SW-UP “ON/OFF” (ON/OFF) status judged from the tilt switch
(UP) signal is displayed.
TILT SW-DOWN “ON/OFF”(ON/OFF) status judged from the tilt switch
(DOWN) signal is displayed.
PIIA0315E
Auto-
matic
drive posi-
tioner
control
unit con-
nectorTe r m i n a l s
Tilt switch conditionVoltage (V)
(Approx.)
(+) (–)
M61
GroundUP 0
Other than above 5
17DOWN 0
Other than above 5
PIIB6185E
Page 5261 of 5621
SE-80
AUTOMATIC DRIVE POSITIONER
Revision: 2006 January2006 M35/M45
Seat Memory and Set Switch Circuit CheckNIS0026S
1. CHECK FUNCTION
With CONSULT-II
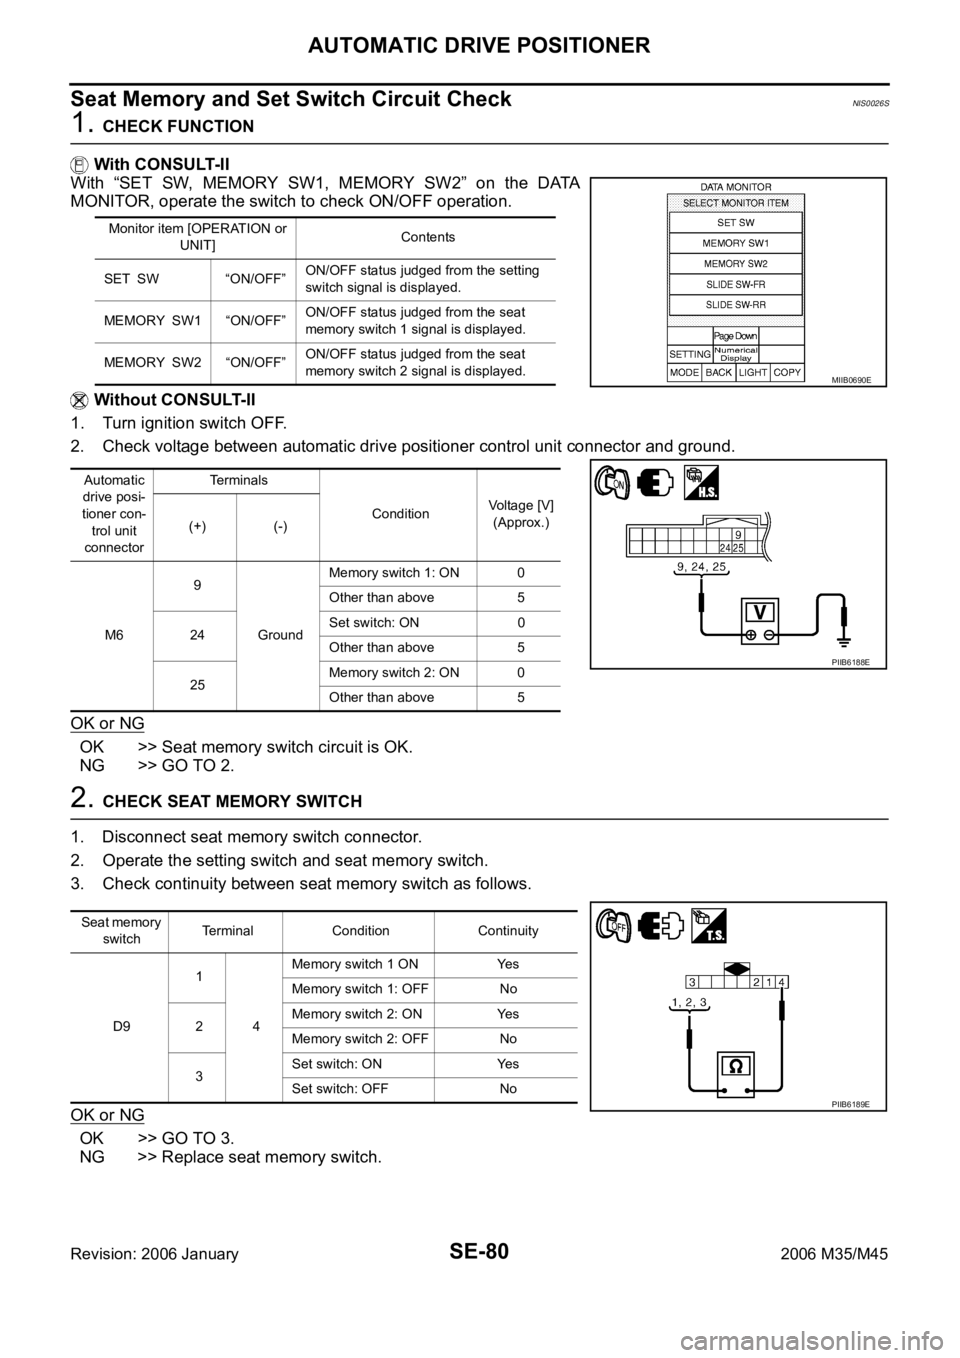
With “SET SW, MEMORY SW1, MEMORY SW2” on the DATA
MONITOR, operate the switch to check ON/OFF operation.
Without CONSULT-II
1. Turn ignition switch OFF.
2. Check voltage between automatic drive positioner control unit connector and ground.
OK or NG
OK >> Seat memory switch circuit is OK.
NG >> GO TO 2.
2. CHECK SEAT MEMORY SWITCH
1. Disconnect seat memory switch connector.
2. Operate the setting switch and seat memory switch.
3. Check continuity between seat memory switch as follows.
OK or NG
OK >> GO TO 3.
NG >> Replace seat memory switch.
Monitor item [OPERATION or
UNIT]Contents
SET SW “ON/OFF”ON/OFF status judged from the setting
switch signal is displayed.
MEMORY SW1 “ON/OFF”ON/OFF status judged from the seat
memory switch 1 signal is displayed.
MEMORY SW2 “ON/OFF”ON/OFF status judged from the seat
memory switch 2 signal is displayed.
Automatic
drive posi-
tioner con-
trol unit
connectorTerminals
ConditionVoltage [V]
(Approx.)
(+) (-)
M69
GroundMemory switch 1: ON 0
Other than above 5
24Set switch: ON 0
Other than above 5
25Memory switch 2: ON 0
Other than above 5
MIIB0690E
PIIB6188E
Seat memory
switchTerminal Condition Continuity
D91
4Memory switch 1 ON Yes
Memory switch 1: OFF No
2Memory switch 2: ON Yes
Memory switch 2: OFF No
3Set switch: ON Yes
Set switch: OFF No
PIIB6189E
Page 5264 of 5621
AUTOMATIC DRIVE POSITIONER
SE-83
C
D
E
F
G
H
J
K
L
MA
B
SE
Revision: 2006 January2006 M35/M45
4. CHECK SEAT MEMORY SWITCH INDICATOR SIGNAL
1. Connect seat memory switch connector.
2. Check continuity between automatic drive positioner control unit
connector and ground.
OK or NG
OK >> Replace automatic drive positioner control unit.
NG >> Replace seat memory switch.
Door Mirror Sensor Power Supply and Ground Circuit CheckNIS0026U
1. CHECK DOOR MIRROR SENSOR CIRCUIT HARNESS CONTINUITY
1. Turn ignition switch OFF.
2. Disconnect automatic drive positioner control unit and door mirror (LH and RH) connector.
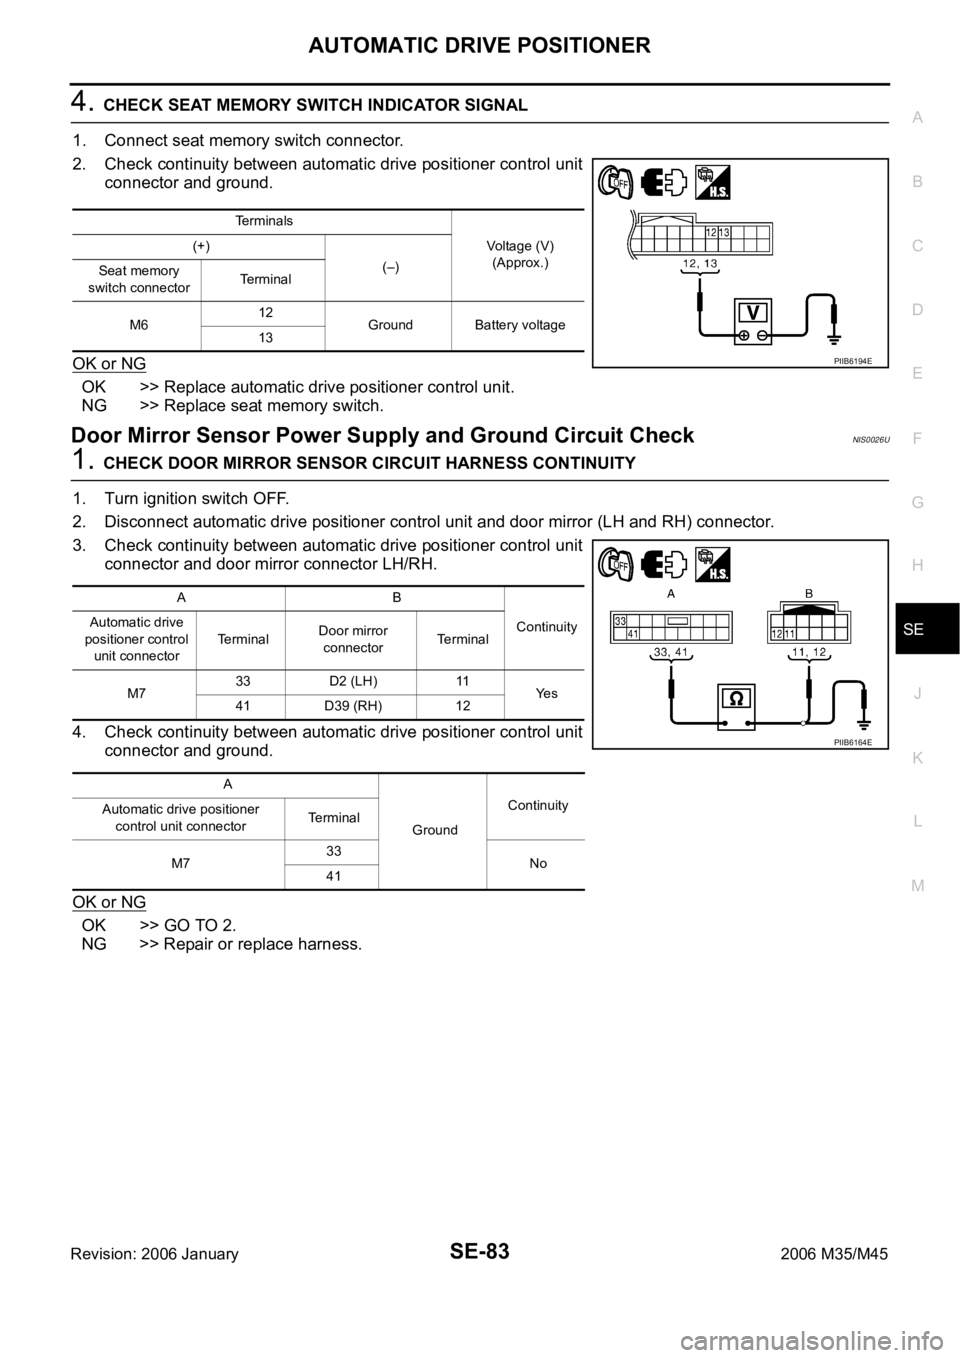
3. Check continuity between automatic drive positioner control unit
connector and door mirror connector LH/RH.
4. Check continuity between automatic drive positioner control unit
connector and ground.
OK or NG
OK >> GO TO 2.
NG >> Repair or replace harness.
Terminals
Voltage (V)
(Approx.) (+)
(–)
Seat memory
switch connectorTerminal
M612
Ground Battery voltage
13
PIIB6194E
AB
Continuity Automatic drive
positioner control
unit connectorTerminalDoor mirror
connectorTerminal
M733 D2 (LH) 11
Ye s
41 D39 (RH) 12
A
GroundContinuity
Automatic drive positioner
control unit connectorTerminal
M733
No
41
PIIB6164E
Page 5266 of 5621
AUTOMATIC DRIVE POSITIONER
SE-85
C
D
E
F
G
H
J
K
L
MA
B
SE
Revision: 2006 January2006 M35/M45
A/T Device (Detention Switch) Circuit CheckNIS0026V
1. CHECK FUNCTION
With CONSULT-II
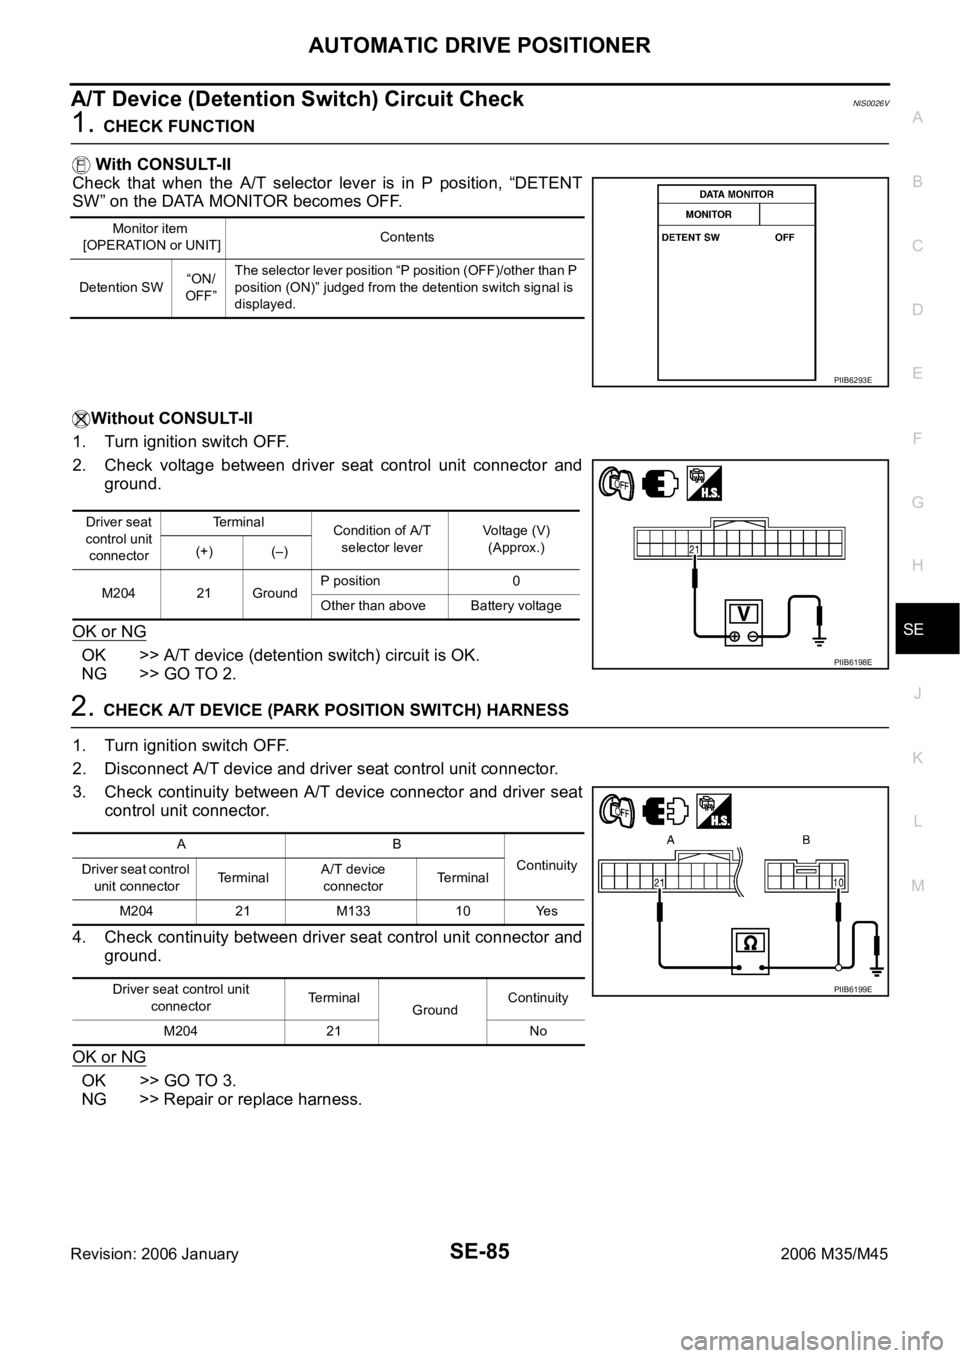
Check that when the A/T selector lever is in P position, “DETENT
SW” on the DATA MONITOR becomes OFF.
Without CONSULT-II
1. Turn ignition switch OFF.
2. Check voltage between driver seat control unit connector and
ground.
OK or NG
OK >> A/T device (detention switch) circuit is OK.
NG >> GO TO 2.
2. CHECK A/T DEVICE (PARK POSITION SWITCH) HARNESS
1. Turn ignition switch OFF.
2. Disconnect A/T device and driver seat control unit connector.
3. Check continuity between A/T device connector and driver seat
control unit connector.
4. Check continuity between driver seat control unit connector and
ground.
OK or NG
OK >> GO TO 3.
NG >> Repair or replace harness.
Monitor item
[OPERATION or UNIT]Contents
Detention SW“ON/
OFF”The selector lever position “P position (OFF)/other than P
position (ON)” judged from the detention switch signal is
displayed.
PIIB6293E
Driver seat
control unit
connectorTe r m i n a l
Condition of A/T
selector leverVoltage (V)
(Approx.)
(+) (–)
M204 21 GroundP position 0
Other than above Battery voltage
PIIB6198E
AB
Continuity
Driver seat control
unit connectorTerminalA/T device
connectorTerminal
M204 21 M133 10 Yes
Driver seat control unit
connectorTerminal
GroundContinuity
M204 21 No
PIIB6199E
Page 5267 of 5621
SE-86
AUTOMATIC DRIVE POSITIONER
Revision: 2006 January2006 M35/M45
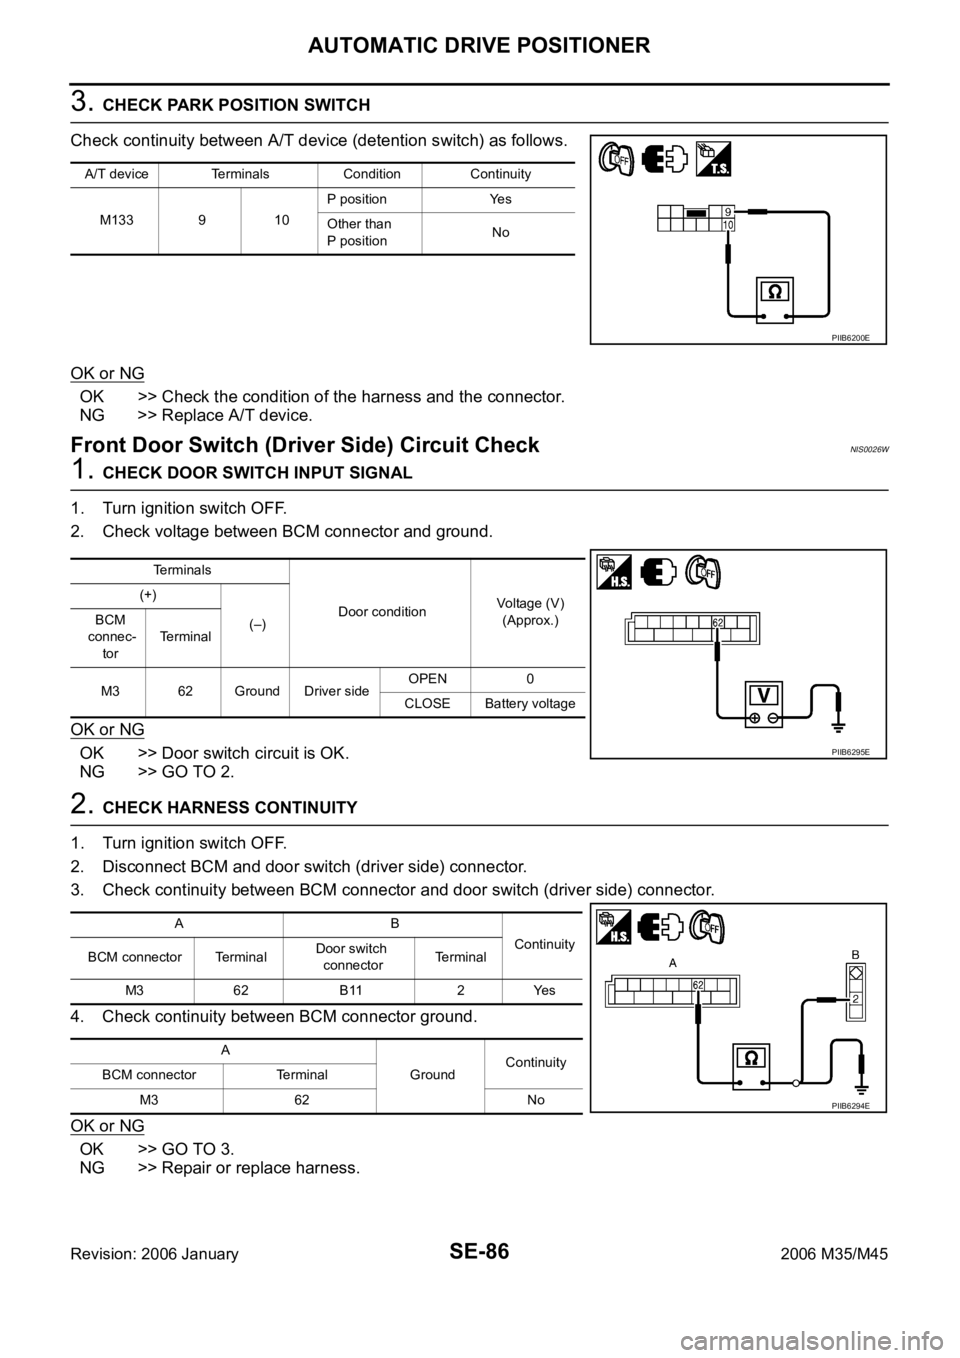
3. CHECK PARK POSITION SWITCH
Check continuity between A/T device (detention switch) as follows.
OK or NG
OK >> Check the condition of the harness and the connector.
NG >> Replace A/T device.
Front Door Switch (Driver Side) Circuit Check NIS0026W
1. CHECK DOOR SWITCH INPUT SIGNAL
1. Turn ignition switch OFF.
2. Check voltage between BCM connector and ground.
OK or NG
OK >> Door switch circuit is OK.
NG >> GO TO 2.
2. CHECK HARNESS CONTINUITY
1. Turn ignition switch OFF.
2. Disconnect BCM and door switch (driver side) connector.
3. Check continuity between BCM connector and door switch (driver side) connector.
4. Check continuity between BCM connector ground.
OK or NG
OK >> GO TO 3.
NG >> Repair or replace harness.
A/T device Terminals Condition Continuity
M133 9 10P position Yes
Other than
P positionNo
PIIB6200E
Terminals
Door conditionVoltage (V)
(Approx.) (+)
(–) BCM
connec-
torTerminal
M3 62 Ground Driver sideOPEN 0
CLOSE Battery voltage
PIIB6295E
AB
Continuity
BCM connector TerminalDoor switch
connectorTerminal
M3 62 B11 2 Yes
A
GroundContinuity
BCM connector Terminal
M3 62 No
PIIB6294E