2006 INFINITI M35 display
[x] Cancel search: displayPage 5124 of 5621

PRE-CRASH SEAT BELT
SB-25
C
D
E
F
G
I
J
K
L
MA
B
SB
Revision: 2006 January2006 M35/M45
5. CHECK BRAKE PEDAL STROKE SENSOR
Check continuity between brake pedal stroke sensor while perform-
ing brake operation.
OK or NG
OK >> Check harness connection.
If it is OK, replace pre-crash seat belt control unit.
If it is NG, repair or replace malfunction part.
NG >> Replace brake pedal stroke sensor.
Pre-Crash Seat Belt Motor LH Circuit Check [B2452]NHS0008E
1. CHECK LH SEAT BELT MOTOR CIRCUIT
With CONSULT-II
Select “SELF-DIAG RESULTS” of CONSULT-II, and then make sure
that “SB MOTOR LH CIRC” is displayed.
Without CONSULT-II
When CONSULT-II is not used, omit this inspection, and then GO TO 2.
Displayed B2452?
Ye s > > G O T O 2 .
No >> Pre-crash seat belt motor LH circuit is OK.
Brake pedal stroke
sensor connectorTerminal ConditionResistance
(K)
(Approx.)
E125 21
Brake released
depressed1.0 0.2
30.2
1.0
PHIA1137E
CONSULT-II display CONSULT-II display code
NO DTC –
SB MOTOR LH CIRC B2452
PHIA0768E
Page 5126 of 5621
![INFINITI M35 2006 Factory Service Manual PRE-CRASH SEAT BELT
SB-27
C
D
E
F
G
I
J
K
L
MA
B
SB
Revision: 2006 January2006 M35/M45
Pre-Crash Seat Belt Motor RH Circuit Check [B2451]NHS0008F
1. CHECK RH SEAT BELT MOTOR CIRCUIT
With CONSULT-II
S INFINITI M35 2006 Factory Service Manual PRE-CRASH SEAT BELT
SB-27
C
D
E
F
G
I
J
K
L
MA
B
SB
Revision: 2006 January2006 M35/M45
Pre-Crash Seat Belt Motor RH Circuit Check [B2451]NHS0008F
1. CHECK RH SEAT BELT MOTOR CIRCUIT
With CONSULT-II
S](/manual-img/42/57023/w960_57023-5125.png)
PRE-CRASH SEAT BELT
SB-27
C
D
E
F
G
I
J
K
L
MA
B
SB
Revision: 2006 January2006 M35/M45
Pre-Crash Seat Belt Motor RH Circuit Check [B2451]NHS0008F
1. CHECK RH SEAT BELT MOTOR CIRCUIT
With CONSULT-II
Select SELF-DIAG RESULTS” of CONSULT-II, and then make sure
that “SB MOTOR RH CIRC” is displayed.
Without CONSULT-II
When CONSULT-II is not used, omit this inspection, and then GO TO 2.
Displayed B2451?
Ye s > > G O T O 2 .
No >> Pre-crash seat belt motor RH circuit is OK.
2. CHECK RH SEAT BELT MOTOR HARNESS
1. Turn the ignition switch OFF.
2. Disconnect pre-crash seat belt control unit connector and pre-crash seat belt motor RH connector.
3. Check continuity between pre-crash seat belt control unit har-
ness connector and pre-crash seat belt motor RH harness con-
nector.
4. Check continuity between pre-crash seat belt control unit har-
ness connector and ground.
OK or NG
OK >> GO TO 3.
NG >> Repair or replace harness.
CONSULT-II display CONSULT-II display code
NO DTC –
SB MOTOR RH CIRC B2451
PHIA0767E
AB
Continuity Pre-crash seat
belt control unit
connectorTerminalPre-crash seat
belt motor RH
connectorTerminal
B1421
B82
Ye s
3 1
A
GroundContinuity
Pre-crash seat belt
control unit connectorTerminal
B1421
No
3
PHIA1140E
Page 5145 of 5621

SC-8
BATTERY
Revision: 2006 January2006 M35/M45
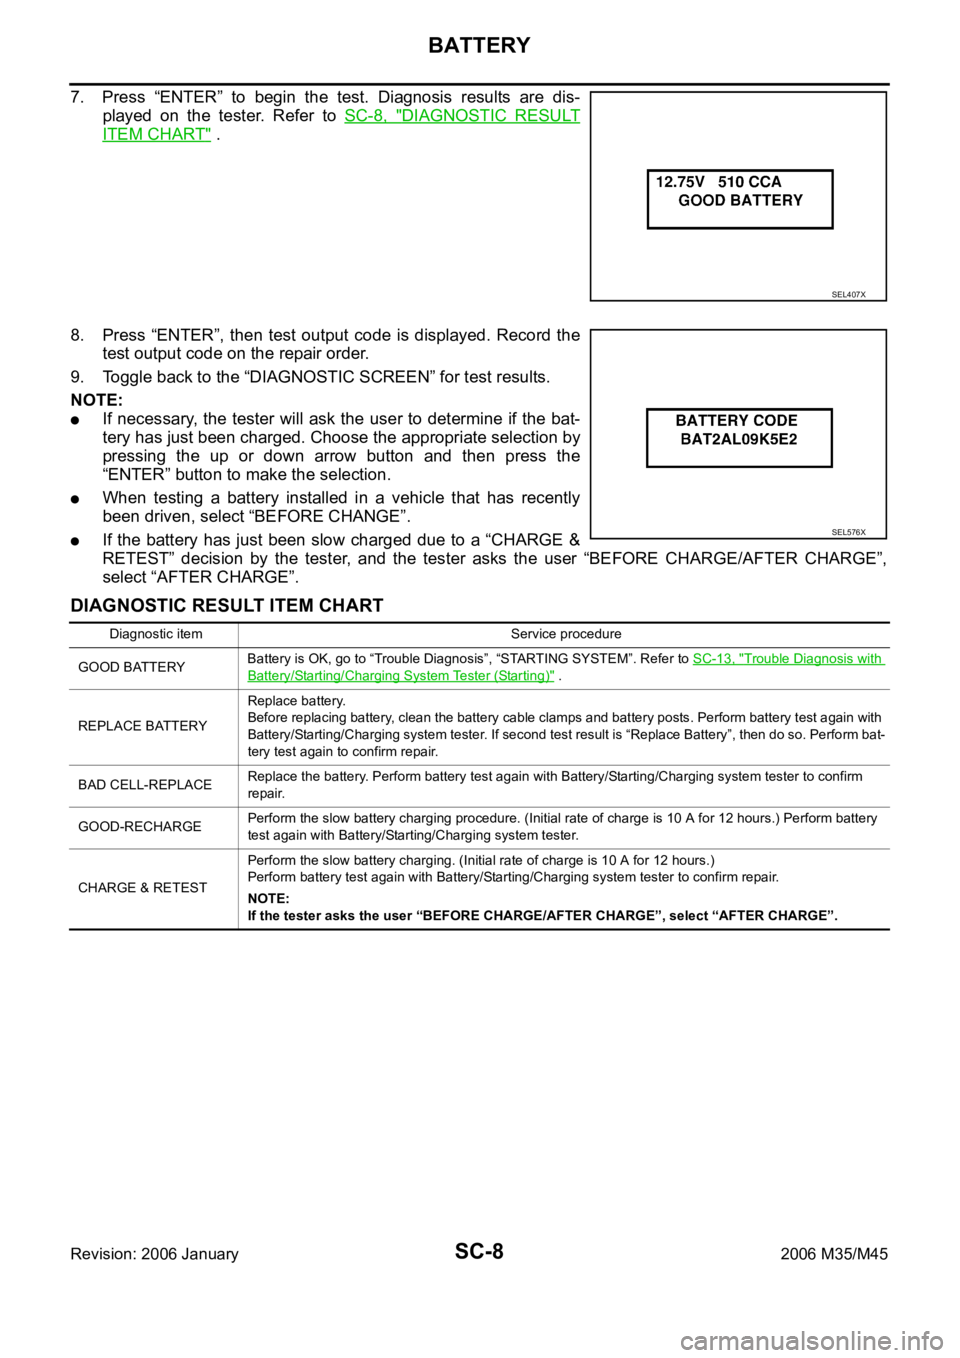
7. Press “ENTER” to begin the test. Diagnosis results are dis-
played on the tester. Refer to SC-8, "
DIAGNOSTIC RESULT
ITEM CHART" .
8. Press “ENTER”, then test output code is displayed. Record the
test output code on the repair order.
9. Toggle back to the “DIAGNOSTIC SCREEN” for test results.
NOTE:
If necessary, the tester will ask the user to determine if the bat-
tery has just been charged. Choose the appropriate selection by
pressing the up or down arrow button and then press the
“ENTER” button to make the selection.
When testing a battery installed in a vehicle that has recently
been driven, select “BEFORE CHANGE”.
If the battery has just been slow charged due to a “CHARGE &
RETEST” decision by the tester, and the tester asks the user “BEFORE CHARGE/AFTER CHARGE”,
select “AFTER CHARGE”.
DIAGNOSTIC RESULT ITEM CHART
SEL407X
SEL576X
Diagnostic item Service procedure
GOOD BATTERYBattery is OK, go to “Trouble Diagnosis”, “STARTING SYSTEM”. Refer to SC-13, "
Trouble Diagnosis with
Battery/Starting/Charging System Tester (Starting)" .
REPLACE BATTERYReplace battery.
Before replacing battery, clean the battery cable clamps and battery posts. Perform battery test again with
Battery/Starting/Charging system tester. If second test result is “Replace Battery”, then do so. Perform bat-
tery test again to confirm repair.
BAD CELL-REPLACEReplace the battery. Perform battery test again with Battery/Starting/Charging system tester to confirm
repair.
GOOD-RECHARGEPerform the slow battery charging procedure. (Initial rate of charge is 10 A for 12 hours.) Perform battery
test again with Battery/Starting/Charging system tester.
CHARGE & RETESTPerform the slow battery charging. (Initial rate of charge is 10 A for 12 hours.)
Perform battery test again with Battery/Starting/Charging system tester to confirm repair.
NOTE:
If the tester asks the user “BEFORE CHARGE/AFTER CHARGE”, select “AFTER CHARGE”.
Page 5150 of 5621

STARTING SYSTEM
SC-13
C
D
E
F
G
H
I
J
L
MA
B
SC
Revision: 2006 January2006 M35/M45
Trouble Diagnosis with Battery/Starting/Charging System Tester (Starting)NKS003NK
NOTE:
To ensure a complete and thorough diagnosis, the battery, starter and alternator test segments must be done
as a set from start to finish.
1. Turn off all loads on the vehicle electrical system.
2. Perform battery test with Battery/Starting/Charging system
tester. Refer to SC-7, "
Trouble Diagnosis with Battery/Starting/
Charging System Tester (Battery)" .
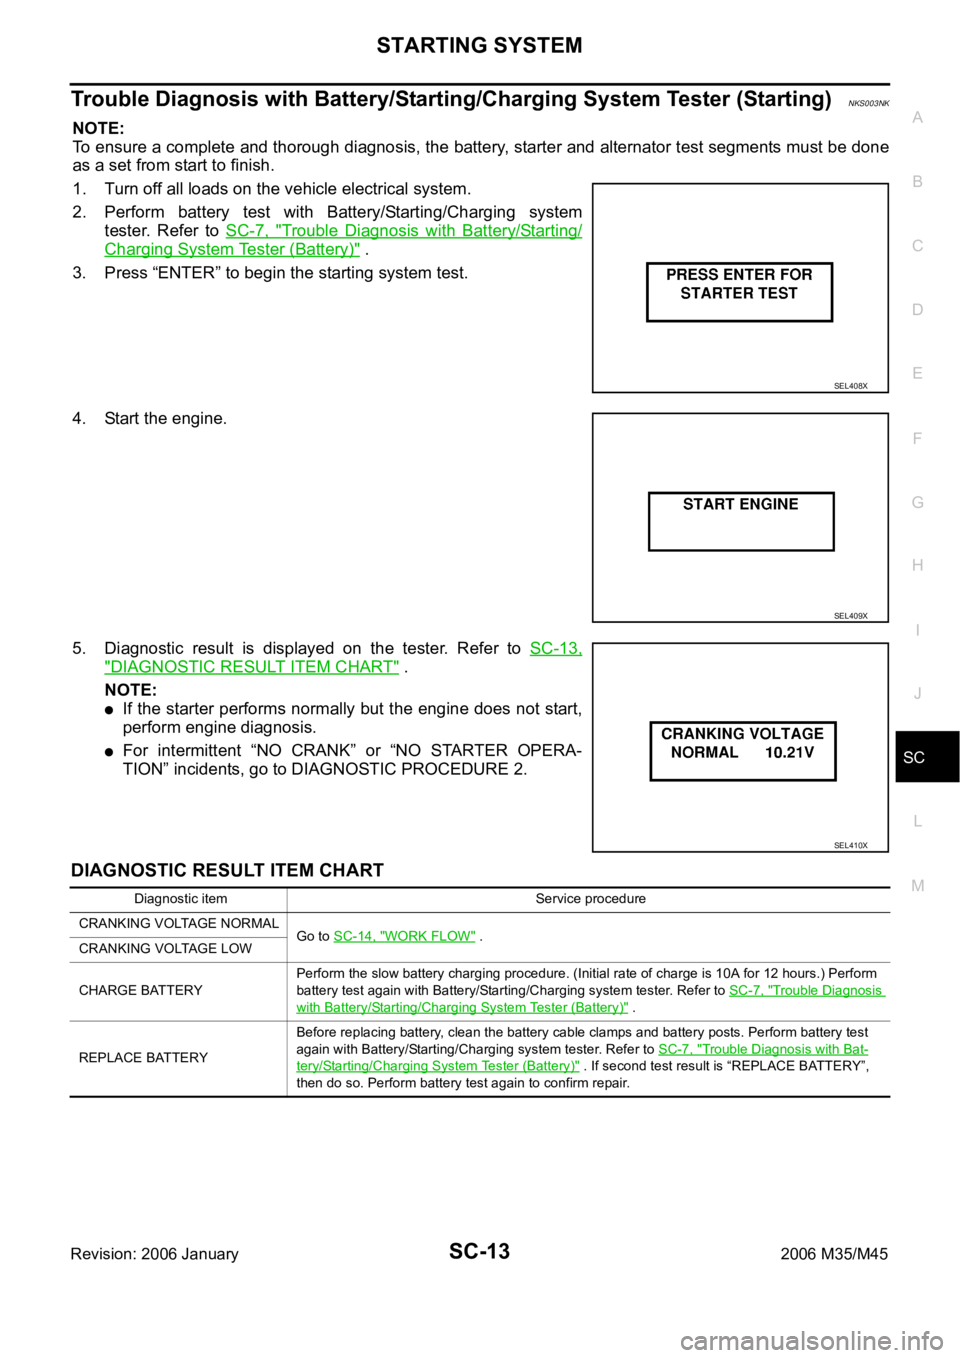
3. Press “ENTER” to begin the starting system test.
4. Start the engine.
5. Diagnostic result is displayed on the tester. Refer to SC-13,
"DIAGNOSTIC RESULT ITEM CHART" .
NOTE:
If the starter performs normally but the engine does not start,
perform engine diagnosis.
For intermittent “NO CRANK” or “NO STARTER OPERA-
TION” incidents, go to DIAGNOSTIC PROCEDURE 2.
DIAGNOSTIC RESULT ITEM CHART
SEL408X
SEL409X
SEL410X
Diagnostic item Service procedure
CRANKING VOLTAGE NORMAL
Go to SC-14, "
WORK FLOW" .
CRANKING VOLTAGE LOW
CHARGE BATTERYPerform the slow battery charging procedure. (Initial rate of charge is 10A for 12 hours.) Perform
battery test again with Battery/Starting/Charging system tester. Refer to SC-7, "
Trouble Diagnosis
with Battery/Starting/Charging System Tester (Battery)" .
REPLACE BATTERYBefore replacing battery, clean the battery cable clamps and battery posts. Perform battery test
again with Battery/Starting/Charging system tester. Refer to SC-7, "
Trouble Diagnosis with Bat-
tery/Starting/Charging System Tester (Battery)" . If second test result is “REPLACE BATTERY”,
then do so. Perform battery test again to confirm repair.
Page 5165 of 5621

SC-28
CHARGING SYSTEM
Revision: 2006 January2006 M35/M45
Trouble Diagnoses with Battery/Starting/Charging System Tester (Charging)NKS003NP
NOTE:
To ensure a complete and thorough diagnosis, the battery, starter and alternator test segments must be done
as a set from start to finish.
Before starting, perform the preliminary inspection. Refer to SC-32, "
PRELIMINARY INSPECTION" .
1. Stop the operation of the power generation voltage variable control in either of the following procedures.
After selecting “ENGINE” of “SELECT SYSTEM” using CONSULT-II, set the DUTY value of “ALTERNA-
TOR DUTY” to 0% by selecting “ALTERNATOR DUTY” of “ACTIVE TEST”. Continue “ACTIVE TEST”
until the end of inspection. (When the DUTY value is 0 or 100%, the normal power generation is per-
formed according to the characteristic of the IC regulator of the alternator.)
Turn the ignition switch OFF, and disconnect the battery current sensor connector. [However, DTC
(P1550 - P1554) of the engine might remain. After finishing the inspection, connect the battery current
sensor connector and erase the self-diagnostic results history of the engine using CONSULT-II.]
2. Turn off all loads on the vehicle electrical system.
3. Perform battery and starting system test with Battery/Starting/
Charging system tester.
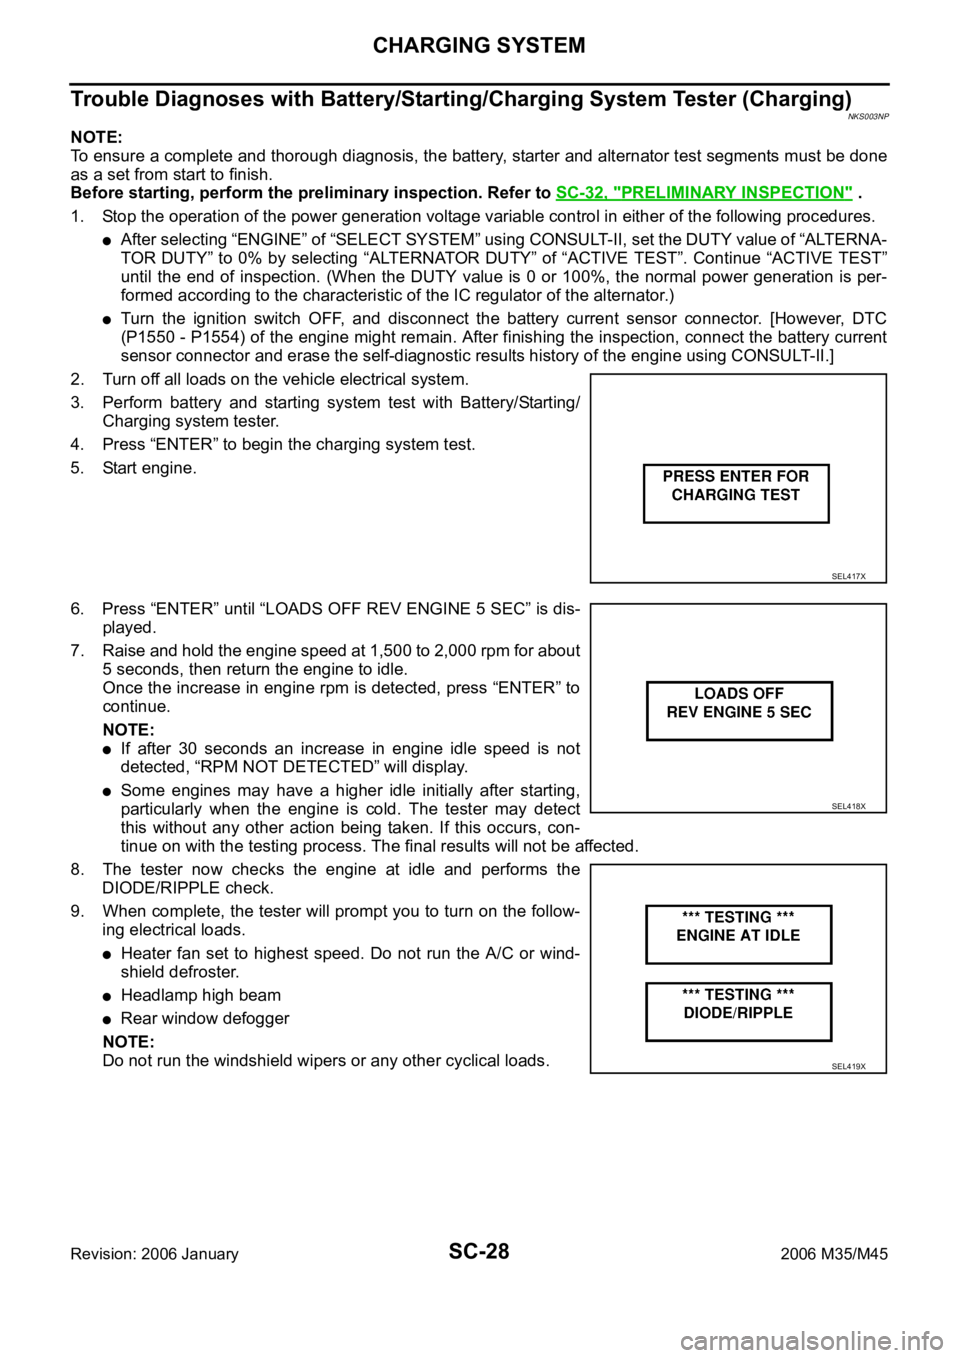
4. Press “ENTER” to begin the charging system test.
5. Start engine.
6. Press “ENTER” until “LOADS OFF REV ENGINE 5 SEC” is dis-
played.
7. Raise and hold the engine speed at 1,500 to 2,000 rpm for about
5 seconds, then return the engine to idle.
Once the increase in engine rpm is detected, press “ENTER” to
continue.
NOTE:
If after 30 seconds an increase in engine idle speed is not
detected, “RPM NOT DETECTED” will display.
Some engines may have a higher idle initially after starting,
particularly when the engine is cold. The tester may detect
this without any other action being taken. If this occurs, con-
tinue on with the testing process. The final results will not be affected.
8. The tester now checks the engine at idle and performs the
DIODE/RIPPLE check.
9. When complete, the tester will prompt you to turn on the follow-
ing electrical loads.
Heater fan set to highest speed. Do not run the A/C or wind-
shield defroster.
Headlamp high beam
Rear window defogger
NOTE:
Do not run the windshield wipers or any other cyclical loads.
SEL417X
SEL418X
SEL419X
Page 5166 of 5621

CHARGING SYSTEM
SC-29
C
D
E
F
G
H
I
J
L
MA
B
SC
Revision: 2006 January2006 M35/M45
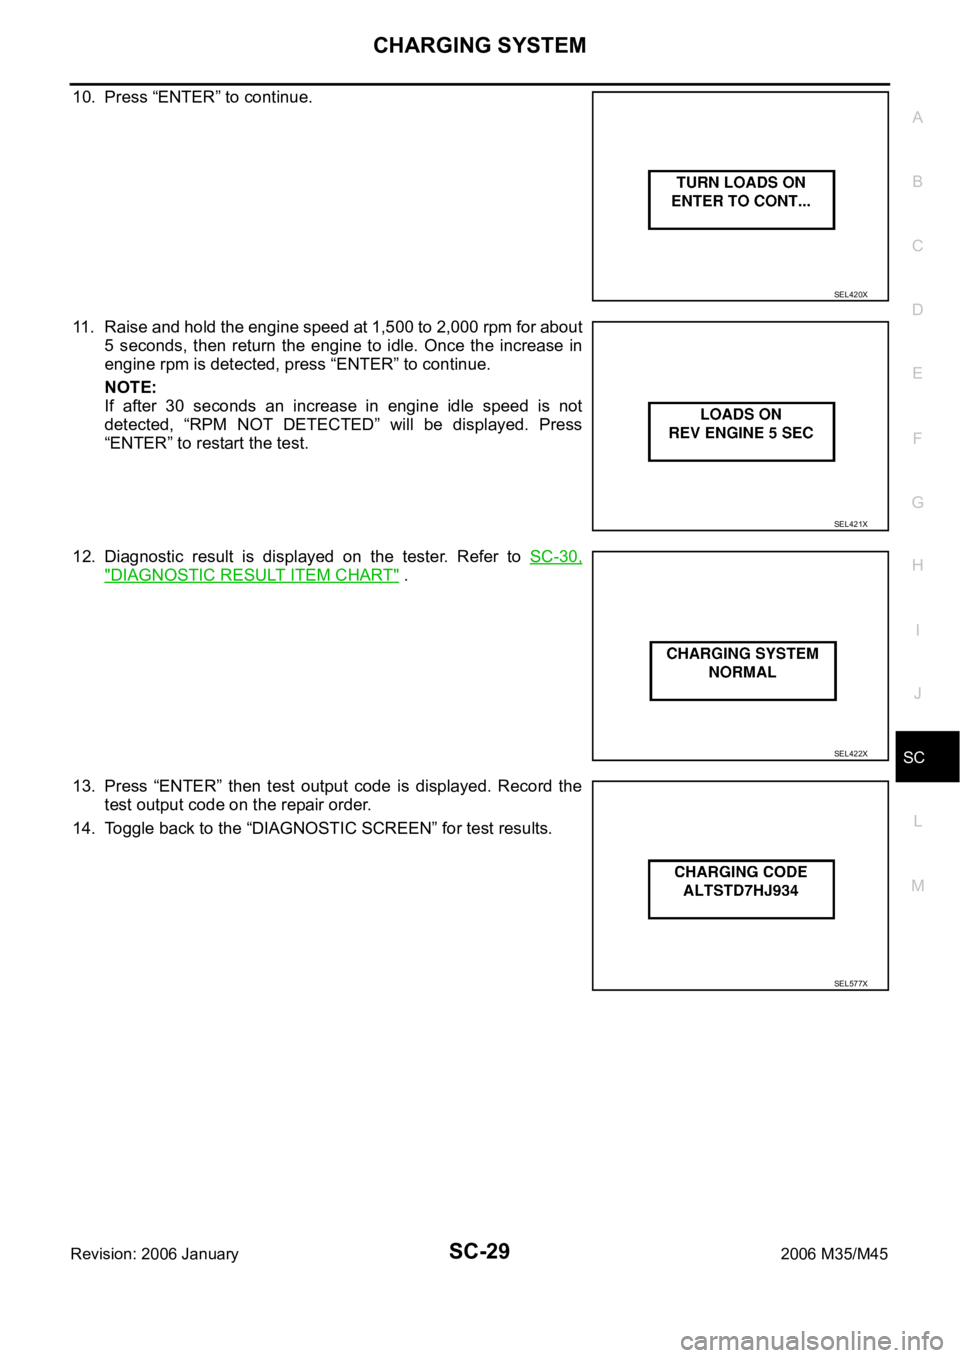
10. Press “ENTER” to continue.
11. Raise and hold the engine speed at 1,500 to 2,000 rpm for about
5 seconds, then return the engine to idle. Once the increase in
engine rpm is detected, press “ENTER” to continue.
NOTE:
If after 30 seconds an increase in engine idle speed is not
detected, “RPM NOT DETECTED” will be displayed. Press
“ENTER” to restart the test.
12. Diagnostic result is displayed on the tester. Refer to SC-30,
"DIAGNOSTIC RESULT ITEM CHART" .
13. Press “ENTER” then test output code is displayed. Record the
test output code on the repair order.
14. Toggle back to the “DIAGNOSTIC SCREEN” for test results.
SEL420X
SEL421X
SEL422X
SEL577X
Page 5195 of 5621

SE-14
AUTOMATIC DRIVE POSITIONER
Revision: 2006 January2006 M35/M45
EXITING OPERATION
When exiting, when the condition is satisfied, the seat is moved backward 40 mm (1.57 in) from normal sitting
position and the steering is moved to the most upper position and front position.
The seat slide amount and the steering operation at entry/exit operation can be changed by set switch, CON-
SULT-II and display (located in the instrument panel). Refer to SE-16, "
SETTING CHANGE FUNCTION" .
Operation Condition
Ignition switch: OFF / Driver side door switch: ON (OPEN)
If the following conditions are not satisfied, exiting operation is not performed.
Ignition switch is in OFF position.
A/T selector lever position is in P position.
Vehicle speed is less than 7 km/h. (4 MPH).
Driver side power seat switch and ADP steering switch are not operated.
Seat memory switch and set switch is not operated.
Door mirror control switch is not operated at change over switch is in LH or RH position.
Output malfunction is not detected.
Detention switch malfunction is not detected.
[Detention switch malfunction is sensed when detention switch remains OFF and vehicle speed is higher
than 7 km/h. (4 MPH).]
CAN communications are normal.
Initialization has been done. Refer to SE-16, "INITIALIZATION PROCEDURE" .
ENTRY OPERATION
When the seat is in the exiting position when either condition (1 or 2) is satisfied, the seat returns from exiting
position to the previous driving position.
Operation Condition
1. Ignition switch: ON
2. Ignition switch: ACC / Driver side door switch: OFF (CLOSE)
If the following conditions are not satisfied, entry operation is not performed.
Ignition switch is in OFF position.
A/T selector lever position is in P position.
Vehicle speed is less than 7 km/h (4 MPH).
Driver side power seat switch, ADP steering switch and door mirror control switch are not operated.
Seat memory switch and set switch is not operated.
Output malfunction is not detected.
Detention switch malfunction is not detected.
[Detention switch malfunction is sensed when detention switch remains OFF and vehicle speed is higher
than 7 km/h (4 MPH).]
CAN communications are normal.
Exiting positions have not been changed during and after exiting operation.
Page 5197 of 5621

SE-16
AUTOMATIC DRIVE POSITIONER
Revision: 2006 January2006 M35/M45
INITIALIZATION PROCEDURE
After reconnecting battery cable, perform initialization procedure A or B. If initialization has not been per-
formed, EXITING OPERATION will not operate.
Procedure A
1. Turn ignition switch from ACC to OFF position.
2. Driver door switch is ON (open)
OFF (close) ON (open).
3. END
Procedure B
1. Drive the vehicle at more than 25 km/h (16 MPH).
2. END
SETTING CHANGE FUNCTION
The settings of the automatic driving positioner system can be changed, using CONSULT-II and the display
unit in the center of the instrument panel.
: Applicable –: Not applicable
It is possible to set sliding driver seat for entry/exit of vehicle by pressing set switch.
CAN Communication System DescriptionNIS0025S
CAN (Controller Area Network) is a serial communication line for real time application. It is an on-vehicle mul-
tiplex communication line with high data communication speed and excellent error detection ability. Many elec-
tronic control units are equipped onto a vehicle, and each control unit shares information and links with other
control units during operation (not independent). In CAN communication, control units are connected with 2
communication lines (CAN H line, CAN L line) allowing a high rate of information transmission with less wiring.
Each control unit transmits/receives data but selectively reads required data only.
CAN Communication UnitNIS0025T
Refer to LAN-34, "CAN Communication Unit" .
Setting item ContentCONSULT–II
(WORK SUPPORT)Display unitFactory
setting
Change seat sliding volume
settingThe distance at retain operation
can be selected from the following
3 modes.40 mm
—
80 mm —
150 mm —
Change the Entry/Exit seat
slide function settingThe seat sliding turnout and return
at entry/exit can be selected: ON
(operated) – OFF (not operated)ON ON: Indicator lamp ON
OFF OFF: Indicator lamp OFF —
Change the Entry/Exit tilt
steering wheel function settingLift up and backward steering
wheel at entry and exit can be
selected: ON (operated) - OFF (not
operated)ON ON: Indicator lamp ON
OFF OFF: Indicator lamp OFF —
Reset custom settings All settings to default. —Default: Setting button
OFF—
Content Setting change operation Indicator LED
The seat sliding turnout and
steering wheel up/backward at
entry/exit can be operated.
Press the set switch for more than 10 secondsBlinking twice
The seat sliding turnout and
steering wheel up/backward at
entry/exit can be not operated.Blinking ones