Page 4314 of 5267

TIRES/WHEELS
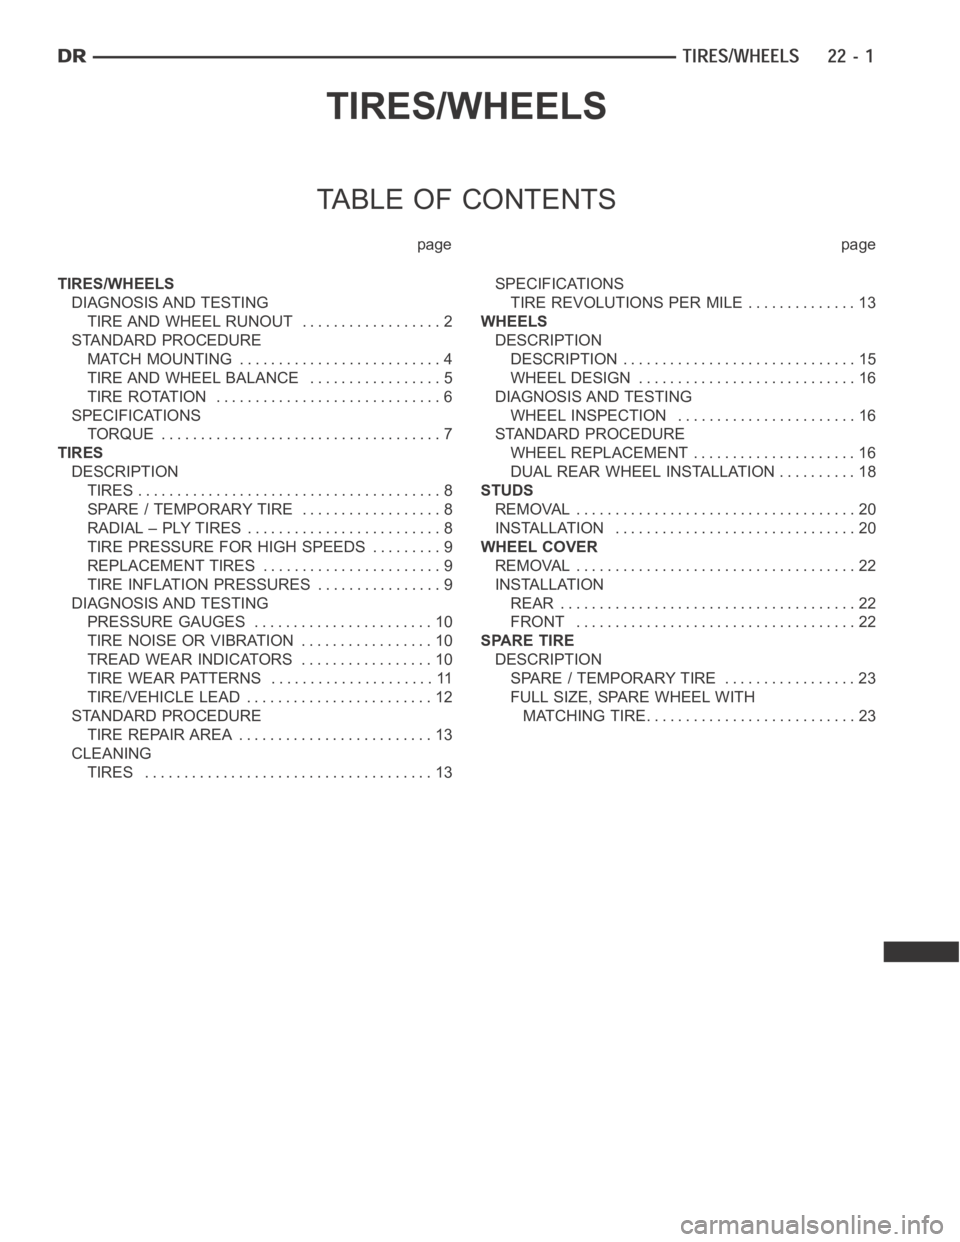
TABLE OF CONTENTS
page page
TIRES/WHEELS
DIAGNOSIS AND TESTING
TIRE AND WHEEL RUNOUT .................. 2
STANDARD PROCEDURE
MATCH MOUNTING .......................... 4
TIRE AND WHEEL BALANCE ................. 5
TIRE ROTATION ............................. 6
SPECIFICATIONS
TORQUE .................................... 7
TIRES
DESCRIPTION
TIRES ....................................... 8
SPARE / TEMPORARY TIRE .................. 8
RADIAL – PLY TIRES ......................... 8
TIRE PRESSURE FOR HIGH SPEEDS......... 9
REPLACEMENT TIRES ....................... 9
TIRE INFLATION PRESSURES ................ 9
DIAGNOSIS AND TESTING
PRESSURE GAUGES ....................... 10
TIRE NOISE OR VIBRATION ................. 10
TREAD WEAR INDICATORS ................. 10
TIRE WEAR PATTERNS ..................... 11
TIRE/VEHICLE LEAD ........................ 12
STANDARD PROCEDURE
TIRE REPAIR AREA ......................... 13
CLEANING
TIRES ..................................... 13SPECIFICATIONS
TIRE REVOLUTIONS PER MILE .............. 13
WHEELS
DESCRIPTION
DESCRIPTION .............................. 15
WHEEL DESIGN ............................ 16
DIAGNOSIS AND TESTING
WHEEL INSPECTION....................... 16
STANDARD PROCEDURE
WHEEL REPLACEMENT ..................... 16
DUAL REAR WHEEL INSTALLATION .......... 18
STUDS
REMOVAL .................................... 20
INSTALLATION ............................... 20
WHEEL COVER
REMOVAL .................................... 22
INSTALLATION
REAR ...................................... 22
FRONT .................................... 22
SPARE TIRE
DESCRIPTION
SPARE / TEMPORARY TIRE ................. 23
FULL SIZE, SPARE WHEEL WITH
MATCHING TIRE............................ 23
Page 4316 of 5267

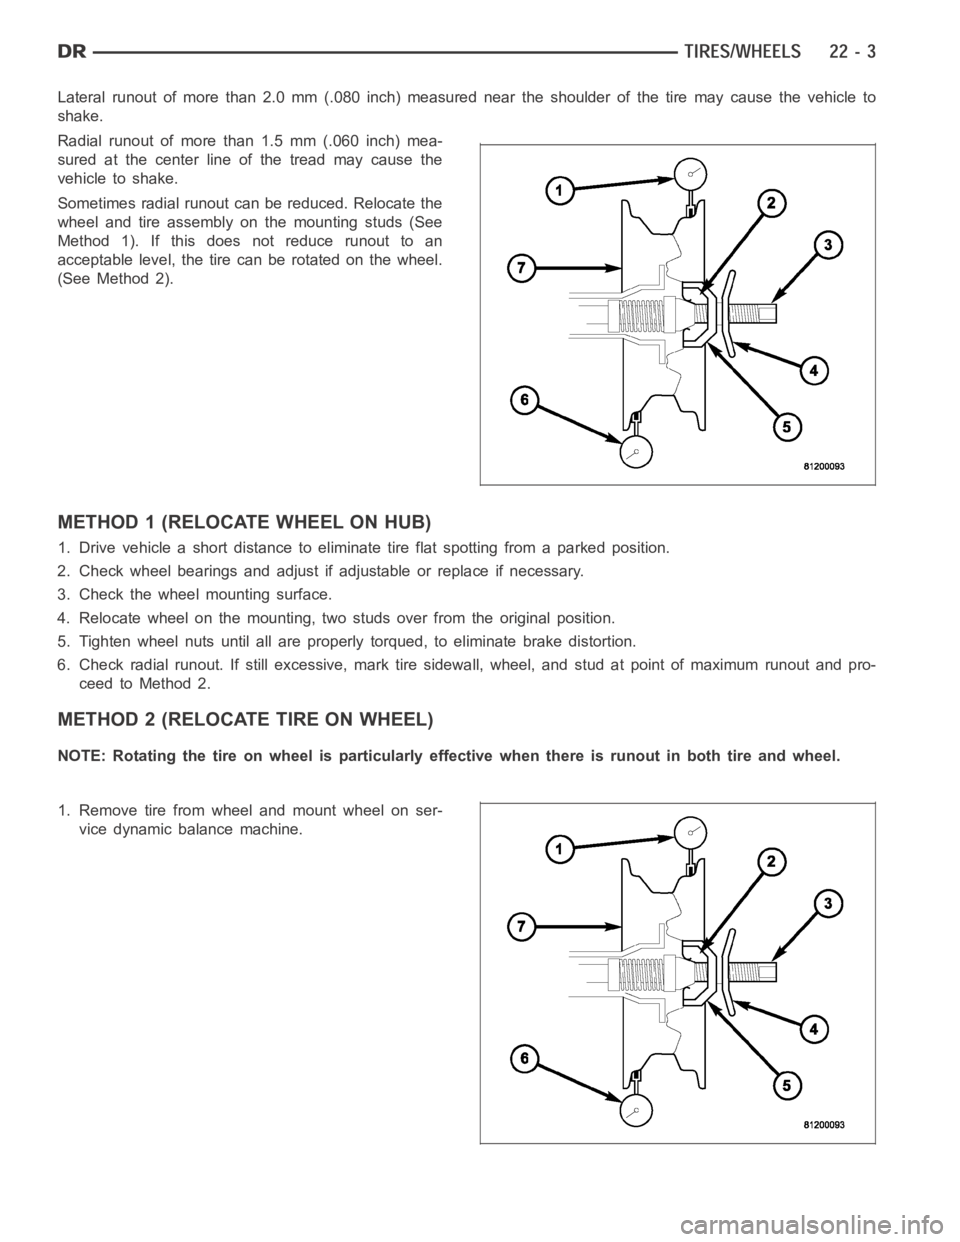
Lateral runout of more than 2.0 mm (.080 inch) measured near the shoulder ofthetiremaycausethevehicleto
shake.
Radial runout of more than 1.5 mm (.060 inch) mea-
sured at the center line of the tread may cause the
vehicle to shake.
Sometimes radial runout can be reduced. Relocate the
wheel and tire assembly on the mounting studs (See
Method 1). If this does not reduce runout to an
acceptable level, the tire can be rotated on the wheel.
(See Method 2).
METHOD 1 (RELOCATE WHEEL ON HUB)
1. Drive vehicle a short distance to eliminate tire flat spotting from a parked position.
2. Check wheel bearings and adjust if adjustable or replace if necessary.
3. Check the wheel mounting surface.
4. Relocate wheel on the mounting, two studs over from the original position.
5. Tighten wheel nuts until all are properly torqued, to eliminate brake distortion.
6. Check radial runout. If still excessive, mark tire sidewall, wheel, andstud at point of maximum runout and pro-
ceed to Method 2.
METHOD 2 (RELOCATE TIRE ON WHEEL)
NOTE: Rotating the tire on wheel is particularly effective when there is runout in both tire and wheel.
1. Remove tire from wheel and mount wheel on ser-
vice dynamic balance machine.
Page 4320 of 5267
CAUTION: 3500 Dual rear tires have a new tire
rotation pattern. This is to accommodate the out-
lined white letter (OWL) tires. When replacing a
flat, the spare tire may have to be remounted on
the rim or installed at a different location to main-
tain the correct placement of the outlined white
letter (OWL) tires.
The recommended method of tire rotation for dual rear
wheel is. Other methods can be used, but may not
provide the same tire longevity benefits.
SPECIFICATIONS
TORQUE
DESCRIPTION Nꞏm Ft. Lbs. In. Lbs.
1500 Series
Lug Nut 9/16 X 18 with
60° Cone
LD176 130 —
2500 Series
Lug Nut 9/16 X 18 with
60° Cone
HD SRW190 140 —
3500 Series
Lug Nut 9/16 X 18 with
Flat Washer
HD DRW197 145 —
Page 4326 of 5267

STANDARD PROCEDURE
TIRE REPAIR AREA
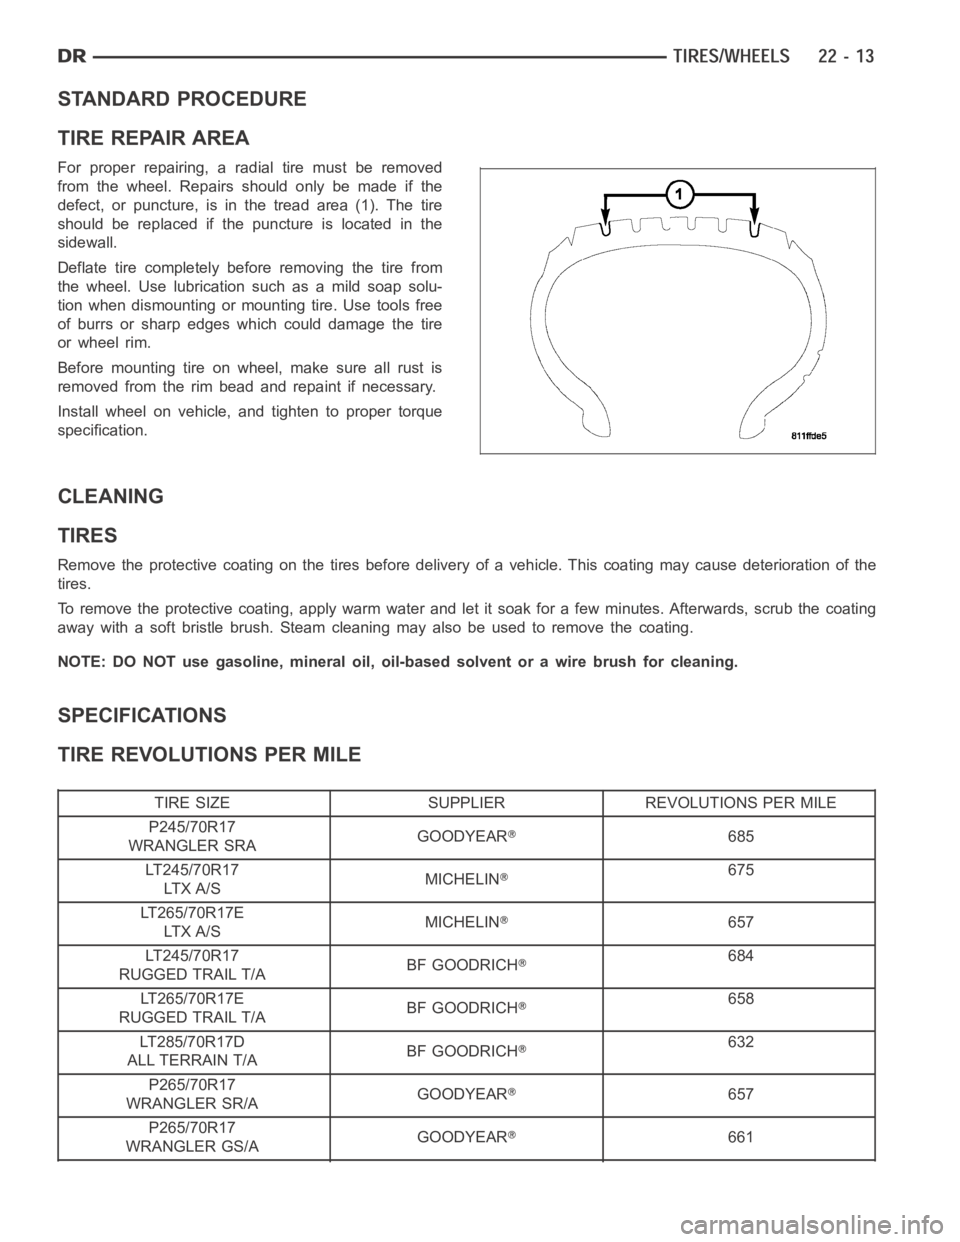
For proper repairing, a radial tire must be removed
from the wheel. Repairs should only be made if the
defect, or puncture, is in the tread area (1). The tire
should be replaced if the puncture is located in the
sidewall.
Deflate tire completely before removing the tire from
the wheel. Use lubrication such as a mild soap solu-
tion when dismounting or mounting tire. Use tools free
of burrs or sharp edges which could damage the tire
or wheel rim.
Before mounting tire on wheel, make sure all rust is
removed from the rim bead and repaint if necessary.
Install wheel on vehicle, and tighten to proper torque
specification.
CLEANING
TIRES
Remove the protective coating on the tires before delivery of a vehicle. This coating may cause deterioration of the
tires.
To remove the protective coating, apply warm water and let it soak for a few minutes. Afterwards, scrub the coating
away with a soft bristle brush. Steam cleaning may also be used to remove thecoating.
NOTE: DO NOT use gasoline, mineral oil, oil-based solvent or a wire brush for cleaning.
SPECIFICATIONS
TIRE REVOLUTIONS PER MILE
TIRE SIZE SUPPLIER REVOLUTIONS PER MILE
P245/70R17
WRANGLER SRAGOODYEAR
685
LT245/70R17
LT X A / SMICHELIN
675
LT265/70R17E
LT X A / SMICHELIN
657
LT245/70R17
RUGGED TRAIL T/ABF GOODRICH
684
LT265/70R17E
RUGGED TRAIL T/ABF GOODRICH
658
LT285/70R17D
ALL TERRAIN T/ABF GOODRICH
632
P265/70R17
WRANGLER SR/AGOODYEAR
657
P265/70R17
WRANGLER GS/AGOODYEAR
661
Page 4330 of 5267
NOTE: Do not use chrome plated lug nuts with
chrome plated wheels.
NOTE: All wheel nuts should then be tightened
just snug. Gradually tighten them in sequence to
the proper torque specification.
NOTE: Never use oil or grease on studs or nuts.
Before installing the wheel, be sure to remove any
build up of corrosion on the wheel mounting surfaces.
Ensure wheels are installed with good metal-to-metal
contact. Improper installation could cause loosening of
wheel nuts. This could affect the safety and handling
of your vehicle.
To install the wheel (3), first position it properly on the mounting surface.
8–lug.
(SRT10).
Page 4332 of 5267
Tighten the wheel lug nuts in the numbered sequential pattern until they are snug tight. Then tighten lug nut to
specified torque following same number sequence, (Refer to 22 - TIRES/WHEELS/WHEELS - SPECIFICA-
TIONS).
Tighten lug nuts in same numbered sequence a second time to the specified torque. This will ensure that the
wheels are thoroughly mated.
Check lug nut specified torque after 100 miles (160 kilometers). Also after 500 miles (800 kilometers) of vehicle
operation.
NOTE: Wheel lug nuts should be tightened to specified torque at every maintenance interval thereafter.