Page 527 of 5267

When Monitored:
At key on.
Set Condition:
The fuel pressure sensor reading at key on does not match the expected fuel pressure reading at key on.
Possible Causes
OTHER DTC’S PRESENT
FUEL RAIL PRESSURE SENSOR
FUEL SYSTEM TAMPERING
INTERMITTENT CONDITION
Always perform the Pre-Diagnostic Troubleshooting procedure before proceeding. (Refer to 9 - ENGINE -
DIAGNOSIS AND TESTING)
Diagnostic Test
1.OTHER DTC’S PRESENT
With the scan tool, read DTCs.
Are any DTC’s present?
Ye s>>
Repair other DTC’s first.
Perform POWERTRAIN VERIFICATION TEST VER - 1 (DIESEL). (Refer to 8 - ELECTRICAL/ELEC-
TRONIC CONTROL MODULES/ENGINE CONTROL MODULE - DIAGNOSIS AND TESTING)
No>>
Go To 2
2.FUEL PRESSURE READING
Using the scan tool, monitor the actual fuel pressure reading while the keyis on and engine is not running.
Is the actual fuel pressure reading greater than 870 psi?
Ye s>>
Go To 3
No>>
Refer to the INTERMITTENT CONDITION Symptom (Diagnostic Procedure). (Refer to 9 - ENGINE -
DIAGNOSIS AND TESTING)
Perform POWERTRAIN VERIFICATION TEST VER - 1 (DIESEL). (Refer to 8 - ELECTRICAL/ELEC-
TRONIC CONTROL MODULES/ENGINE CONTROL MODULE - DIAGNOSIS AND TESTING)
3.FUEL RAIL PRESSURE SENSOR
Visually inspect the fuel system components for signs of tampering, pay particular attention to the fuel pressure
sensor on the fuel rail and the fuel pressure sensor wiring harness.
Were any signs of tampering discovered?
No>>
Replace the Fuel rail pressure sensor.
Perform POWERTRAIN VERIFICATION TEST VER - 1 (DIESEL). (Refer to 8 - ELECTRICAL/ELEC-
TRONIC CONTROL MODULES/ENGINE CONTROL MODULE - DIAGNOSIS AND TESTING)
Ye s>>
Restore Fuel system to original condition.
Perform POWERTRAIN VERIFICATION TEST VER - 1 (DIESEL). (Refer to 8 - ELECTRICAL/ELEC-
TRONIC CONTROL MODULES/ENGINE CONTROL MODULE - DIAGNOSIS AND TESTING)
Page 623 of 5267

When Monitored:
With the key on.
Set Condition:
The voltage detected at the Crankshaft position sensor is below a calibrated value.
Possible Causes
CKP SENSOR
(K24) SIGNAL CIRCUIT OPEN
(K853) 5-VOLT SUPPLY CIRCUIT OPEN
(K975) RETURN CIRCUIT OPEN
(K24) SIGNAL CIRCUIT SHORTED TO (K975) RETURN CIRCUIT
(K853) 5-VOLT SUPPLY CIRCUIT SHORTED TO (K975) RETURN CIRCUIT
(K24) SIGNAL CIRCUIT SHORTED TO(K853) 5-VOLT SUPPLY CIRCUIT
(K24) SIGNAL CIRCUIT SHORTED TO GROUND
(K853) 5-VOLT SUPPLY CIRCUIT SHORTED TO BATTERY NEGATIVE
INTERMITTENT CONDITION
ECM
Always perform the Pre-Diagnostic Troubleshooting procedure before proceeding. (Refer to 9 - ENGINE -
DIAGNOSIS AND TESTING)
Diagnostic Test
1.CKP SENSOR
Disconnect the CKP sensor harness connector.
NOTE: Check connectors - Clean/repair as necessary.
Measure the resistance between the (K853) 5-volt supply circuit and the (K24) signal circuit of the sensor.
Is the resistance between 900 and 1100 ohms?
Ye s>>
Go To 2
No>>
Replace the CKP sensor.
Perform POWERTRAIN VERIFICATION TEST VER - 1 (DIESEL). (Refer to 8 - ELECTRICAL/ELEC-
TRONIC CONTROL MODULES/ENGINE CONTROL MODULE - DIAGNOSIS AND TESTING)
Page 629 of 5267

When Monitored:
With the key on.
Set Condition:
Voltage detected at the CKP is below acalibrated value for a calibrated amountoftime.
Possible Causes
CKP SENSOR
(K853) 5-VOLT SUPPLY CIRCUIT SHORTED TO (K975) RETURN CIRCUIT
(K853) 5-VOLT SUPPLY CIRCUIT SHORTED BATTERY NEGATIVE
INTERMITTENT CONDITION
ECM
Always perform the Pre-Diagnostic Troubleshooting procedure before proceeding. (Refer to 9 - ENGINE -
DIAGNOSIS AND TESTING)
Diagnostic Test
1.CKP SENSOR
Disconnect the CKP sensor harness connector.
Check connectors - Clean/repair as necessary.
Measure the resistance between the (K853) 5-volt supply circuit and the (K24) signal circuit of the sensor.
Is the resistance between 900 and 1100 ohms?
Ye s>>
Go To 2
No>>
Replace the CKP sensor.
Perform POWERTRAIN VERIFICATION TEST VER - 1 (DIESEL). (Refer to 8 - ELECTRICAL/ELEC-
TRONIC CONTROL MODULES/ENGINE CONTROL MODULE - DIAGNOSIS AND TESTING)
2.(K853) 5-VOLT SUPPLY CIRCUIT SHORTED TO (K975) RETURN CIRCUIT
Disconnect the ECM harness connectors.
NOTE: Check connectors - Clean/repair as necessary.
Measure the resistance between the (K853) 5-volt supply circuit and the
(K975) return circuit in the sensor connector.
Is the resistance greater than 100k Ohms?
Ye s>>
Go To 3
No>>
Repair the short circuit or replace the engine harness.
Perform POWERTRAIN VERIFICATION TEST VER - 1
(DIESEL). (Refer to 8 - ELECTRICAL/ELECTRONIC CON-
TROL MODULES/ENGINE CONTROL MODULE - DIAG-
NOSIS AND TESTING)
Page 632 of 5267

When Monitored:
With the key on.
Set Condition:
Voltage detected at the CKP is above a calibrated value for a calibrated amount of time.
Possible Causes
(K853) 5-VOLT SUPPLY CIRCUIT SHORTED TO VOLTAGE
INTERMITTENT CONDITION
ECM
Always perform the Pre-Diagnostic Troubleshooting procedure before proceeding. (Refer to 9 - ENGINE -
DIAGNOSIS AND TESTING)
Diagnostic Test
1.(K853) 5-VOLT SUPPLY CIRCUIT SHORTED TO VOLTAGE
Turn the ignition off.
Disconnect the ECM harness connector(s).
Disconnect the CKP sensor harness connector.
Check connectors - Clean/repair as necessary.
Measure voltage between the (K853) 5-volt supply circuit in the sensor
harness connector and battery negative.
Is the voltage greater than 1 volt?
Ye s>>
Repair or replace the shorted wiring harness.
Perform POWERTRAIN VERIFICATION TEST VER - 1
(DIESEL). (Refer to 8 - ELECTRICAL/ELECTRONIC CON-
TROL MODULES/ENGINE CONTROL MODULE - DIAG-
NOSIS AND TESTING)
No>>
Go To 2
2.ECM
Reconnect the ECM harness connectors.
Ignition on, engine not running.
Connect a jumper wire between the sensor (K853) 5-volt supply circuit
and the sensor (K975) return in the sensor harness connector.
Did DTC P0337 set?
Ye s>>
Refer to the INTERMITTENT CONDITION Symptom (Diag-
nostic Procedure).
Perform POWERTRAIN VERIFICATION TEST VER - 1
(DIESEL). (Refer to 8 - ELECTRICAL/ELECTRONIC CON-
TROL MODULES/ENGINE CONTROL MODULE - DIAG-
NOSIS AND TESTING)
No>>
Replace the ECM.
Perform POWERTRAIN VERIFICATION TEST VER - 1
(DIESEL). (Refer to 8 - ELECTRICAL/ELECTRONIC CON-
TROL MODULES/ENGINE CONTROL MODULE - DIAG-
NOSIS AND TESTING)
Page 645 of 5267

P0381-WAIT TO START LAMP INOPERATIVE
For a complete wiring diagramRefer to Section 8W.
When Monitored:
Ignition on.
Set Condition:
The cluster sends a signal to the ECM that it has detected a failed wait to start lamp.
Possible Causes
FUSED IGNITION SWITCH OUTPUT CIRCUIT OPEN
WAIT-TO-START LIGHT BULB
WIRING/CONNECTOR PROBLEM
ECM
Always perform the Pre-Diagnostic Troubleshooting procedure before proceeding. (Refer to 9 - ENGINE -
DIAGNOSIS AND TESTING)
Diagnostic Test
1.WAIT-TO-START LAMP DOES NOT COME ON
Turn the ignition off.
While watching the wait-to-start lamp, turn the ignition key on.
Did the wait-to-start lamp light?
Ye s>>
Go To 2
No>>
Go To 3
2.WAIT-TO-START LAMP STAYS ON ALL THE TIME
Turn the ignition off.
While watching the wait-to-start lamp, turn the ignition key on.
Does the wait-to-start lamp stay on all the time?
Ye s>>
Go To 3
No>>
Wait-to-start Lamp operating normally. Test passed.
Perform POWERTRAIN VERIFICATION TEST VER - 1 (DIESEL). (Refer to 8 - ELECTRICAL/ELEC-
TRONIC CONTROL MODULES/ENGINE CONTROL MODULE - DIAGNOSIS AND TESTING)
Page 677 of 5267

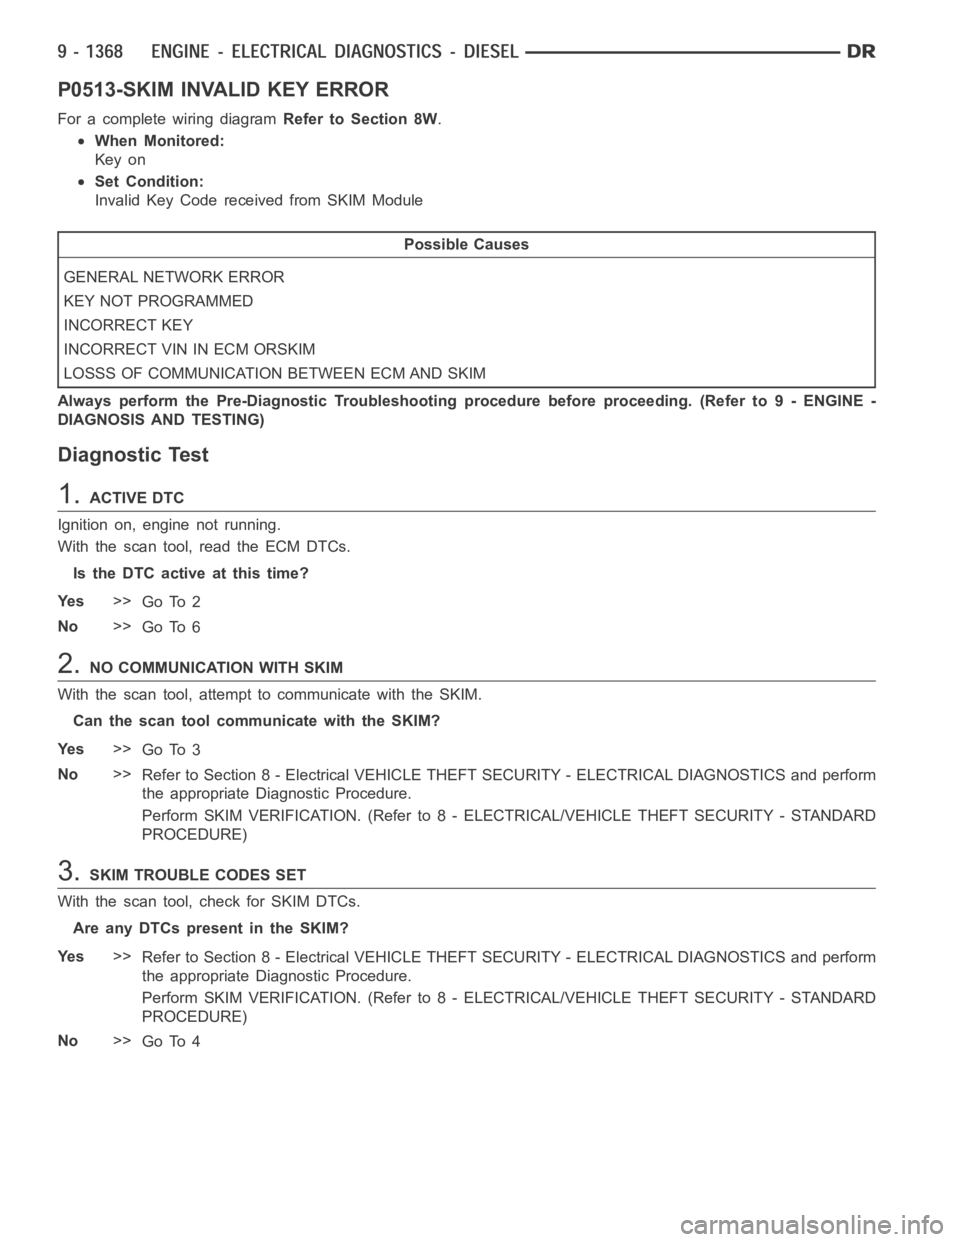
P0513-SKIM INVALID KEY ERROR
For a complete wiring diagramRefer to Section 8W.
When Monitored:
Key on
Set Condition:
Invalid Key Code received from SKIM Module
Possible Causes
GENERAL NETWORK ERROR
KEY NOT PROGRAMMED
INCORRECT KEY
INCORRECT VIN IN ECM ORSKIM
LOSSS OF COMMUNICATION BETWEEN ECM AND SKIM
Always perform the Pre-Diagnostic Troubleshooting procedure before proceeding. (Refer to 9 - ENGINE -
DIAGNOSIS AND TESTING)
Diagnostic Test
1.ACTIVE DTC
Ignition on, engine not running.
With the scan tool, read the ECM DTCs.
Is the DTC active at this time?
Ye s>>
Go To 2
No>>
Go To 6
2.NO COMMUNICATION WITH SKIM
With the scan tool, attempt to communicate with the SKIM.
Can the scan tool communicate with the SKIM?
Ye s>>
Go To 3
No>>
Refer to Section 8 - Electrical VEHICLE THEFT SECURITY - ELECTRICAL DIAGNOSTICS and perform
the appropriate Diagnostic Procedure.
Perform SKIM VERIFICATION. (Refer to 8 - ELECTRICAL/VEHICLE THEFT SECURITY - STANDARD
PROCEDURE)
3.SKIM TROUBLE CODES SET
With the scan tool, check for SKIM DTCs.
Are any DTCs present in the SKIM?
Ye s>>
Refer to Section 8 - Electrical VEHICLE THEFT SECURITY - ELECTRICAL DIAGNOSTICS and perform
the appropriate Diagnostic Procedure.
Perform SKIM VERIFICATION. (Refer to 8 - ELECTRICAL/VEHICLE THEFT SECURITY - STANDARD
PROCEDURE)
No>>
Go To 4
Page 678 of 5267

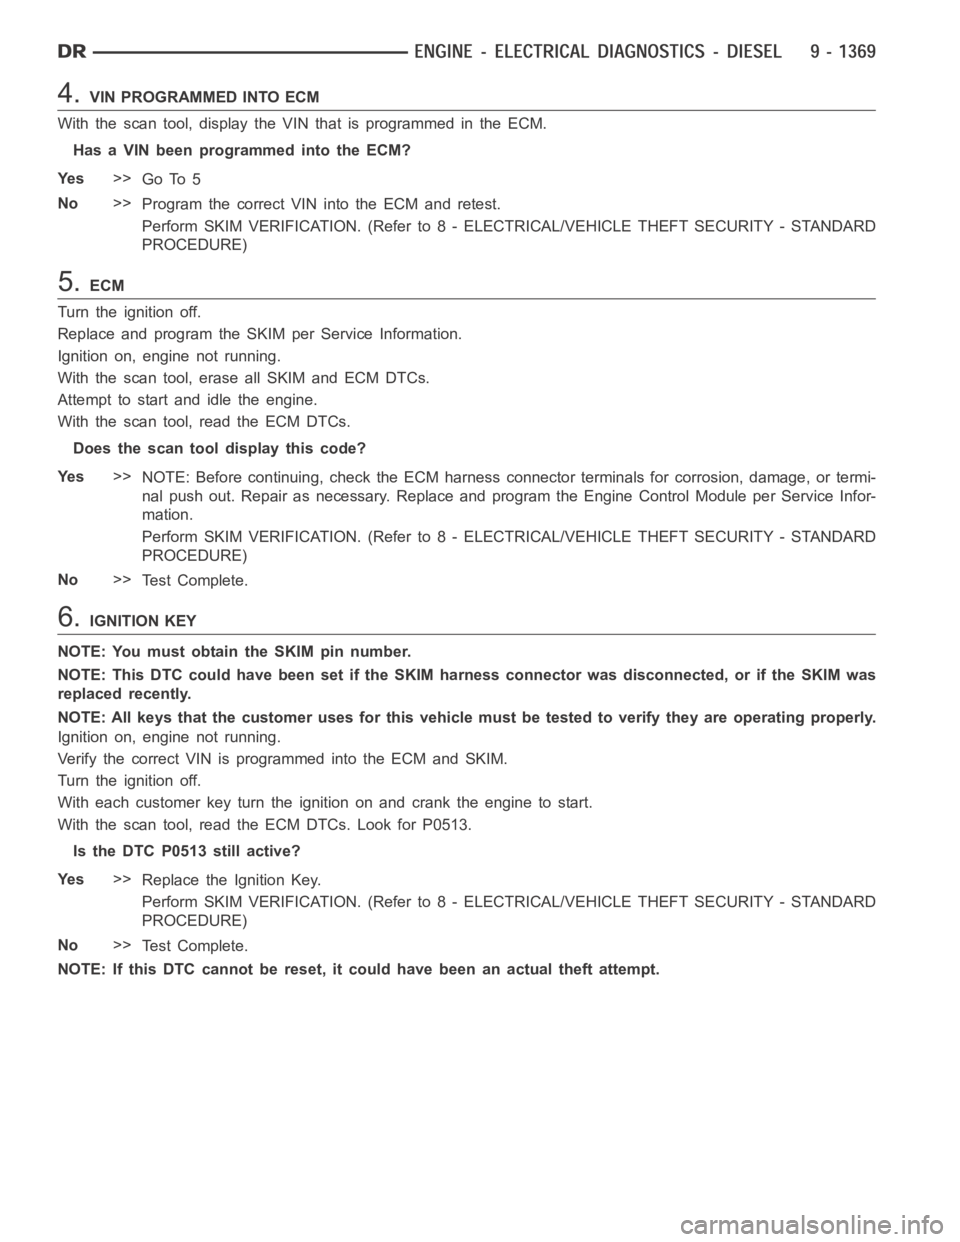
4.VIN PROGRAMMED INTO ECM
With the scan tool, display the VIN that is programmed in the ECM.
Has a VIN been programmed into the ECM?
Ye s>>
Go To 5
No>>
Program the correct VIN into the ECM and retest.
Perform SKIM VERIFICATION. (Refer to 8 - ELECTRICAL/VEHICLE THEFT SECURITY - STANDARD
PROCEDURE)
5.ECM
Turn the ignition off.
Replace and program the SKIM per Service Information.
Ignition on, engine not running.
With the scan tool, erase all SKIM and ECM DTCs.
Attempt to start and idle the engine.
With the scan tool, read the ECM DTCs.
Does the scan tool display this code?
Ye s>>
NOTE: Before continuing, check the ECM harness connector terminals for corrosion, damage, or termi-
nal push out. Repair as necessary. Replace and program the Engine Control Module per Service Infor-
mation.
Perform SKIM VERIFICATION. (Refer to 8 - ELECTRICAL/VEHICLE THEFT SECURITY - STANDARD
PROCEDURE)
No>>
Te s t C o m p l e t e .
6.IGNITION KEY
NOTE: You must obtain the SKIM pin number.
NOTE: This DTC could have been set if the SKIM harness connector was disconnected, or if the SKIM was
replaced recently.
NOTE: All keys that the customer uses for this vehicle must be tested to verify they are operating properly.
Ignition on, engine not running.
Verify the correct VIN is programmed into the ECM and SKIM.
Turn the ignition off.
With each customer key turn the ignition on and crank the engine to start.
With the scan tool, read the ECM DTCs. Look for P0513.
Is the DTC P0513 still active?
Ye s>>
Replace the Ignition Key.
Perform SKIM VERIFICATION. (Refer to 8 - ELECTRICAL/VEHICLE THEFT SECURITY - STANDARD
PROCEDURE)
No>>
Te s t C o m p l e t e .
NOTE: If this DTC cannot be reset, it could have been an actual theft attempt.
Page 690 of 5267
When Monitored:
Whilethekeyison.
Set Condition:
Oil pressure is detected with engine RPM = 0 for 30 seconds.
Possible Causes
OIL PRESSURE SWITCH
(G6) SIGNAL CIRCUIT OPEN
INTERMITTENT CONDITION
ECM
Always perform the Pre-Diagnostic Troubleshooting procedure before proceeding. (Refer to 9 - ENGINE -
DIAGNOSIS AND TESTING)
Diagnostic Test
1.OIL PRESSURE SWITCH
Turn the ignition off.
Disconnect the Oil pressure switch harness connector.
Check connectors - Clean/repair as necessary.
Measure the resistance between theoil pressure switch terminal and
ground.
Is the resistance less than 10 ohms?
Ye s>>
Go To 2
No>>
Replace the oil pressure switch.
Perform POWERTRAIN VERIFICATION TEST VER - 1
(DIESEL). (Refer to 8 - ELECTRICAL/ELECTRONIC CON-
TROL MODULES/ENGINE CONTROL MODULE - DIAG-
NOSIS AND TESTING)