2006 BMW MOTORRAD K 1200 GT Rider's Manual (in English)
-
 1
1 -
 2
2 -
 3
3 -
 4
4 -
 5
5 -
 6
6 -
 7
7 -
 8
8 -
 9
9 -
 10
10 -
 11
11 -
 12
12 -
 13
13 -
 14
14 -
 15
15 -
 16
16 -
 17
17 -
 18
18 -
 19
19 -
 20
20 -
 21
21 -
 22
22 -
 23
23 -
 24
24 -
 25
25 -
 26
26 -
 27
27 -
 28
28 -
 29
29 -
 30
30 -
 31
31 -
 32
32 -
 33
33 -
 34
34 -
 35
35 -
 36
36 -
 37
37 -
 38
38 -
 39
39 -
 40
40 -
 41
41 -
 42
42 -
 43
43 -
 44
44 -
 45
45 -
 46
46 -
 47
47 -
 48
48 -
 49
49 -
 50
50 -
 51
51 -
 52
52 -
 53
53 -
 54
54 -
 55
55 -
 56
56 -
 57
57 -
 58
58 -
 59
59 -
 60
60 -
 61
61 -
 62
62 -
 63
63 -
 64
64 -
 65
65 -
 66
66 -
 67
67 -
 68
68 -
 69
69 -
 70
70 -
 71
71 -
 72
72 -
 73
73 -
 74
74 -
 75
75 -
 76
76 -
 77
77 -
 78
78 -
 79
79 -
 80
80 -
 81
81 -
 82
82 -
 83
83 -
 84
84 -
 85
85 -
 86
86 -
 87
87 -
 88
88 -
 89
89 -
 90
90 -
 91
91 -
 92
92 -
 93
93 -
 94
94 -
 95
95 -
 96
96 -
 97
97 -
 98
98 -
 99
99 -
 100
100 -
 101
101 -
 102
102 -
 103
103 -
 104
104 -
 105
105 -
 106
106 -
 107
107 -
 108
108 -
 109
109 -
 110
110 -
 111
111 -
 112
112 -
 113
113 -
 114
114 -
 115
115 -
 116
116 -
 117
117 -
 118
118 -
 119
119 -
 120
120 -
 121
121 -
 122
122 -
 123
123 -
 124
124 -
 125
125 -
 126
126 -
 127
127 -
 128
128 -
 129
129 -
 130
130 -
 131
131 -
 132
132 -
 133
133 -
 134
134 -
 135
135 -
 136
136 -
 137
137 -
 138
138 -
 139
139 -
 140
140 -
 141
141 -
 142
142 -
 143
143 -
 144
144 -
 145
145 -
 146
146 -
 147
147 -
 148
148 -
 149
149 -
 150
150 -
 151
151 -
 152
152 -
 153
153 -
 154
154 -
 155
155 -
 156
156 -
 157
157 -
 158
158 -
 159
159 -
 160
160 -
 161
161 -
 162
162 -
 163
163 -
 164
164 -
 165
165 -
 166
166 -
 167
167 -
 168
168 -
 169
169 -
 170
170 -
 171
171
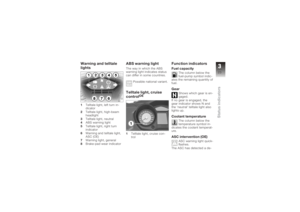
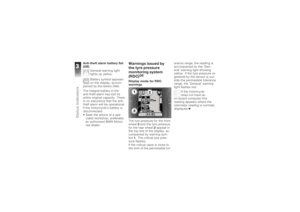
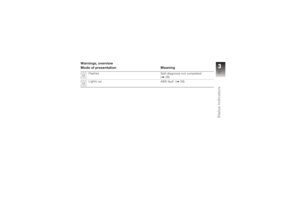
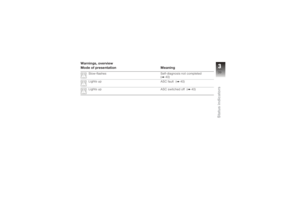
 BulbsGeneral instructionsThe failure of a bulb is sig-
nalled in the display by the
defective lamp symbol. The
bulbs for brake light and rear
light are the same; the bright-
ness of the light is regul")
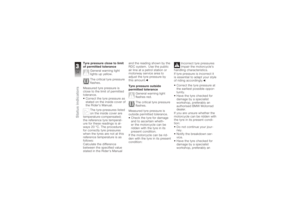
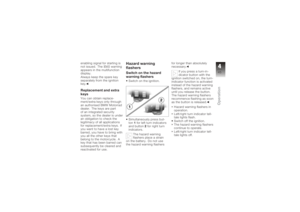
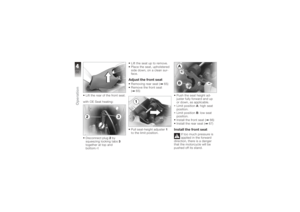
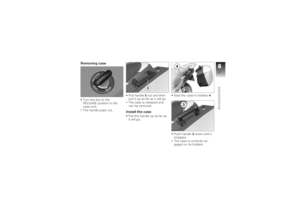
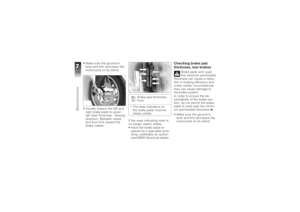
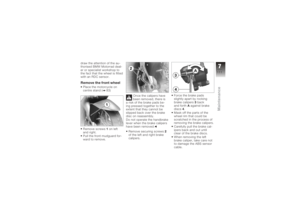
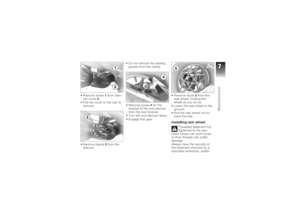
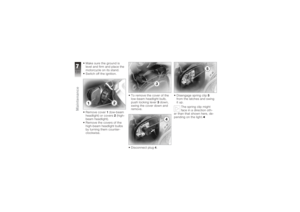
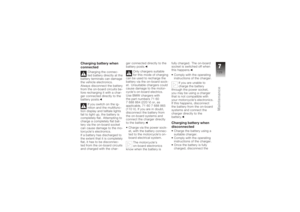
 Make sure the ground is
level and firm and place the
motorcycle on its stand.
Switch off the ignition.
Remove cover1(low-beam
headlight) or covers 2(high-
beam headlight).
Remove the covers of the
hig")
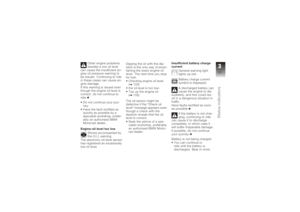
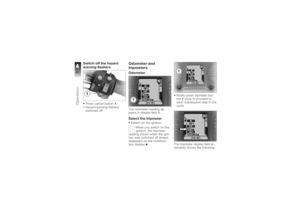
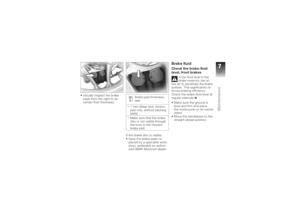
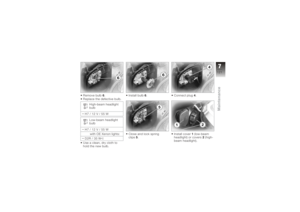
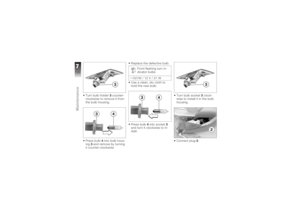
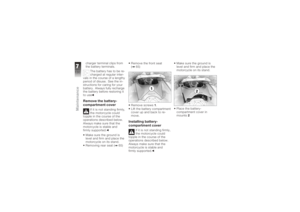
 Remove bulb6.
Replace the defective bulb.
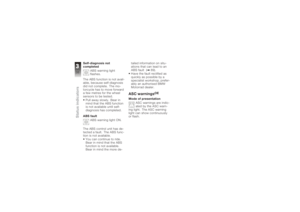
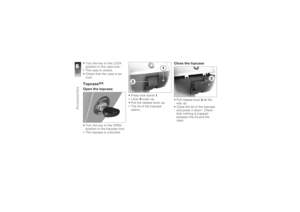
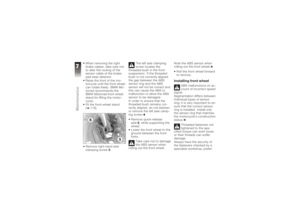
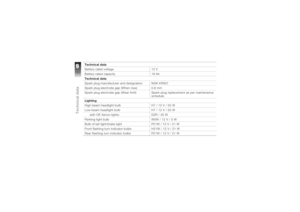
High-beam headlight
bulb
H7/12V/55W Low-beam headlight
bulb
H7/12V/55W with OE Xenon lights:
D2R / 35 W
Use a clean, dry cloth to
hold the new bulb. Install b")
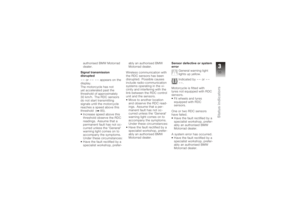
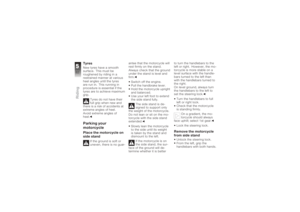
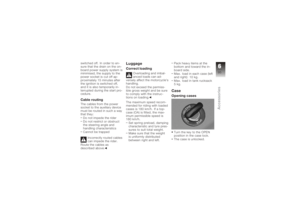
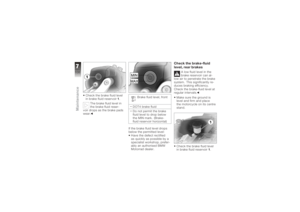
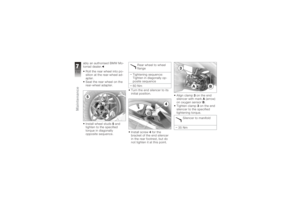
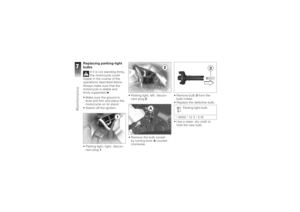
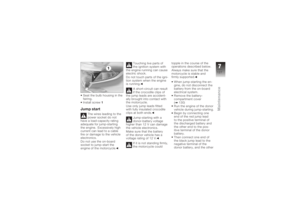
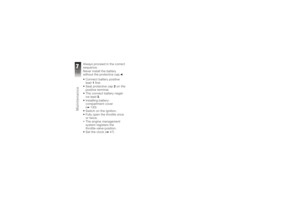
 Replacing parking-light
bulbs
If it is not standing firmly,
the motorcycle could
topple in the course of the
operations described below.
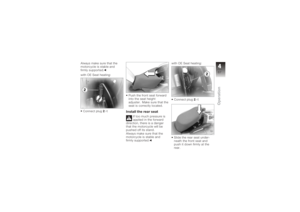
Always make sure that the
motorcycle is stable and
firmly suppo")
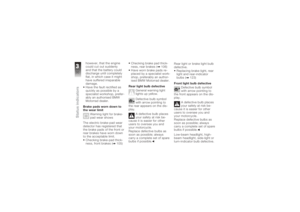
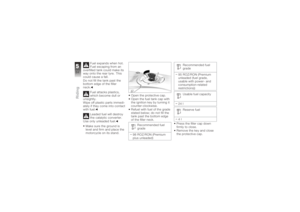
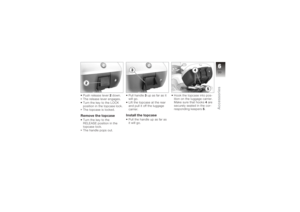
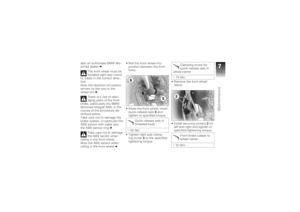
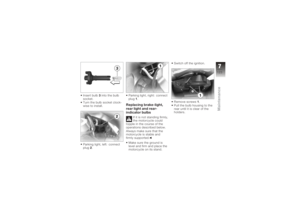
 Insert bulb3into the bulb
socket.
Turn the bulb socket clock-
wise to install.
Parking light, left: connect
plug 2. Parking light, right: connect
plug
1.
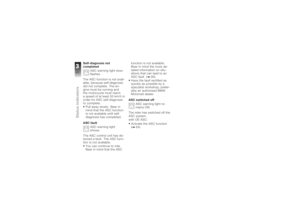
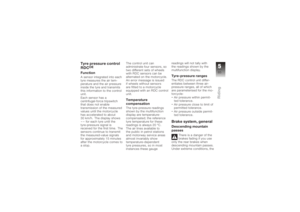
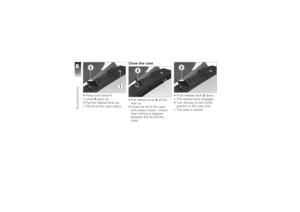
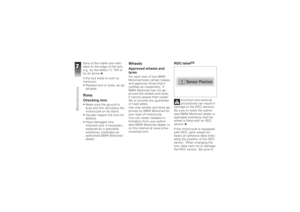
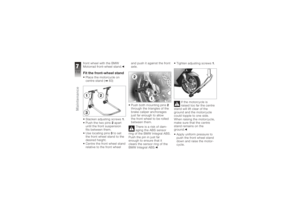
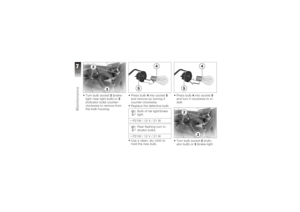
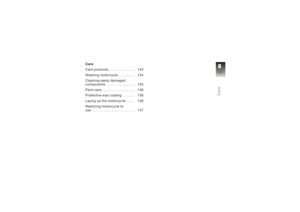
Replacing brake-light,
rear light and rear-
in")
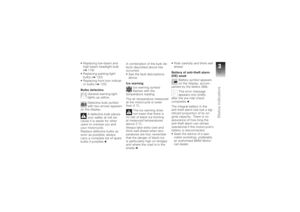
 Turn bulb socket2(brake-
light /rear-light bulb) or 3
(indicator bulb) counter-
clockwise to remove from
the bulb housing. Press bulb
4into socket 5
and remove by turning it
counter-clockwise.
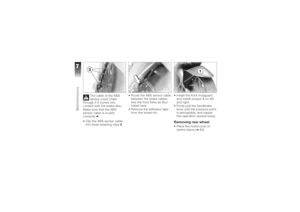
Replace")
 /rear-light bulb) clockwise to
install it in the bulb housing.
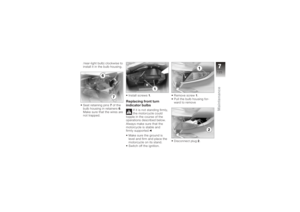
Seat retaining pins7of the
bulb housing in retainers 6.
Make sure that the wires are
not trapped. Install screws
1.
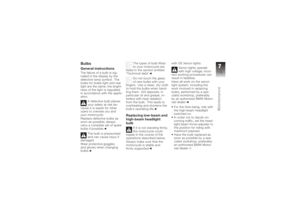
Replacing front turn")
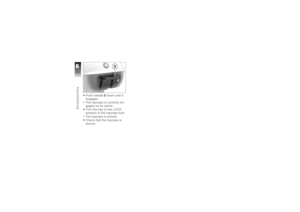
 Turn bulb holder3counter-
clockwise to remove it from
the bulb housing.
Press bulb 4into bulb hous-
ing 3and remove by turning
it counter-clockwise. Replace the defective bulb.
Front flashing turn in-")