2006 BMW MOTORRAD K 1200 GT Rider's Manual (in English)
-
 1
1 -
 2
2 -
 3
3 -
 4
4 -
 5
5 -
 6
6 -
 7
7 -
 8
8 -
 9
9 -
 10
10 -
 11
11 -
 12
12 -
 13
13 -
 14
14 -
 15
15 -
 16
16 -
 17
17 -
 18
18 -
 19
19 -
 20
20 -
 21
21 -
 22
22 -
 23
23 -
 24
24 -
 25
25 -
 26
26 -
 27
27 -
 28
28 -
 29
29 -
 30
30 -
 31
31 -
 32
32 -
 33
33 -
 34
34 -
 35
35 -
 36
36 -
 37
37 -
 38
38 -
 39
39 -
 40
40 -
 41
41 -
 42
42 -
 43
43 -
 44
44 -
 45
45 -
 46
46 -
 47
47 -
 48
48 -
 49
49 -
 50
50 -
 51
51 -
 52
52 -
 53
53 -
 54
54 -
 55
55 -
 56
56 -
 57
57 -
 58
58 -
 59
59 -
 60
60 -
 61
61 -
 62
62 -
 63
63 -
 64
64 -
 65
65 -
 66
66 -
 67
67 -
 68
68 -
 69
69 -
 70
70 -
 71
71 -
 72
72 -
 73
73 -
 74
74 -
 75
75 -
 76
76 -
 77
77 -
 78
78 -
 79
79 -
 80
80 -
 81
81 -
 82
82 -
 83
83 -
 84
84 -
 85
85 -
 86
86 -
 87
87 -
 88
88 -
 89
89 -
 90
90 -
 91
91 -
 92
92 -
 93
93 -
 94
94 -
 95
95 -
 96
96 -
 97
97 -
 98
98 -
 99
99 -
 100
100 -
 101
101 -
 102
102 -
 103
103 -
 104
104 -
 105
105 -
 106
106 -
 107
107 -
 108
108 -
 109
109 -
 110
110 -
 111
111 -
 112
112 -
 113
113 -
 114
114 -
 115
115 -
 116
116 -
 117
117 -
 118
118 -
 119
119 -
 120
120 -
 121
121 -
 122
122 -
 123
123 -
 124
124 -
 125
125 -
 126
126 -
 127
127 -
 128
128 -
 129
129 -
 130
130 -
 131
131 -
 132
132 -
 133
133 -
 134
134 -
 135
135 -
 136
136 -
 137
137 -
 138
138 -
 139
139 -
 140
140 -
 141
141 -
 142
142 -
 143
143 -
 144
144 -
 145
145 -
 146
146 -
 147
147 -
 148
148 -
 149
149 -
 150
150 -
 151
151 -
 152
152 -
 153
153 -
 154
154 -
 155
155 -
 156
156 -
 157
157 -
 158
158 -
 159
159 -
 160
160 -
 161
161 -
 162
162 -
 163
163 -
 164
164 -
 165
165 -
 166
166 -
 167
167 -
 168
168 -
 169
169 -
 170
170 -
 171
171
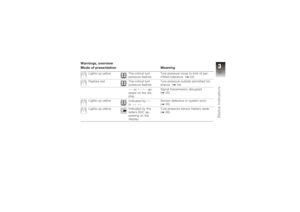
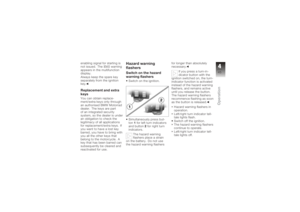
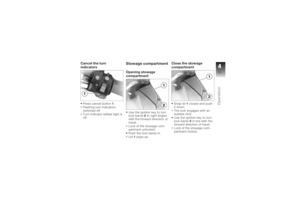
 Cancel the turn
indicatorsPress cancel button1.
Flashing turn indicators
switched off.
Turn indicator telltale light is
off.
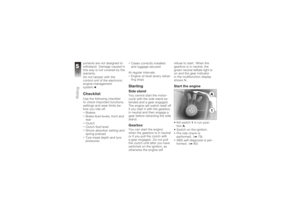
Stowage compartmentOpening stowage
compartmentUse the ignition key to turn")
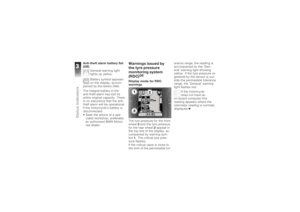
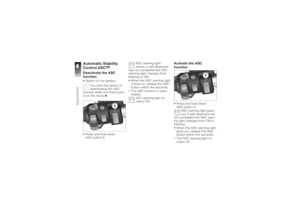
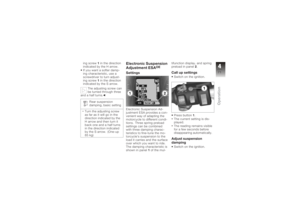
 Automatic Stability
Control ASC
OE
Deactivate the ASC
functionSwitch on the ignition.You have the option of
deactivating the ASC
function while the motorcycle
is on the move.
Press and hold down
ASC b")
 If ASC self-diagnosis did not
complete, the ASC warning
light continues to flash.
The ASC function is activ-
ated.
Instead of pressing the ASC
button, you have the option
of switching the ignition off")
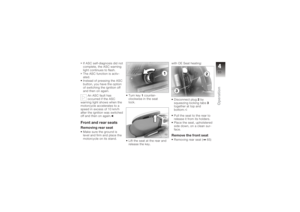
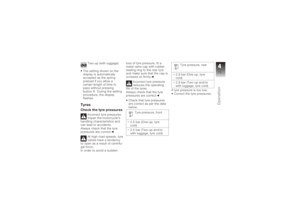
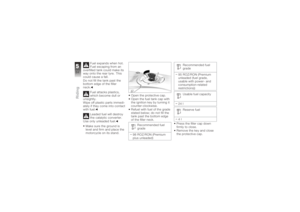
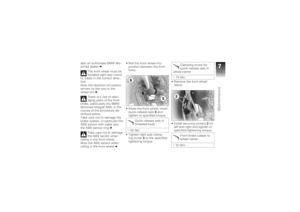
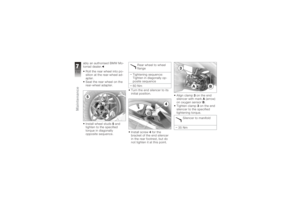
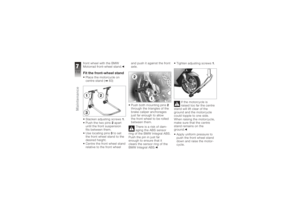
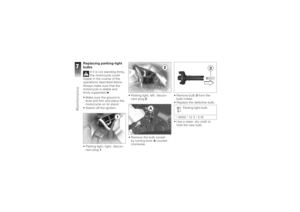
 Lift the rear of the front seat.
with OE Seat heating:
Disconnect plug 2by
squeezing locking tabs 3
together at top and
bottom. Lift the seat up to remove.
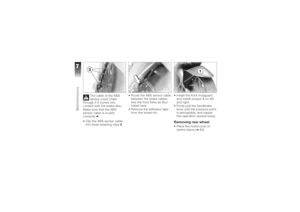
Place the seat, upholstered
side down, on a")
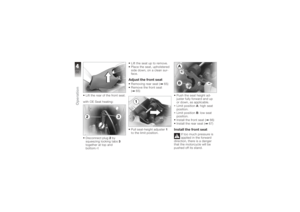
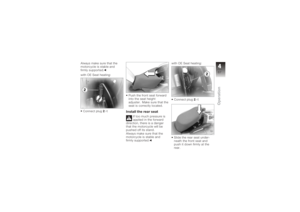
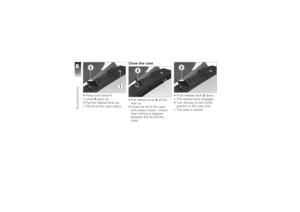
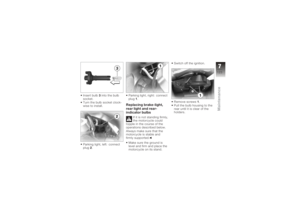
 Always make sure that the
motorcycle is stable and
firmly supported.
with OE Seat heating:Connect plug 2. Push the front seat forward
into the seat height
adjuster. Make sure that the
seat is correctl")
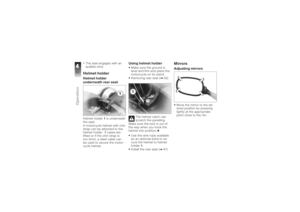
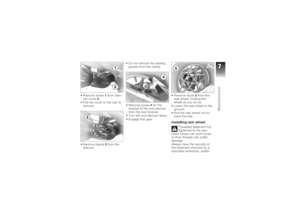
 The seat engages with an
audible click.Helmet holderHelmet holder
underneath rear seatHelmet holder1is underneath
the seat.
A motorcycle helmet with chin
strap can be attached to the
helmet holder. If")
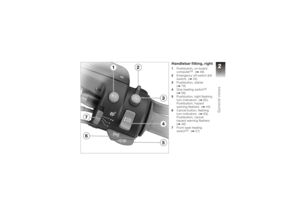
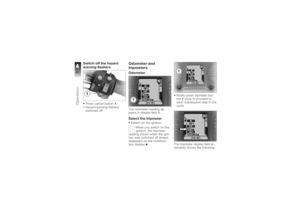
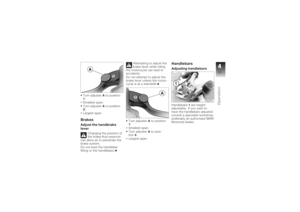
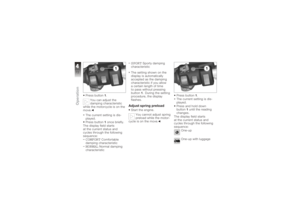
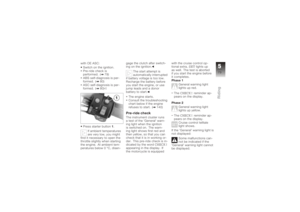
 WindscreenAdjusting windscreenSwitch on the ignition.
Press the top section of
button1.
Windscreen higher
Press the bottom section of
button 1.
Windscreen lower
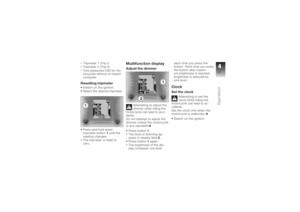
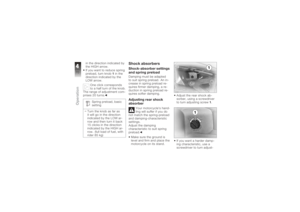
Spring preloadSpring preload and
weight")
 in the direction indicated by
the HIGH arrow.
If you want to reduce spring
preload, turn knob1in the
direction indicated by the
LOW arrow.
One click corresponds
to a half turn of the knob.
The range o")