Page 4 of 172

Table of ContentsYou can also consult the in-
dex at the end of this Rider's
Manual if you want to find a
particular topic or item of in-
formation.
1 General instructions . . . 5
Overview . ................ 6
Abbreviations and
symbols . . . ............... 6
Equipment ............... 7
Technical data ........... 7
Currency . . ............... 7
2 General views . . . . . .... 9
General view, left side . . . 11
General view, right
side ..................... 13
Underneath the seat . . . . . 15
Handlebar fitting, left . . . . . 16
Handlebar fitting, right . . . 17
Instrument cluster . . . . . . . 18
Headlight . .............. 19 3 Status indicators . . . . . 21
Multifunction display . . . . . 22
Warning and telltale
lights . . . . .
.............. 23
ABS warning light . . . . . . . 23
Telltale light, cruise
control
OE
................ 23
Function indicators . . . . . . 23
Warnings, general . . . . . . . 24
Warnings issued by the
tyre pressure monitoring
system (RDC)
OE
......... 32
ABS warnings . .......... 36
ASC warnings
OE
......... 38
4 Operation . . . .......... 41
Ignition switch and
steering lock . . .......... 43
Electronic immobiliser . . . 44
Hazard warning
flashers . . . .............. 45
Odometer and
tripmeters . .............. 46
Multifunction display . . . . . 47 Clock . . . . .
.............. 47
Tyre pressure control
RDC
OE
.................. 48
Residual range .......... 49
On-board computer
OE
... 49
Cruise-control
system
OE
............... 53
Emergency off switch (kill
switch) . . . . .............. 55
Grip heatingOE
........... 56
Seat heatingOE
.......... 57
Clutch . . . . .............. 58
Brakes . . . . .............. 59
Handlebars .............. 59
Lights . . . . . .............. 60
Headlight . .............. 61
Turn indicators .......... 62
Stowage compartment . . . 63
Automatic Stability Control
ASC
OE
.................. 64
Front and rear seats . . . . . 65
Helmet holder . .......... 68
Mirrors . . . . .............. 68
Windscreen . . . .......... 69
Page 20 of 172
Instrument cluster1Speedometer
2 Warning and telltale
lights ( 23)
3 Multifunction display
4 Rev. counter
5 Telltale light, anti-theft
alarm (OE)
6 Adjuster, clock ( 47),
Display dimmer ( 47)
7 Control, odometer
( 46)
8 Sensor for instrument
cluster lighting
The instrument-cluster
lighting has automatic
day and night switchover.
218zGeneral views
Page 24 of 172
Multifunction display1Fuel gauge ( 23)
2 Display, on-board com-
puter
OE
( 49), RDC
readingOE
( 48)
3 Panel for warnings
( 24)
4 Gear indicator ( 23)
5 Coolant temperature
readout ( 23)
6 Trip meter ( 46), RDC
display (motorcycles
without on-board
computer)OE
( 48)
7 Clock ( 47), Panel for
seat heatingOE
( 57),
Panel for display dimmer
( 47), Panel for ESA
OE
( 71)
8 Odometer and tripmeters
( 46)
322zStatus indicators
Page 43 of 172

Operation
Ignition switch and steering
lock . . . . . . . . . . . . . . . . . . . . . . . . . . . 43
Electronic immobiliser . . . . . . . . . 44
Hazard warning flashers . . . . . . . 45
Odometer and tripmeters . . . . . . 46
Multifunction display . . . . . . . . . . . 47
Clock . . . . . . . . . . . . . . . . . . . . . . . . . 47
Tyre pressure control RDC
OE
.. 48
Residual range . . . . . . . . . . . . . . . . 49
On-board computer
OE
......... 49
Cruise-control systemOE
....... 53
Emergency off switch (kill
switch) . . . . . . . . . . . . . . . . . . . . . . . . 55
Grip heating
OE
................ 56
Seat heating
OE
................ 57
Clutch . . . . . . . . . . . . . . . . . . . . . . . . 58 Brakes . . . . . . . . . . . . . . . . . . . . . . . . 59
Handlebars . . . . . . . . . . . . . . . . . . . 59
Lights . . . . . . . . . . . . . . . . . . . . . . . . . 60
Headlight . . . . . . . . . . . . . . . . . . . . . 61
Turn indicators . . . . . . . . . . . . . . . . 62
Stowage compartment . . . . . . . . 63
Automatic Stability Control
ASC
OE
........................ 64
Front and rear seats . . . . . . . . . . . 65
Helmet holder . . . . . . . . . . . . . . . . . 68
Mirrors . . . . . . . . . . . . . . . . . . . . . . . . 68
Windscreen . . . . . . . . . . . . . . . . . . . 69
Spring preload . . . . . . . . . . . . . . . . 69
Shock absorbers . . . . . . . . . . . . . . 70
Electronic Suspension
Adjustment ESA
OE
............ 71
441zOperation
Page 49 of 172
Tripmeter 1 (Trip I)
Tripmeter 2 (Trip II)
Tyre pressures (OE) for mo-
torcycles without on-board
computerResetting tripmeterSwitch on the ignition.
Select the desired tripmeter.
Press and hold down
tripmeter button1until the
reading changes.
The tripmeter is reset to
zero.
Multifunction displayAdjust the dimmer
Attempting to adjust the
dimmer while riding the
motorcycle can lead to acci-
dents.
Do not attempt to adjust the
dimmer unless the motorcycle
is at a standstill.
Press button 1.
The level of dimming ap-
pears in display field 2.
Press button 1again.
The brightness of the dis-
play increases one level each time you press the
button. Each time you press
the button after maxim-
um brightness is reached,
brightness is reduced by
one level.
ClockSet the clock
Attempting to set the
clock while riding the
motorcycle can lead to ac-
cidents.
Set the clock only when the
motorcycle is stationary.
Switch on the ignition.
447zOperation
Page 67 of 172
If ASC self-diagnosis did not
complete, the ASC warning
light continues to flash.
The ASC function is activ-
ated.
Instead of pressing the ASC
button, you have the option
of switching the ignition off
and then on again.An ASC fault has
occurred if the ASC
warning light shows when the
motorcycle accelerates to a
speed in excess of 10 km/h
after the ignition was switched
off and then on again.Front and rear seatsRemoving rear seatMake sure the ground is
level and firm and place the
motorcycle on its stand. Turn key
1counter-
clockwise in the seat
lock.
Lift the seat at the rear and
release the key. with OE Seat heating:
Disconnect plug 2by
squeezing locking tabs 3
together at top and
bottom.
Pull the seat to the rear to
release it from its holders.
Place the seat, upholstered
side down, on a clean sur-
face.
Remove the front seatRemoving rear seat ( 65)
465zOperation
Page 86 of 172

Fuel expands when hot.
Fuel escaping from an
overfilled tank could make its
way onto the rear tyre. This
could cause a fall.
Do not fill the tank past the
bottom edge of the filler
neck.
Fuel attacks plastics,
which become dull or
unsightly.
Wipe off plastic parts immedi-
ately if they come into contact
with fuel.
Leaded fuel will destroy
the catalytic converter.
Use only unleaded fuel.
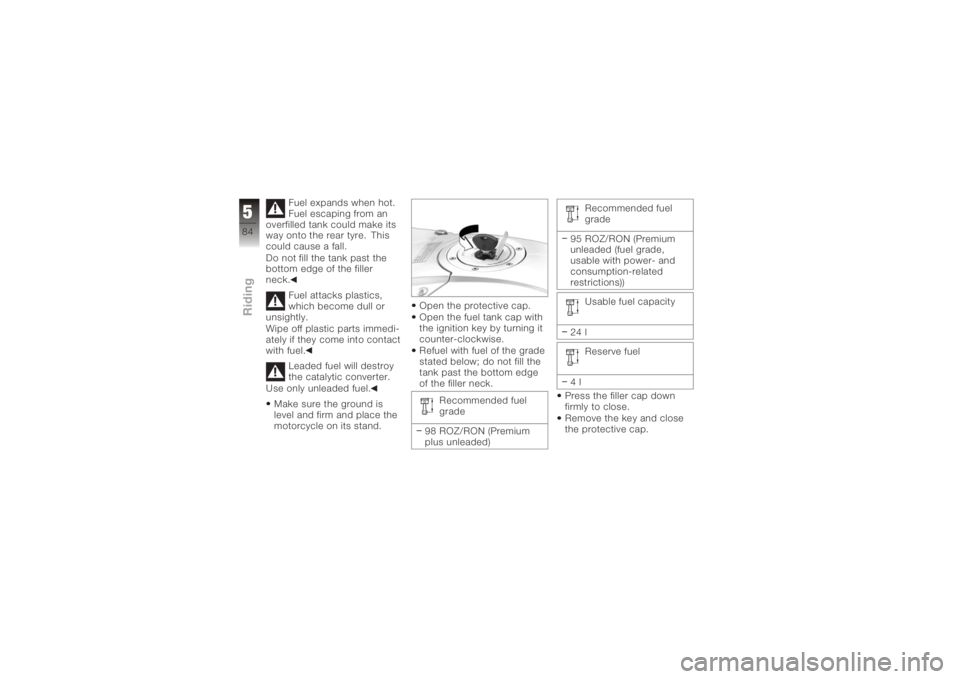
Make sure the ground is
level and firm and place the
motorcycle on its stand. Open the protective cap.
Open the fuel tank cap with
the ignition key by turning it
counter-clockwise.
Refuel with fuel of the grade
stated below; do not fill the
tank past the bottom edge
of the filler neck.
Recommended fuel
grade
98 ROZ/RON (Premium
plus unleaded) Recommended fuel
grade
95 ROZ/RON (Premium
unleaded (fuel grade,
usable with power- and
consumption-related
restrictions)) Usable fuel capacity
24 l Reserve fuel
4l
Press the filler cap down
firmly to close.
Remove the key and close
the protective cap.
584zRiding
Page 106 of 172
Remove the front seat
( 65)
Wipe the area around the oil
filler neck clean.
Remove oil filler cap1by
turning it counter-clockwise. Use a dry cloth to wipe oil
dipstick
2clean
Seat the oil dipstick on the
oil filler neck, but do not
engage the threads. Make sure that the dipstick is
seated in guide
3.
Remove the oil dipstick and
check the oil level.
Engine oil, specified
level
Between MIN and MAX
marks
If the oil level is below the
MIN mark: Top up the engine oil.
7104zMaintenance