2006 BMW MOTORRAD K 1200 GT Rider's Manual (in English)
-
 1
1 -
 2
2 -
 3
3 -
 4
4 -
 5
5 -
 6
6 -
 7
7 -
 8
8 -
 9
9 -
 10
10 -
 11
11 -
 12
12 -
 13
13 -
 14
14 -
 15
15 -
 16
16 -
 17
17 -
 18
18 -
 19
19 -
 20
20 -
 21
21 -
 22
22 -
 23
23 -
 24
24 -
 25
25 -
 26
26 -
 27
27 -
 28
28 -
 29
29 -
 30
30 -
 31
31 -
 32
32 -
 33
33 -
 34
34 -
 35
35 -
 36
36 -
 37
37 -
 38
38 -
 39
39 -
 40
40 -
 41
41 -
 42
42 -
 43
43 -
 44
44 -
 45
45 -
 46
46 -
 47
47 -
 48
48 -
 49
49 -
 50
50 -
 51
51 -
 52
52 -
 53
53 -
 54
54 -
 55
55 -
 56
56 -
 57
57 -
 58
58 -
 59
59 -
 60
60 -
 61
61 -
 62
62 -
 63
63 -
 64
64 -
 65
65 -
 66
66 -
 67
67 -
 68
68 -
 69
69 -
 70
70 -
 71
71 -
 72
72 -
 73
73 -
 74
74 -
 75
75 -
 76
76 -
 77
77 -
 78
78 -
 79
79 -
 80
80 -
 81
81 -
 82
82 -
 83
83 -
 84
84 -
 85
85 -
 86
86 -
 87
87 -
 88
88 -
 89
89 -
 90
90 -
 91
91 -
 92
92 -
 93
93 -
 94
94 -
 95
95 -
 96
96 -
 97
97 -
 98
98 -
 99
99 -
 100
100 -
 101
101 -
 102
102 -
 103
103 -
 104
104 -
 105
105 -
 106
106 -
 107
107 -
 108
108 -
 109
109 -
 110
110 -
 111
111 -
 112
112 -
 113
113 -
 114
114 -
 115
115 -
 116
116 -
 117
117 -
 118
118 -
 119
119 -
 120
120 -
 121
121 -
 122
122 -
 123
123 -
 124
124 -
 125
125 -
 126
126 -
 127
127 -
 128
128 -
 129
129 -
 130
130 -
 131
131 -
 132
132 -
 133
133 -
 134
134 -
 135
135 -
 136
136 -
 137
137 -
 138
138 -
 139
139 -
 140
140 -
 141
141 -
 142
142 -
 143
143 -
 144
144 -
 145
145 -
 146
146 -
 147
147 -
 148
148 -
 149
149 -
 150
150 -
 151
151 -
 152
152 -
 153
153 -
 154
154 -
 155
155 -
 156
156 -
 157
157 -
 158
158 -
 159
159 -
 160
160 -
 161
161 -
 162
162 -
 163
163 -
 164
164 -
 165
165 -
 166
166 -
 167
167 -
 168
168 -
 169
169 -
 170
170 -
 171
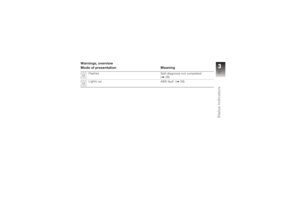
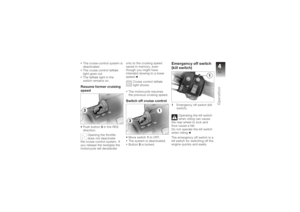
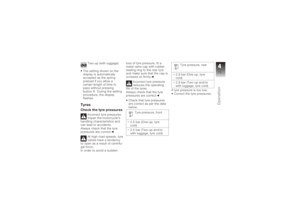
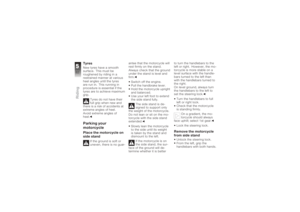
171
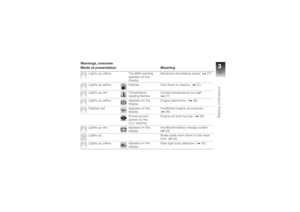
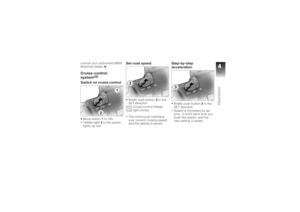
 The cruise-control system is
deactivated.
The cruise control telltale
light goes out.
The telltale light in the
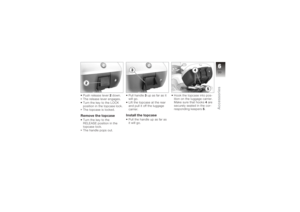
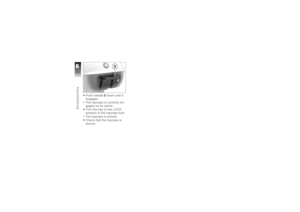
switch remains on.Resume former cruising
speedPush button3in the RES
direction.
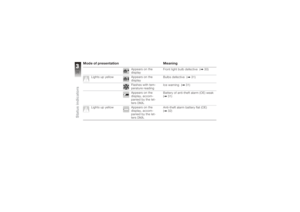
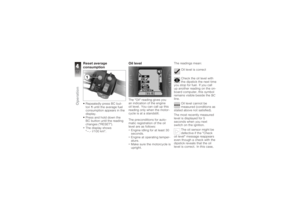
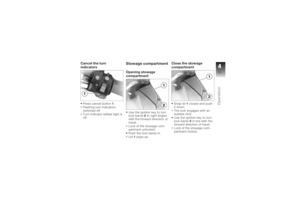
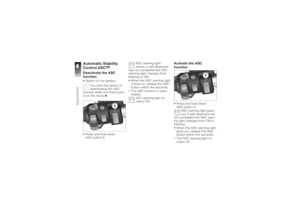
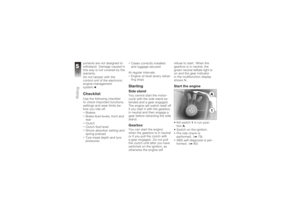
Opening")
 ANormal operating posi-
tion (run)
B Engine switched off.
You cannot start the
engine unless the kill
switch is in the run position.
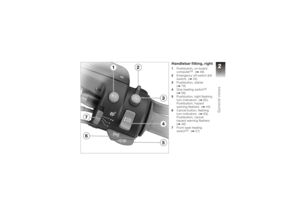
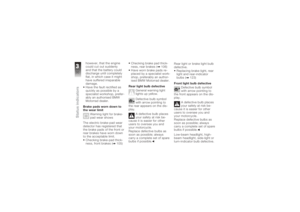
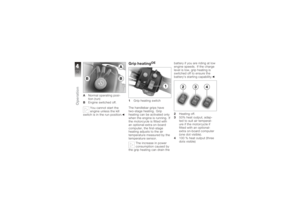
Grip heating
OE
1 Grip heating switch
The handlebar grips have
two-")
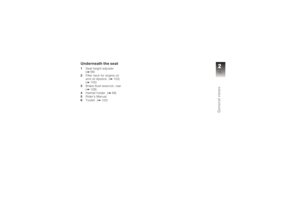
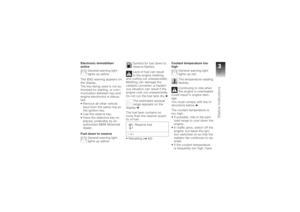
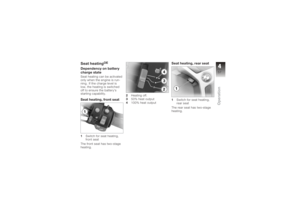
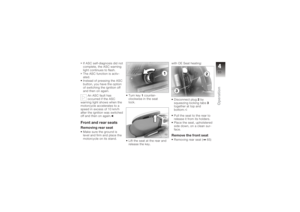
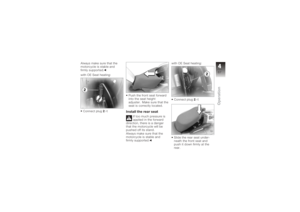
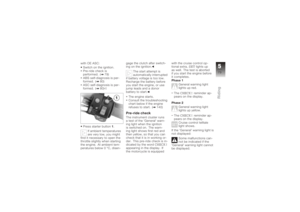
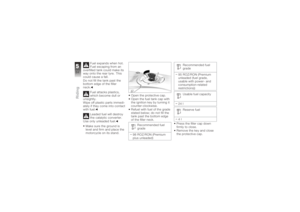
 Seat heating
OE
Dependency on battery
charge stateSeat heating can be activated
only when the engine is run-
ning. If the charge level is
low, the heating is switched
off to ensure the battery's
s")
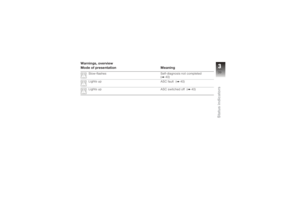
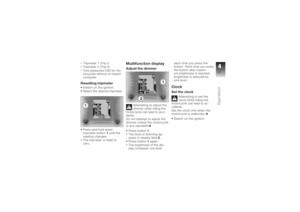
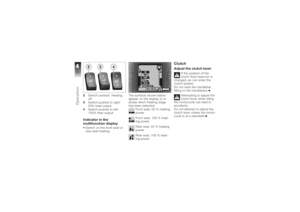
 2Switch centred: Heating
off.
3 Switch pushed to right:
50% heat output.
4 Switch pushed to left:
100% heat output.Indicator in the
multifunction displaySwitch on the front-seat or
rear-seat heating.")
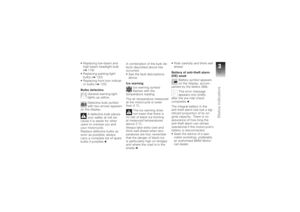
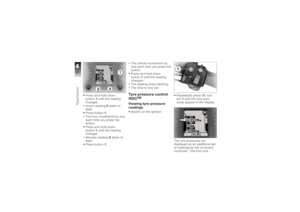
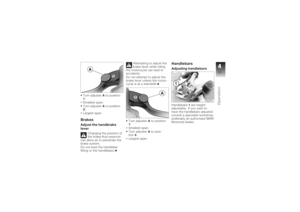
 Turn adjusterAto position
1 :
Smallest span.
Turn adjuster Ato position
3 :
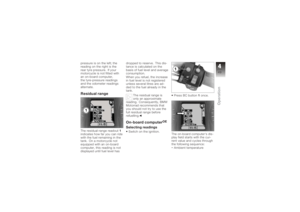
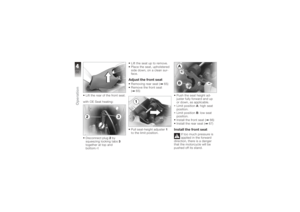
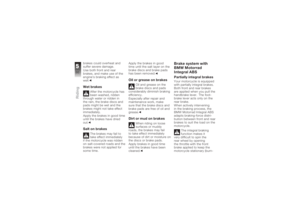
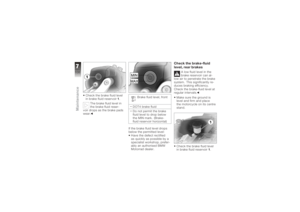
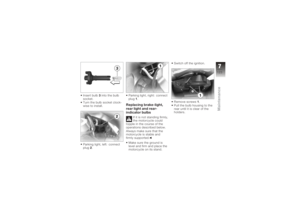
Largest span.BrakesAdjust the handbrake
lever
Changing the position of
the brake-fluid reservoir
can allow air to penetrate")
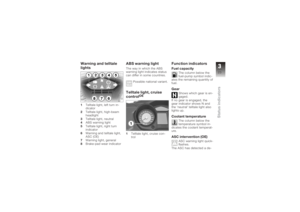
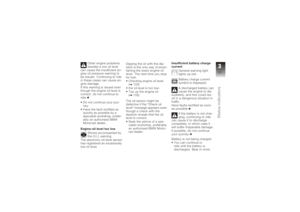
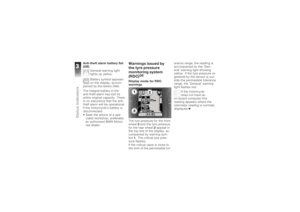
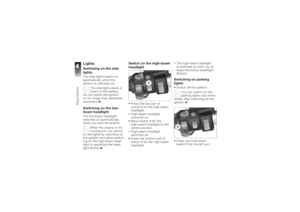
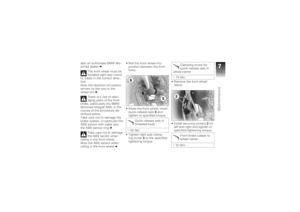
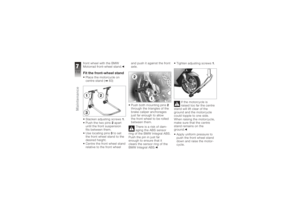
 LightsSwitching on the side
lightsThe side lights switch on
automatically when the
ignition is switched on.The side lights place a
strain on the battery.
Do not switch the ignition
on for longer than")
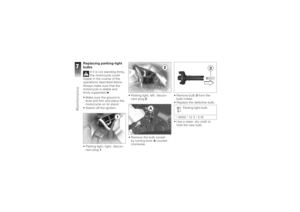
 indicators until the parking
lights are ON.Switching off parking
lightsSwitch the ignition on and
then off again.
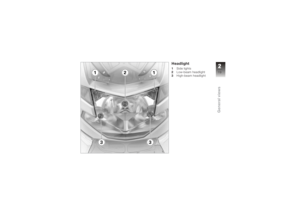
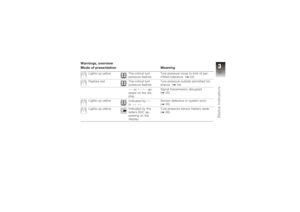
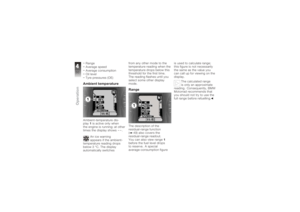
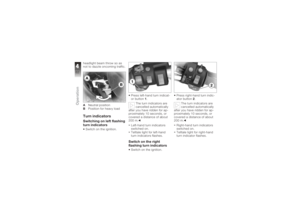
Parking lights switched off.HeadlightAdjusting headlight for
driving on left/driving o")
 headlight beam throw so as
not to dazzle oncoming traffic.
ANeutral position
B Position for heavy loadTurn indicatorsSwitching on left flashing
turn indicatorsSwitch on the ignition. Press left-hand t")