141J9-02
A60072
- ENGINE MECHANICALPARTIAL ENGINE ASSY (3MZ-FE)
14-29
2121 Author�: Date�:
2005 LEXUS ES330 REPAIR MANUAL (RM1124U)
REPLACEMENT
1. DISCHARGE FUEL SYSTEM PRESSURE (See page 11-1)
2. DISCONNECT BATTERY NEGATIVE TERMINAL
3. REMOVE FRONT WHEELS
4. REMOVE ENGINE UNDER COVER NO.1
5. REMOVE ENGINE UNDER COVER NO.2
6. REMOVE FRONT FENDER APRON SEAL RH
7. DRAIN ENGINE COOLANT (See page 16-9)
8. DRAIN ENGINE OIL (See page 17-20)
9. DRAIN AUTOMATIC TRANSAXLE FLUID (See page 30-8)
10. REMOVE V-BANK COVER SUB-ASSY (See page 10-1 1)
11. REMOVE RADIATOR LOWER AIR DEFLECTOR (See page 19-5)
12. REMOVE BATTERY
13. REMOVE BATTERY TRAY
14. REMOVE AIR CLEANER INLET ASSY (See page 19-5)
15. REMOVE AIR CLEANER ASSY (See page 19-5)
16. REMOVE AIR CLEANER BRACKET (See page 19-5)
17. REMOVE AIR CLEANER INLET NO.1 (See page 19-5)
18. REMOVE INTAKE AIR RESONATOR SUB-ASSY
(a) Remove the clip and bolt, then remove the intake air resonator.
19. REMOVE V (COOLER COMPRESSOR TO CRANKSHAFT PULLEY) BELT NO.1
(See page 14-5)
20. REMOVE GENERATOR ASSY (See page 19-21)
21. REMOVE ENGINE MOVING CONTROL ROD (See page 14-79)
22. REMOVE ENGINE MOUNTING STAY NO.2 RH (See page 14-79)
23. REMOVE GENERATOR BRACKET NO.2 (See page 14-79)
24. REMOVE GENERATOR BELT ADJUSTING BAR (See page 17-9)
25. SEPARATE COMPRESSOR AND MAGNETIC CLUTCH (See page 17-9)
26. SEPARATE TRANSMISSION CONTROL CABLE ASSY (See page 40-44)
27. DISCONNECT UNION TO CHECK VALVE HOSE
28. DISCONNECT FUEL VAPOR FEED HOSE NO.1
29. DISCONNECT FUEL PIPE SUB-ASSY NO.1 (See page 11-1)
30. DISCONNECT HEATER INLET WATER HOSE
31. DISCONNECT HEATER OUTLET WATER HOSE
32. DISCONNECT RADIATOR HOSE INLET
33. DISCONNECT RADIATOR HOSE OUTLET
34. DISCONNECT OIL COOLER INLET HOSE
35. DISCONNECT OIL COOLER OUTLET HOSE
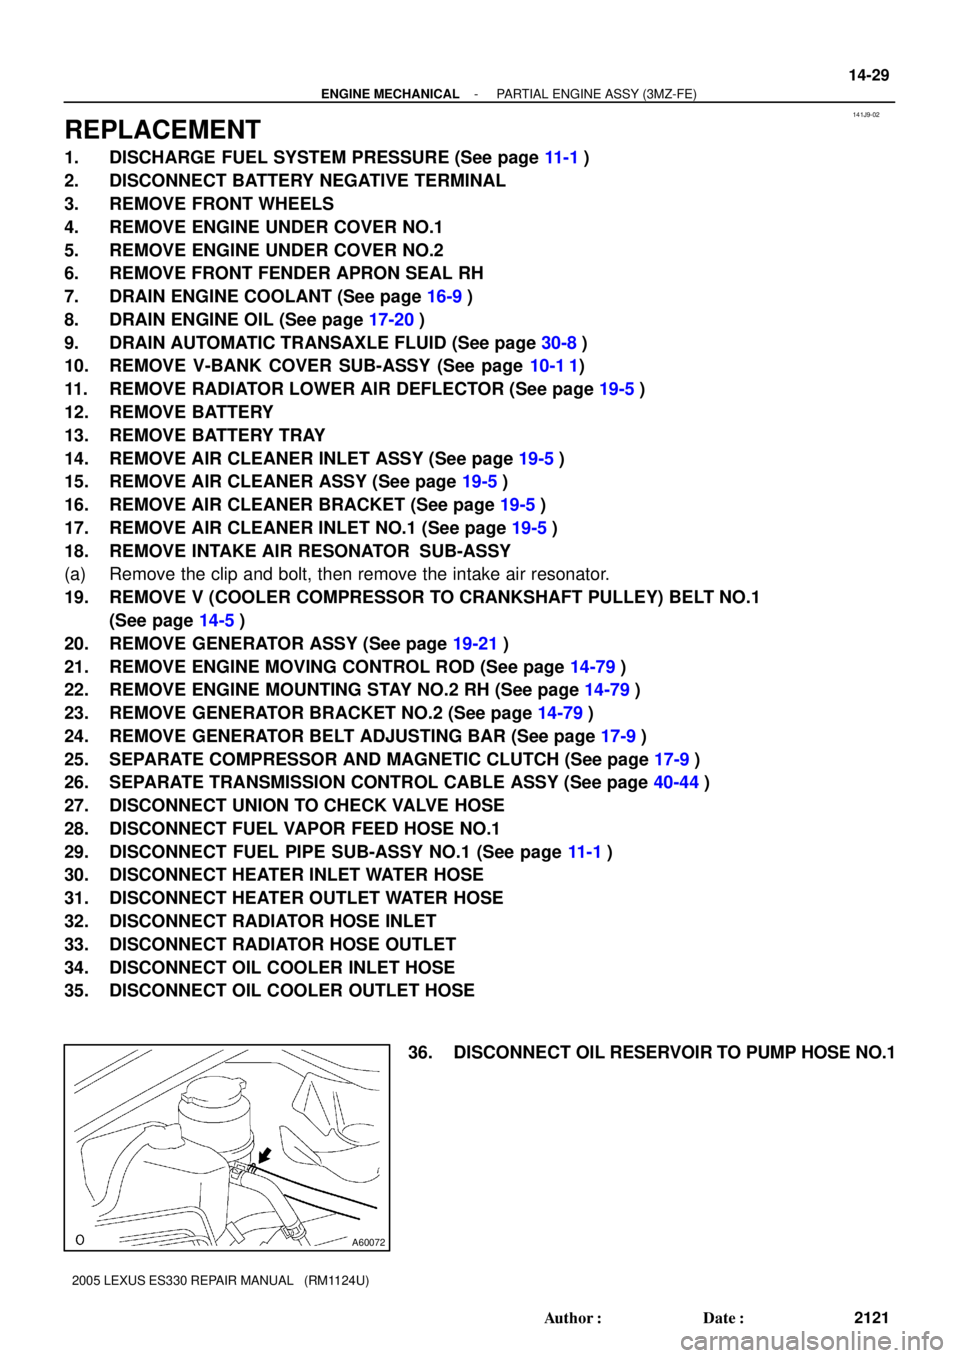
36. DISCONNECT OIL RESERVOIR TO PUMP HOSE NO.1
160QB-01
A60522
Radiator Cap
Tester
- COOLINGCOOLING SYSTEM (3MZ-FE)
16-1
2279 Author�: Date�:
2005 LEXUS ES330 REPAIR MANUAL (RM1124U)
COOLING SYSTEM (3MZ-FE)
ON-VEHICLE INSPECTION
1. INSPECT COOLING SYSTEM FOR LEAKS
(a) Remove the water outlet cap.
CAUTION:
To avoid the danger of being burned, do not remove the wa-
ter outlet cap while the engine and radiator are still hot.
Thermal expansion will cause hot engine coolant and
steam to blow out from the radiator.
(b) Fill the radiator with coolant, then attach a radiator cap
tester.
(c) Warm up the engine.
(d) Pump it to 118 kPa (1.2 kgf/cm
2, 17.1 psi), then check that
the pressure does not drop.
If the pressure drops, check the hoses, radiator and water
pump for leaks. If there are no signs or traces of external coolant
leaks, check the heater core, cylinder block and head.
(e) Reinstall the water outlet cap.
2. CHECK ENGINE COOLANT LEVEL AT RESERVOIR
(a) The engine coolant should be between the ºLOWº and ºFULLº lines when the engine is cold.
If low, check for leaks and add ºToyota Super Long Life Coolantº or similar high quality ethylene glycol based
non-silicate, non-amine, non-nitrite, and non-borate coolant with long-life hybrid organic acid technology
up to the ºFULLº line.
3. CHECK ENGINE COOLANT QUALITY
(a) Remove the water outlet cap.
CAUTION:
To avoid the danger of being burned, do not remove the water outlet cap while the engine and radiator
are still hot. Thermal expansion will cause hot engine coolant and steam to blow out from the radiator.
(b) Check if there are any excessive deposits of rust or scale around the water outlet cap and water outlet
filler hole; the coolant should free of oil.
If excessively dirty, replace the coolant.
(c) Reinstall the water outlet cap.