Page 1302 of 3870

cleaned regularly and kept separate from personal clothing. Where there is a risk of eye contact, eye protection should be worn i.e.
chemical goggles or face shields. In addition, an eye wash facility should be
provided. Obtain First Aid treatment immediately for open cuts and wounds. Wash regularly with soap and water to ensure all oil is removed, especially
before meals (skin cleansers and nail brushes will help). After cleaning, apply
lotion, etc., containing lanolin to replace natural skin oils is advised. Do not use gasoline, kerosene, diesel fuel, gas oil, thinner or solvents for
cleaning skin. Apply barrier creams before each work period to help clean the skin after
work. If skin disorders develop, obtain medical advice immediately.
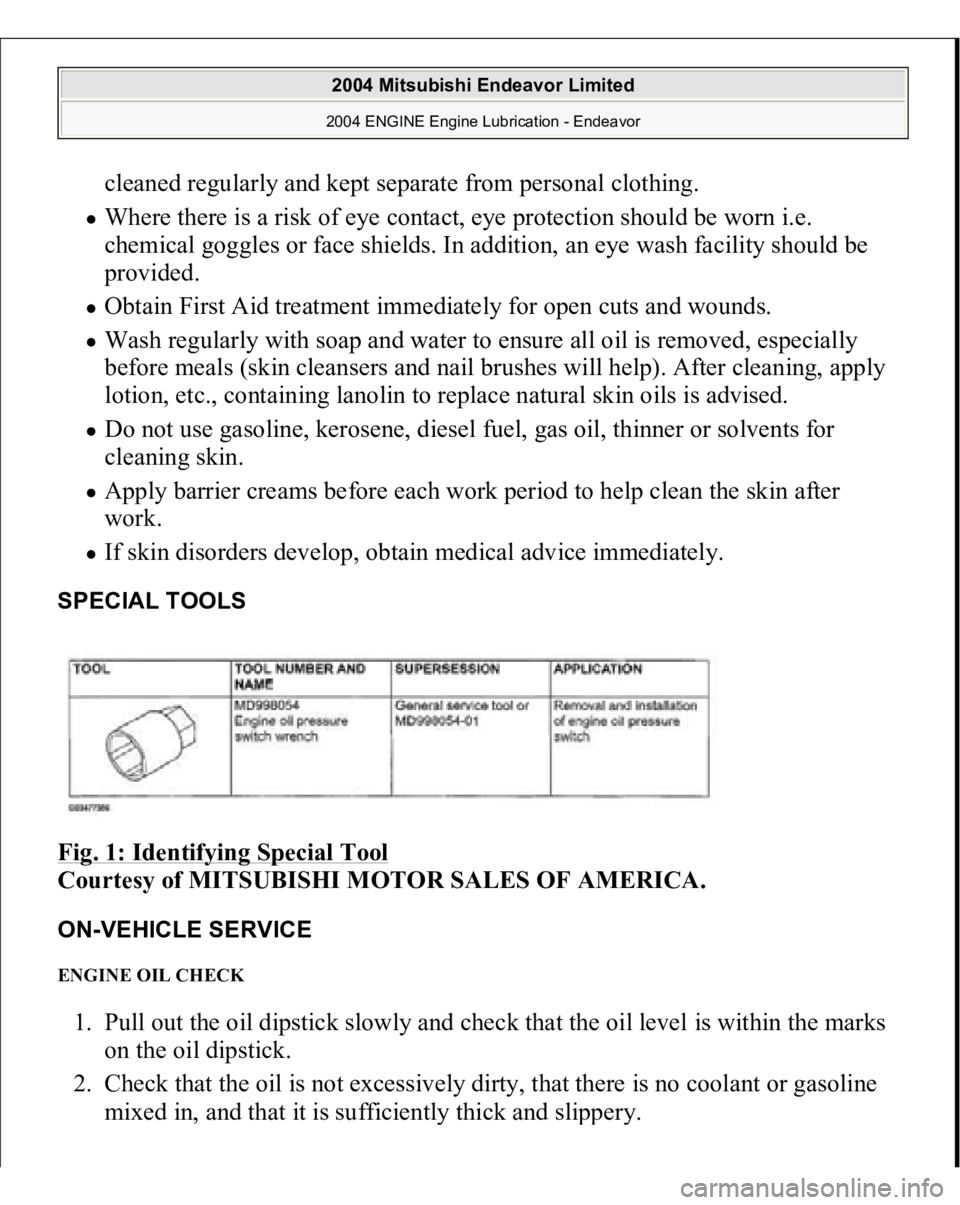
SPECIAL TOOLS Fig. 1: Identifying Special Tool
Courtesy of MITSUBISHI MOTOR SALES OF AMERICA.
ON-VEHICLE SERVICE ENGINE OIL CHECK 1. Pull out the oil dipstick slowly and check that the oil level is within the marks
on the oil dipstick.
2. Check that the oil is not excessively dirty, that there is no coolant or gasoline
mixed in, and that it is sufficientl
y thick and sli
ppery.
2004 Mitsubishi Endeavor Limited 2004 ENGINE Engine Lubrication - Endeavor
Page 1303 of 3870
Fig. 2: Checking Engine Oil Level
Courtesy of MITSUBISHI MOTOR SALES OF AMERICA.
ENGINE OIL REPLACEMENT 1. Start the engine and allow it to warm up until the temperature of the coolant
reaches 80 - 90°C (176 - 194°F).
2. Remove the engine oil filler cap.
3. Remove the drain plug to drain oil.
4. Install a new drain plug gasket so that it faces in the direction shown in the
illustration, and then tighten the drain plug to the specified torque.
Tightening torque: 39 +/- 5 N.m (29 +/- 3 ft-lb)
WARNING:Use care as oil could be hot.
2004 Mitsubishi Endeavor Limited 2004 ENGINE Engine Lubrication - Endeavor
Page 1305 of 3870
Fig. 4: Identifying Engine Oils ILSAC Certification Symbol (Up To December 2003)
Courtesy of MITSUBISHI MOTOR SALES OF AMERICA.
Total quantity: 4.3 dm
3 (4.5 quarts)
6. Install the engine oil filler cap.
7. Check oil level.
2004 Mitsubishi Endeavor Limited 2004 ENGINE Engine Lubrication - Endeavor
Page 1308 of 3870
Fig. 7: Applying Small Amount Of Engine Oil To O
-Ring Of New Oil
Filter
Courtesy of MITSUBISHI MOTOR SALES OF AMERICA.
Tightening torque: Approximately 1 turn [14 +/- 2 N m (124 +/-18 in-lb)]
8. Install the drain plug and refill engine oil. (Refer to ENGINE OIL
REPLACEMENT
.)
9. Rev the engine a few times, and check to be sure that no engine oil leaks from
the installation section of the oil filter.
ENGINE OIL PRESSURE CHECK
2004 Mitsubishi Endeavor Limited 2004 ENGINE Engine Lubrication - Endeavor
Page 1309 of 3870
Required Special Tool
:
MD998054: Engine Oil Pressure Switch Wrench
Fig. 8: Identifying Engine Oil Pressure Switch
Courtesy of MITSUBISHI MOTOR SALES OF AMERICA.
1. Check engine oil quantity.
2. Use special tool MD998054 to remove the engine oil pressure switch.
CAUTION: Since sealant is applied to the thread of the
engine oil pressure switch, take care not to
damage the engine oil pressure switch when
removing it.
2004 Mitsubishi Endeavor Limited 2004 ENGINE Engine Lubrication - Endeavor
Page 1310 of 3870
3. Install the engine oil pressure gauge.
Fig. 9: Removing Terminal Of Oil Pressure Switch With Special Tool
(MD998054)
Courtesy of MITSUBISHI MOTOR SALES OF AMERICA.
4. Run the engine to warm it.
5. After the engine has been warmed up, check that engine oil pressure is within
NOTE: Remove the terminal of oil pressure switch where
special tool MD998054 is not fitted.NOTE: Use a 1/8 pipe thread adapter.
2004 Mitsubishi Endeavor Limited 2004 ENGINE Engine Lubrication - Endeavor
Page 1336 of 3870
MD998715: Pins MD998767: Tensioner Pulley Wrench MD998769: Crankshaft Spacer
REMOVAL SERVICE POINTS << A >> TIMING BELT REMOVAL 1. Mark the belt running direction for reinstallation.
2. Loosen the tensioner pulley bolt, and then remove
the timing belt.
CAUTION: Water or oil on the belt shortens its life drasticall
y, so
the removed timing belt, sprocket, and tensioner
must be kept free from oil and water. These parts
should not be washed or immersed in solvent.
Replace parts if contaminated. If there is oil or water
on any part, check the front case oil seal, camshaft
oil seal, and water pump for leaks.
2004 Mitsubishi Endeavor Limited 2004 ENGINE Engine Overhaul - Endeavor
Page 1347 of 3870
Fig. 28: Identifying Parts Of Engine Overhaul Timing Belt
Courtesy of MITSUBISHI MOTOR SALES OF AMERICA.
8. Check to see that the timin
g marks of all the s
prockets are in ali
gnment.
2004 Mitsubishi Endeavor Limited 2004 ENGINE Engine Overhaul - Endeavor