Page 83 of 4500
NG: REPLACE REAR SPEED SENSOR
OK: REPLACE ABS & TRACTION ACTUATOR ASSY (SEE REPLACEMENT
)
CIRCUIT DESCRIPTION
<0037004b004c0056000300560052004f004800510052004c00470003005700580055005100560003005200510003005a004b0048005100030056004c004a00510044004f0056000300440055004800030055004800460048004c0059004800470003004900
550052005000030057004b0048000300280026003800030044[nd controls the pressure acting on the wheel
c
ylinders to control the braking force.
Page 86 of 4500

OK: Go to next step
The same DTC is recorded.
NG: PROCEED TO NEXT CIRCUIT INSPECTION SHOWN IN PROBLEM SYMPTOMS
TABLE
OK: REPLACE ABS & TRACTION ACTUATOR ASSY (SEE REPLACEMENT
)
CIRCUIT DESCRIPTION
The ABS motor relays consist of 2 relays are included in the engine room No.3 R/B.
The ABS cut relay is turned on after turning the ignition switch to the ON position. If the DTCs in the
ABS pump motor circuit are memorized, the ABS cut relay cuts off the power supply to the ABS motor
relay and performs the fail safe.
While any of the ABS, BA, TRAC and VSC is operating, the skid control ECU (included in the actuator)
<0057005800550051005600030057004b00480003002400250036000300500052005700520055000300550048004f0044005c0003005200510003005700520003005200530048005500440057004800030057004b0048000300440046005700580044005700
52005500030053005800500053000300500052005700520055[.
If the voltage applied to the ABS motor relays (+BM) drops below the condition that detects the DTCs
due to the shorta
ge of the battery or alternator output, the DTCs may be memorized.
Page 89 of 4500
VEHICLE CONDITION / TEST DETAILS DESCRIPTION
OK: Go to next step
<0037004b00480003005200530048005500440057004c0052005100030056005200580051004700030052004900030057004b0048000300240025003600030050005200570052005500030056004b00520058004f00470003004500480003004b0048004400
5500470011[
NG: Go to step 2
OK: REPLACE ABS & TRACTION ACTUATOR ASSY (SEE REPLACEMENT
)
2.INSPECT FUSE (ABS2 FUSE)
a. Remove the ABS 2 fuse from fusible link block.
b. Measure the resistance according to the value (s) in the table below.
Standard:
ABS 2 FUSE DESCRIPTION
ItemVehicle Condition / Test DetailsVehicle Condition / Test Details
ABS MOT RELAYTurns ABS motor relay / ON or OFFON: Motor relay ON
ABS 2 FuseBelow 1 ohms (Continuity)
Page 97 of 4500
Fig. 69: Identifying Skid Control ECU Connector Terminals
Courtesy of TOYOTA MOTOR SALES, U.S.A., INC.
NG: REPAIR OR REPLACE HARNESS OR CONNECTOR
OK: REPLACE ABS & TRACTION ACTUATOR ASSY (SEE REPLACEMENT
)
CIRCUIT DESCRIPTION
The ABS solenoid relay is built in the ABS & TRACTION Actuator assy. This relay supplies power to each
ABS solenoid. If the initial check is OK, after the ignition switch is turned to the ON position, the relay stays
on.
Fig. 70: DTC C0278/11 And DTC C0279/12 Detecting Condition And Trouble Area
Courtesy of TOYOTA MOTOR SALES, U.S.A., INC.
WIRING DIAGRAM
Page 102 of 4500

HINT:
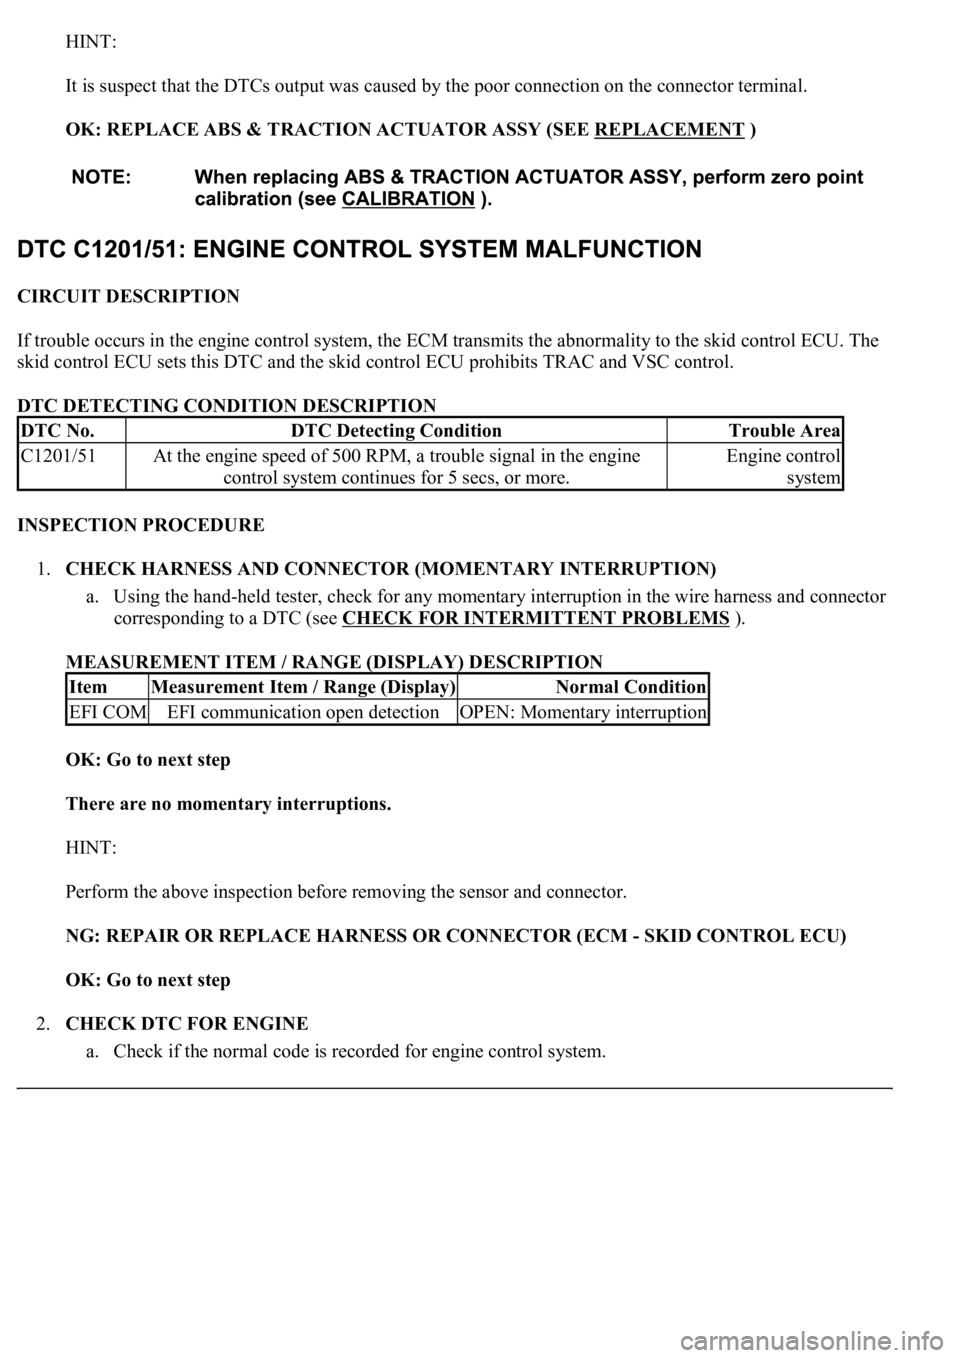
It is suspect that the DTCs output was caused by the poor connection on the connector terminal.
OK: REPLACE ABS & TRACTION ACTUATOR ASSY (SEE REPLACEMENT
)
CIRCUIT DESCRIPTION
If trouble occurs in the engine control system, the ECM transmits the abnormality to the skid control ECU. The
skid control ECU sets this DTC and the skid control ECU prohibits TRAC and VSC control.
DTC DETECTING CONDITION DESCRIPTION
INSPECTION PROCEDURE
1.CHECK HARNESS AND CONNECTOR (MOMENTARY INTERRUPTION)
a. Using the hand-held tester, check for any momentary interruption in the wire harness and connector
corresponding to a DTC (see CHECK FOR INTERMITTENT PROBLEMS
).
MEASUREMENT ITEM / RANGE (DISPLAY) DESCRIPTION
OK: Go to next step
There are no momentary interruptions.
HINT:
Perform the above inspection before removing the sensor and connector.
NG: REPAIR OR REPLACE HARNESS OR CONNECTOR (ECM - SKID CONTROL ECU)
OK: Go to next step
2.CHECK DTC FOR ENGINE
a. Check if the normal code is recorded for en
gine control system.
DTC No.DTC Detecting ConditionTrouble Area
C1201/51At the engine speed of 500 RPM, a trouble signal in the engine
control system continues for 5 secs, or more.Engine control
system
ItemMeasurement Item / Range (Display)Normal Condition
EFI COMEFI communication open detectionOPEN: Momentary interruption
Page 104 of 4500

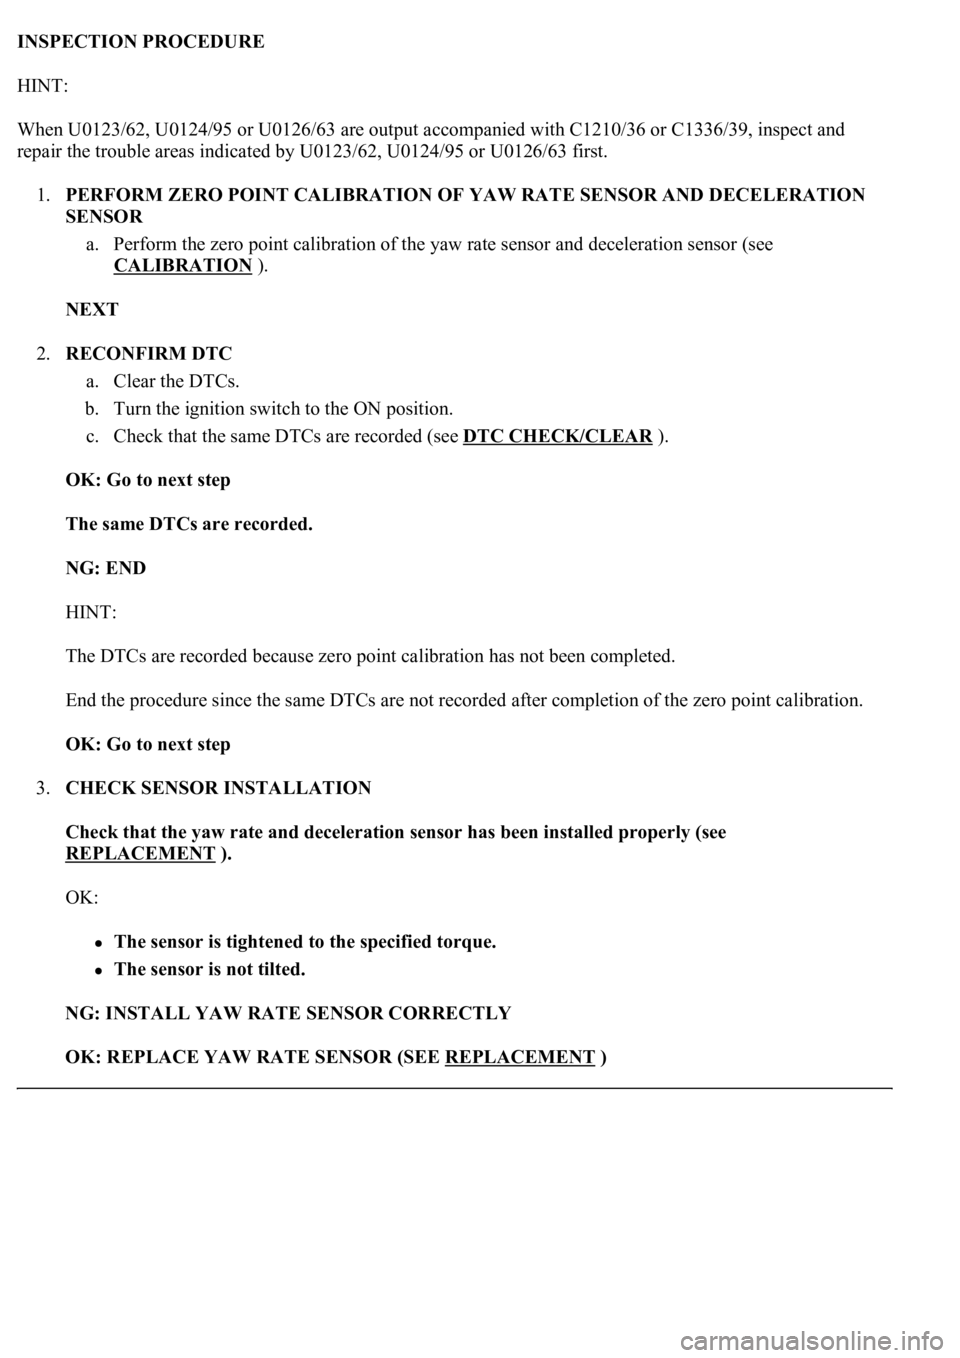
INSPECTION PROCEDURE
HINT:
<003a004b00480051000300380013001400150016001200190015000f0003003800130014001500170012001c001800030052005500030038001300140015001900120019001600030044005500480003005200580057005300580057000300440046004600
520050005300440051004c004800470003005a004c0057004b[ C1210/36 or C1336/39, inspect and
repair the trouble areas indicated by U0123/62, U0124/95 or U0126/63 first.
1.PERFORM ZERO POINT CALIBRATION OF YAW RATE SENSOR AND DECELERATION
SENSOR
a. Perform the zero point calibration of the yaw rate sensor and deceleration sensor (see
CALIBRATION
).
NEXT
2.RECONFIRM DTC
a. Clear the DTCs.
b. Turn the ignition switch to the ON position.
c. Check that the same DTCs are recorded (see DTC CHECK/CLEAR
).
OK: Go to next step
The same DTCs are recorded.
NG: END
HINT:
The DTCs are recorded because zero point calibration has not been completed.
End the procedure since the same DTCs are not recorded after completion of the zero point calibration.
OK: Go to next step
3.CHECK SENSOR INSTALLATION
Check that the yaw rate and deceleration sensor has been installed properly (see
REPLACEMENT
).
OK:
The sensor is tightened to the specified torque.
The sensor is not tilted.
NG: INSTALL YAW RATE SENSOR CORRECTLY
OK: REPLACE YAW RATE SENSOR (SEE REPLACEMENT
)
Page 109 of 4500
NG: Go to step 3
OK: REPLACE ABS & TRACTION ACTUATOR ASSY (SEE REPLACEMENT
)
3.CHECK TERMINAL VOLTAGE (STEERING ANGLE SENSOR CONNECTOR)
a. Remove the steering wheel and the column lower cover.
b. Disconnect the steering angle sensor connector.
c. Turn the ignition switch to the ON position.
d. Measure the voltage according to the value (s) in the table below.
Standard:
TESTER CONNECTION SPECIFIED CONDITION
e. Measure the voltage according to the value (s) in the table below.
Standard:
TESTER CONNECTION SPECIFIED CONDITION
Tester ConnectionSpecified Condition
S16-1 (IG1) - S16-2 (ESS)10 to 14V
Tester ConnectionSpecified Condition
S16-3 (BAT) -S16-2 (ESS)10 to 14V
Page 113 of 4500
When U0123/62, U0124/95 or U0126/63 are output together with C1232/32, C1234/34, C1243/43, C1244/44,
C1245/45, and C1381/97 inspect and repair the trouble areas indicated by U0121/94, U0123/62, U0124/95 or
U0126/63 first.
1.CHECK SENSOR INSTALLATION (YAW RATE SENSOR)
a. Check that the yaw rate and deceleration sensor has been installed properly (see
REPLACEMENT
).
OK: Go to next step
The sensor is tightened to the specified torque.
The sensor is not tilted.
NG: INSTALL YAW RATE SENSOR CORRECTLY
OK: Go to next step
2.CHECK HARNESS AND CONNECTOR (IG TERMINAL)
a. Disconnect the yaw rate and deceleration sensor connector.
b. Turn the ignition switch to the ON position.
c. Measure the voltage according to the value (s) in the table below.
Standard: