2003 BMW 760LI SEDAN navigation system
[x] Cancel search: navigation systemPage 83 of 229
At a glance
Controls
Driving tips
Communications
Navigation
Entertainment
Mobility
Reference
81
braking system capacity and does not uti-
lize the full capacity of the vehicle braking
system. Therefore, the system cannot
decrease your speed for large differences
in speed between your vehicle and the
vehicle ahead. Examples: during emer-
gency braking, when you approach a
vehicle traveling at a much lower speed
than your own speed such as approaching
a toll booth or when a much slower vehicle
cuts in front of you at close range.<
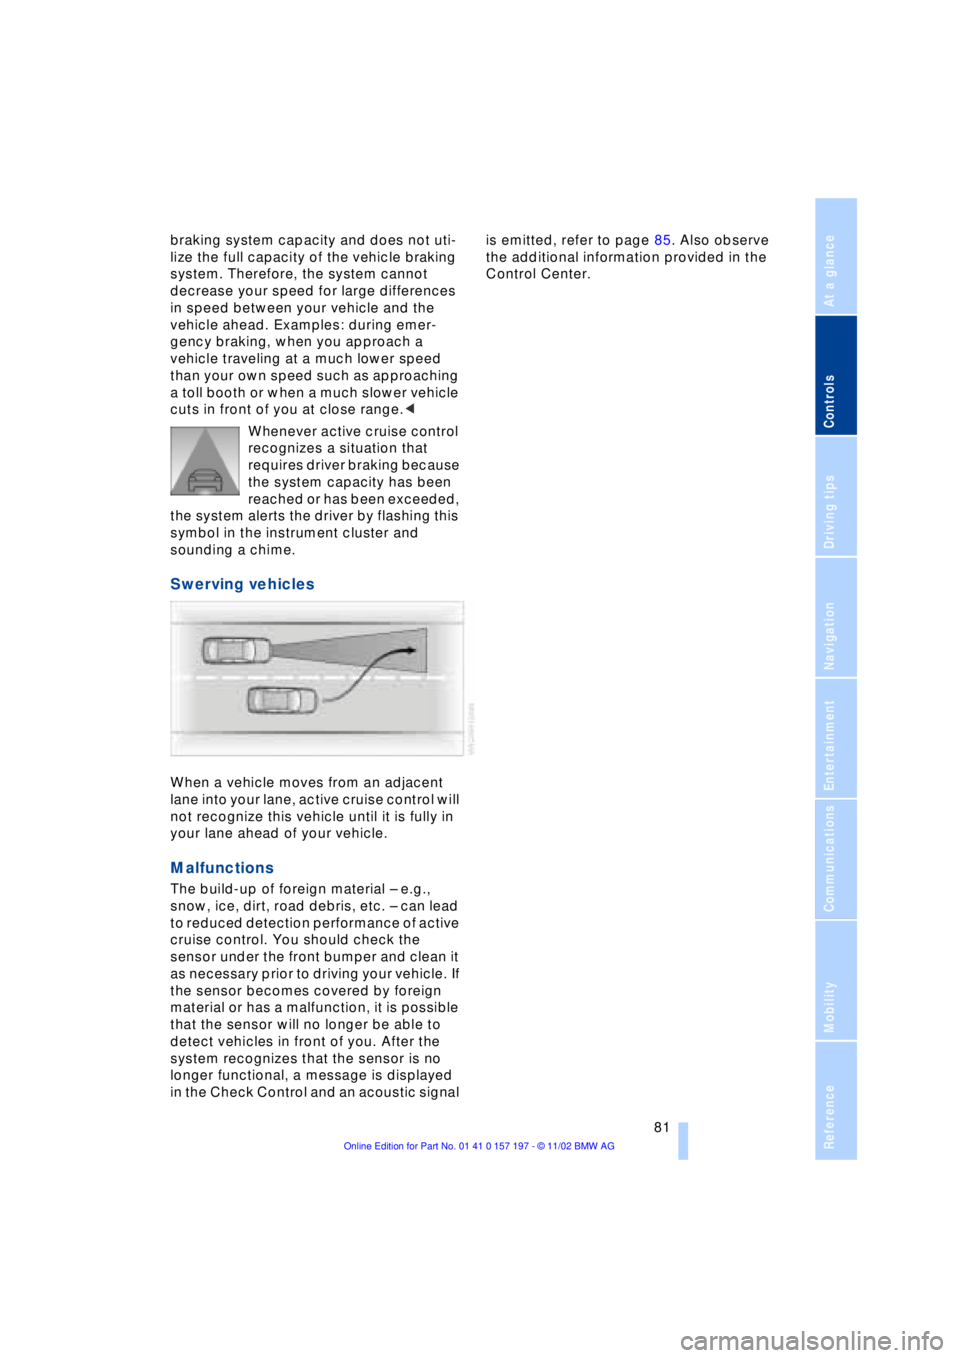
Whenever active cruise control
recognizes a situation that
requires driver braking because
the system capacity has been
reached or has been exceeded,
the system alerts the driver by flashing this
symbol in the instrument cluster and
sounding a chime.
Swerving vehicles
When a vehicle moves from an adjacent
lane into your lane, active cruise control will
not recognize this vehicle until it is fully in
your lane ahead of your vehicle.
Malfunctions
The build-up of foreign material Ð e.g.,
snow, ice, dirt, road debris, etc. Ð can lead
to reduced detection performance of active
cruise control. You should check the
sensor under the front bumper and clean it
as necessary prior to driving your vehicle. If
the sensor becomes covered by foreign
material or has a malfunction, it is possible
that the sensor will no longer be able to
detect vehicles in front of you. After the
system recognizes that the sensor is no
longer functional, a message is displayed
in the Check Control and an acoustic signal is emitted, refer to page 85. Also observe
the additional information provided in the
Control Center.
Page 87 of 229
At a glance
Controls
Driving tips
Communications
Navigation
Entertainment
Mobility
Reference
85
Check Control
Info Display screen contents
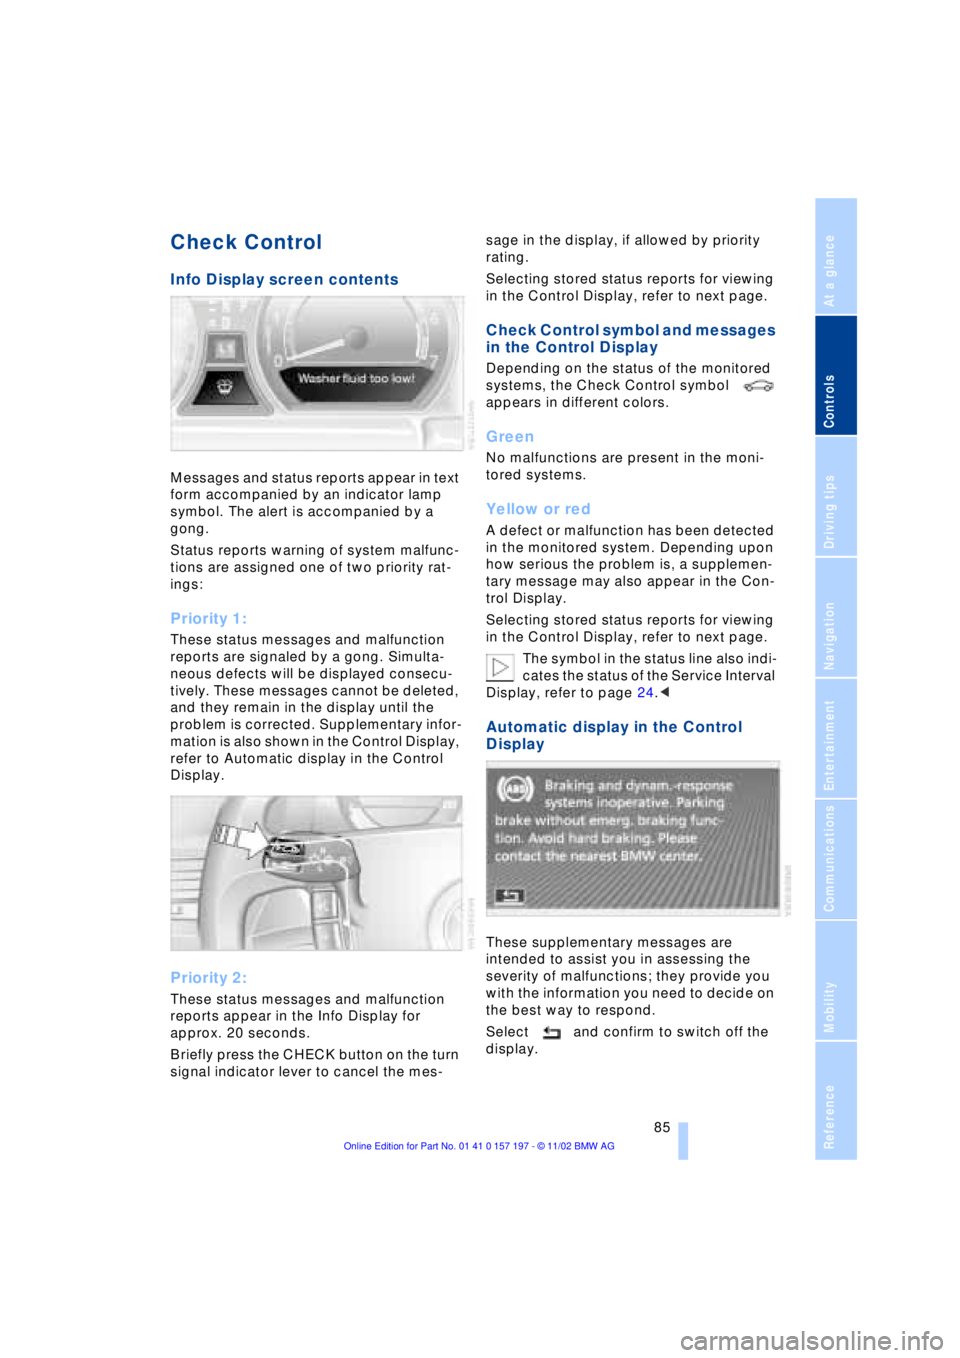
Messages and status reports appear in text
form accompanied by an indicator lamp
symbol. The alert is accompanied by a
gong.
Status reports warning of system malfunc-
tions are assigned one of two priority rat-
ings:
Priority 1:
These status messages and malfunction
reports are signaled by a gong. Simulta-
neous defects will be displayed consecu-
tively. These messages cannot be deleted,
and they remain in the display until the
problem is corrected. Supplementary infor-
mation is also shown in the Control Display,
refer to Automatic display in the Control
Display.
Priority 2:
These status messages and malfunction
reports appear in the Info Display for
approx. 20 seconds.
Briefly press the CHECK button on the turn
signal indicator lever to cancel the mes-sage in the display, if allowed by priority
rating.
Selecting stored status reports for viewing
in the Control Display, refer to next page.
Check Control symbol and messages
in the Control Display
Depending on the status of the monitored
systems, the Check Control symbol
appears in different colors.
Green
No malfunctions are present in the moni-
tored systems.
Yellow or red
A defect or malfunction has been detected
in the monitored system. Depending upon
how serious the problem is, a supplemen-
tary message may also appear in the Con-
trol Display.
Selecting stored status reports for viewing
in the Control Display, refer to next page.
The symbol in the status line also indi-
cates the status of the Service Interval
Display, refer to page 24.<
Automatic display in the Control
Display
These supplementary messages are
intended to assist you in assessing the
severity of malfunctions; they provide you
with the information you need to decide on
the best way to respond.
Select and confirm to switch off the
display.
Page 89 of 229
At a glance
Controls
Driving tips
Communications
Navigation
Entertainment
Mobility
Reference
87
Info Display screen contents
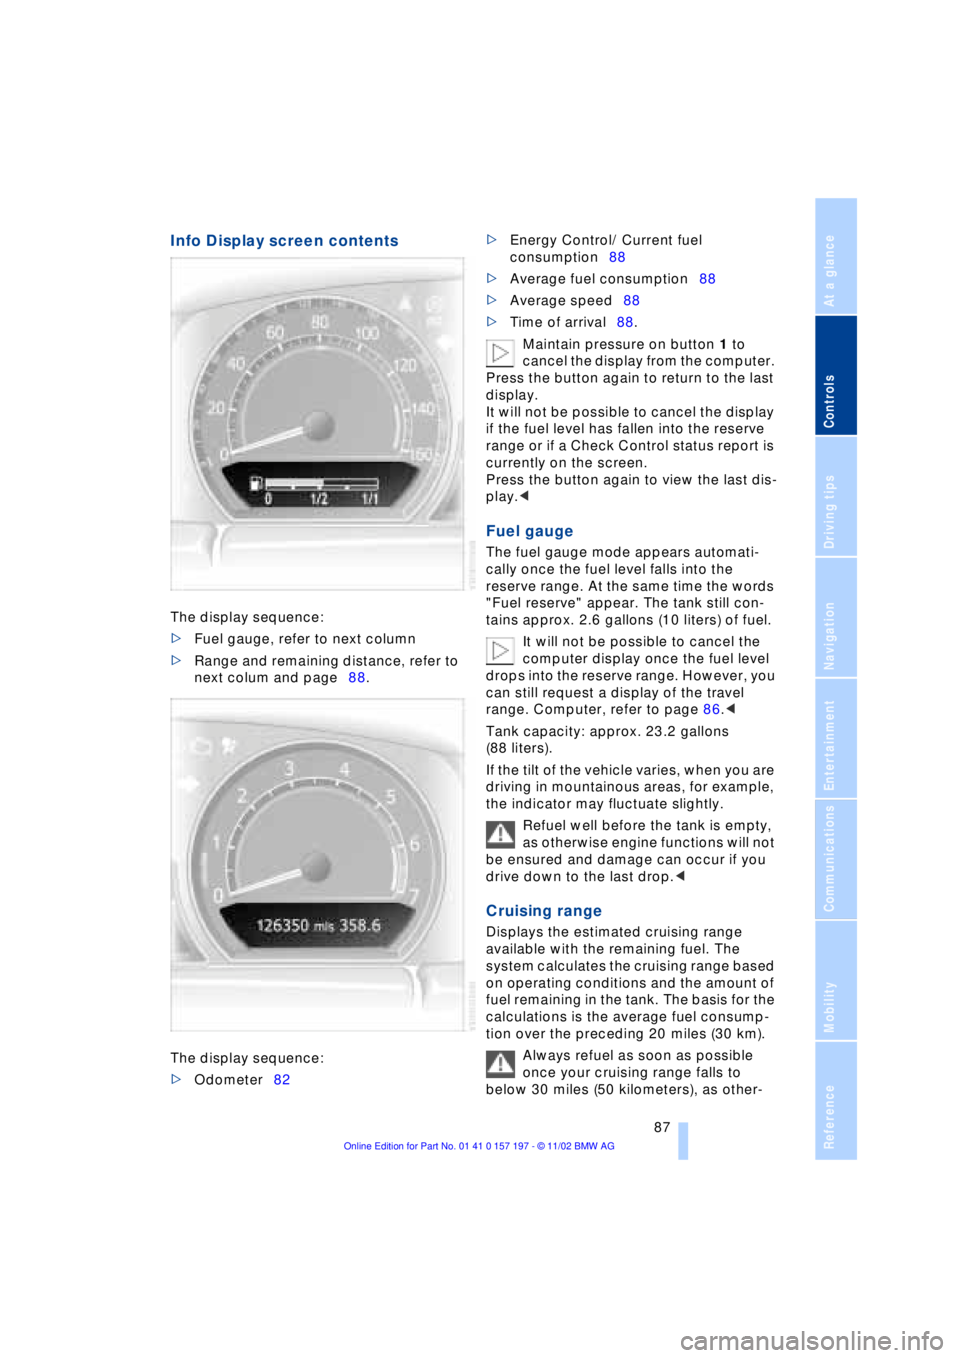
The display sequence:
>Fuel gauge, refer to next column
>Range and remaining distance, refer to
next colum and page88.
The display sequence:
>Odometer82 >Energy Control/ Current fuel
consumption88
>Average fuel consumption88
>Average speed88
>Time of arrival88.
Maintain pressure on button 1 to
cancel the display from the computer.
Press the button again to return to the last
display.
It will not be possible to cancel the display
if the fuel level has fallen into the reserve
range or if a Check Control status report is
currently on the screen.
Press the button again to view the last dis-
play.<
Fuel gauge
The fuel gauge mode appears automati-
cally once the fuel level falls into the
reserve range. At the same time the words
"Fuel reserve" appear. The tank still con-
tains approx. 2.6 gallons (10 liters) of fuel.
It will not be possible to cancel the
computer display once the fuel level
drops into the reserve range. However, you
can still request a display of the travel
range. Computer, refer to page 86.<
Tank capacity: approx. 23.2 gallons
(88 liters).
If the tilt of the vehicle varies, when you are
driving in mountainous areas, for example,
the indicator may fluctuate slightly.
Refuel well before the tank is empty,
as otherwise engine functions will not
be ensured and damage can occur if you
drive down to the last drop.<
Cruising range
Displays the estimated cruising range
available with the remaining fuel. The
system calculates the cruising range based
on operating conditions and the amount of
fuel remaining in the tank. The basis for the
calculations is the average fuel consump-
tion over the preceding 20 miles (30 km).
Always refuel as soon as possible
once your cruising range falls to
below 30 miles (50 kilometers), as other-
Page 90 of 229
Everything under control
88 wise engine functions are not ensured and
damage can occur.<
Refueling is only registered by the com-
puter for fuel amounts above approx.
1.3 gallons (5 liters).
Distance to destination
When you enter a destination in the naviga-
tion system or manually enter a distance in
the computer prior to departure, the
system can also display the distance
remaining to your destination, refer to
page 132 or 89.
The system automatically adopts the dis-
tance to your destination using the route
recommended by the navigation system.
When you enter a destination in the
navigation system, any manual
entries will be overwritten no later than
once 1,640 ft (500 meters) of the calcu-
lated distance have elapsed.<
Energy Control/
Current fuel consumption
Shows your current fuel consumption rate
in mpg Ð in liters/100 km on Canadian vehi-
cles. This allows you to see whether your
current driving style is conducive to fuel
economy with minimum exhaust emis-
sions.
When the vehicle is stationary the display
goes to the maximum reading, zero on
Canadian models.
Average fuel consumption
The average fuel consumption is calculated
for the time during which the engine is run-
ning.
You can use the Control Display to view
your fuel consumption rate over two dif-
ferent distances, refer to Computer or Trip
computer.
Average speed
Periods with the vehicle parked and the
engine off are not included in the calcula-
tions of average speed.
Time of arrival
A display of your estimated time of arrival is
available whenever you enter a destination
in the navigation system, refer to page 132,
or enter the distance manually in the com-
puter, refer to page 89, prior to departure.
This function is only available if the
time in the Control Display has been
correctly set, refer to page 91.<
Control Display screen contents
You can activate the computer function at
any time by selecting it from the "Car data"
menu.
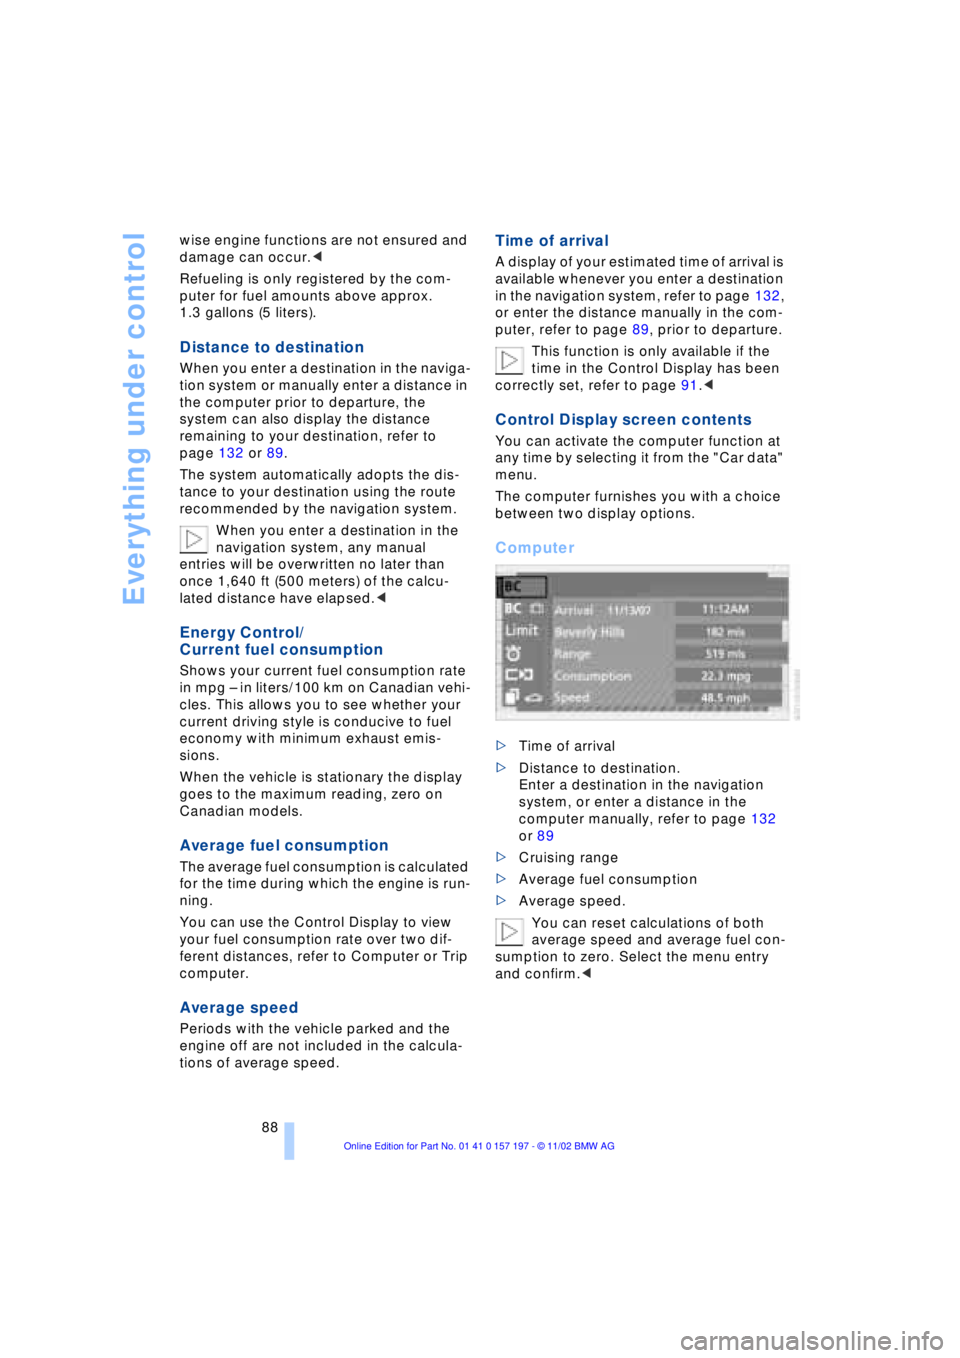
The computer furnishes you with a choice
between two display options.
Computer
>Time of arrival
>Distance to destination.
Enter a destination in the navigation
system, or enter a distance in the
computer manually, refer to page 132
or 89
>Cruising range
>Average fuel consumption
>Average speed.
You can reset calculations of both
average speed and average fuel con-
sumption to zero. Select the menu entry
and confirm.<
Page 91 of 229
At a glance
Controls
Driving tips
Communications
Navigation
Entertainment
Mobility
Reference
89
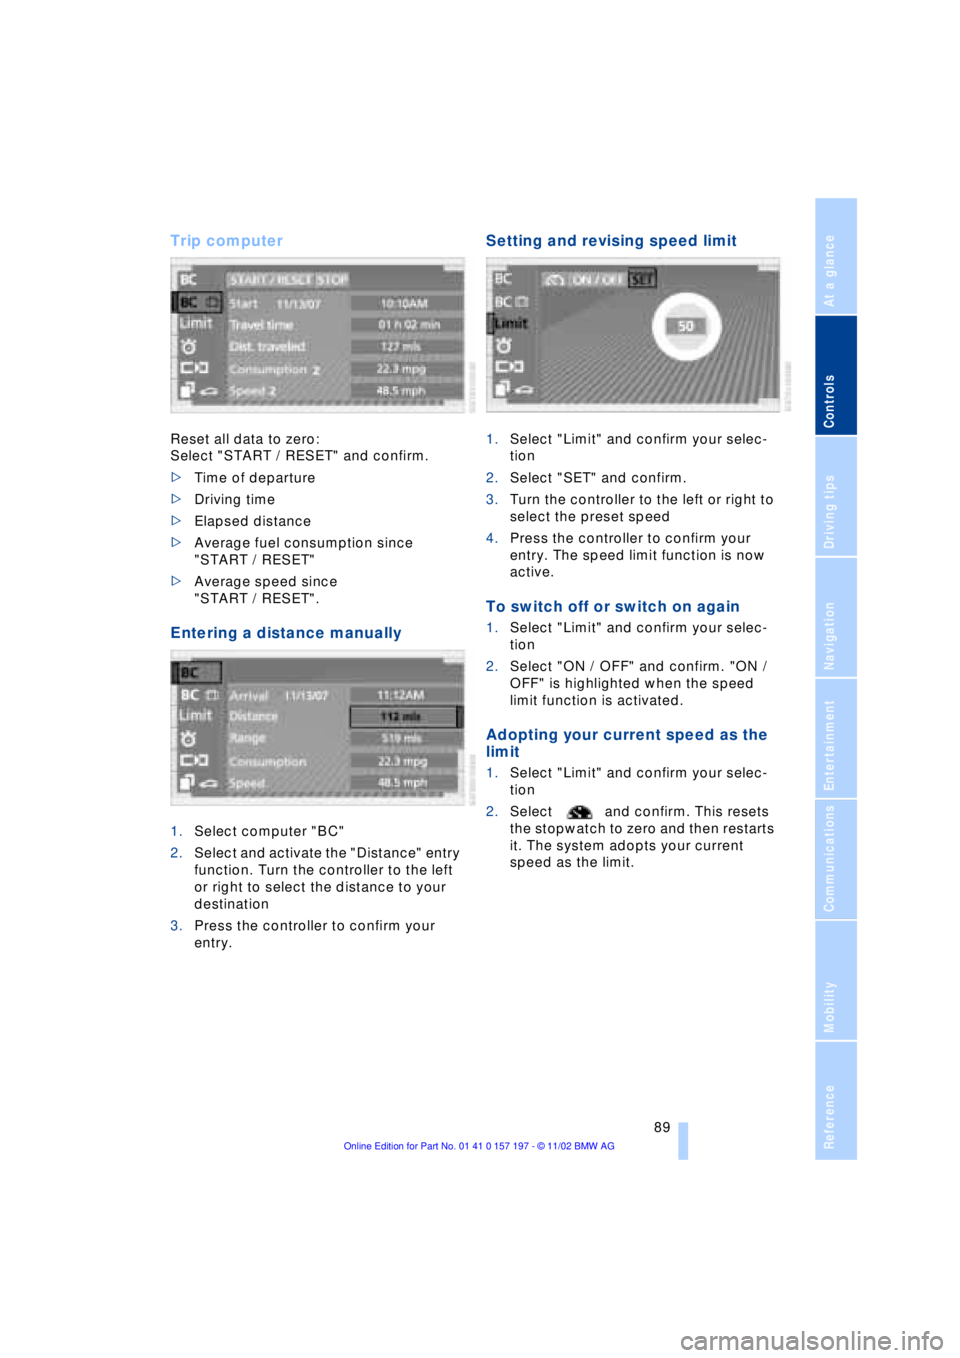
Trip computer
Reset all data to zero:
Select "START / RESET" and confirm.
>Time of departure
>Driving time
>Elapsed distance
>Average fuel consumption since
"START / RESET"
>Average speed since
"START / RESET".
Entering a distance manually
1.Select computer "BC"
2.Select and activate the "Distance" entry
function. Turn the controller to the left
or right to select the distance to your
destination
3.Press the controller to confirm your
entry.
Setting and revising speed limit
1.Select "Limit" and confirm your selec-
tion
2.Select "SET" and confirm.
3.Turn the controller to the left or right to
select the preset speed
4.Press the controller to confirm your
entry. The speed limit function is now
active.
To switch off or switch on again
1.Select "Limit" and confirm your selec-
tion
2.Select "ON / OFF" and confirm. "ON /
OFF" is highlighted when the speed
limit function is activated.
Adopting your current speed as the
limit
1.Select "Limit" and confirm your selec-
tion
2.Select and confirm. This resets
the stopwatch to zero and then restarts
it. The system adopts your current
speed as the limit.
Page 93 of 229
At a glance
Controls
Driving tips
Communications
Navigation
Entertainment
Mobility
Reference
91
Importing display
1.Select the desired function and confirm
Ð here, computer "BC"
2.Select and confirm. This resets
the stopwatch to zero and then restarts
it. The function appears in the assis-
tance window.
The symbol is highlighted if
the function displayed in the asssis-
tance window is selected in the Control
Display. You can also choose to view brief
help texts explaining selected menu
entries, refer to page 23, or the travel route
on vehicles equipped with a GPS naviga-
tion system, refer to page 131.<
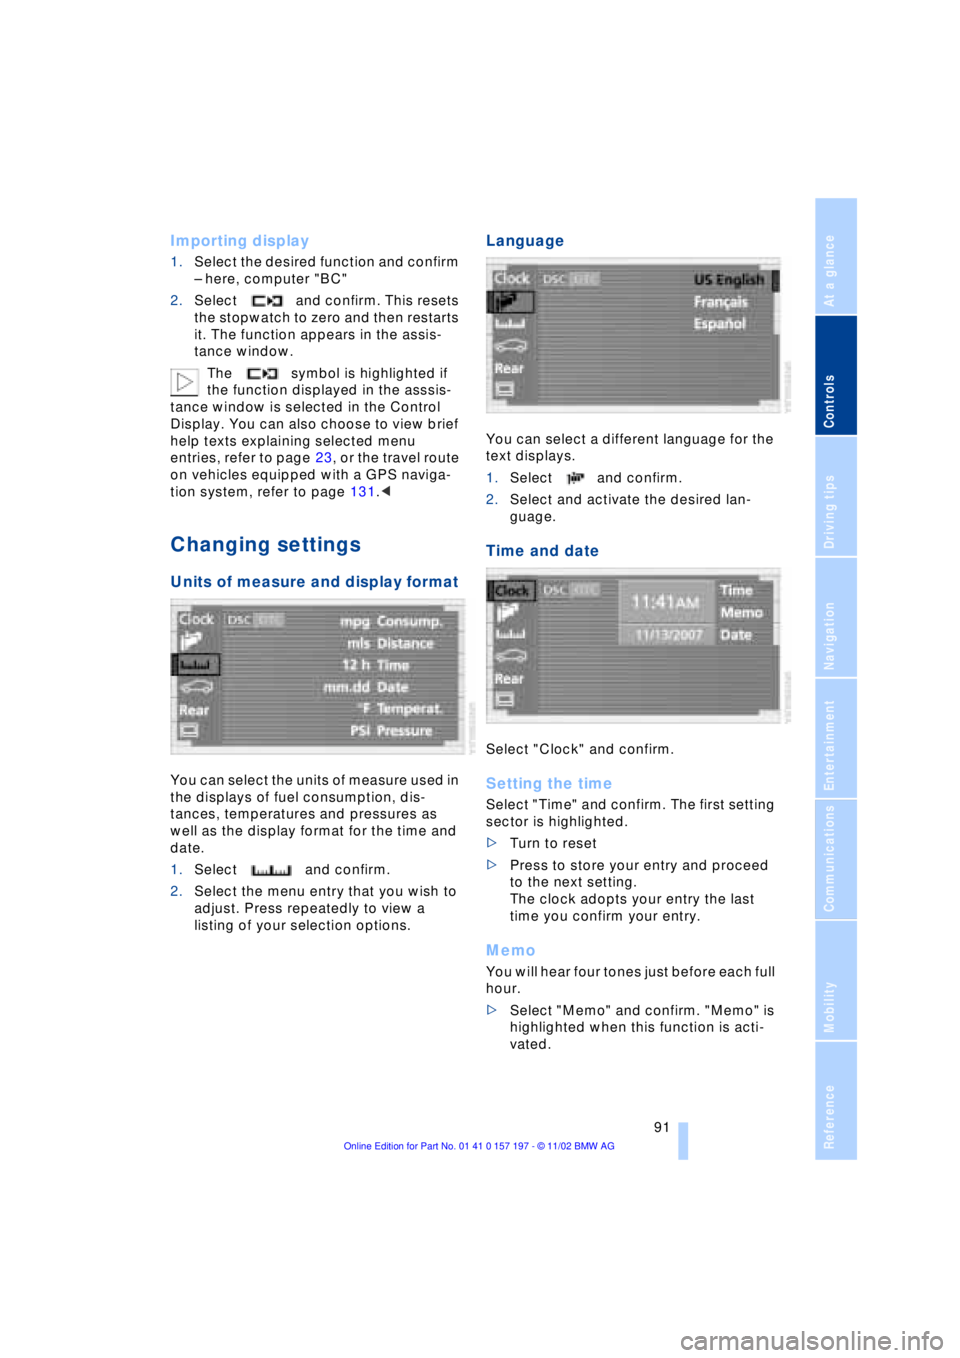
Changing settings
Units of measure and display format
You can select the units of measure used in
the displays of fuel consumption, dis-
tances, temperatures and pressures as
well as the display format for the time and
date.
1.Select and confirm.
2.Select the menu entry that you wish to
adjust. Press repeatedly to view a
listing of your selection options.
Language
You can select a different language for the
text displays.
1.Select and confirm.
2.Select and activate the desired lan-
guage.
Time and date
Select "Clock" and confirm.
Setting the time
Select "Time" and confirm. The first setting
sector is highlighted.
>Turn to reset
>Press to store your entry and proceed
to the next setting.
The clock adopts your entry the last
time you confirm your entry.
Memo
You will hear four tones just before each full
hour.
>Select "Memo" and confirm. "Memo" is
highlighted when this function is acti-
vated.
Page 95 of 229
At a glance
Controls
Driving tips
Communications
Navigation
Entertainment
Mobility
Reference
93
Technology for comfort, convenience
and safety
PDC Park Distance Control*
The concept
The PDC assists you when you are parking.
Signal tones indicate the current distance
to an object behind or in front of your
vehicle. Four ultrasonic sensors in both the
bumpers monitor the distance to the
nearest object. The sensors at the front and
at the two rear corners have a range of
approx. 2 ft (60 cm); the rear middle sen-
sors have approx. 5 ft (1.50 m).
PDC is a parking aid that can indicate
objects when they are approached
slowly, as is usually the case when parking.
Avoid approaching an object at high speed,
as otherwise the physical circumstances
would mean that the system warning was
too late.<
Automatic function
Whenever the ignition is on the system
automatically assumes operational status
after a few seconds each time you engage
the transmission position R.
Wait this short period before
reversing.<
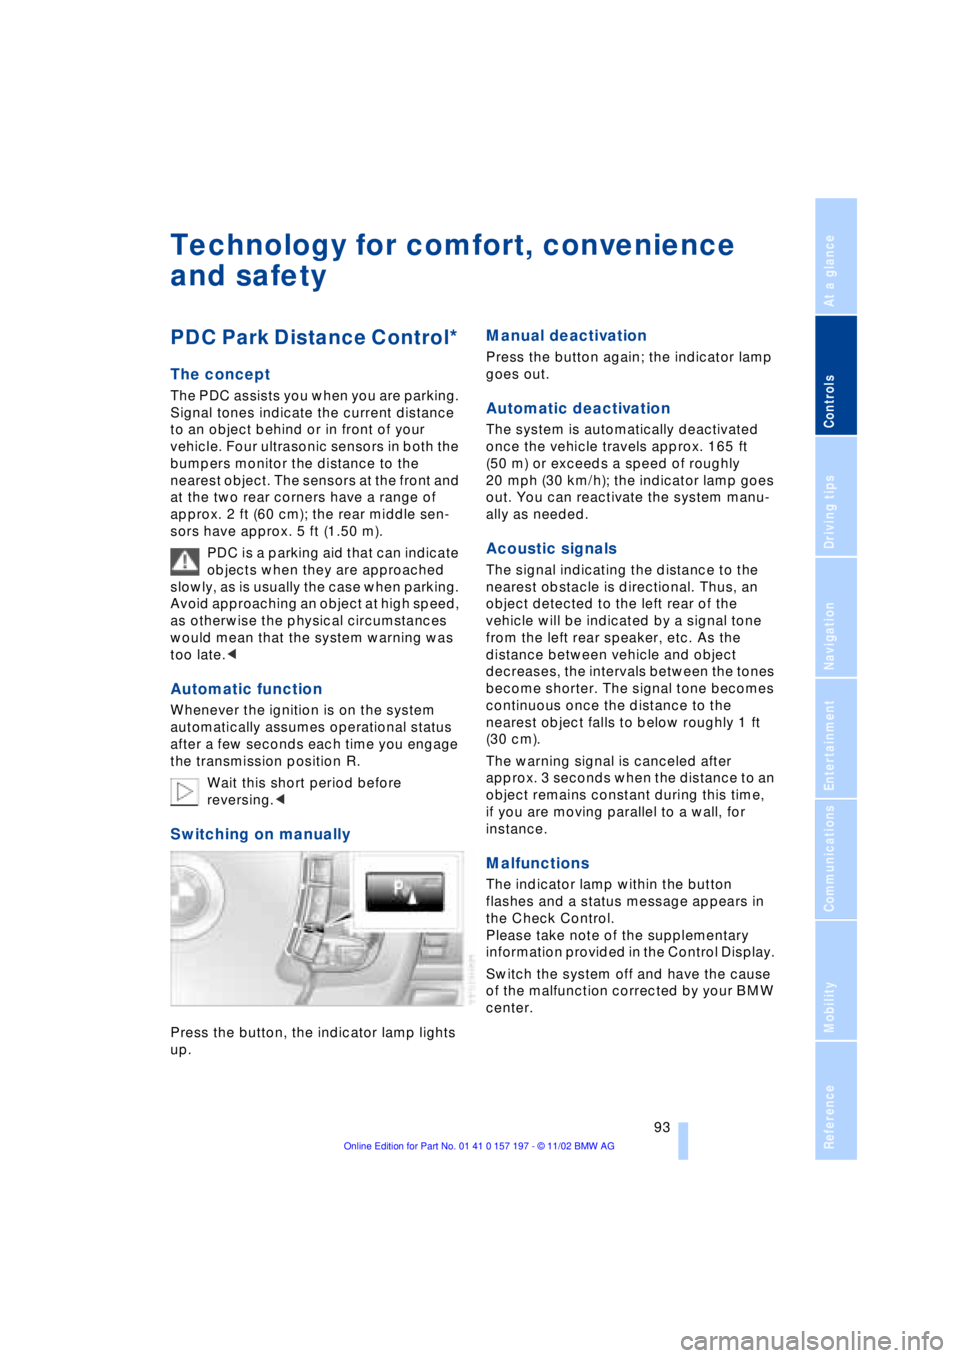
Switching on manually
Press the button, the indicator lamp lights
up.
Manual deactivation
Press the button again; the indicator lamp
goes out.
Automatic deactivation
The system is automatically deactivated
once the vehicle travels approx. 165 ft
(50 m) or exceeds a speed of roughly
20 mph (30 km/h); the indicator lamp goes
out. You can reactivate the system manu-
ally as needed.
Acoustic signals
The signal indicating the distance to the
nearest obstacle is directional. Thus, an
object detected to the left rear of the
vehicle will be indicated by a signal tone
from the left rear speaker, etc. As the
distance between vehicle and object
decreases, the intervals between the tones
become shorter. The signal tone becomes
continuous once the distance to the
nearest object falls to below roughly 1 ft
(30 cm).
The warning signal is canceled after
approx. 3 seconds when the distance to an
object remains constant during this time,
if you are moving parallel to a wall, for
instance.
Malfunctions
The indicator lamp within the button
flashes and a status message appears in
the Check Control.
Please take note of the supplementary
information provided in the Control Display.
Switch the system off and have the cause
of the malfunction corrected by your BMW
center.
Page 97 of 229
At a glance
Controls
Driving tips
Communications
Navigation
Entertainment
Mobility
Reference
95
difficult driving conditions, such as on
snow, etc.
Indicator lamps
The indicator lamp in the Info Dis-
play goes out soon after you start
the engine.
If the indicator lamp flashes:
DSC controls the drive and braking forces.
The indicator lamp stays lit:
DSC has been switched off via the Control
Display.
The indicator lamp and the brake
warning lamp remain on continu-
ously:
DSC, DTC and DBC have been
deactivated or a system malfunc-
tion is present.
When the system is off, the stability main-
tenance functions described above are no
longer available. The vehicle will remain
completely operational, however, without
DSC.
Please respond to any malfunctions by
referring the problem to your BMW center.
Indicator and warning lamps on
Canadian models.
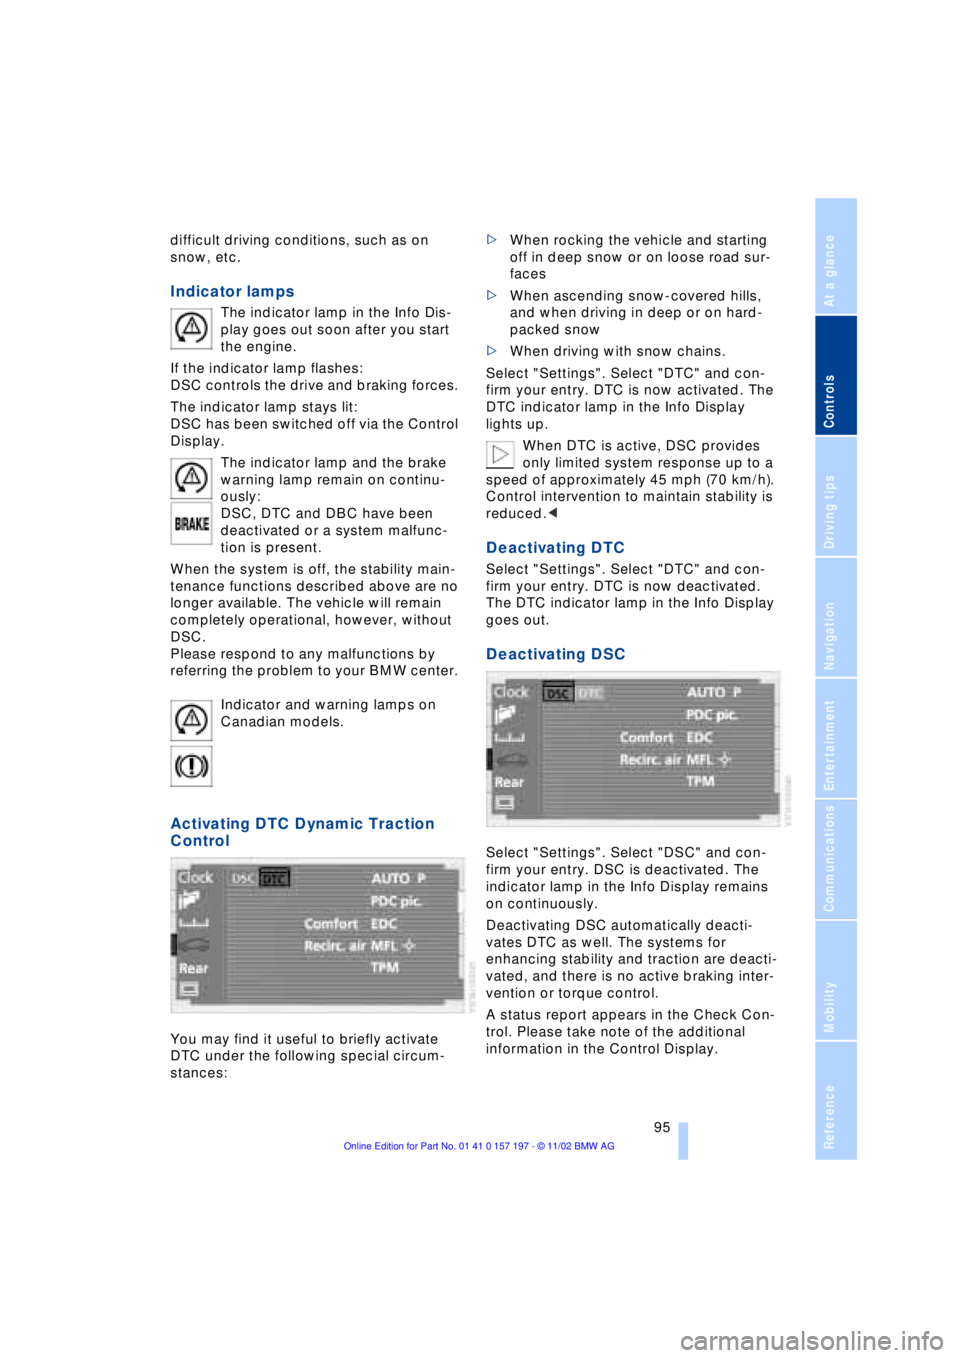
Activating DTC Dynamic Traction
Control
You may find it useful to briefly activate
DTC under the following special circum-
stances: >When rocking the vehicle and starting
off in deep snow or on loose road sur-
faces
>When ascending snow-covered hills,
and when driving in deep or on hard-
packed snow
>When driving with snow chains.
Select "Settings". Select "DTC" and con-
firm your entry. DTC is now activated. The
DTC indicator lamp in the Info Display
lights up.
When DTC is active, DSC provides
only limited system response up to a
speed of approximately 45 mph (70 km/h).
Control intervention to maintain stability is
reduced.<
Deactivating DTC
Select "Settings". Select "DTC" and con-
firm your entry. DTC is now deactivated.
The DTC indicator lamp in the Info Display
goes out.
Deactivating DSC
Select "Settings". Select "DSC" and con-
firm your entry. DSC is deactivated. The
indicator lamp in the Info Display remains
on continuously.
Deactivating DSC automatically deacti-
vates DTC as well. The systems for
enhancing stability and traction are deacti-
vated, and there is no active braking inter-
vention or torque control.
A status report appears in the Check Con-
trol. Please take note of the additional
information in the Control Display.