2003 BMW 760LI SEDAN park assist
[x] Cancel search: park assistPage 4 of 229
Contents
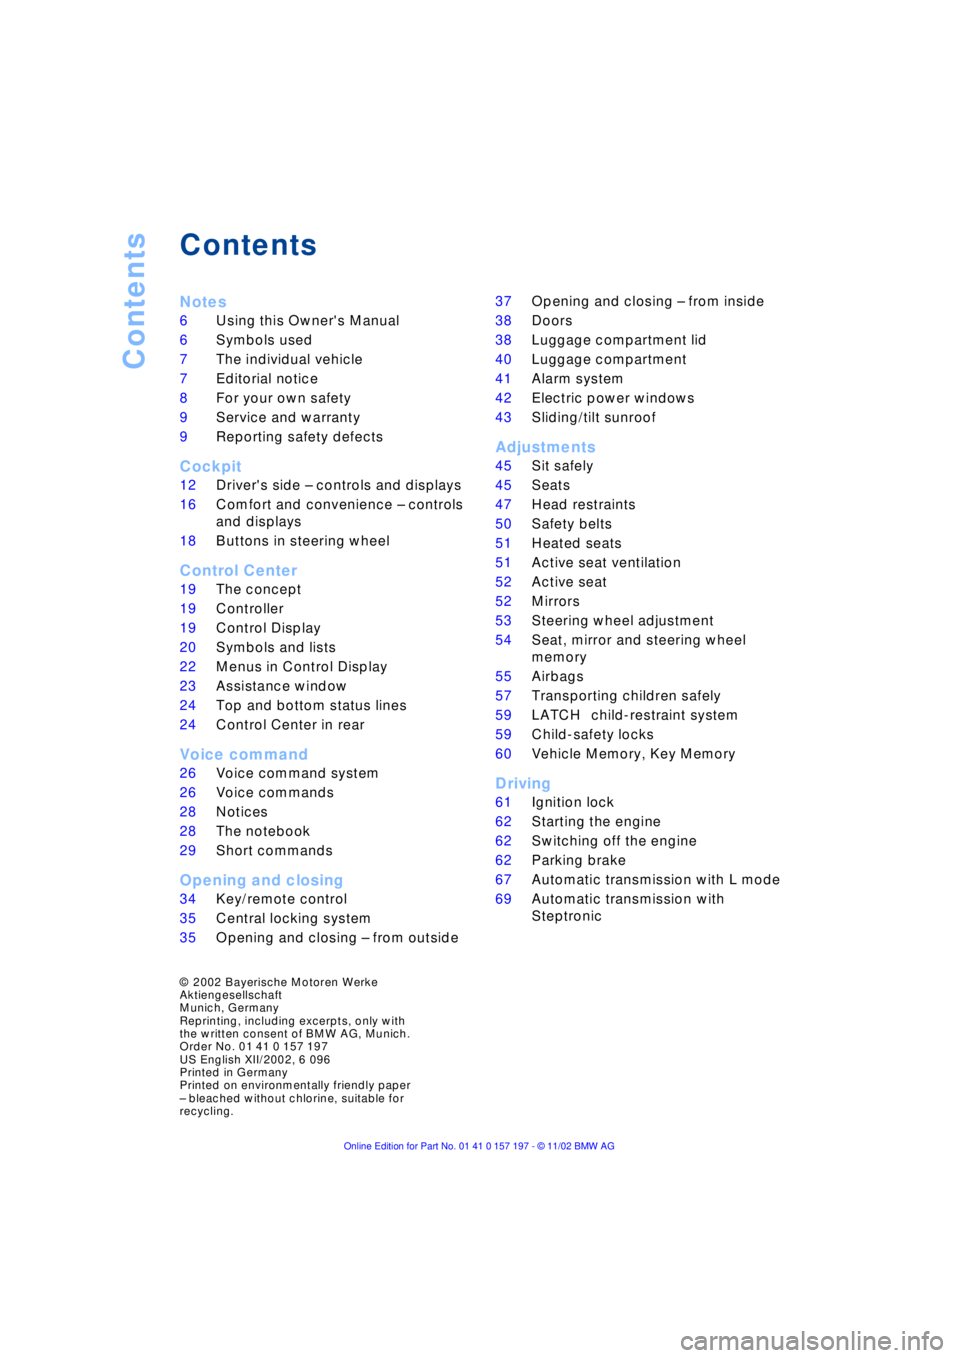
Contents
Notes
6Using this Owner's Manual
6Symbols used
7The individual vehicle
7Editorial notice
8For your own safety
9Service and warranty
9Reporting safety defects
Cockpit
12Driver's side Ð controls and displays
16Comfort and convenience Ð controls
and displays
18Buttons in steering wheel
Control Center
19The concept
19Controller
19Control Display
20Symbols and lists
22Menus in Control Display
23Assistance window
*
24Top and bottom status lines
24Control Center in rear
*
Voice command
26Voice command system
26Voice commands
28Notices
28The notebook
29Short commands
Opening and closing
34Key/remote control
35Central locking system
35Opening and closing Ð from outside 37Opening and closing Ð from inside
38Doors
38Luggage compartment lid
40Luggage compartment
41Alarm system
42Electric power windows
43Sliding/tilt sunroof
*
Adjustments
45Sit safely
45Seats
47Head restraints
50Safety belts
51Heated seats
*
51Active seat ventilation
*
52Active seat
*
52Mirrors
53Steering wheel adjustment
54Seat, mirror and steering wheel
memory
55Airbags
57Transporting children safely
59LATCH
*
child-restraint system
59Child-safety locks
60Vehicle Memory, Key Memory
Driving
61Ignition lock
62Starting the engine
62Switching off the engine
62Parking brake
67Automatic transmission with L mode
69Automatic transmission with
Steptronic
*
© 2002 Bayerische Motoren Werke
Aktiengesellschaft
Munich, Germany
Reprinting, including excerpts, only with
the written consent of BMW AG, Munich.
Order No. 01 41 0 157 197
US English XII/2002, 6 096
Printed in Germany
Printed on environmentally friendly paper
Ð bleached without chlorine, suitable for
recycling.
Page 5 of 229
At a glance
Operation
Driving tips
Communications
Navigation
Entertainment
Mobility
Reference
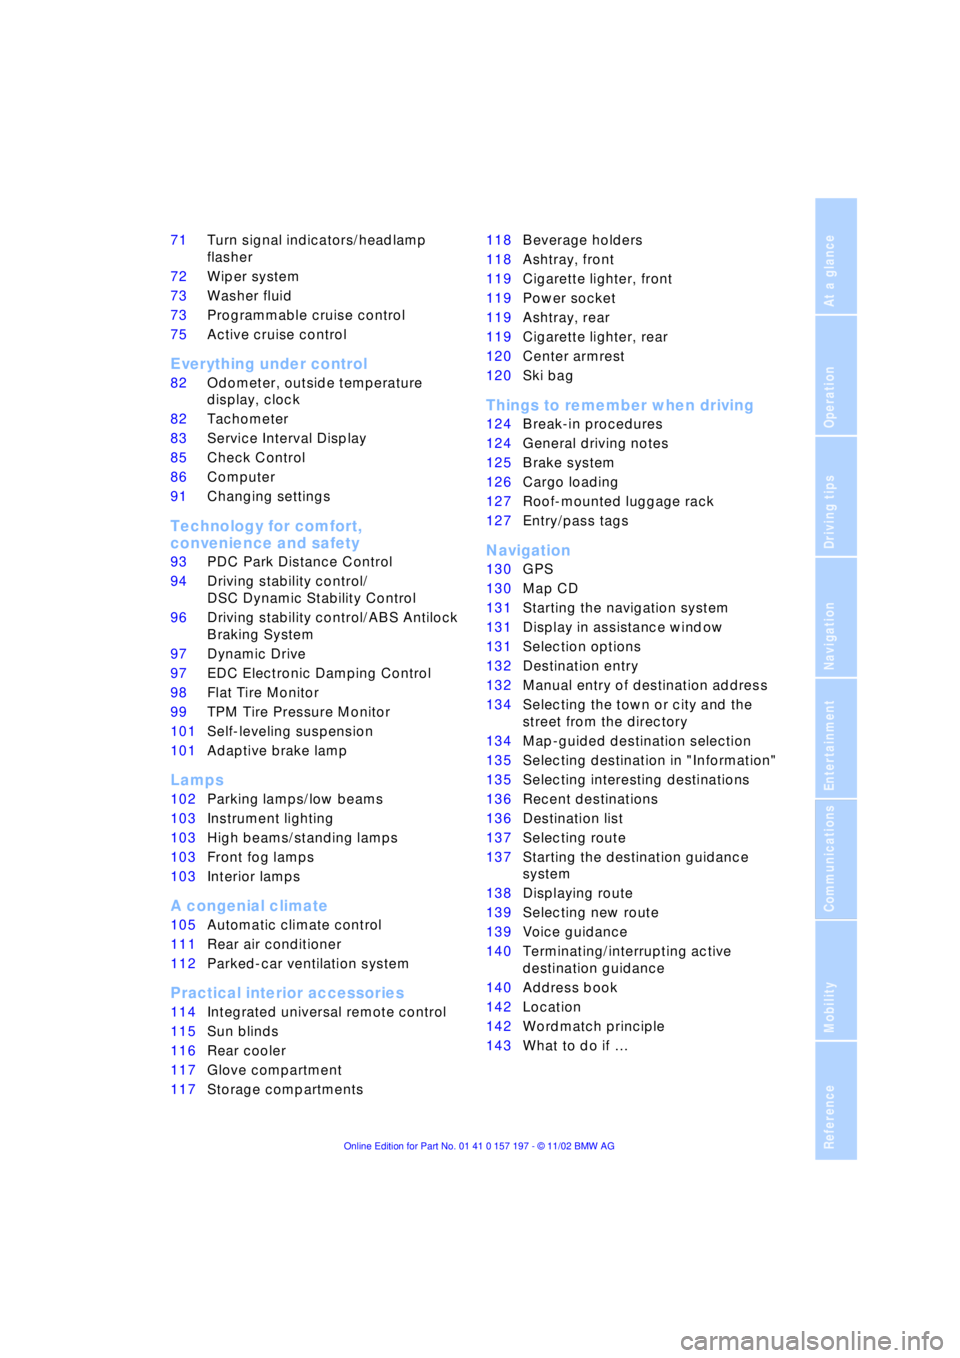
71Turn signal indicators/headlamp
flasher
72Wiper system
73Washer fluid
73Programmable cruise control
75Active cruise control
*
Everything under control
82Odometer, outside temperature
display, clock
82Tachometer
83Service Interval Display
85Check Control
86Computer
91Changing settings
Technology for comfort,
convenience and safety
93PDC Park Distance Control
*
94Driving stability control/
DSC Dynamic Stability Control
96Driving stability control/ABS Antilock
Braking System
97Dynamic Drive
97EDC Electronic Damping Control
*
98Flat Tire Monitor
*
99TPM Tire Pressure Monitor
*
101Self-leveling suspension
*
101Adaptive brake lamp
Lamps
102Parking lamps/low beams
103Instrument lighting
103High beams/standing lamps
103Front fog lamps
103Interior lamps
A congenial climate
105Automatic climate control
111Rear air conditioner
*
112Parked-car ventilation system
Practical interior accessories
114Integrated universal remote control
*
115Sun blinds
*
116Rear cooler
*
117Glove compartment
117Storage compartments118Beverage holders
118Ashtray, front
119Cigarette lighter, front
119Power socket
119Ashtray, rear
119Cigarette lighter, rear
120Center armrest
120Ski bag
*
Things to remember when driving
124Break-in procedures
124General driving notes
125Brake system
126Cargo loading
127Roof-mounted luggage rack
*
127Entry/pass tags
Navigation
130GPS
130Map CD
131Starting the navigation system
131Display in assistance window
*
131Selection options
132Destination entry
132Manual entry of destination address
134Selecting the town or city and the
street from the directory
134Map-guided destination selection
135Selecting destination in "Information"
135Selecting interesting destinations
136Recent destinations
136Destination list
137Selecting route
137Starting the destination guidance
system
138Displaying route
139Selecting new route
139Voice guidance
140Terminating/interrupting active
destination guidance
140Address book
142Location
142Wordmatch principle
143What to do if É
Page 25 of 229
At a glance
Controls
Driving tips
Communications
Navigation
Entertainment
Mobility
Reference
23
>Units of measure and display
format91
>Brightness92
>Lock Control Center in rear24
8Climate
>Automatic climate control105
>Heated seats51
>Parked-car ventilation system112
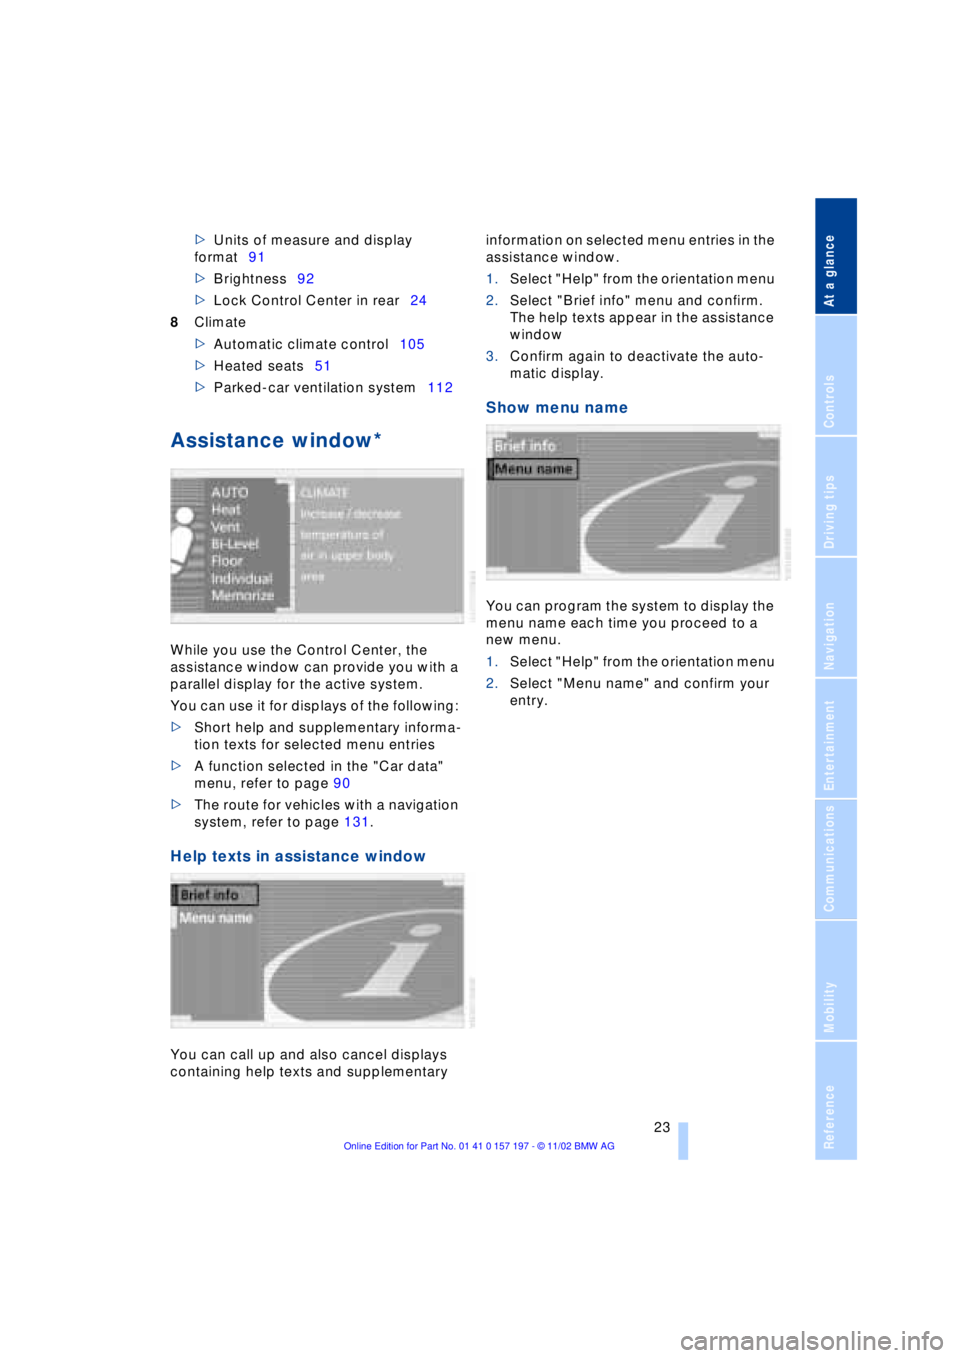
Assistance window*
While you use the Control Center, the
assistance window can provide you with a
parallel display for the active system.
You can use it for displays of the following:
>Short help and supplementary informa-
tion texts for selected menu entries
>A function selected in the "Car data"
menu, refer to page 90
>The route for vehicles with a navigation
system, refer to page 131.
Help texts in assistance window
You can call up and also cancel displays
containing help texts and supplementary information on selected menu entries in the
assistance window.
1.Select "Help" from the orientation menu
2.Select "Brief info" menu and confirm.
The help texts appear in the assistance
window
3.Confirm again to deactivate the auto-
matic display.
Show menu name
You can program the system to display the
menu name each time you proceed to a
new menu.
1.Select "Help" from the orientation menu
2.Select "Menu name" and confirm your
entry.
Page 44 of 229
Opening and closing
42 Lock, i.e. arm by pressing twice; press
button 2of the remote control
twice in succession, refer to page 36, or
lock twice with the key, refer to page 37.
The indicator lamp lights up briefly and
then flashes continuously. The tilt alarm
sensor and the interior motion sensor are
switched off as long as the system is
armed.
If you desire, the
>tilt alarm sensor
>interior motion sensor
can be switched off permanently. Please
contact your BMW center for assistance.<
Interior motion sensor
In order for the interior motion sensor to
function properly, the windows and sliding/
tilt sunroof must be completely closed.
Be sure to deactivate the interior motion
sensor, refer to section on Avoiding unin-
tentional alarms, when you wish to leave
the windows or sliding/tilt sunroof open.
Electric power windows
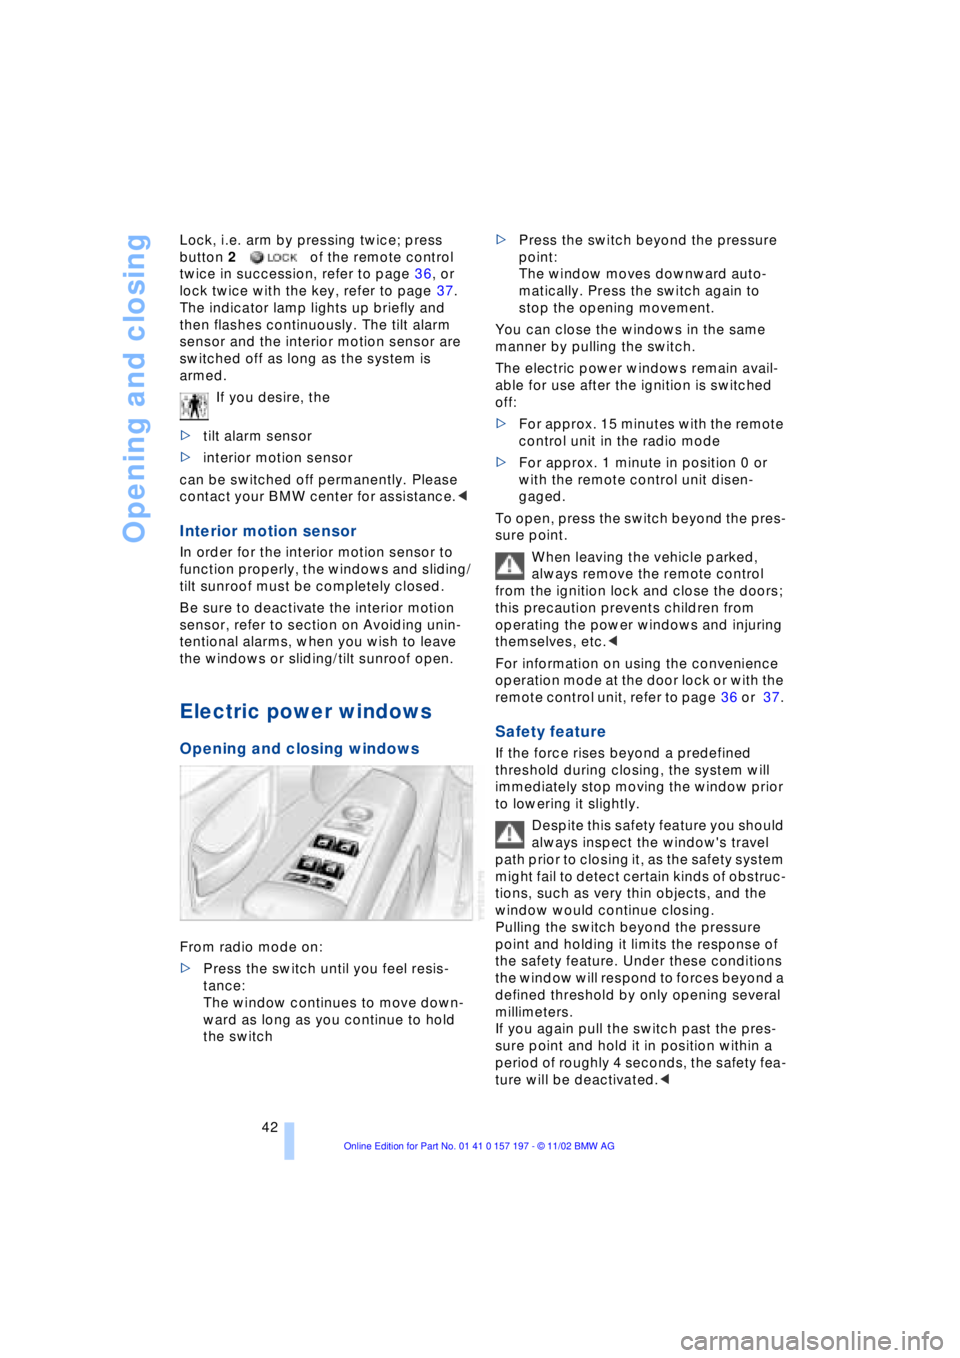
Opening and closing windows
From radio mode on:
>Press the switch until you feel resis-
tance:
The window continues to move down-
ward as long as you continue to hold
the switch >Press the switch beyond the pressure
point:
The window moves downward auto-
matically. Press the switch again to
stop the opening movement.
You can close the windows in the same
manner by pulling the switch.
The electric power windows remain avail-
able for use after the ignition is switched
off:
>For approx. 15 minutes with the remote
control unit in the radio mode
>For approx. 1 minute in position 0 or
with the remote control unit disen-
gaged.
To open, press the switch beyond the pres-
sure point.
When leaving the vehicle parked,
always remove the remote control
from the ignition lock and close the doors;
this precaution prevents children from
operating the power windows and injuring
themselves, etc.<
For information on using the convenience
operation mode at the door lock or with the
remote control unit, refer to page 36 or 37.
Safety feature
If the force rises beyond a predefined
threshold during closing, the system will
immediately stop moving the window prior
to lowering it slightly.
Despite this safety feature you should
always inspect the window's travel
path prior to closing it, as the safety system
might fail to detect certain kinds of obstruc-
tions, such as very thin objects, and the
window would continue closing.
Pulling the switch beyond the pressure
point and holding it limits the response of
the safety feature. Under these conditions
the window will respond to forces beyond a
defined threshold by only opening several
millimeters.
If you again pull the switch past the pres-
sure point and hold it in position within a
period of roughly 4 seconds, the safety fea-
ture will be deactivated.<
Page 75 of 229
At a glance
Controls
Driving tips
Communications
Navigation
Entertainment
Mobility
Reference
73
Selecting wiper fold-out position
Important for changing wiper blades, when
folding away from windshield to prevent
blades from sticking when ice forms, etc.
1.Switch off the engine and remove the
remote control unit from the ignition
lock
2.Press the wiper lever up and maintain
pressure for about 3 seconds until the
wipers are roughly vertical Ð this is the
fold-out position.
After folding the wipers back against the
windshield you will need to reactivate the
wiper system:
1.Insert the remote control unit to activate
the radio mode in the ignition lock
2.Apply brief upward pressure to the
wiper lever. The wipers return to their
retracted position and are ready for
normal operation.
To prevent damage to the wipers,
always fold them back against the
windshield before switching on either the
radio mode or the ignition.<
Washer fluid
Windshield and headlamp washer
system
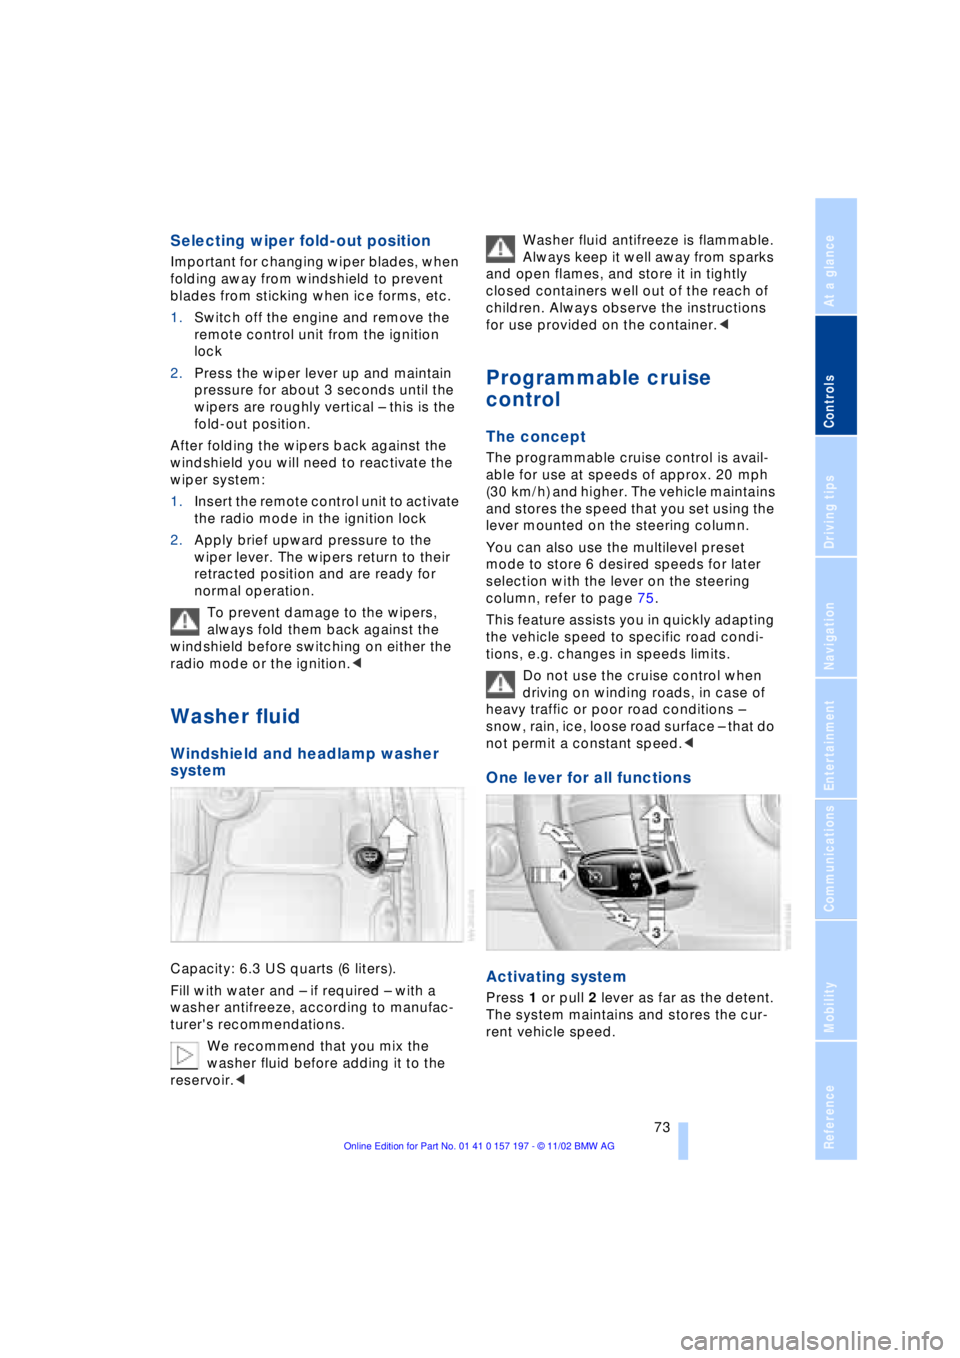
Capacity: 6.3 US quarts (6 liters).
Fill with water and Ð if required Ð with a
washer antifreeze, according to manufac-
turer's recommendations.
We recommend that you mix the
washer fluid before adding it to the
reservoir.< Washer fluid antifreeze is flammable.
Always keep it well away from sparks
and open flames, and store it in tightly
closed containers well out of the reach of
children. Always observe the instructions
for use provided on the container.<
Programmable cruise
control
The concept
The programmable cruise control is avail-
able for use at speeds of approx. 20 mph
(30 km/h) and higher. The vehicle maintains
and stores the speed that you set using the
lever mounted on the steering column.
You can also use the multilevel preset
mode to store 6 desired speeds for later
selection with the lever on the steering
column, refer to page 75.
This feature assists you in quickly adapting
the vehicle speed to specific road condi-
tions, e.g. changes in speeds limits.
Do not use the cruise control when
driving on winding roads, in case of
heavy traffic or poor road conditions Ð
snow, rain, ice, loose road surface Ð that do
not permit a constant speed.<
One lever for all functions
Activating system
Press 1 or pull 2 lever as far as the detent.
The system maintains and stores the cur-
rent vehicle speed.
Page 95 of 229
At a glance
Controls
Driving tips
Communications
Navigation
Entertainment
Mobility
Reference
93
Technology for comfort, convenience
and safety
PDC Park Distance Control*
The concept
The PDC assists you when you are parking.
Signal tones indicate the current distance
to an object behind or in front of your
vehicle. Four ultrasonic sensors in both the
bumpers monitor the distance to the
nearest object. The sensors at the front and
at the two rear corners have a range of
approx. 2 ft (60 cm); the rear middle sen-
sors have approx. 5 ft (1.50 m).
PDC is a parking aid that can indicate
objects when they are approached
slowly, as is usually the case when parking.
Avoid approaching an object at high speed,
as otherwise the physical circumstances
would mean that the system warning was
too late.<
Automatic function
Whenever the ignition is on the system
automatically assumes operational status
after a few seconds each time you engage
the transmission position R.
Wait this short period before
reversing.<
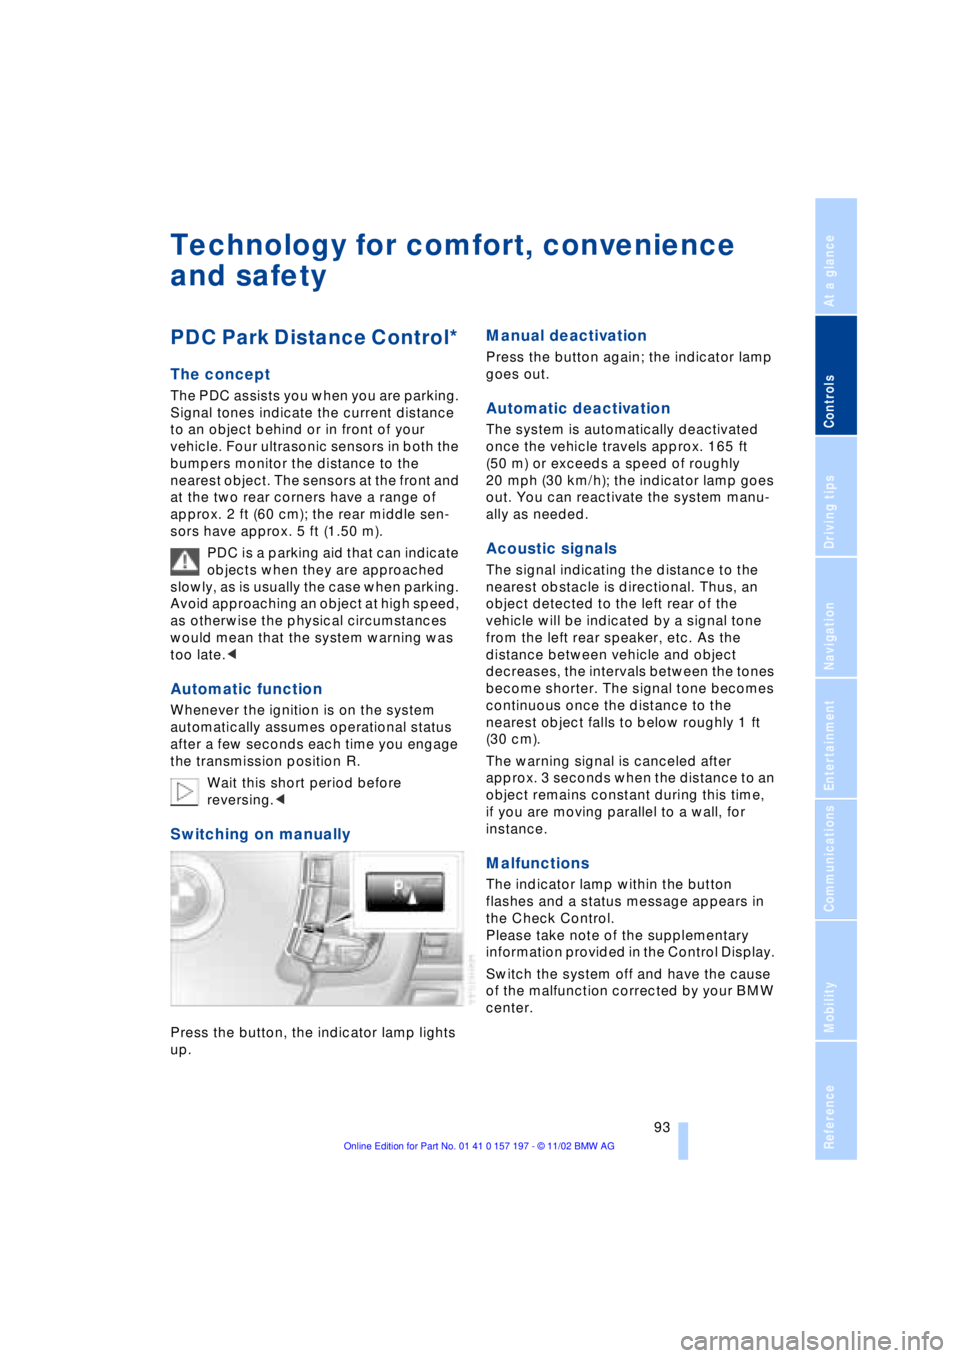
Switching on manually
Press the button, the indicator lamp lights
up.
Manual deactivation
Press the button again; the indicator lamp
goes out.
Automatic deactivation
The system is automatically deactivated
once the vehicle travels approx. 165 ft
(50 m) or exceeds a speed of roughly
20 mph (30 km/h); the indicator lamp goes
out. You can reactivate the system manu-
ally as needed.
Acoustic signals
The signal indicating the distance to the
nearest obstacle is directional. Thus, an
object detected to the left rear of the
vehicle will be indicated by a signal tone
from the left rear speaker, etc. As the
distance between vehicle and object
decreases, the intervals between the tones
become shorter. The signal tone becomes
continuous once the distance to the
nearest object falls to below roughly 1 ft
(30 cm).
The warning signal is canceled after
approx. 3 seconds when the distance to an
object remains constant during this time,
if you are moving parallel to a wall, for
instance.
Malfunctions
The indicator lamp within the button
flashes and a status message appears in
the Check Control.
Please take note of the supplementary
information provided in the Control Display.
Switch the system off and have the cause
of the malfunction corrected by your BMW
center.
Page 133 of 229
At a glance
Controls
Driving tips
Communications
Navigation
Entertainment
Mobility
Reference
131
Allow approx. eight seconds for the
system to scan the data from the new
CD.
Starting the navigation
system
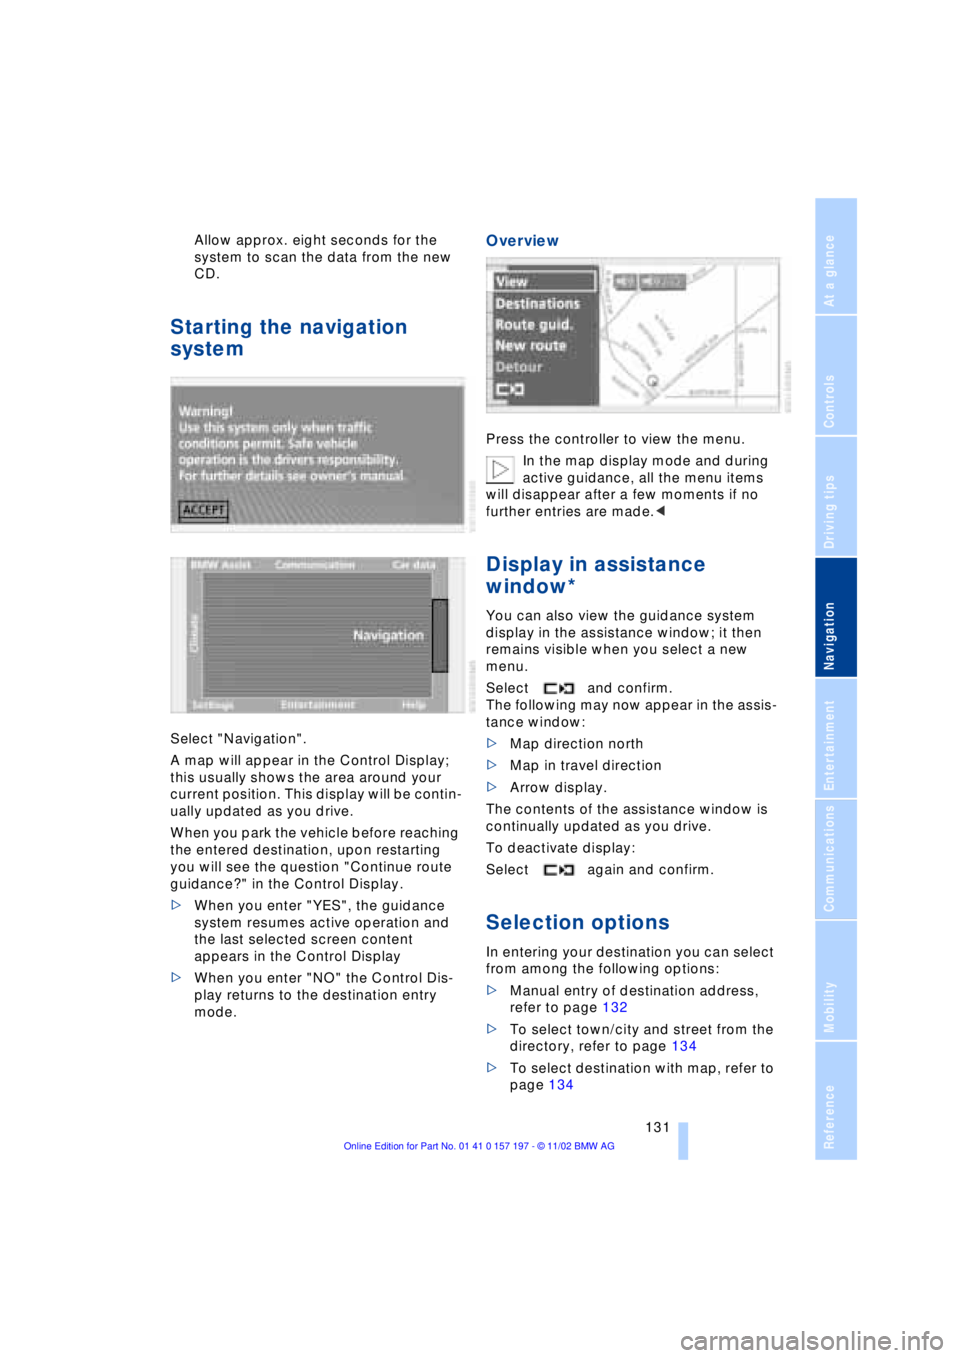
Select "Navigation".
A map will appear in the Control Display;
this usually shows the area around your
current position. This display will be contin-
ually updated as you drive.
When you park the vehicle before reaching
the entered destination, upon restarting
you will see the question "Continue route
guidance?" in the Control Display.
>When you enter "YES", the guidance
system resumes active operation and
the last selected screen content
appears in the Control Display
>When you enter "NO" the Control Dis-
play returns to the destination entry
mode.
Overview
Press the controller to view the menu.
In the map display mode and during
active guidance, all the menu items
will disappear after a few moments if no
further entries are made.<
Display in assistance
window*
You can also view the guidance system
display in the assistance window; it then
remains visible when you select a new
menu.
Select and confirm.
The following may now appear in the assis-
tance window:
>Map direction north
>Map in travel direction
>Arrow display.
The contents of the assistance window is
continually updated as you drive.
To deactivate display:
Select again and confirm.
Selection options
In entering your destination you can select
from among the following options:
>Manual entry of destination address,
refer to page 132
>To select town/city and street from the
directory, refer to page 134
>To select destination with map, refer to
page 134
Page 204 of 229
Giving and receiving assistance
202
Giving and receiving assistance
Warning triangle*
The warning triangle is conveniently stored
in the onboard tool kit mounted on the
inside of the luggage compartment lid.
Comply with legal requirements
requiring you to carry a hazard war-
ning triangle in the vehicle.<
First-aid kit*
You will also find the first-aid kit in the
onboard tool kit's container.
Some of the articles contained in the
first-aid kit have a limited service life.
For this reason, check the expiration dates
of each of the items regularly, and replace
any whose expiration dates have passed.
You can find replacements in any phar-
macy.
Always comply with laws requiring a first-
aid kit to be carried in the vehicle.<
Jump-starting
When your battery is discharged you can
use two jumper cables to start your vehicle
with power from the battery in a second
vehicle. You can also use the same method
to help start another vehicle. Use only
jumper cables with fully-insulated clamp
handles.
To avoid the risk of potentially fatal
injury, always avoid all contact with electrical components while the engine is
running. Carefully adhere to the following
sequence, both to prevent damage to one
or both vehicles, and to guard against pos-
sible personal injury.<
Preparing
1.Check whether the battery of the sup-
port vehicle has 12 Volts and approxi-
mately the same capacity (Ah). This
information can be found on the battery
2.Switch off the engine of the support
vehicle
3.Switch off any electrical systems and
components in both vehicles.
Ensure that no contact exists bet-
ween the bodywork on the two
vehicles Ð danger of short circuits.<
Connect the jumper cables
To avoid personal injury from sparks,
always observe this sequence when
connecting jumper cables.<
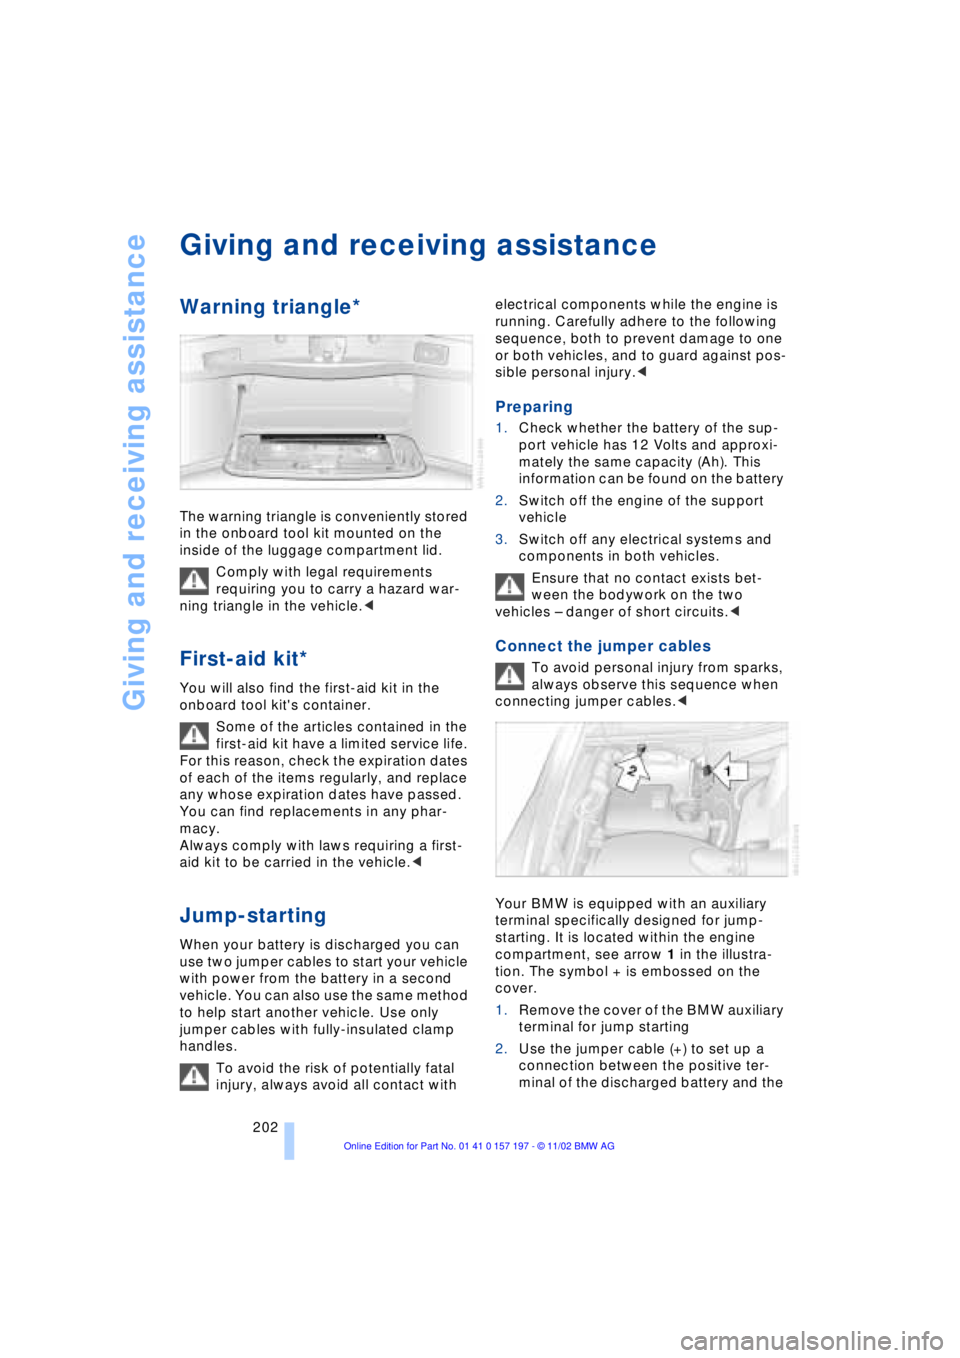
Your BMW is equipped with an auxiliary
terminal specifically designed for jump-
starting. It is located within the engine
compartment, see arrow 1 in the illustra-
tion. The symbol + is embossed on the
cover.
1.Remove the cover of the BMW auxiliary
terminal for jump starting
2.Use the jumper cable (+) to set up a
connection between the positive ter-
minal of the discharged battery and the