2003 BMW 760LI SEDAN interior lights
[x] Cancel search: interior lightsPage 44 of 229

Opening and closing
42 Lock, i.e. arm by pressing twice; press
button 2of the remote control
twice in succession, refer to page 36, or
lock twice with the key, refer to page 37.
The indicator lamp lights up briefly and
then flashes continuously. The tilt alarm
sensor and the interior motion sensor are
switched off as long as the system is
armed.
If you desire, the
>tilt alarm sensor
>interior motion sensor
can be switched off permanently. Please
contact your BMW center for assistance.<
Interior motion sensor
In order for the interior motion sensor to
function properly, the windows and sliding/
tilt sunroof must be completely closed.
Be sure to deactivate the interior motion
sensor, refer to section on Avoiding unin-
tentional alarms, when you wish to leave
the windows or sliding/tilt sunroof open.
Electric power windows
Opening and closing windows
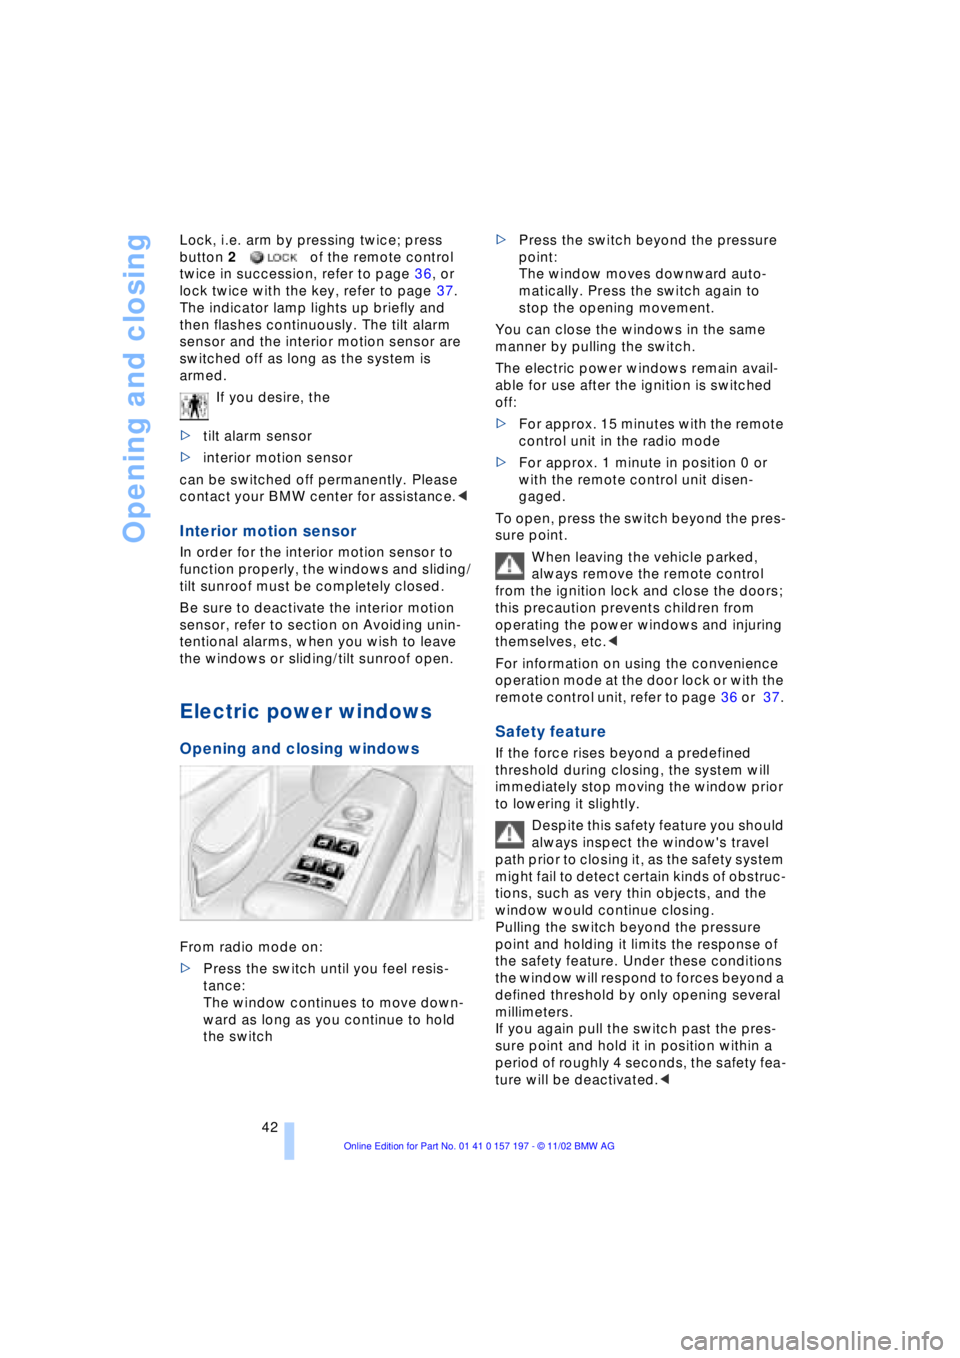
From radio mode on:
>Press the switch until you feel resis-
tance:
The window continues to move down-
ward as long as you continue to hold
the switch >Press the switch beyond the pressure
point:
The window moves downward auto-
matically. Press the switch again to
stop the opening movement.
You can close the windows in the same
manner by pulling the switch.
The electric power windows remain avail-
able for use after the ignition is switched
off:
>For approx. 15 minutes with the remote
control unit in the radio mode
>For approx. 1 minute in position 0 or
with the remote control unit disen-
gaged.
To open, press the switch beyond the pres-
sure point.
When leaving the vehicle parked,
always remove the remote control
from the ignition lock and close the doors;
this precaution prevents children from
operating the power windows and injuring
themselves, etc.<
For information on using the convenience
operation mode at the door lock or with the
remote control unit, refer to page 36 or 37.
Safety feature
If the force rises beyond a predefined
threshold during closing, the system will
immediately stop moving the window prior
to lowering it slightly.
Despite this safety feature you should
always inspect the window's travel
path prior to closing it, as the safety system
might fail to detect certain kinds of obstruc-
tions, such as very thin objects, and the
window would continue closing.
Pulling the switch beyond the pressure
point and holding it limits the response of
the safety feature. Under these conditions
the window will respond to forces beyond a
defined threshold by only opening several
millimeters.
If you again pull the switch past the pres-
sure point and hold it in position within a
period of roughly 4 seconds, the safety fea-
ture will be deactivated.<
Page 55 of 229

At a glance
Controls
Driving tips
Communications
Navigation
Entertainment
Mobility
Reference
53
The mirrors automatically revert to their
clear, undimmed mode whenever you
place the selector lever into reverse.
For trouble-free operation, keep the
photocells clean and do not cover the
area between the interior rearview mirror
and the windshield. Do not attach any kind
of stickers on the windshield in front of the
mirror, either.<
Illuminated vanity mirror in the rear
1.Press button 1. The vanity mirror folds
down
2.Pull the mirror down slightly before pro-
ceeding to turn it or tilt it into the
desired position
3.Press the vanity mirror back up before
folding it back in.
Steering wheel adjustment
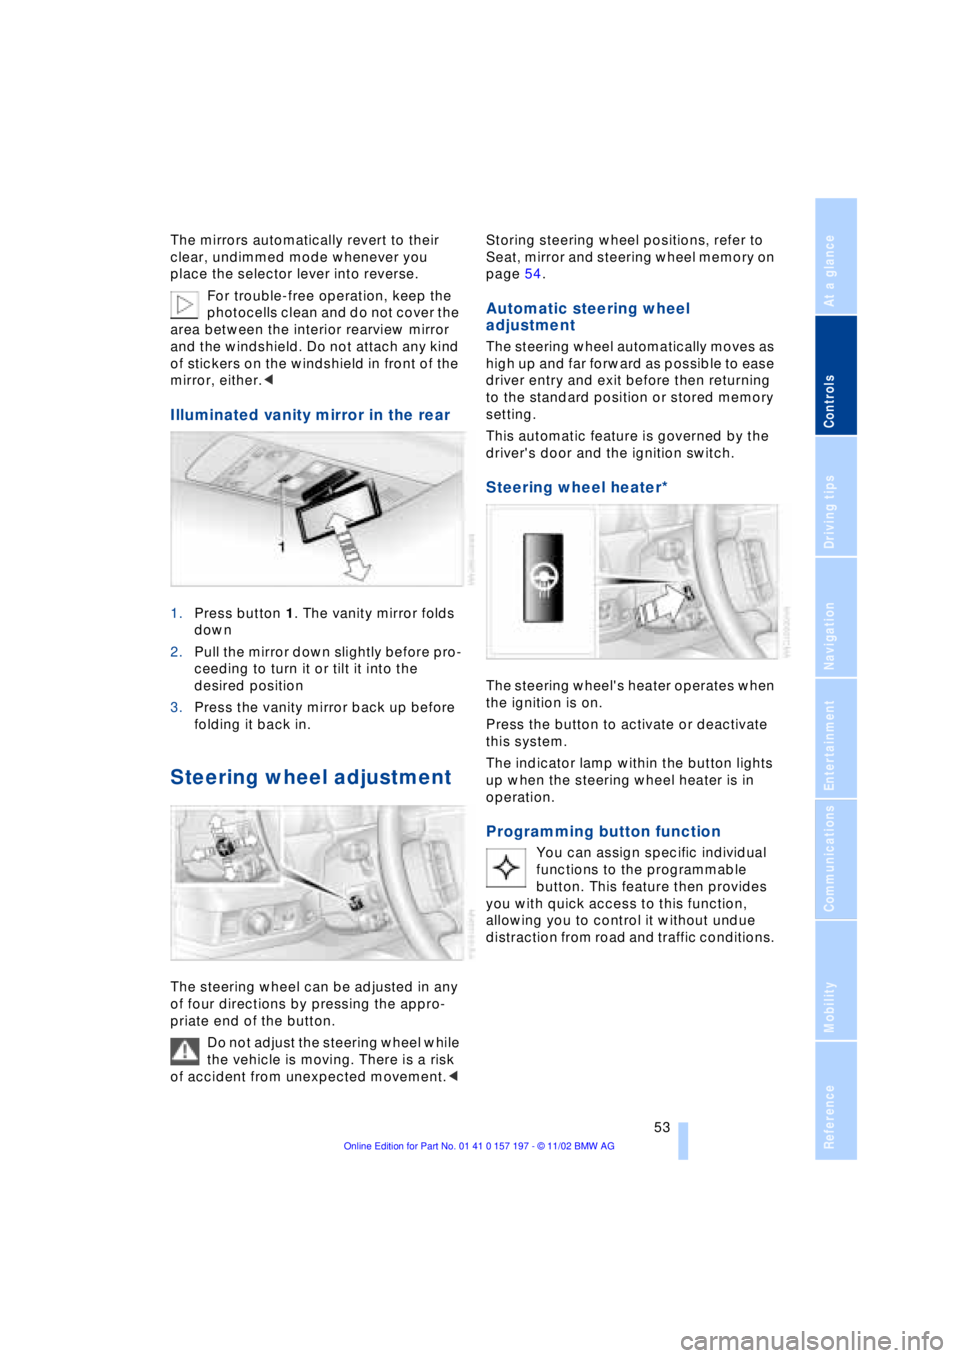
The steering wheel can be adjusted in any
of four directions by pressing the appro-
priate end of the button.
Do not adjust the steering wheel while
the vehicle is moving. There is a risk
of accident from unexpected movement.< Storing steering wheel positions, refer to
Seat, mirror and steering wheel memory on
page 54.
Automatic steering wheel
adjustment
The steering wheel automatically moves as
high up and far forward as possible to ease
driver entry and exit before then returning
to the standard position or stored memory
setting.
This automatic feature is governed by the
driver's door and the ignition switch.
Steering wheel heater*
The steering wheel's heater operates when
the ignition is on.
Press the button to activate or deactivate
this system.
The indicator lamp within the button lights
up when the steering wheel heater is in
operation.
Programming button function
You can assign specific individual
functions to the programmable
button. This feature then provides
you with quick access to this function,
allowing you to control it without undue
distraction from road and traffic conditions.
Page 105 of 229

At a glance
Controls
Driving tips
Communications
Navigation
Entertainment
Mobility
Reference
103
Instrument lighting
Turn the serrated dial to adjust the illumina-
tion intensity.
High beams/standing lamps
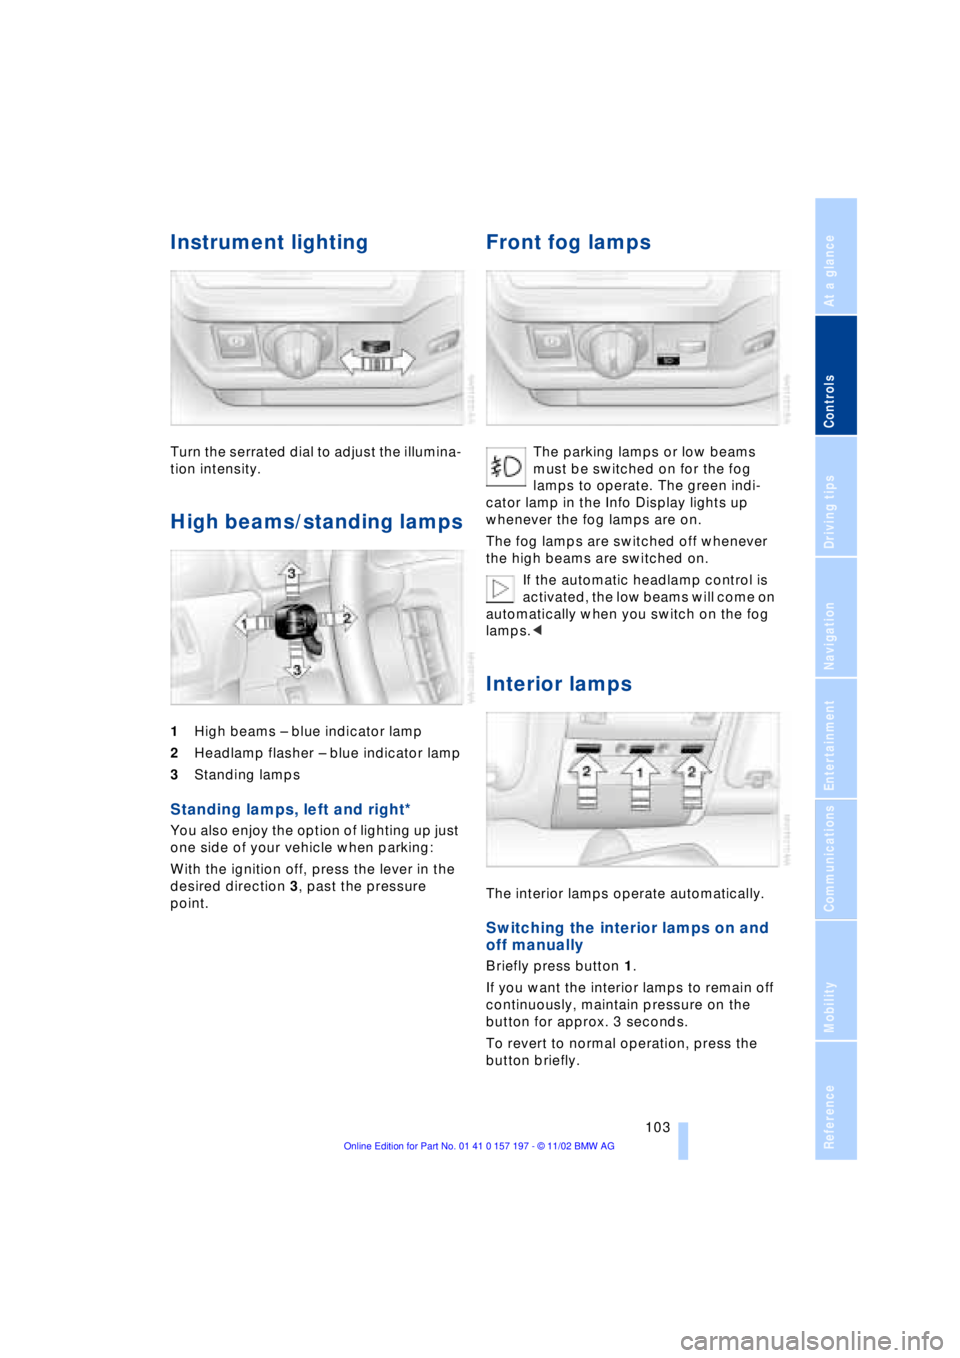
1High beams Ð blue indicator lamp
2Headlamp flasher Ð blue indicator lamp
3Standing lamps
Standing lamps, left and right*
You also enjoy the option of lighting up just
one side of your vehicle when parking:
With the ignition off, press the lever in the
desired direction 3, past the pressure
point.
Front fog lamps
The parking lamps or low beams
must be switched on for the fog
lamps to operate. The green indi-
cator lamp in the Info Display lights up
whenever the fog lamps are on.
The fog lamps are switched off whenever
the high beams are switched on.
If the automatic headlamp control is
activated, the low beams will come on
automatically when you switch on the fog
lamps.<
Interior lamps
The interior lamps operate automatically.
Switching the interior lamps on and
off manually
Briefly press button 1.
If you want the interior lamps to remain off
continuously, maintain pressure on the
button for approx. 3 seconds.
To revert to normal operation, press the
button briefly.
Page 110 of 229

A congenial climate
108 should switch it off while also increasing air
supply as required.<
Residual heat mode
The system uses the warmth
stored in the engine to heat the
interior when the ignition is off,
for instance, while the vehicle
is stopped at a school to pick
up a child.
You can adjust the automatic climate con-
trol's settings when the ignition lock is in
the radio mode. The system blows heated
air into the interior in accordance with the
selected distribution pattern while the igni-
tion is off.
Provided that the engine has warmed
to its normal operating temperature
and the battery is charged, you can use this
function for up to 15 minutes after
switching off the ignition. The LED within
the button lights up to confirm compliance
with both of these conditions.<
Front ventilation
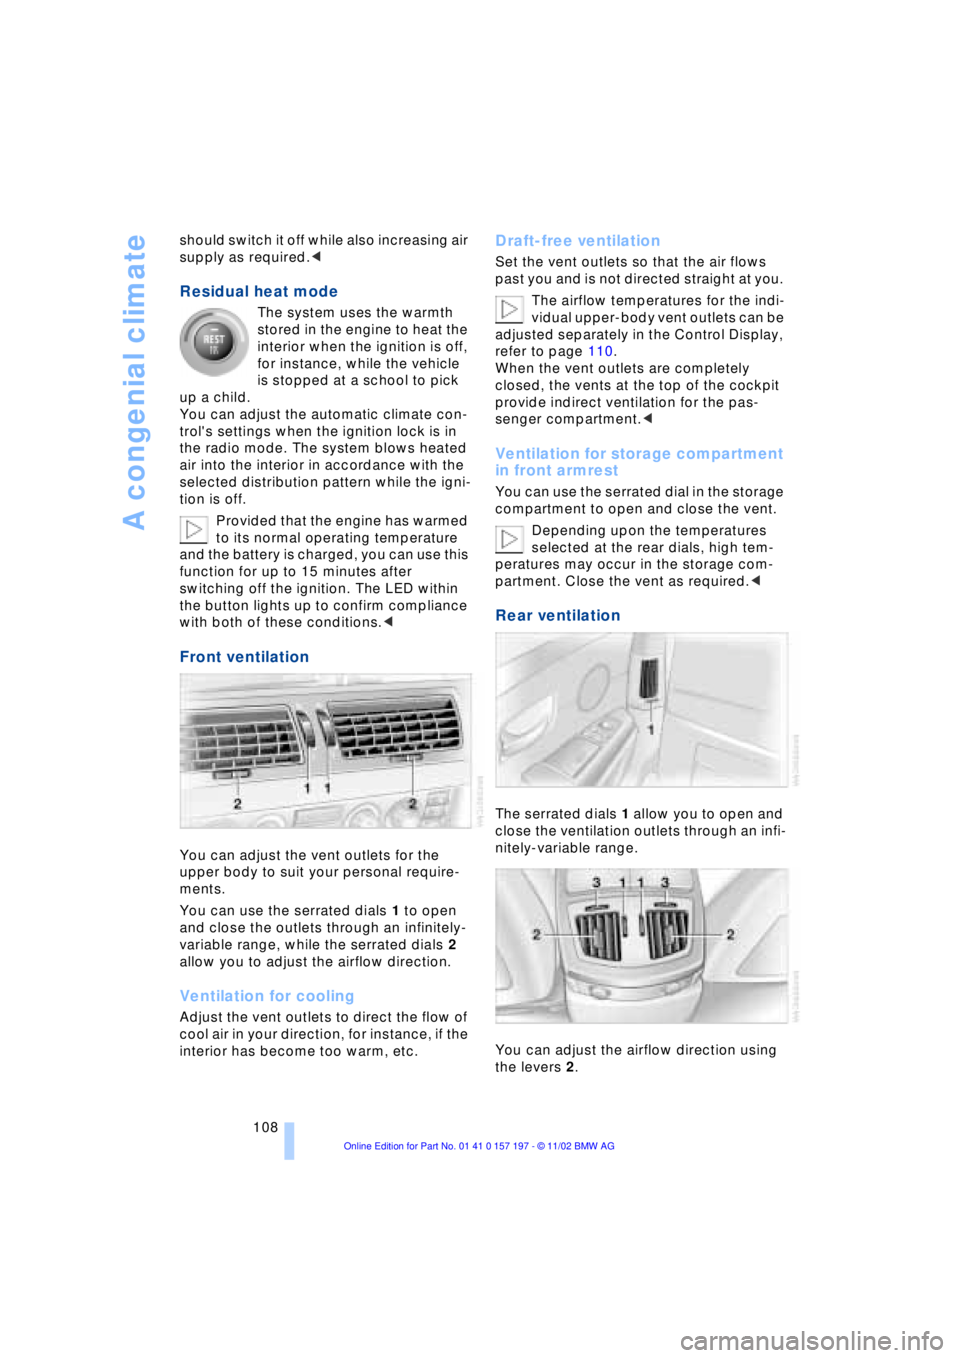
You can adjust the vent outlets for the
upper body to suit your personal require-
ments.
You can use the serrated dials 1 to open
and close the outlets through an infinitely-
variable range, while the serrated dials 2
allow you to adjust the airflow direction.
Ventilation for cooling
Adjust the vent outlets to direct the flow of
cool air in your direction, for instance, if the
interior has become too warm, etc.
Draft-free ventilation
Set the vent outlets so that the air flows
past you and is not directed straight at you.
The airflow temperatures for the indi-
vidual upper-body vent outlets can be
adjusted separately in the Control Display,
refer to page 110.
When the vent outlets are completely
closed, the vents at the top of the cockpit
provide indirect ventilation for the pas-
senger compartment.<
Ventilation for storage compartment
in front armrest
You can use the serrated dial in the storage
compartment to open and close the vent.
Depending upon the temperatures
selected at the rear dials, high tem-
peratures may occur in the storage com-
partment. Close the vent as required.<
Rear ventilation
The serrated dials 1 allow you to open and
close the ventilation outlets through an infi-
nitely-variable range.
You can adjust the airflow direction using
the levers 2.