2003 BMW 760LI SEDAN torque
[x] Cancel search: torquePage 96 of 229

Technology for comfort, convenience and safety
94
PDC with visual warning
You also enjoy the option of having the
system show distances to objects in the
Control Display. The Control Display will
also indicate the presence of objects in
green before they are close enough to gen-
erate a signal tone.
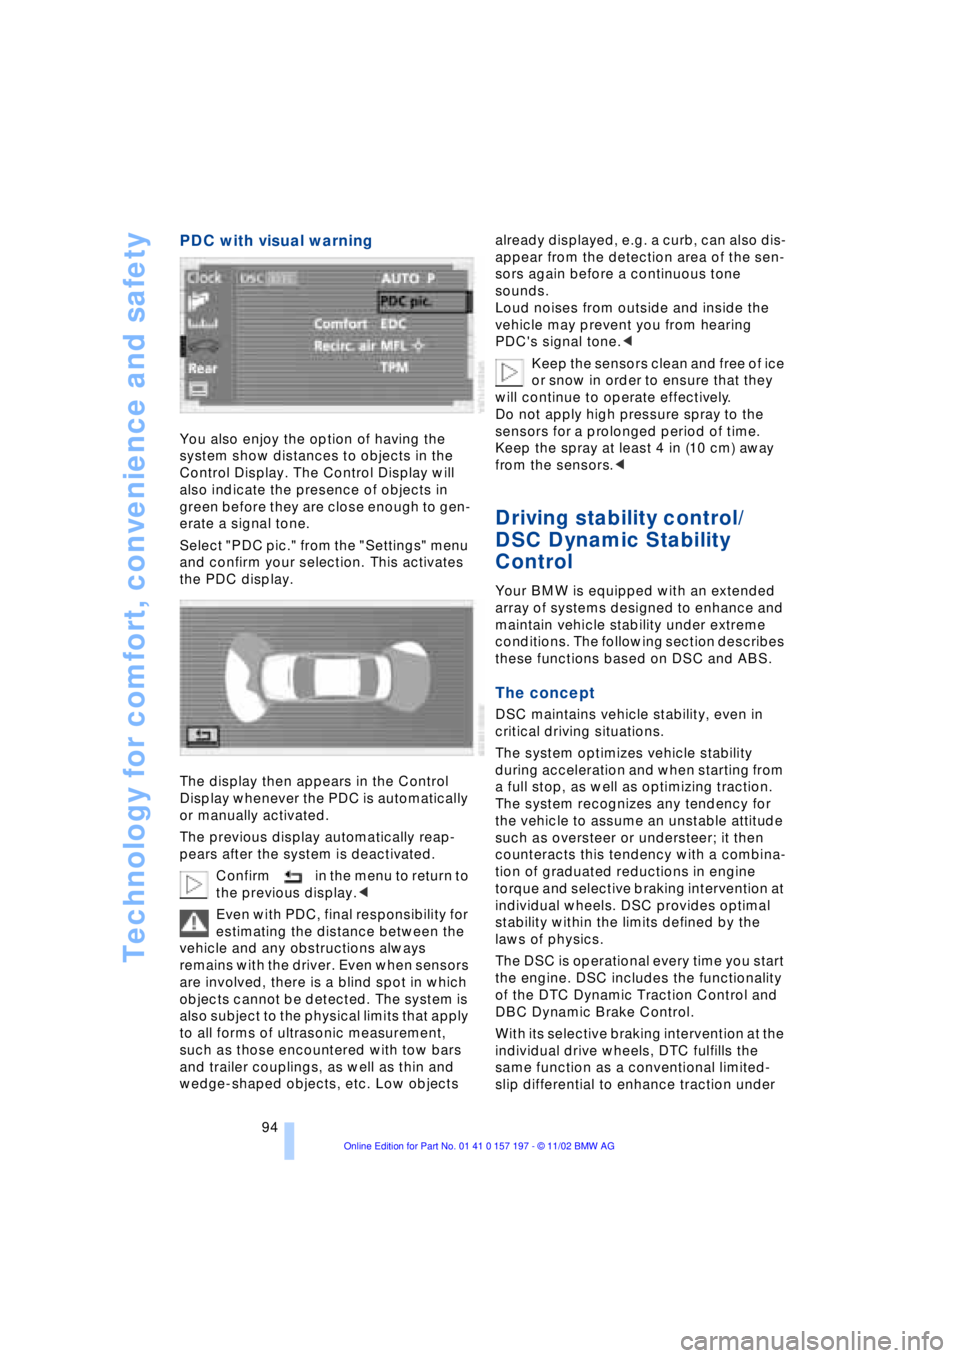
Select "PDC pic." from the "Settings" menu
and confirm your selection. This activates
the PDC display.
The display then appears in the Control
Display whenever the PDC is automatically
or manually activated.
The previous display automatically reap-
pears after the system is deactivated.
Confirm in the menu to return to
the previous display.<
Even with PDC, final responsibility for
estimating the distance between the
vehicle and any obstructions always
remains with the driver. Even when sensors
are involved, there is a blind spot in which
objects cannot be detected. The system is
also subject to the physical limits that apply
to all forms of ultrasonic measurement,
such as those encountered with tow bars
and trailer couplings, as well as thin and
wedge-shaped objects, etc. Low objects already displayed, e.g. a curb, can also dis-
appear from the detection area of the sen-
sors again before a continuous tone
sounds.
Loud noises from outside and inside the
vehicle may prevent you from hearing
PDC's signal tone.<
Keep the sensors clean and free of ice
or snow in order to ensure that they
will continue to operate effectively.
Do not apply high pressure spray to the
sensors for a prolonged period of time.
Keep the spray at least 4 in (10 cm) away
from the sensors.<
Driving stability control/
DSC Dynamic Stability
Control
Your BMW is equipped with an extended
array of systems designed to enhance and
maintain vehicle stability under extreme
conditions. The following section describes
these functions based on DSC and ABS.
The concept
DSC maintains vehicle stability, even in
critical driving situations.
The system optimizes vehicle stability
during acceleration and when starting from
a full stop, as well as optimizing traction.
The system recognizes any tendency for
the vehicle to assume an unstable attitude
such as oversteer or understeer; it then
counteracts this tendency with a combina-
tion of graduated reductions in engine
torque and selective braking intervention at
individual wheels. DSC provides optimal
stability within the limits defined by the
laws of physics.
The DSC is operational every time you start
the engine. DSC includes the functionality
of the DTC Dynamic Traction Control and
DBC Dynamic Brake Control.
With its selective braking intervention at the
individual drive wheels, DTC fulfills the
same function as a conventional limited-
slip differential to enhance traction under
Page 97 of 229

At a glance
Controls
Driving tips
Communications
Navigation
Entertainment
Mobility
Reference
95
difficult driving conditions, such as on
snow, etc.
Indicator lamps
The indicator lamp in the Info Dis-
play goes out soon after you start
the engine.
If the indicator lamp flashes:
DSC controls the drive and braking forces.
The indicator lamp stays lit:
DSC has been switched off via the Control
Display.
The indicator lamp and the brake
warning lamp remain on continu-
ously:
DSC, DTC and DBC have been
deactivated or a system malfunc-
tion is present.
When the system is off, the stability main-
tenance functions described above are no
longer available. The vehicle will remain
completely operational, however, without
DSC.
Please respond to any malfunctions by
referring the problem to your BMW center.
Indicator and warning lamps on
Canadian models.
Activating DTC Dynamic Traction
Control
You may find it useful to briefly activate
DTC under the following special circum-
stances: >When rocking the vehicle and starting
off in deep snow or on loose road sur-
faces
>When ascending snow-covered hills,
and when driving in deep or on hard-
packed snow
>When driving with snow chains.
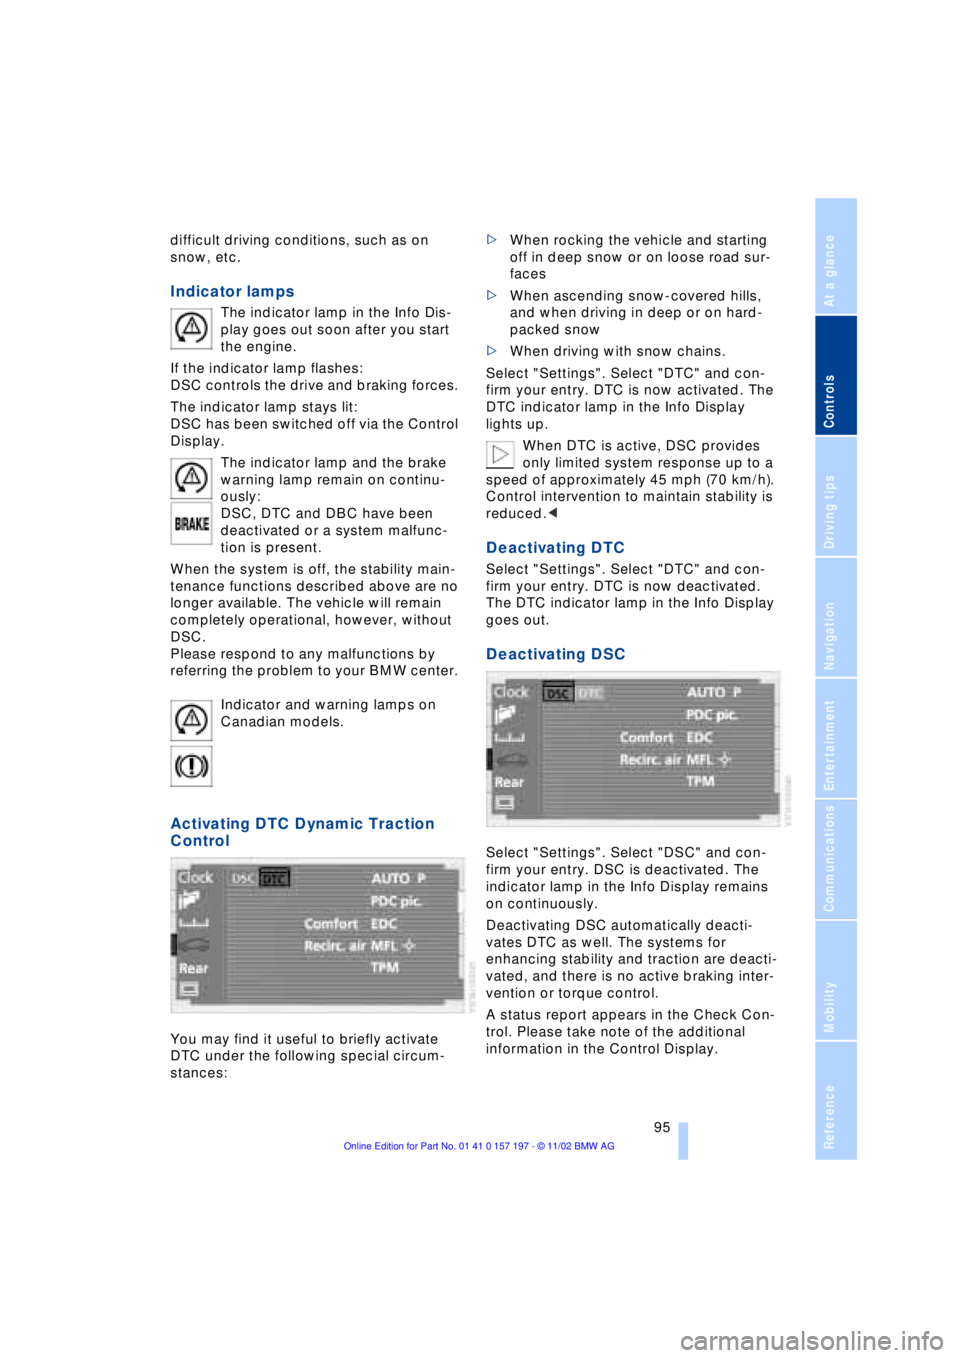
Select "Settings". Select "DTC" and con-
firm your entry. DTC is now activated. The
DTC indicator lamp in the Info Display
lights up.
When DTC is active, DSC provides
only limited system response up to a
speed of approximately 45 mph (70 km/h).
Control intervention to maintain stability is
reduced.<
Deactivating DTC
Select "Settings". Select "DTC" and con-
firm your entry. DTC is now deactivated.
The DTC indicator lamp in the Info Display
goes out.
Deactivating DSC
Select "Settings". Select "DSC" and con-
firm your entry. DSC is deactivated. The
indicator lamp in the Info Display remains
on continuously.
Deactivating DSC automatically deacti-
vates DTC as well. The systems for
enhancing stability and traction are deacti-
vated, and there is no active braking inter-
vention or torque control.
A status report appears in the Check Con-
trol. Please take note of the additional
information in the Control Display.
Page 201 of 229

Overview
Controls
Driving tips
Communications
Navigation
Entertainment
Mobility
Reference
199
Procedure
1.Read carefully and comply with the
safety precautions on page 198
2.Secure the vehicle to prevent it from
rolling:
Place the wheel chock against the rear
surface of the front tire on the side
opposite the side being raised. If the
vehicle is parked on a downward slope,
place the wheel chock securely in front
of the tire. If the wheel must be changed
on a surface with a more severe slope,
take additional precautions to secure
the vehicle from rolling
3.Loosen the lug bolts 1/2 a turn
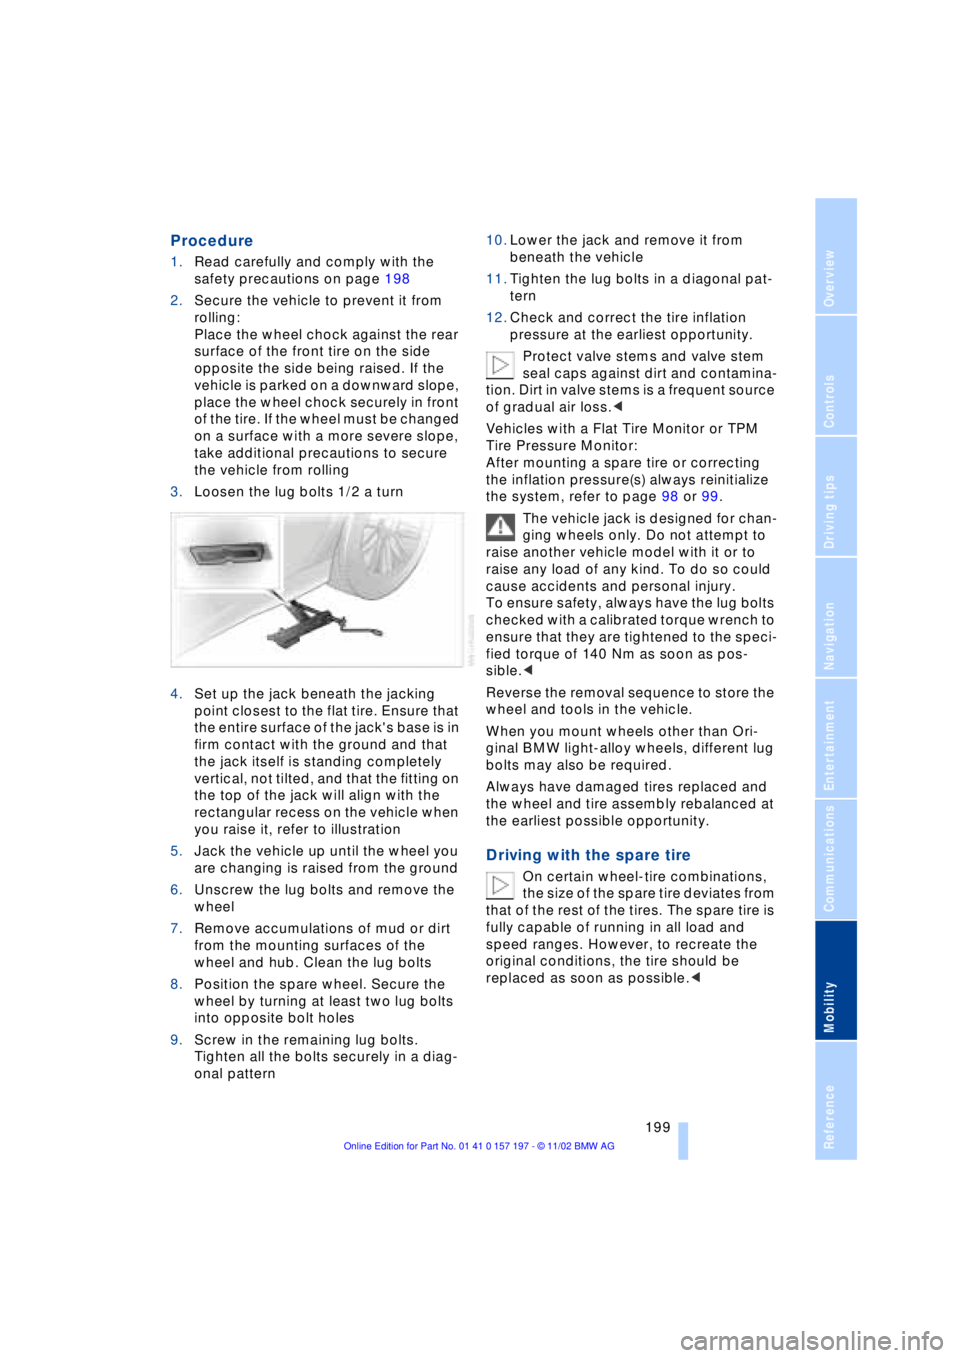
4.Set up the jack beneath the jacking
point closest to the flat tire. Ensure that
the entire surface of the jack's base is in
firm contact with the ground and that
the jack itself is standing completely
vertical, not tilted, and that the fitting on
the top of the jack will align with the
rectangular recess on the vehicle when
you raise it, refer to illustration
5.Jack the vehicle up until the wheel you
are changing is raised from the ground
6.Unscrew the lug bolts and remove the
wheel
7.Remove accumulations of mud or dirt
from the mounting surfaces of the
wheel and hub. Clean the lug bolts
8.Position the spare wheel. Secure the
wheel by turning at least two lug bolts
into opposite bolt holes
9.Screw in the remaining lug bolts.
Tighten all the bolts securely in a diag-
onal pattern 10.Lower the jack and remove it from
beneath the vehicle
11.Tighten the lug bolts in a diagonal pat-
tern
12.Check and correct the tire inflation
pressure at the earliest opportunity.
Protect valve stems and valve stem
seal caps against dirt and contamina-
tion. Dirt in valve stems is a frequent source
of gradual air loss.<
Vehicles with a Flat Tire Monitor or TPM
Tire Pressure Monitor:
After mounting a spare tire or correcting
the inflation pressure(s) always reinitialize
the system, refer to page 98 or 99.
The vehicle jack is designed for chan-
ging wheels only. Do not attempt to
raise another vehicle model with it or to
raise any load of any kind. To do so could
cause accidents and personal injury.
To ensure safety, always have the lug bolts
checked with a calibrated torque wrench to
ensure that they are tightened to the speci-
fied torque of 140 Nm as soon as pos-
sible.<
Reverse the removal sequence to store the
wheel and tools in the vehicle.
When you mount wheels other than Ori-
ginal BMW light-alloy wheels, different lug
bolts may also be required.
Always have damaged tires replaced and
the wheel and tire assembly rebalanced at
the earliest possible opportunity.
Driving with the spare tire
On certain wheel-tire combinations,
the size of the spare tire deviates from
that of the rest of the tires. The spare tire is
fully capable of running in all load and
speed ranges. However, to recreate the
original conditions, the tire should be
replaced as soon as possible.<
Page 210 of 229

Technical data
208
Technical data
Engine specifications
BMW 745i, 745LiBMW 760Li
Displacement
Number of cylinders cu in/cmm268.4/4,398
85972
12
Maximum output
at engine speed hp
rpm 325
6,100438
6,000
Maximum torque
at engine speed lb ft/Nm
rpm 330/450
3,600444/600
3,950
Compression ratio e 10.0 11.3
Stroke
Bore in/mm
in/mm 3.26/82.7
3.6/92.03.15/80.0
3.50/89.0
Fuel-injection system Digital electronic engine-management system
Page 224 of 229

Everything from A to Z
222 "Sport"
Ð "EDC" 97
Stability control,
refer to Driving stability
control 94
Standard during TV
operation 161
Standing lamps 103
Start/stop button 61
Starting 62
Starting and stopping
Ð cassette deck 158
Ð CD changer 156
Ð CD player 153
Ð DVD changer 164
Ð radio 149
Ð TV 160
Starting
problems 62, 203, 204
Starting the engine 62
"State inspection" 84
Station, refer to Radio 150
Status lines in Control
Center 24
Steering wheel 18
Ð adjustment 53
Ð individual button
assignment options 53
Steering wheel adjustment,
automatic 53
Steering wheel heater 53
Steering wheel memory 54
Steptronic 69
Stopwatch 90
Ð "INTERM. TIME" 90
Storage, refer to Care
manual
Storage compartments 117
Storing desired speeds,
refer to Programmable
cruise control 75
Storing destination per
voice 141
Storing seating position,
refer to Seat, mirror and
steering wheel
memory 54
Straps, refer to Cargo
loading 126
"Street" for navigation 134"SUBTITLE" in DVD
mode 167
Summer tires 187
Sun blinds 115
Switch for battery 201
Switching audio sources
on/off 147
Switching off the engine 62
Switching on and off
portable phone 174
"Switch. time1" 113
"Switch. time 2" 113
Symbols 6
Ð Control Center 20
System failure reports, refer
to Check Control 85
T
Tachometer 82
Tail lamps 197
Ð bulb replacement 197
"Tape" 146, 158, 159
Target cursor for
navigation 134, 135
Technical data 208
Technical modifications 8
Telephone 170
Ð operation with the
telephone keypad,
folding 172
Telephone directory 175
Ð creating voice command
telephone directory 175
Ð deleting all entries 176
Ð dialing numbers 175
Ð dialing numbers
using voice command
system 175
Ð entering numbers in voice
command directory 175
Ð entry deletion 176
Ð updating voice command
telephone directory 175
Ð viewing entries 176
Telephone keypad,
folding 172
Television, refer to TV 160
"Temp. distribution" 51
Temperature
adjustment 107Temperature display,
outside temperature 82
Tilt function, passenger-
side mirror 55
Time of arrival,
estimated 88
Timing 90
"Tint" during
TV operation 161
Tire change 197
Tire inflation pressures 184
Ð checking 184
Tire-pressure
monitoring 98, 99
Tire Pressure Monitor
TPM 99
Tire Quality Grading 187
Tires
Ð flat tire 197
Ð tire changes 197
Ð tire damage 186
Ð tire inflation
pressures 184
Ð tire pressure control 99
Ð tire replacement 186
Ð tire size, refer to Wheel
and tire
combinations 187
Ð tire tread 186
Ð treadwear indicators 186
"TITLE" 165
Title search
Ð cassette deck 159
"Tone" for audio
operation 146
Tone for audio operation
Ð adjusting 147
"Tone" in sound system
operation 148
Tools 195
"TOP 8" 176
"TOP" in DVD mode 167
Torque 208
Tow fittings 203
Towing 203, 204
Tow-starting 204
"TPM" 99
Ð "INITIALIZE" 99
TPM Tire Pressure
Monitor 99
Ð "INITIALIZE" 99