2003 BMW 760LI SEDAN service indicator
[x] Cancel search: service indicatorPage 5 of 229
At a glance
Operation
Driving tips
Communications
Navigation
Entertainment
Mobility
Reference
71Turn signal indicators/headlamp
flasher
72Wiper system
73Washer fluid
73Programmable cruise control
75Active cruise control
*
Everything under control
82Odometer, outside temperature
display, clock
82Tachometer
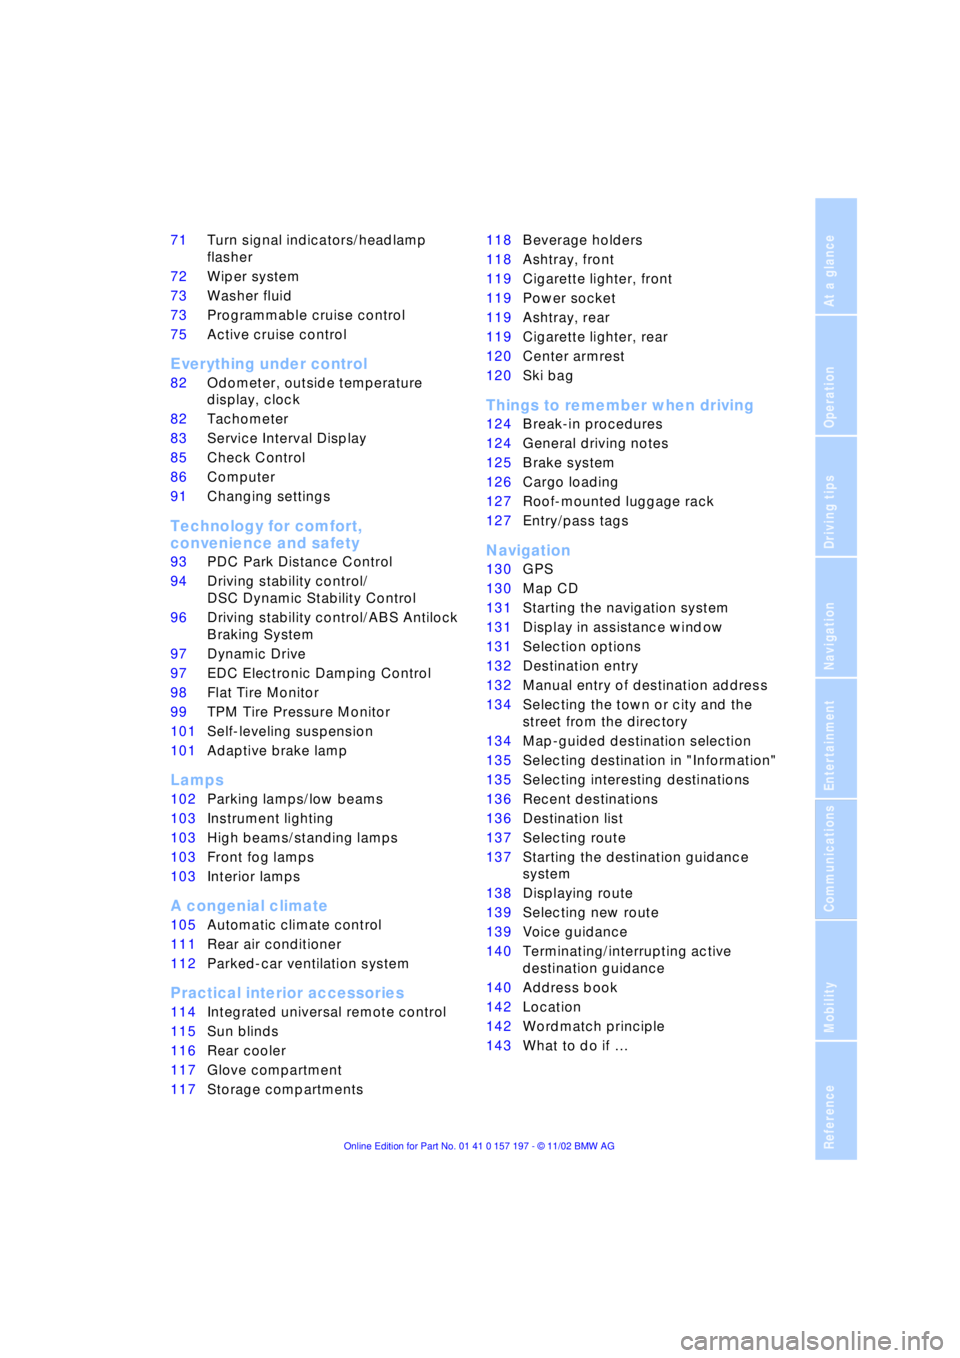
83Service Interval Display
85Check Control
86Computer
91Changing settings
Technology for comfort,
convenience and safety
93PDC Park Distance Control
*
94Driving stability control/
DSC Dynamic Stability Control
96Driving stability control/ABS Antilock
Braking System
97Dynamic Drive
97EDC Electronic Damping Control
*
98Flat Tire Monitor
*
99TPM Tire Pressure Monitor
*
101Self-leveling suspension
*
101Adaptive brake lamp
Lamps
102Parking lamps/low beams
103Instrument lighting
103High beams/standing lamps
103Front fog lamps
103Interior lamps
A congenial climate
105Automatic climate control
111Rear air conditioner
*
112Parked-car ventilation system
Practical interior accessories
114Integrated universal remote control
*
115Sun blinds
*
116Rear cooler
*
117Glove compartment
117Storage compartments118Beverage holders
118Ashtray, front
119Cigarette lighter, front
119Power socket
119Ashtray, rear
119Cigarette lighter, rear
120Center armrest
120Ski bag
*
Things to remember when driving
124Break-in procedures
124General driving notes
125Brake system
126Cargo loading
127Roof-mounted luggage rack
*
127Entry/pass tags
Navigation
130GPS
130Map CD
131Starting the navigation system
131Display in assistance window
*
131Selection options
132Destination entry
132Manual entry of destination address
134Selecting the town or city and the
street from the directory
134Map-guided destination selection
135Selecting destination in "Information"
135Selecting interesting destinations
136Recent destinations
136Destination list
137Selecting route
137Starting the destination guidance
system
138Displaying route
139Selecting new route
139Voice guidance
140Terminating/interrupting active
destination guidance
140Address book
142Location
142Wordmatch principle
143What to do if É
Page 87 of 229
At a glance
Controls
Driving tips
Communications
Navigation
Entertainment
Mobility
Reference
85
Check Control
Info Display screen contents
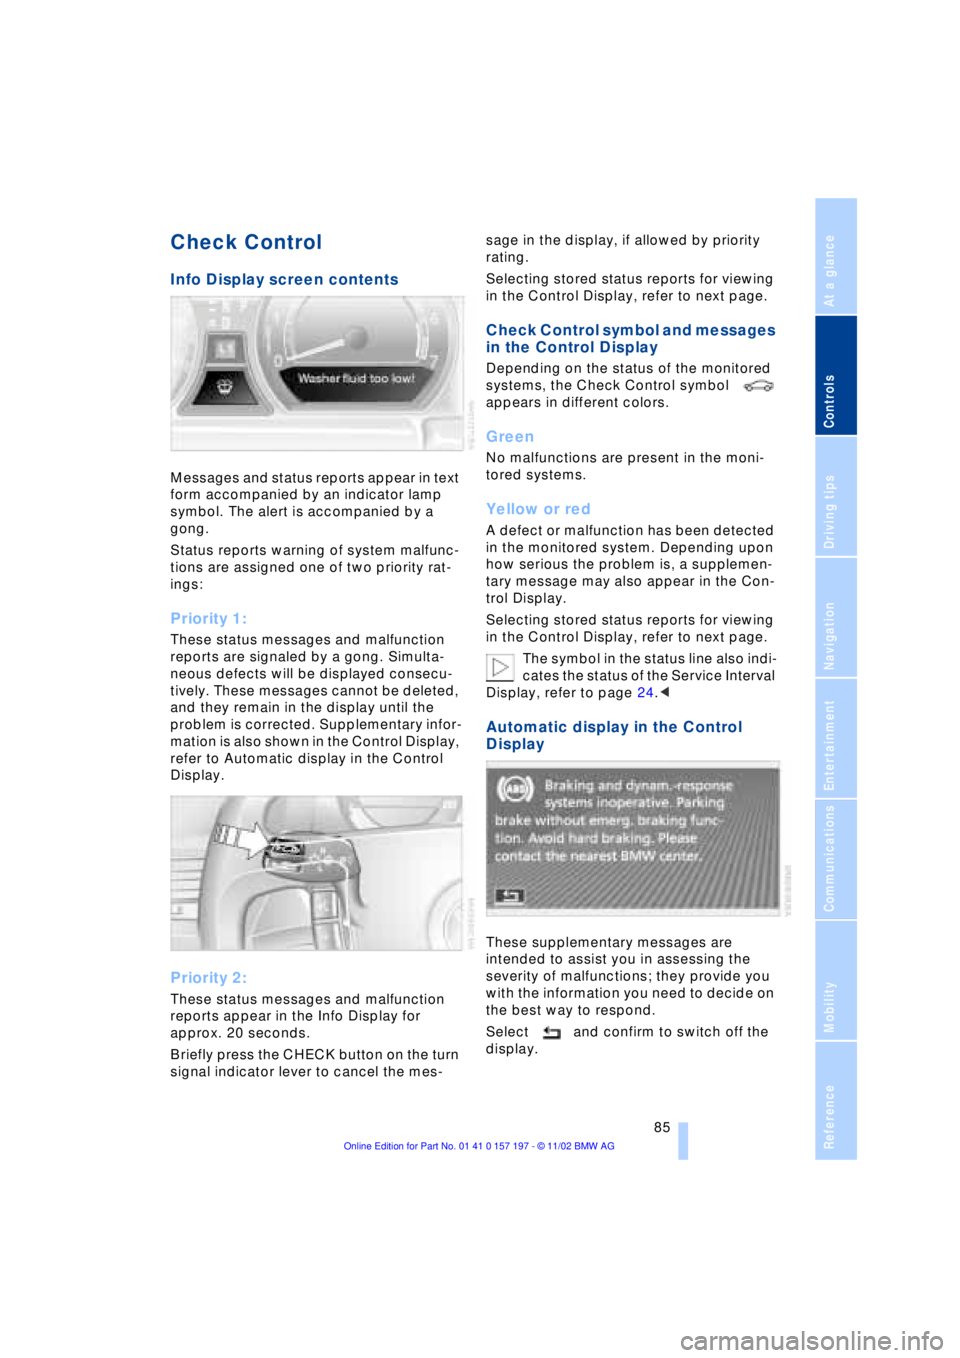
Messages and status reports appear in text
form accompanied by an indicator lamp
symbol. The alert is accompanied by a
gong.
Status reports warning of system malfunc-
tions are assigned one of two priority rat-
ings:
Priority 1:
These status messages and malfunction
reports are signaled by a gong. Simulta-
neous defects will be displayed consecu-
tively. These messages cannot be deleted,
and they remain in the display until the
problem is corrected. Supplementary infor-
mation is also shown in the Control Display,
refer to Automatic display in the Control
Display.
Priority 2:
These status messages and malfunction
reports appear in the Info Display for
approx. 20 seconds.
Briefly press the CHECK button on the turn
signal indicator lever to cancel the mes-sage in the display, if allowed by priority
rating.
Selecting stored status reports for viewing
in the Control Display, refer to next page.
Check Control symbol and messages
in the Control Display
Depending on the status of the monitored
systems, the Check Control symbol
appears in different colors.
Green
No malfunctions are present in the moni-
tored systems.
Yellow or red
A defect or malfunction has been detected
in the monitored system. Depending upon
how serious the problem is, a supplemen-
tary message may also appear in the Con-
trol Display.
Selecting stored status reports for viewing
in the Control Display, refer to next page.
The symbol in the status line also indi-
cates the status of the Service Interval
Display, refer to page 24.<
Automatic display in the Control
Display
These supplementary messages are
intended to assist you in assessing the
severity of malfunctions; they provide you
with the information you need to decide on
the best way to respond.
Select and confirm to switch off the
display.
Page 98 of 229
Technology for comfort, convenience and safety
96 To maintain optimal stability, drive
with the system on whenever pos-
sible.<
Reactivating DSC
Select "Settings". Select "DSC" and con-
firm your entry. DSC is now activated. The
indicator lamp in the Info Display goes out.
The laws of physics cannot be
repealed, even with DSC. An approp-
riate driving style always remains the
responsibility of the driver. Avoid using the
additional safety margin provided by the
system as an excuse for taking unneces-
sary risks.
When DTC is active, DSC provides only
limited system response up to a speed of
approximately 45 mph (70 km/h). Interven-
tion for stability-enhancement is reduced.
Do not make any modifications to the DSC
system. Never allow anyone other than
authorized professional technicians to
carry out service or repairs on the DSC
system.<
DBC Dynamic Brake Control
When you apply the brakes rapidly, this
system automatically produces the max-
imum braking force boost and thus helps to
achieve the shortest possible braking dis-
tance during panic stops. This system
exploits all of the benefits provided by ABS.
Do not reduce the pressure on the brake
pedal for the duration of the brake applica-
tion. When the brake pedal is released, the
DBC is deactivated.
In the event of a malfunction, the
warning lamp comes on with a
yellow light. Have the system
checked and repaired at your BMW center
as soon as possible.
Check Control messages, refer to page 85.
Please note the supplementary information
provided in the Control Display.
Warning lamp on Canadian models.
Driving stability control/
ABS Antilock Braking
System
The concept
ABS enhances active safety by preventing
the wheels from locking under braking.
ABS incorporates CBC and EBV.
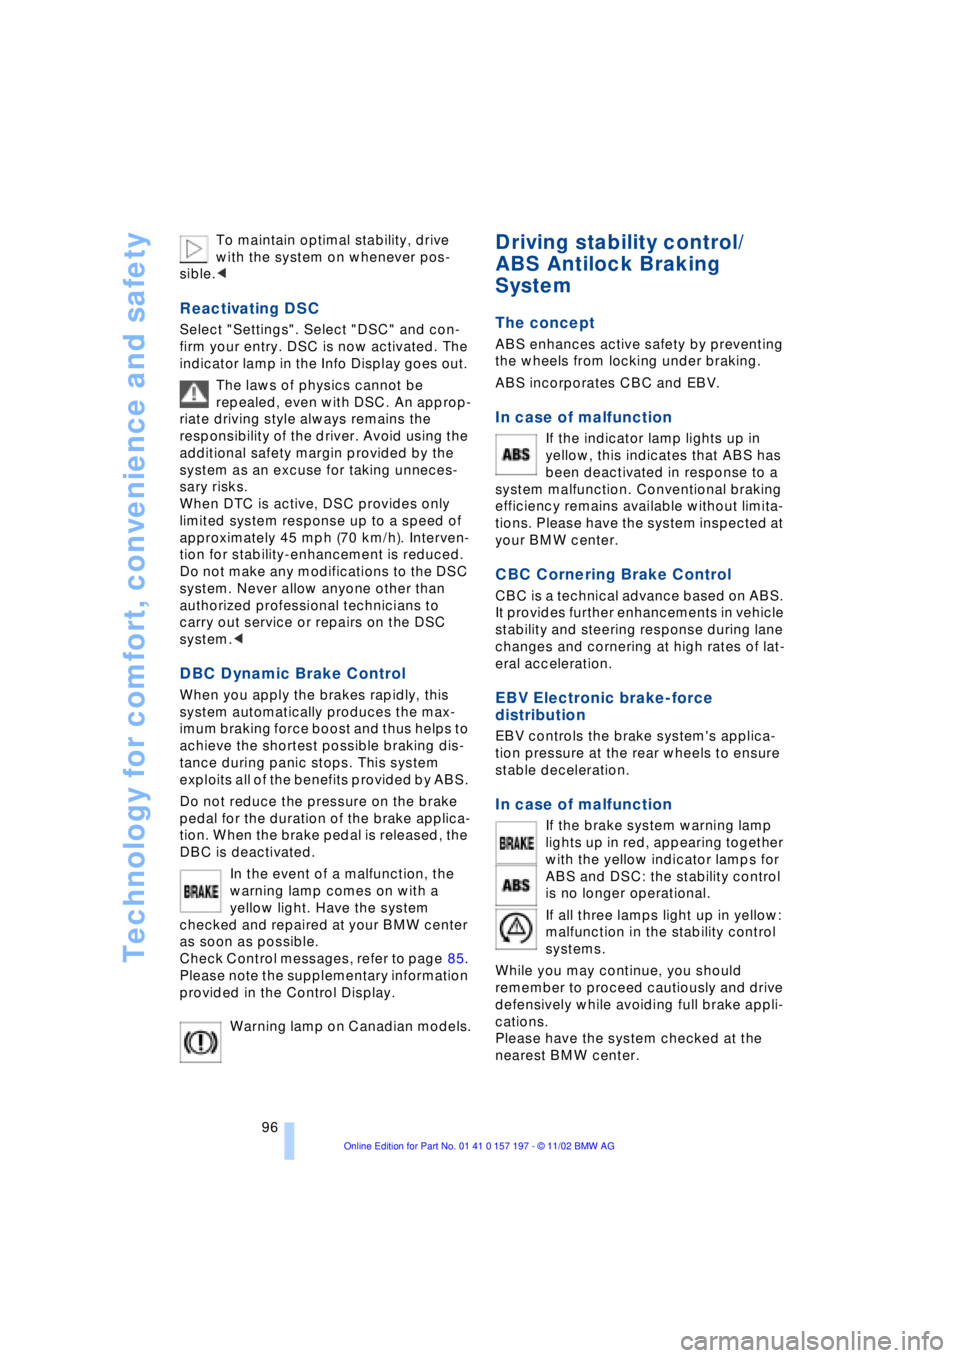
In case of malfunction
If the indicator lamp lights up in
yellow, this indicates that ABS has
been deactivated in response to a
system malfunction. Conventional braking
efficiency remains available without limita-
tions. Please have the system inspected at
your BMW center.
CBC Cornering Brake Control
CBC is a technical advance based on ABS.
It provides further enhancements in vehicle
stability and steering response during lane
changes and cornering at high rates of lat-
eral acceleration.
EBV Electronic brake-force
distribution
EBV controls the brake system's applica-
tion pressure at the rear wheels to ensure
stable deceleration.
In case of malfunction
If the brake system warning lamp
lights up in red, appearing together
with the yellow indicator lamps for
ABS and DSC: the stability control
is no longer operational.
If all three lamps light up in yellow:
malfunction in the stability control
systems.
While you may continue, you should
remember to proceed cautiously and drive
defensively while avoiding full brake appli-
cations.
Please have the system checked at the
nearest BMW center.
Page 196 of 229
Rules and regulations
194
Rules and regulations
California Proposition 65
Warning
California laws require us to state the fol-
lowing warning:
Engine exhaust, some of its constitu-
ents, and certain vehicle components
contain or emit chemicals known to the
State of California to cause cancer and
birth defects and reproductive harm. In
addition, certain fluids contained in
vehicles and certain products of compo-
nent wear contain or emit chemicals known
to the State of California to cause cancer
and birth defects or other reproductive
harm.
Battery posts, terminals and related acces-
sories contain lead and lead compounds.
Wash your hands after handling.
Used engine oil contains chemicals that
have caused cancer in laboratory animals.
Always protect your skin by washing tho-
roughly with soap and water.<
OBD connector
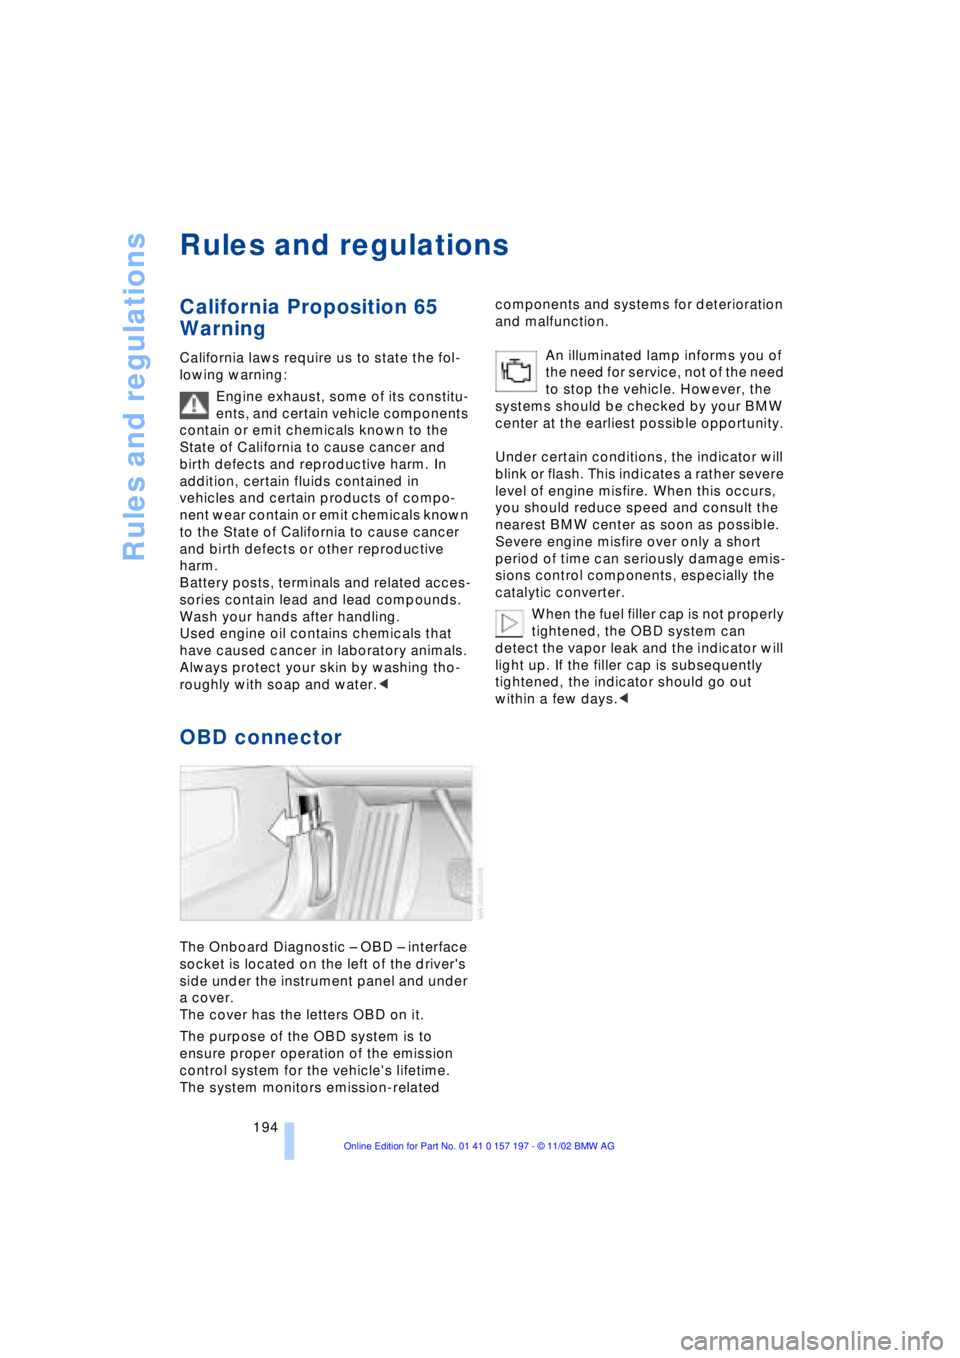
The Onboard Diagnostic Ð OBD Ð interface
socket is located on the left of the driver's
side under the instrument panel and under
a cover.
The cover has the letters OBD on it.
The purpose of the OBD system is to
ensure proper operation of the emission
control system for the vehicle's lifetime.
The system monitors emission-related components and systems for deterioration
and malfunction.
An illuminated lamp informs you of
the need for service, not of the need
to stop the vehicle. However, the
systems should be checked by your BMW
center at the earliest possible opportunity.
Under certain conditions, the indicator will
blink or flash. This indicates a rather severe
level of engine misfire. When this occurs,
you should reduce speed and consult the
nearest BMW center as soon as possible.
Severe engine misfire over only a short
period of time can seriously damage emis-
sions control components, especially the
catalytic converter.
When the fuel filler cap is not properly
tightened, the OBD system can
detect the vapor leak and the indicator will
light up. If the filler cap is subsequently
tightened, the indicator should go out
within a few days.<
Page 198 of 229
Replacing components
196
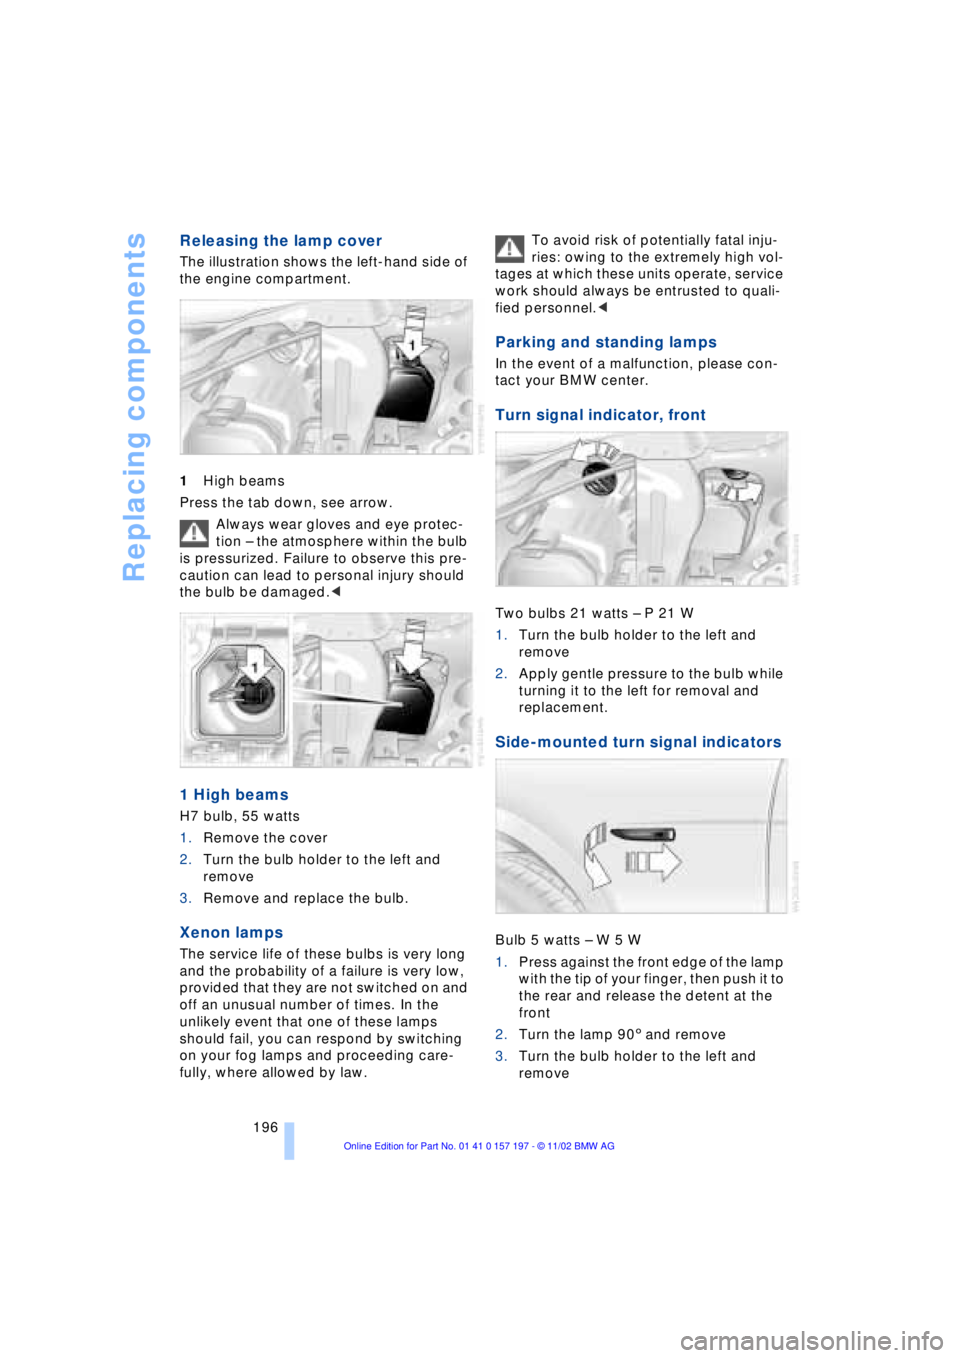
Releasing the lamp cover
The illustration shows the left-hand side of
the engine compartment.
1High beams
Press the tab down, see arrow.
Always wear gloves and eye protec-
tion Ð the atmosphere within the bulb
is pressurized. Failure to observe this pre-
caution can lead to personal injury should
the bulb be damaged.<
1 High beams
H7 bulb, 55 watts
1.Remove the cover
2.Turn the bulb holder to the left and
remove
3.Remove and replace the bulb.
Xenon lamps
The service life of these bulbs is very long
and the probability of a failure is very low,
provided that they are not switched on and
off an unusual number of times. In the
unlikely event that one of these lamps
should fail, you can respond by switching
on your fog lamps and proceeding care-
fully, where allowed by law. To avoid risk of potentially fatal inju-
ries: owing to the extremely high vol-
tages at which these units operate, service
work should always be entrusted to quali-
fied personnel.<
Parking and standing lamps
In the event of a malfunction, please con-
tact your BMW center.
Turn signal indicator, front
Two bulbs 21 watts Ð P 21 W
1.Turn the bulb holder to the left and
remove
2.Apply gentle pressure to the bulb while
turning it to the left for removal and
replacement.
Side-mounted turn signal indicators
Bulb 5 watts Ð W 5 W
1.Press against the front edge of the lamp
with the tip of your finger, then push it to
the rear and release the detent at the
front
2.Turn the lamp 903 and remove
3.Turn the bulb holder to the left and
remove