2003 BMW 760LI SEDAN tire pressure
[x] Cancel search: tire pressurePage 5 of 229
At a glance
Operation
Driving tips
Communications
Navigation
Entertainment
Mobility
Reference
71Turn signal indicators/headlamp
flasher
72Wiper system
73Washer fluid
73Programmable cruise control
75Active cruise control
*
Everything under control
82Odometer, outside temperature
display, clock
82Tachometer
83Service Interval Display
85Check Control
86Computer
91Changing settings
Technology for comfort,
convenience and safety
93PDC Park Distance Control
*
94Driving stability control/
DSC Dynamic Stability Control
96Driving stability control/ABS Antilock
Braking System
97Dynamic Drive
97EDC Electronic Damping Control
*
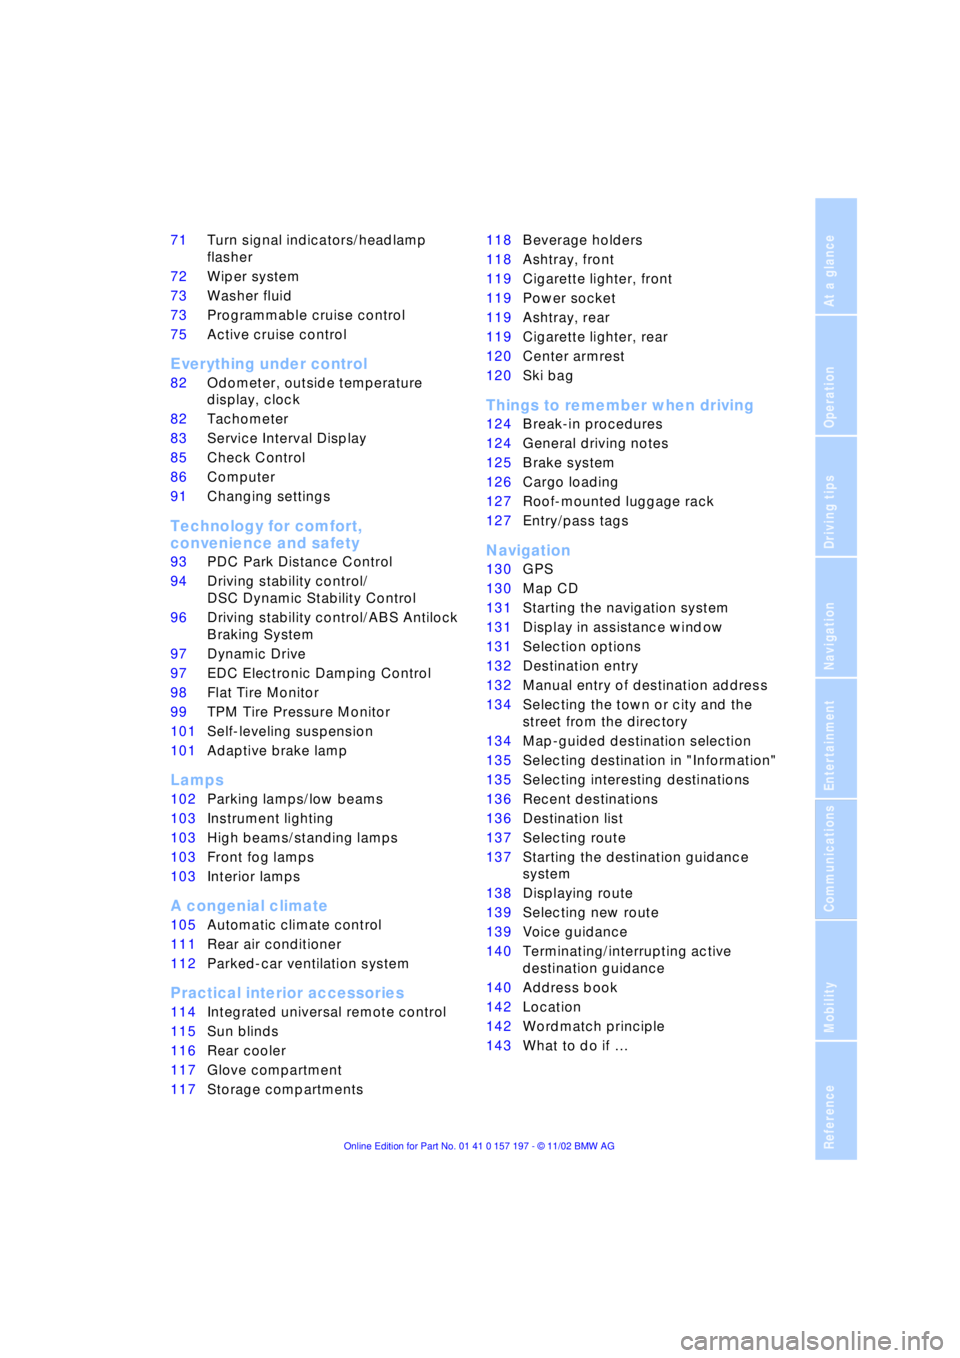
98Flat Tire Monitor
*
99TPM Tire Pressure Monitor
*
101Self-leveling suspension
*
101Adaptive brake lamp
Lamps
102Parking lamps/low beams
103Instrument lighting
103High beams/standing lamps
103Front fog lamps
103Interior lamps
A congenial climate
105Automatic climate control
111Rear air conditioner
*
112Parked-car ventilation system
Practical interior accessories
114Integrated universal remote control
*
115Sun blinds
*
116Rear cooler
*
117Glove compartment
117Storage compartments118Beverage holders
118Ashtray, front
119Cigarette lighter, front
119Power socket
119Ashtray, rear
119Cigarette lighter, rear
120Center armrest
120Ski bag
*
Things to remember when driving
124Break-in procedures
124General driving notes
125Brake system
126Cargo loading
127Roof-mounted luggage rack
*
127Entry/pass tags
Navigation
130GPS
130Map CD
131Starting the navigation system
131Display in assistance window
*
131Selection options
132Destination entry
132Manual entry of destination address
134Selecting the town or city and the
street from the directory
134Map-guided destination selection
135Selecting destination in "Information"
135Selecting interesting destinations
136Recent destinations
136Destination list
137Selecting route
137Starting the destination guidance
system
138Displaying route
139Selecting new route
139Voice guidance
140Terminating/interrupting active
destination guidance
140Address book
142Location
142Wordmatch principle
143What to do if É
Page 6 of 229
Contents
Entertainment
146Controls
146Care instructions
147Switching on/off
147Using with ignition off
147Volume adjustment
147Tone control
Radio
149Starting
149Stopping
149Selecting frequency band
150Selecting a station
150Storing and retrieving a station
151Weather Band
CD Compact Disc
153Starting
153Stopping
154Searching for music tracks in the
Control Display
154Using the buttons to search for music
tracks
CD changer
156Starting
156Stopping
156Status displays
157Searching for music tracks in the
Control Display
157Using the buttons to search for music
tracks
Cassette
158Starting
158Stopping
158Selecting side A or B
158Switching "Booktape" on/off
158Noise suppression
159Searching for music tracks
TV
160Starting
160Stopping
160Storing programs
160Selecting programs
161Adjusting the picture
*
161Selecting standard
DVD changer
164Care instructions
164Starting
164Stopping
164Status displays
164DVD control
165Selecting a track
166Chapter search
166Adjusting picture
166Freezing frame
166Selecting picture format
166Selecting language, subtitles and
viewing angle
167Opening DVD-specific menu
Using the phone in your vehicle
170Safety notice
171Care instructions
171Controls
172Telephone keypad, folding
173Hands-free system
173Making an SOS call
174Telephoning with the
car phone
174Using the BMW portable phone
174Getting started
175Telephone directory
176Selecting a number from the Top 8 list
176Redialing
176Missed calls
BMW Assist
178Requirements
178Roadside Assistance of the BMW
Group
Refueling
182Fuel filler door
183Fuel specifications
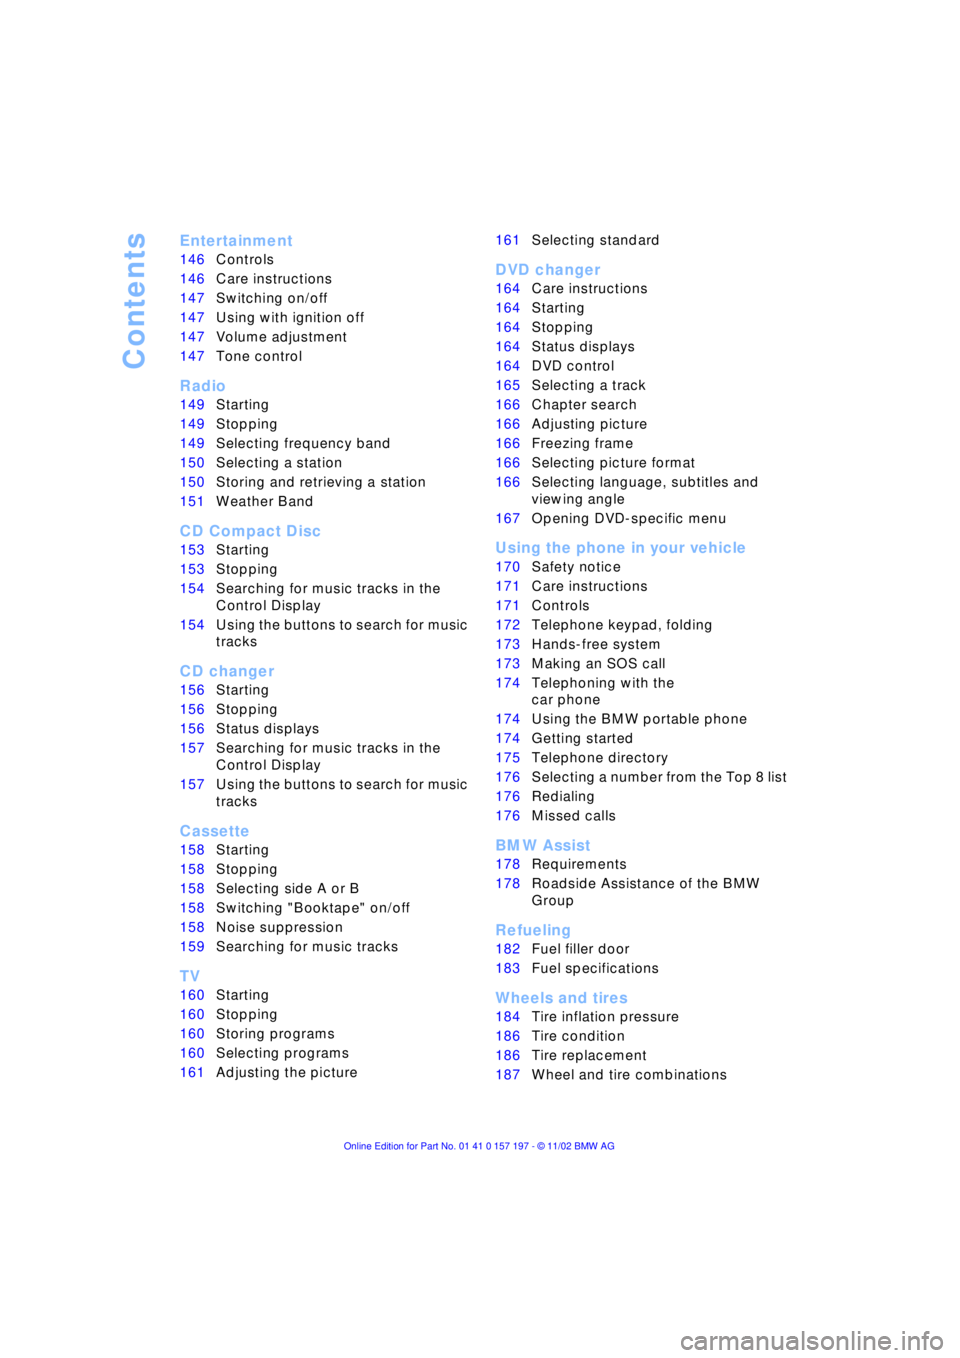
Wheels and tires
184Tire inflation pressure
186Tire condition
186Tire replacement
187Wheel and tire combinations
Page 68 of 229
Driving
66 the luggage compartment lid, refer to
page 195.
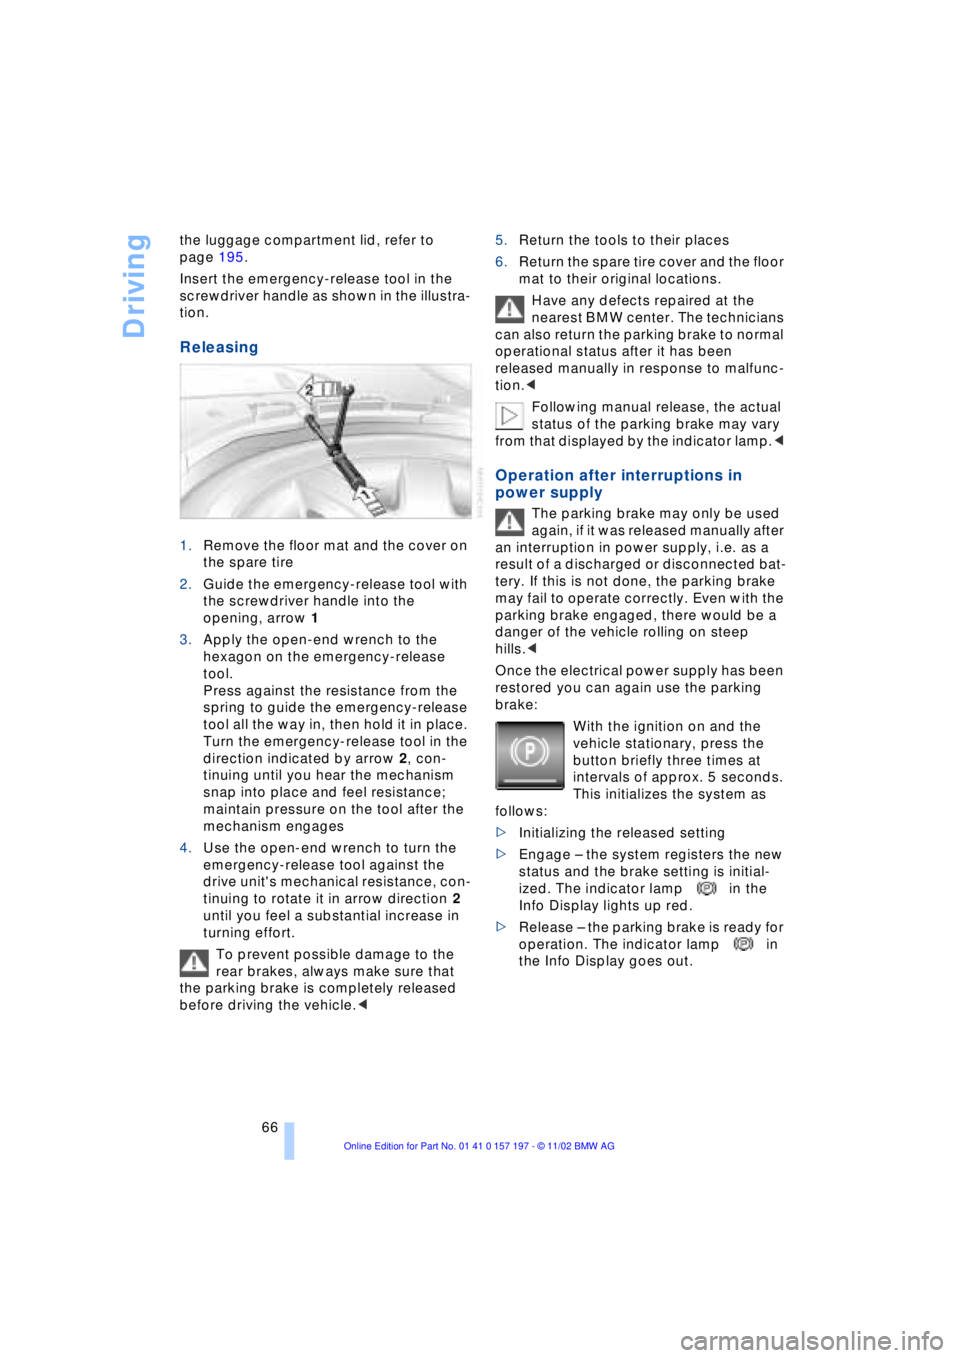
Insert the emergency-release tool in the
screwdriver handle as shown in the illustra-
tion.
Releasing
1.Remove the floor mat and the cover on
the spare tire
2.Guide the emergency-release tool with
the screwdriver handle into the
opening, arrow 1
3.Apply the open-end wrench to the
hexagon on the emergency-release
tool.
Press against the resistance from the
spring to guide the emergency-release
tool all the way in, then hold it in place.
Turn the emergency-release tool in the
direction indicated by arrow 2, con-
tinuing until you hear the mechanism
snap into place and feel resistance;
maintain pressure on the tool after the
mechanism engages
4.Use the open-end wrench to turn the
emergency-release tool against the
drive unit's mechanical resistance, con-
tinuing to rotate it in arrow direction 2
until you feel a substantial increase in
turning effort.
To prevent possible damage to the
rear brakes, always make sure that
the parking brake is completely released
before driving the vehicle.< 5.Return the tools to their places
6.Return the spare tire cover and the floor
mat to their original locations.
Have any defects repaired at the
nearest BMW center. The technicians
can also return the parking brake to normal
operational status after it has been
released manually in response to malfunc-
tion.<
Following manual release, the actual
status of the parking brake may vary
from that displayed by the indicator lamp.<
Operation after interruptions in
power supply
The parking brake may only be used
again, if it was released manually after
an interruption in power supply, i.e. as a
result of a discharged or disconnected bat-
tery. If this is not done, the parking brake
may fail to operate correctly. Even with the
parking brake engaged, there would be a
danger of the vehicle rolling on steep
hills.<
Once the electrical power supply has been
restored you can again use the parking
brake:
With the ignition on and the
vehicle stationary, press the
button briefly three times at
intervals of approx. 5 seconds.
This initializes the system as
follows:
>Initializing the released setting
>Engage Ð the system registers the new
status and the brake setting is initial-
ized. The indicator lamp in the
Info Display lights up red.
>Release Ð the parking brake is ready for
operation. The indicator lamp in
the Info Display goes out.
Page 100 of 229
Technology for comfort, convenience and safety
98
Flat Tire Monitor*
The concept
The Flat Tire Monitor keeps track of the
inflation pressures in your tires as you
drive. The system provides an alert when-
ever the inflation pressure drops signifi-
cantly below the specified pressure in one
or more tires.
In order for the Flat Tire Monitor to 'learn'
the correct tire inflation pressure, check the
inflation pressure in all tires against the
inflation pressure table on page 185 and
make corrections as necessary. Then pro-
ceed to initialize the system.
This symbol will appear in the
Check Control to inform you that
the inflation pressure of a tire has
fallen significantly. A text message appears
at the same time.
Please take note of the additional informa-
tion in the Control Display.
You can find more information on the
Check Control starting on page 85.
The Flat Tire Monitor cannot indicate
sudden severe tire damage caused
by outside factors and does not detect a
natural, even pressure drop in all four
tires.<
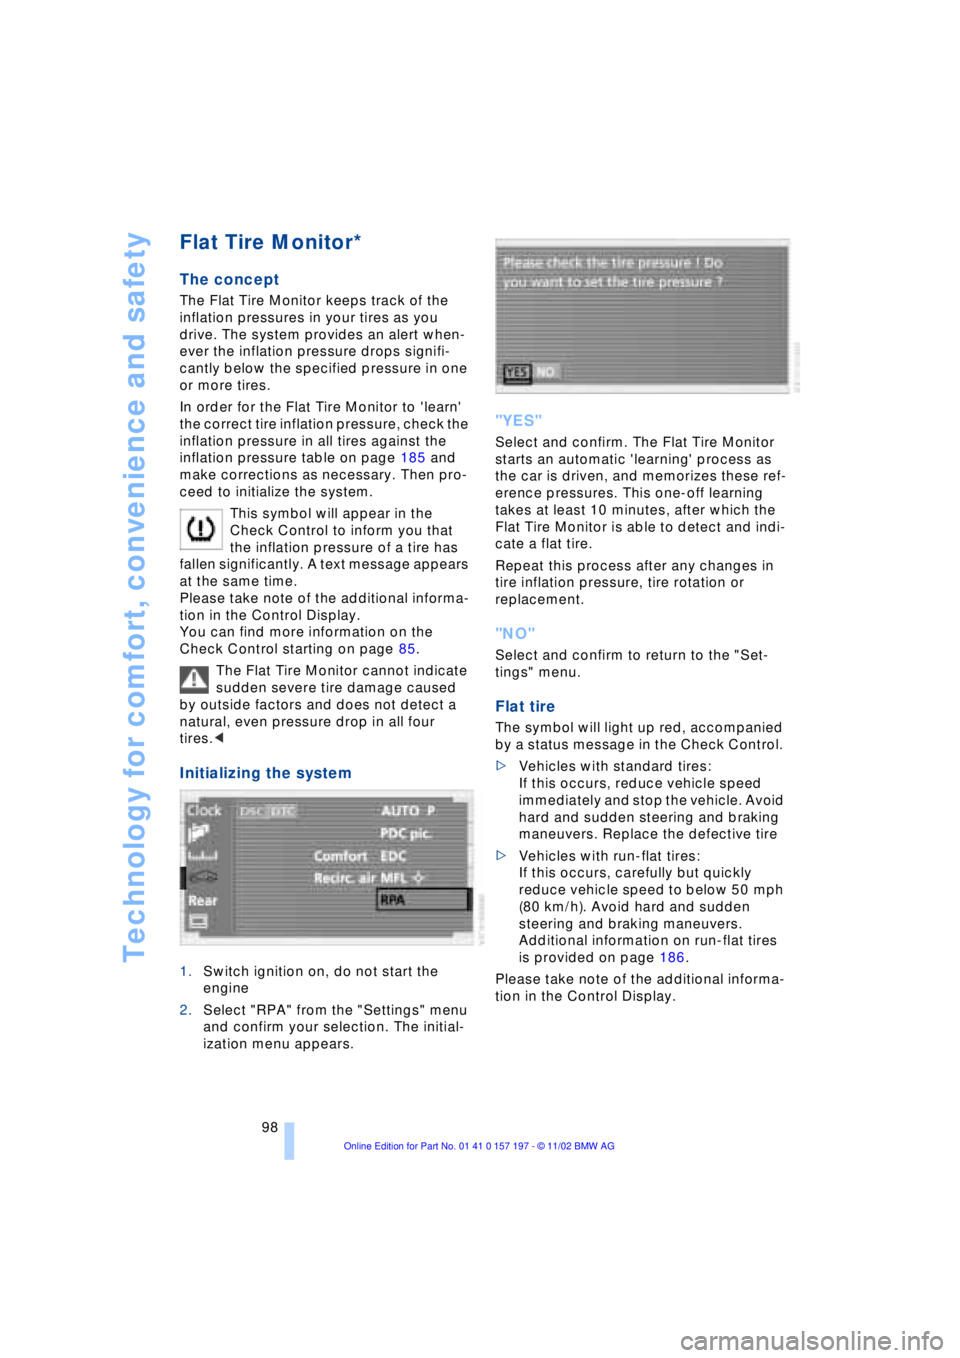
Initializing the system
1.Switch ignition on, do not start the
engine
2.Select "RPA" from the "Settings" menu
and confirm your selection. The initial-
ization menu appears.
"YES"
Select and confirm. The Flat Tire Monitor
starts an automatic 'learning' process as
the car is driven, and memorizes these ref-
erence pressures. This one-off learning
takes at least 10 minutes, after which the
Flat Tire Monitor is able to detect and indi-
cate a flat tire.
Repeat this process after any changes in
tire inflation pressure, tire rotation or
replacement.
"NO"
Select and confirm to return to the "Set-
tings" menu.
Flat tire
The symbol will light up red, accompanied
by a status message in the Check Control.
>Vehicles with standard tires:
If this occurs, reduce vehicle speed
immediately and stop the vehicle. Avoid
hard and sudden steering and braking
maneuvers. Replace the defective tire
>Vehicles with run-flat tires:
If this occurs, carefully but quickly
reduce vehicle speed to below 50 mph
(80 km/h). Avoid hard and sudden
steering and braking maneuvers.
Additional information on run-flat tires
is provided on page 186.
Please take note of the additional informa-
tion in the Control Display.
Page 101 of 229
At a glance
Controls
Driving tips
Communications
Navigation
Entertainment
Mobility
Reference
99
Check the tire inflation pressure regu-
larly and correct it if necessary, refer
to page 185.
Do not initialize the system when snow
chains are fitted. False alarms and unde-
tected loss of pressure may occur in such
situations.
When driving on snow-covered or slippery
surfaces, it may take some time for a loss of
tire pressure to be indicated.
A sports driving style Ð spinning of the
driven wheels, high lateral accelerations Ð
can likewise result in a delayed response
from the Flat Tire Monitor.<
System malfunctions
The symbol will appear in yellow in the
Check Control and a message will appear.
Please refer to the additional information
supplied in the Control Display, and have
the system inspected at your BMW center.
TPM Tire Pressure Monitor*
The concept
TPM monitors inflation pressures in all four
tires while you drive. The system provides
an alert whenever the inflation pressure
drops significantly below the specified
pressure in one or more tires.
To initialize TPM, start by checking the
inflation pressures in all four tires and com-
paring them with those specified in the
table on page 185, correcting them as nec-
essary.Then proceed to initialize the
system.
This symbol will appear in the
Check Control to inform you when
the inflation pressure varies from
that stored in the system. A text message
appears at the same time.
Please take note of the additional informa-
tion in the Control Display.
You can find more information on the
Check Control starting on page 85.
The TPM cannot alert you to severe
and sudden tire damage caused by
external factors.<
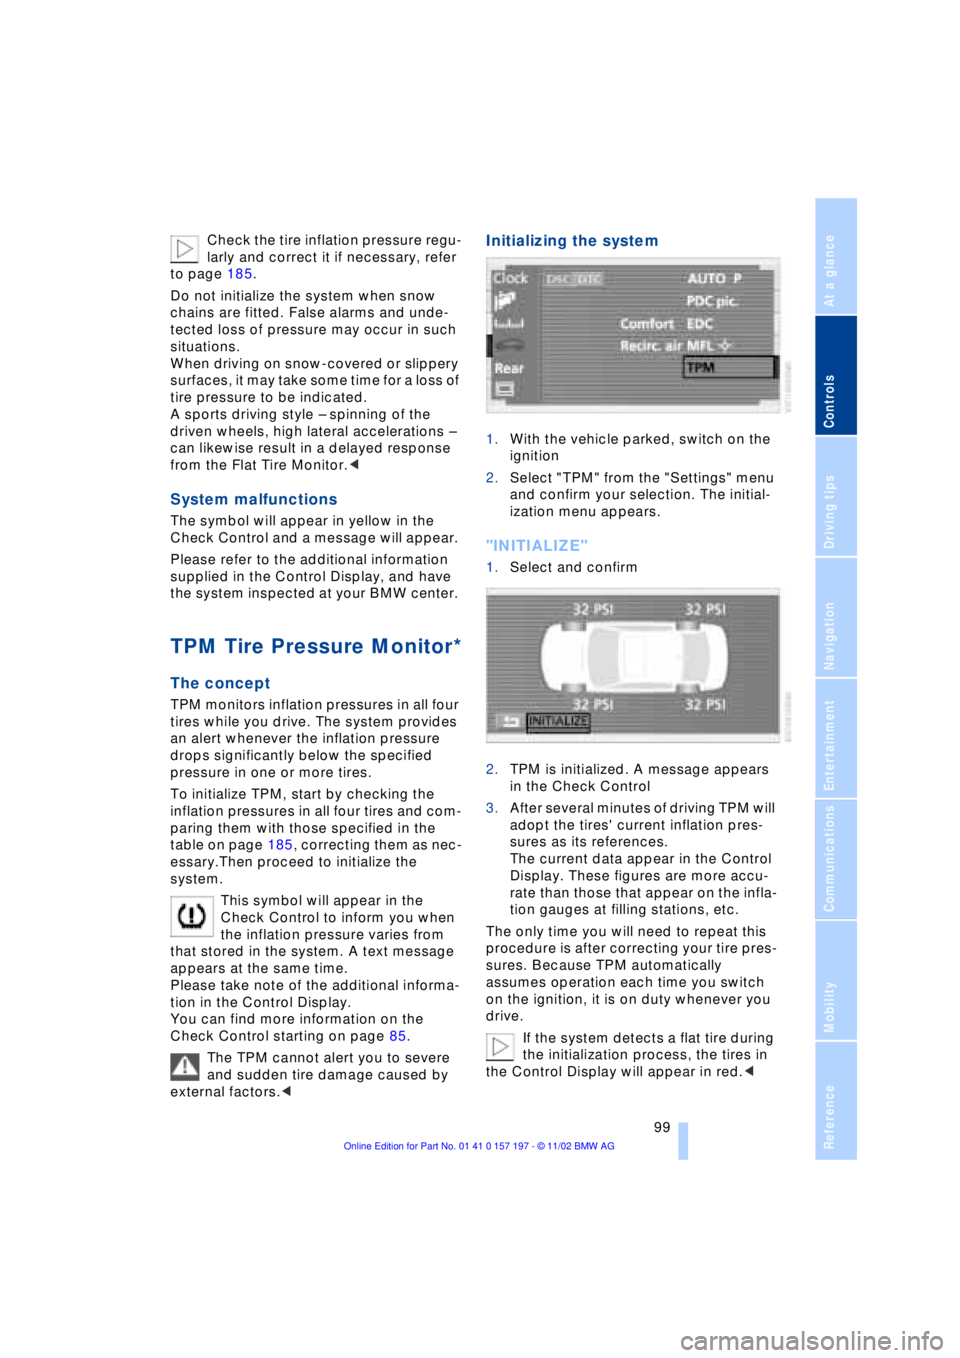
Initializing the system
1.With the vehicle parked, switch on the
ignition
2.Select "TPM" from the "Settings" menu
and confirm your selection. The initial-
ization menu appears.
"INITIALIZE"
1.Select and confirm
2.TPM is initialized. A message appears
in the Check Control
3.After several minutes of driving TPM will
adopt the tires' current inflation pres-
sures as its references.
The current data appear in the Control
Display. These figures are more accu-
rate than those that appear on the infla-
tion gauges at filling stations, etc.
The only time you will need to repeat this
procedure is after correcting your tire pres-
sures. Because TPM automatically
assumes operation each time you switch
on the ignition, it is on duty whenever you
drive.
If the system detects a flat tire during
the initialization process, the tires in
the Control Display will appear in red.<
Page 102 of 229
Technology for comfort, convenience and safety
100
Do not start the initialization
Select and confirm to return to the
"Settings" menu.
Status indicators in the Control
Display
The status of the system is indicated by the
color of the tires.
TPM takes into account that the tire pres-
sure changes during driving. A correction is
only required when the TPM requests that
the driver takes action by changing the
color.
Green
Tire inflation pressures correspond to the
initialized level.
Yellow
The inflation pressures in the tires have
fallen to below the specified level, which is
normal in every tire after a certain amount
of time.
This alerts you to have the tires inflated to
the specified pressures as soon as pos-
sible.
Red
Pressure loss in indicated tire.
If this occurs, reduce vehicle speed imme-
diately and stop the vehicle. Avoid hard
and sudden steering and braking maneu-
vers.
Black
The system is being initialized.
The system needs several minutes to com-
plete the initialization process, after which
it is ready to detect and report tire prob-
lems.
In the event of loss in tire pressure
If the indicator lamp symbol in the Check
Control lights up in yellow, and a message
also appears, this indicates that the infla-
tion pressures in the tires have fallen to
below the specified level, which is normal
in every tire after a certain amount of time. This alerts you to have the tires inflated to
the specified pressures as soon as pos-
sible.
Please take note of the additional informa-
tion in the Control Display.
If you are prompted to check the tire
pressure shortly after a correction has
been made, this indicates that the cor-
rected values were not accurate. Please
check the inflation pressure again and
make corrections according to the inflation
pressure table. Then reinitialize the
system.<
Flat tire
If you have a flat tire, the indicator lamp
symbol in the Check Control will light up in
red, and a message will appear. In addition,
a gong sounds.
>Vehicles with standard tires:
If this occurs, reduce vehicle speed
immediately and stop the vehicle. Avoid
hard and sudden steering and braking
maneuvers. Replace the defective tire
>Vehicles with run-flat tires:
If this occurs, carefully but quickly
reduce vehicle speed to below 50 mph
(80 km/h). Avoid hard and sudden
steering and braking maneuvers.
Additional information on run-flat tires
is provided on page 186.
The spare tire provided with your
vehicle is equipped with the elec-
tronics required to support TPM operation;
once the spare is installed, the pressure in
this tire will also be monitored following
system initialization.
Have the tires changed at your BMW
center.
Your BMW center has the information
needed for working with TPM and is
equipped with the necessary special
tools.<
System malfunctions
Other equipment operating on the same
radio frequency as TPM can generate inter-
ference signals that may prevent the
system from operating as intended.
Page 176 of 229
Using the phone in your vehicle
174 Under certain conditions, an SOS call is
triggered automatically immediately after a
severe accident. The automatic SOS call is
not affected by the SOS call button being
pressed.
Telephoning with the
car phone
If the BMW portable phone is not in the
cradle, you can telephone using the car
phone via the hands-free unit.
The telephone that can be used to set up a
connection is shown in the upper status
line in the Control Display.
The car phone must be enabled prior
to initial use. To do so, please consult
your BMW center.<
Calls can be set up or accepted using the
following equipment:
>Button in the steering wheel
>Control Display
Calls can only be set up via redi-
aling or missed calls.<
>Telephone keypad, folding
>Voice command system, only for out-
going calls.
Using the BMW portable
phone
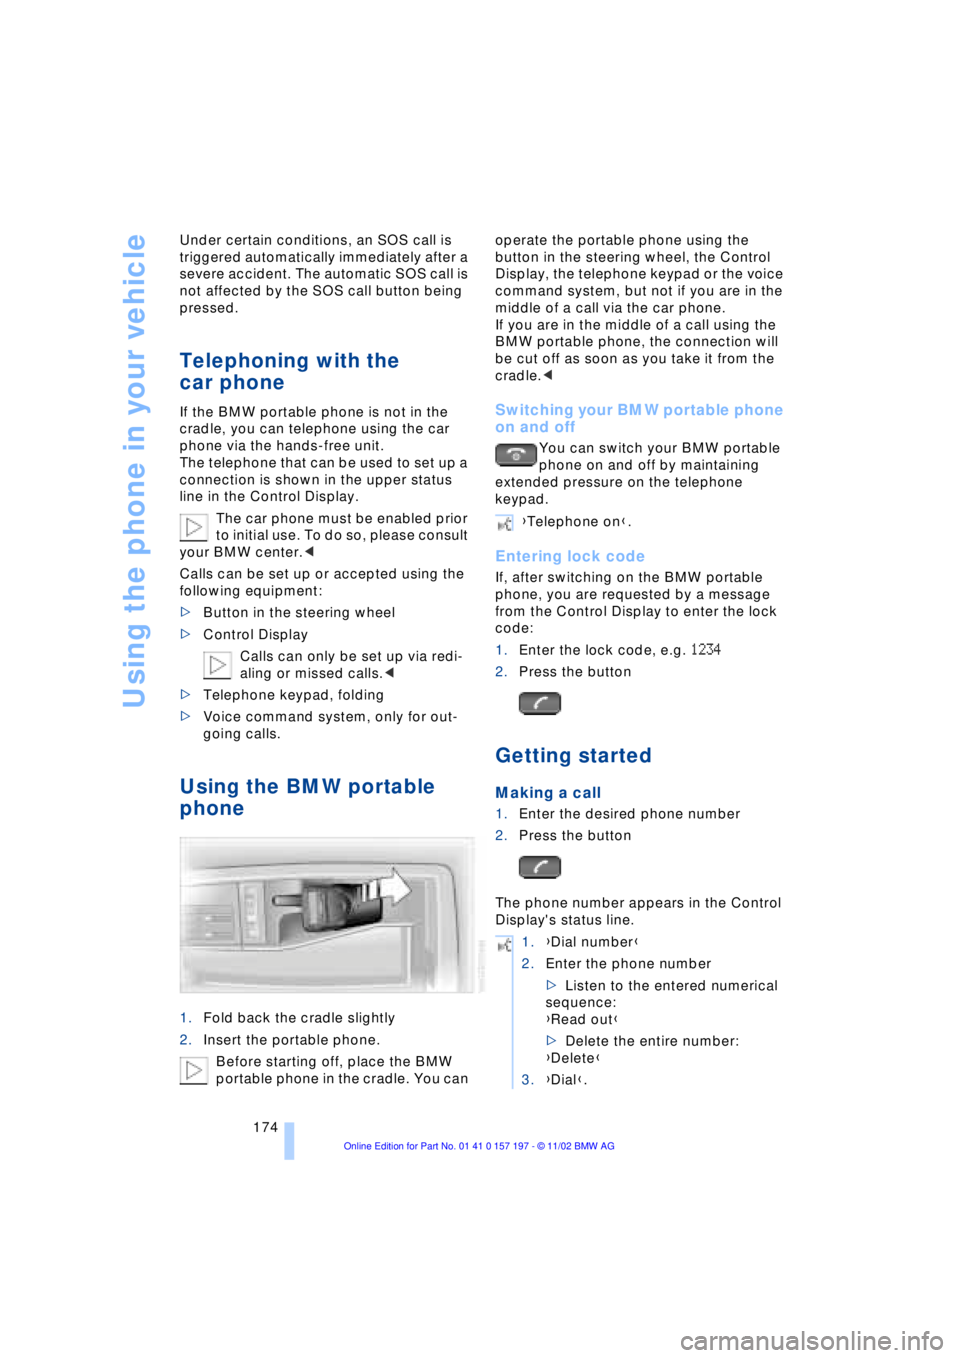
1.Fold back the cradle slightly
2.Insert the portable phone.
Before starting off, place the BMW
portable phone in the cradle. You can operate the portable phone using the
button in the steering wheel, the Control
Display, the telephone keypad or the voice
command system, but not if you are in the
middle of a call via the car phone.
If you are in the middle of a call using the
BMW portable phone, the connection will
be cut off as soon as you take it from the
cradle.<
Switching your BMW portable phone
on and off
You can switch your BMW portable
phone on and off by maintaining
extended pressure on the telephone
keypad.
Entering lock code
If, after switching on the BMW portable
phone, you are requested by a message
from the Control Display to enter the lock
code:
1.Enter the lock code, e.g. 1234
2.Press the button
Getting started
Making a call
1.Enter the desired phone number
2.Press the button
The phone number appears in the Control
Display's status line.
{Telephone on}.
1.{Dial number}
2.Enter the phone number
>Listen to the entered numerical
sequence:
{Read out}
>Delete the entire number:
{Delete}
3.{Dial}.
Page 186 of 229
Wheels and tires
184
Wheels and tires
Tire inflation pressure
Information for your safety
The factory-mounted tires have been spe-
cially selected to provide optimal perfor-
mance when installed on your vehicle; if
properly cared for they will furnish a combi-
nation of tremendous safety and excellent
ride comfort.
It is not merely the tire's service life, but
also driving comfort and Ð above all else Ð
driving safety that depend on the condition
of the tires and the maintenance of the spe-
cified tire pressure.
Incorrect inflation pressure is a frequent
cause of tire damage. Tire inflation pres-
sures also have a substantial effect on your
BMW's handling response.
Check tire inflation pressures regu-
larly Ð at least every two weeks and
before beginning a longer trip. If you fail to
observe this precaution you may be driving
on tires with incorrect tire pressures, a con-
dition that can not only compromise your
vehicle's stability, but also lead to tire
damage and the risk of an accident.
Remember to check the inflation pressure
in your spare tire. Inflate the spare to the
highest pressure specified for any tire on
the vehicle.<
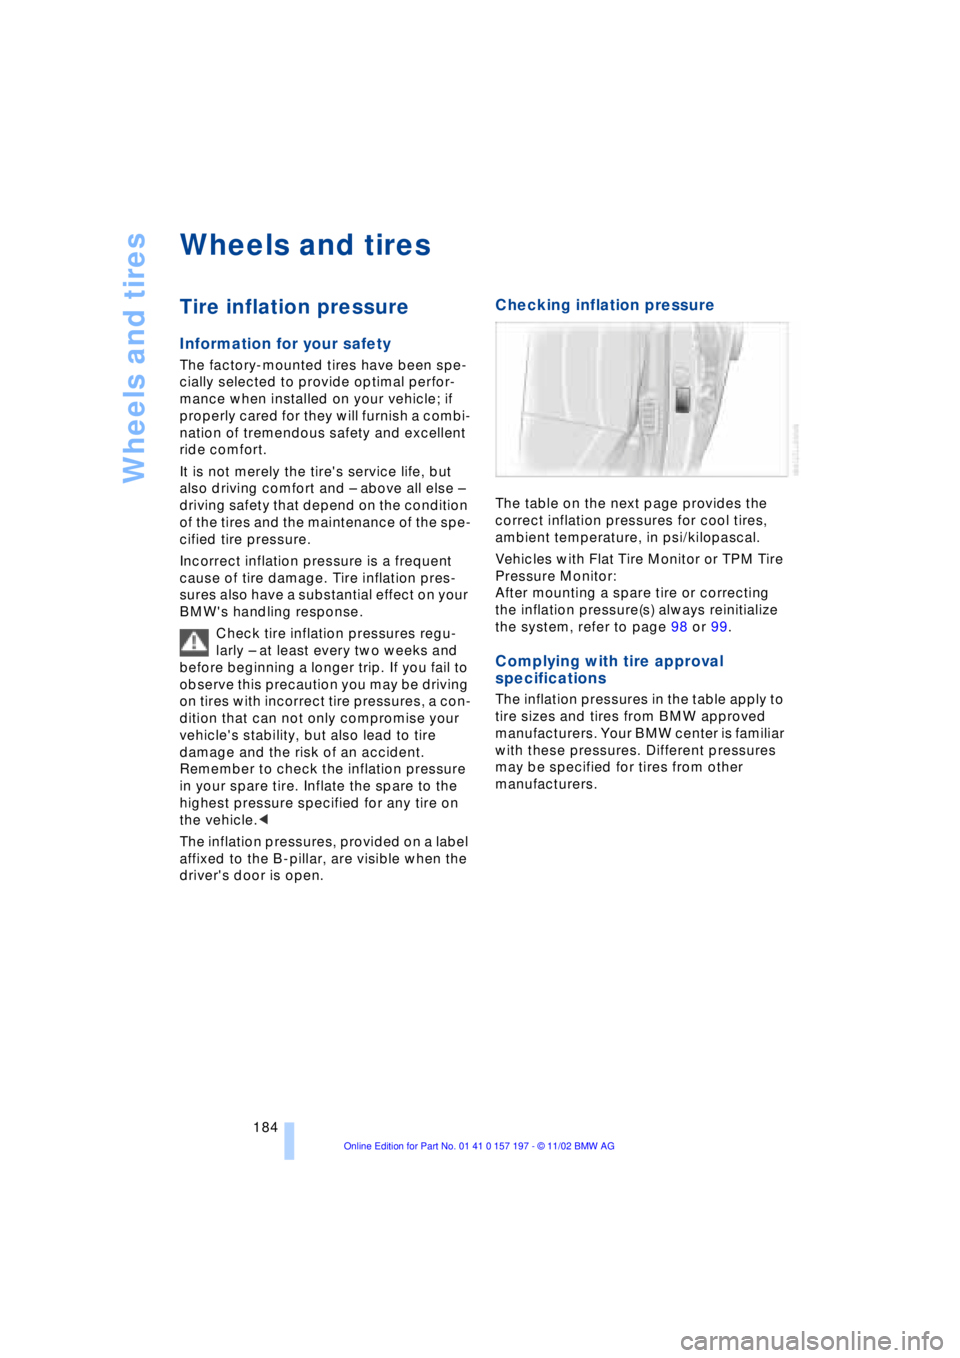
The inflation pressures, provided on a label
affixed to the B-pillar, are visible when the
driver's door is open.
Checking inflation pressure
The table on the next page provides the
correct inflation pressures for cool tires,
ambient temperature, in psi/kilopascal.
Vehicles with Flat Tire Monitor or TPM Tire
Pressure Monitor:
After mounting a spare tire or correcting
the inflation pressure(s) always reinitialize
the system, refer to page 98 or 99.
Complying with tire approval
specifications
The inflation pressures in the table apply to
tire sizes and tires from BMW approved
manufacturers. Your BMW center is familiar
with these pressures. Different pressures
may be specified for tires from other
manufacturers.