Page 122 of 229

Practical interior accessories
120
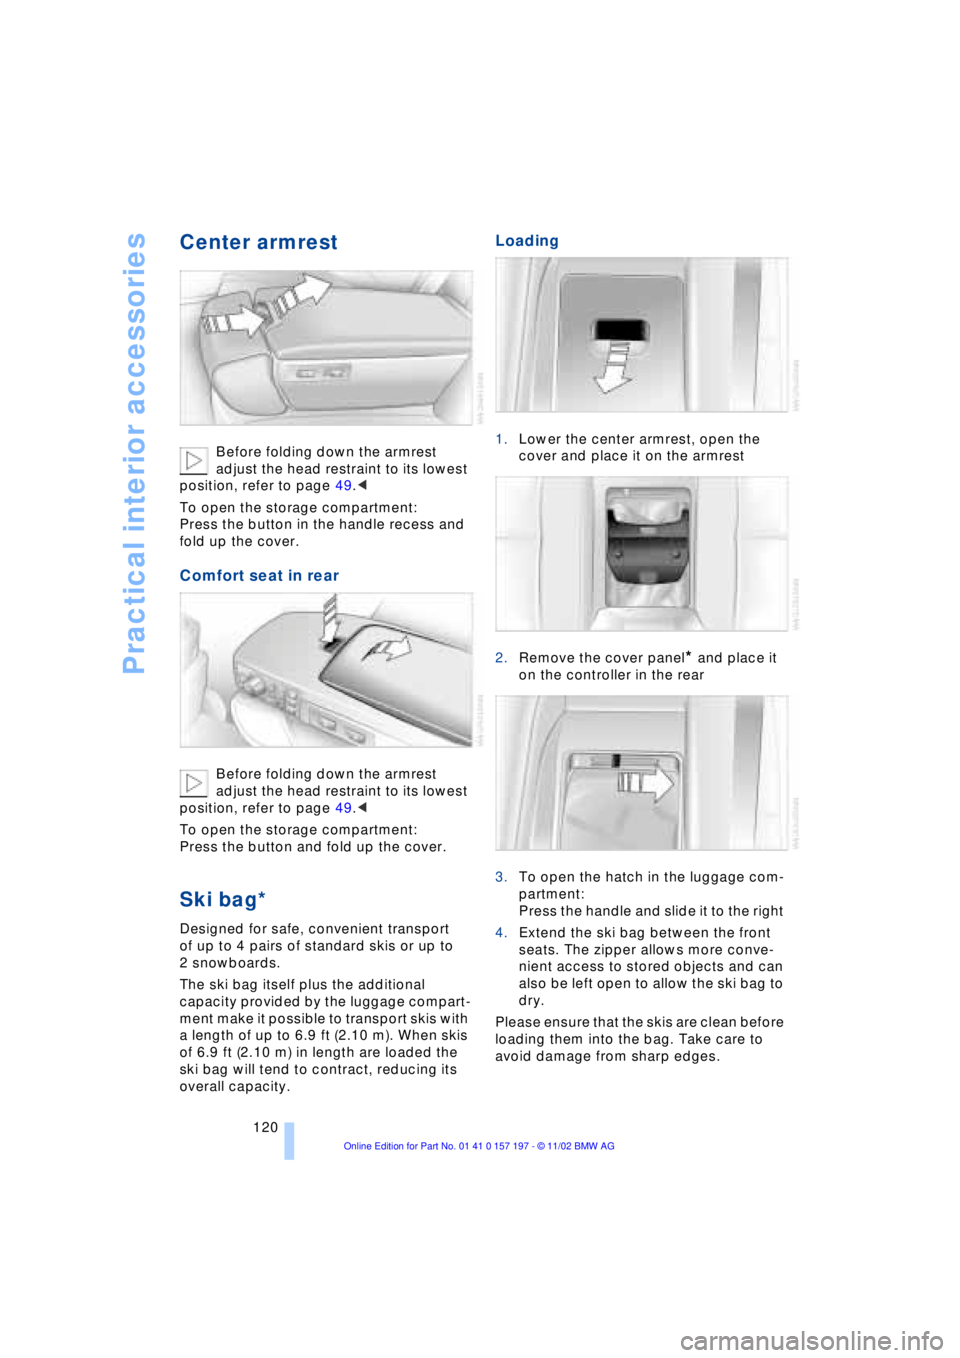
Center armrest
Before folding down the armrest
adjust the head restraint to its lowest
position, refer to page 49.<
To open the storage compartment:
Press the button in the handle recess and
fold up the cover.
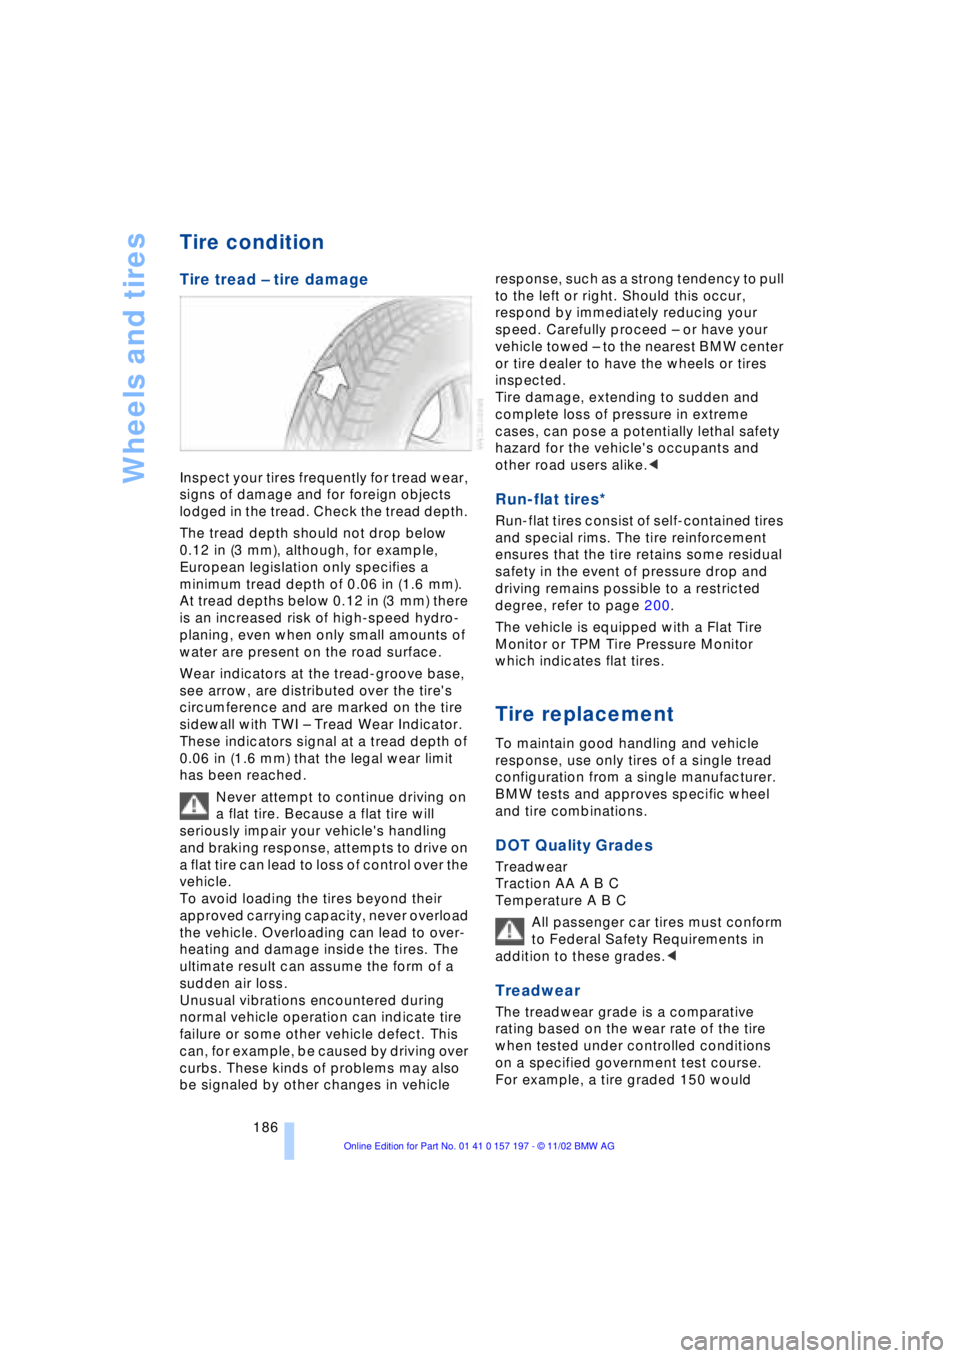
Comfort seat in rear
Before folding down the armrest
adjust the head restraint to its lowest
position, refer to page 49.<
To open the storage compartment:
Press the button and fold up the cover.
Ski bag*
Designed for safe, convenient transport
of up to 4 pairs of standard skis or up to
2 snowboards.
The ski bag itself plus the additional
capacity provided by the luggage compart-
ment make it possible to transport skis with
a length of up to 6.9 ft (2.10 m). When skis
of 6.9 ft (2.10 m) in length are loaded the
ski bag will tend to contract, reducing its
overall capacity.
Loading
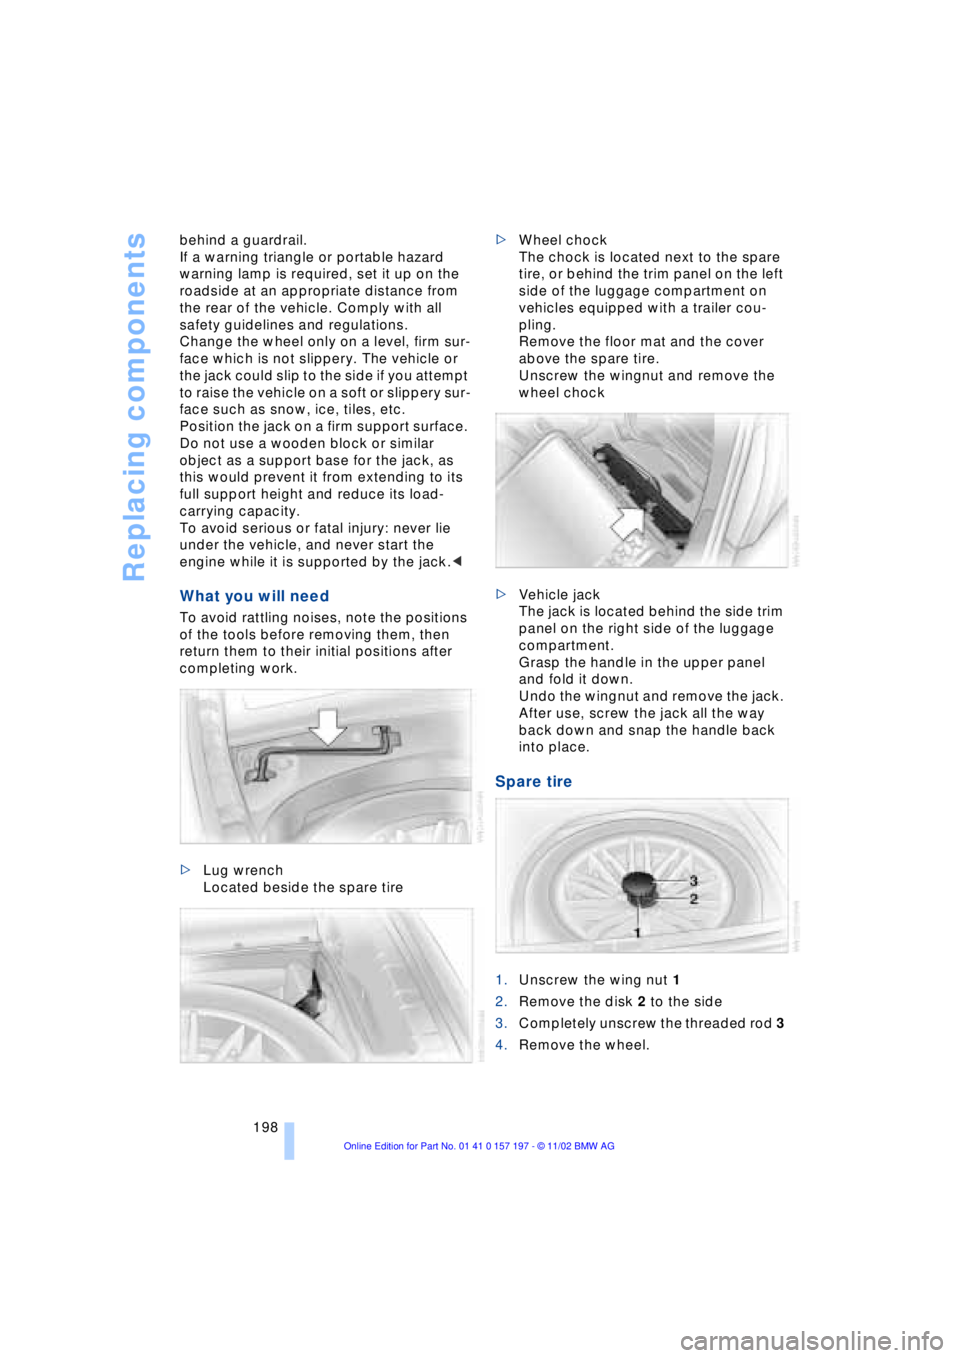
1.Lower the center armrest, open the
cover and place it on the armrest
2.Remove the cover panel
* and place it
on the controller in the rear
3.To open the hatch in the luggage com-
partment:
Press the handle and slide it to the right
4.Extend the ski bag between the front
seats. The zipper allows more conve-
nient access to stored objects and can
also be left open to allow the ski bag to
dry.
Please ensure that the skis are clean before
loading them into the bag. Take care to
avoid damage from sharp edges.
Page 188 of 229

Wheels and tires
186
Tire condition
Tire tread Ð tire damage
Inspect your tires frequently for tread wear,
signs of damage and for foreign objects
lodged in the tread. Check the tread depth.
The tread depth should not drop below
0.12 in (3 mm), although, for example,
European legislation only specifies a
minimum tread depth of 0.06 in (1.6 mm).
At tread depths below 0.12 in (3 mm) there
is an increased risk of high-speed hydro-
planing, even when only small amounts of
water are present on the road surface.
Wear indicators at the tread-groove base,
see arrow, are distributed over the tire's
circumference and are marked on the tire
sidewall with TWI Ð Tread Wear Indicator.
These indicators signal at a tread depth of
0.06 in (1.6 mm) that the legal wear limit
has been reached.
Never attempt to continue driving on
a flat tire. Because a flat tire will
seriously impair your vehicle's handling
and braking response, attempts to drive on
a flat tire can lead to loss of control over the
vehicle.
To avoid loading the tires beyond their
approved carrying capacity, never overload
the vehicle. Overloading can lead to over-
heating and damage inside the tires. The
ultimate result can assume the form of a
sudden air loss.
Unusual vibrations encountered during
normal vehicle operation can indicate tire
failure or some other vehicle defect. This
can, for example, be caused by driving over
curbs. These kinds of problems may also
be signaled by other changes in vehicle response, such as a strong tendency to pull
to the left or right. Should this occur,
respond by immediately reducing your
speed. Carefully proceed Ð or have your
vehicle towed Ð to the nearest BMW center
or tire dealer to have the wheels or tires
inspected.
Tire damage, extending to sudden and
complete loss of pressure in extreme
cases, can pose a potentially lethal safety
hazard for the vehicle's occupants and
other road users alike.<
Run-flat tires*
Run-flat tires consist of self-contained tires
and special rims. The tire reinforcement
ensures that the tire retains some residual
safety in the event of pressure drop and
driving remains possible to a restricted
degree, refer to page 200.
The vehicle is equipped with a Flat Tire
Monitor or TPM Tire Pressure Monitor
which indicates flat tires.
Tire replacement
To maintain good handling and vehicle
response, use only tires of a single tread
configuration from a single manufacturer.
BMW tests and approves specific wheel
and tire combinations.
DOT Quality Grades
Treadwear
Traction AA A B C
Temperature A B C
All passenger car tires must conform
to Federal Safety Requirements in
addition to these grades.<
Treadwear
The treadwear grade is a comparative
rating based on the wear rate of the tire
when tested under controlled conditions
on a specified government test course.
For example, a tire graded 150 would
Page 200 of 229

Replacing components
198 behind a guardrail.
If a warning triangle or portable hazard
warning lamp is required, set it up on the
roadside at an appropriate distance from
the rear of the vehicle. Comply with all
safety guidelines and regulations.
Change the wheel only on a level, firm sur-
face which is not slippery. The vehicle or
the jack could slip to the side if you attempt
to raise the vehicle on a soft or slippery sur-
face such as snow, ice, tiles, etc.
Position the jack on a firm support surface.
Do not use a wooden block or similar
object as a support base for the jack, as
this would prevent it from extending to its
full support height and reduce its load-
carrying capacity.
To avoid serious or fatal injury: never lie
under the vehicle, and never start the
engine while it is supported by the jack.<
What you will need
To avoid rattling noises, note the positions
of the tools before removing them, then
return them to their initial positions after
completing work.
>Lug wrench
Located beside the spare tire >Wheel chock
The chock is located next to the spare
tire, or behind the trim panel on the left
side of the luggage compartment on
vehicles equipped with a trailer cou-
pling.
Remove the floor mat and the cover
above the spare tire.
Unscrew the wingnut and remove the
wheel chock
>Vehicle jack
The jack is located behind the side trim
panel on the right side of the luggage
compartment.
Grasp the handle in the upper panel
and fold it down.
Undo the wingnut and remove the jack.
After use, screw the jack all the way
back down and snap the handle back
into place.
Spare tire
1.Unscrew the wing nut 1
2.Remove the disk 2 to the side
3.Completely unscrew the threaded rod 3
4.Remove the wheel.
Page 212 of 229
Technical data
210
Weights
Never exceed either the approved axle
loads or the gross vehicle weight.
BMW 745iBMW 745Li
Curb weight lbs./kg 4,376/1,985 4,464/2,025
Approved gross vehicle weight lbs./kg 5,434/2,465 5,523/2,505
Approved front axle load lbs./kg 2,557/1,160 2,602/1,180
Approved rear axle load lbs./kg 2,987/1,355 3,020/1,370
Approved roof load capacity lbs./kg 220/100
Luggage compartment volume cu ft/l 17.7/500
BMW 760Li
Curb weight lbs./kg 4,872/2,210
Approved gross vehicle weight lbs./kg 5,930/2,690
Approved front axle load lbs./kg 2,833/1,285
Approved rear axle load lbs./kg 3,109/1,410
Approved roof load capacity lbs./kg 220/100
Luggage compartment volume cu ft/l 17.7/500