2003 BMW 760LI SEDAN navigation system
[x] Cancel search: navigation systemPage 99 of 229
At a glance
Controls
Driving tips
Communications
Navigation
Entertainment
Mobility
Reference
97
Check Control messages, refer to page 85.
Please note the supplementary information
provided in the Control Display.
Indicator and warning lamps on
Canadian models.
Dynamic Drive
The concept
Dynamic Drive minimizes body roll and
optimizes vehicle stability during cornering
and evasive maneuvers.
Active stabilizers at the front and rear axles
form the basis for Dynamic Drive. Suspen-
sion compliance adapts to suit driving con-
ditions, varying from performance-oriented
during cornering to smooth and comfort-
oriented when the vehicle is proceeding in
a straight line.
The system assumes operational status
each time you start the engine.
Driving with Dynamic Drive
During vehicle operation, the system con-
tinuously runs through closed-loop control
cycles lasting only fractions of a second.
In case of malfunction
The symbol will light up, accompa-
nied by a status message in the
Check Control. Please take note of
the additional information in the Control
Display.
You can find more detailed information on
the Check Control starting on page 85.
If the Dynamic Drive system switches
off in response to malfunction, please
remember to adapt your speed accord-
ingly, especially in curves.
The suspension will be noticeably softer
and the vehicle will display a greater ten-dency to tilt during cornering and in cross-
winds.
If a Check Control message stating that
you should stop appears in addition to the
red symbol, stop immediately and switch
off the engine. In this case the oil level in
the reservoir may have dropped below the
minimum, possibly owing to a leak in the
hydraulic system.
Please observe the additional instructions
provided in the Control Display.<
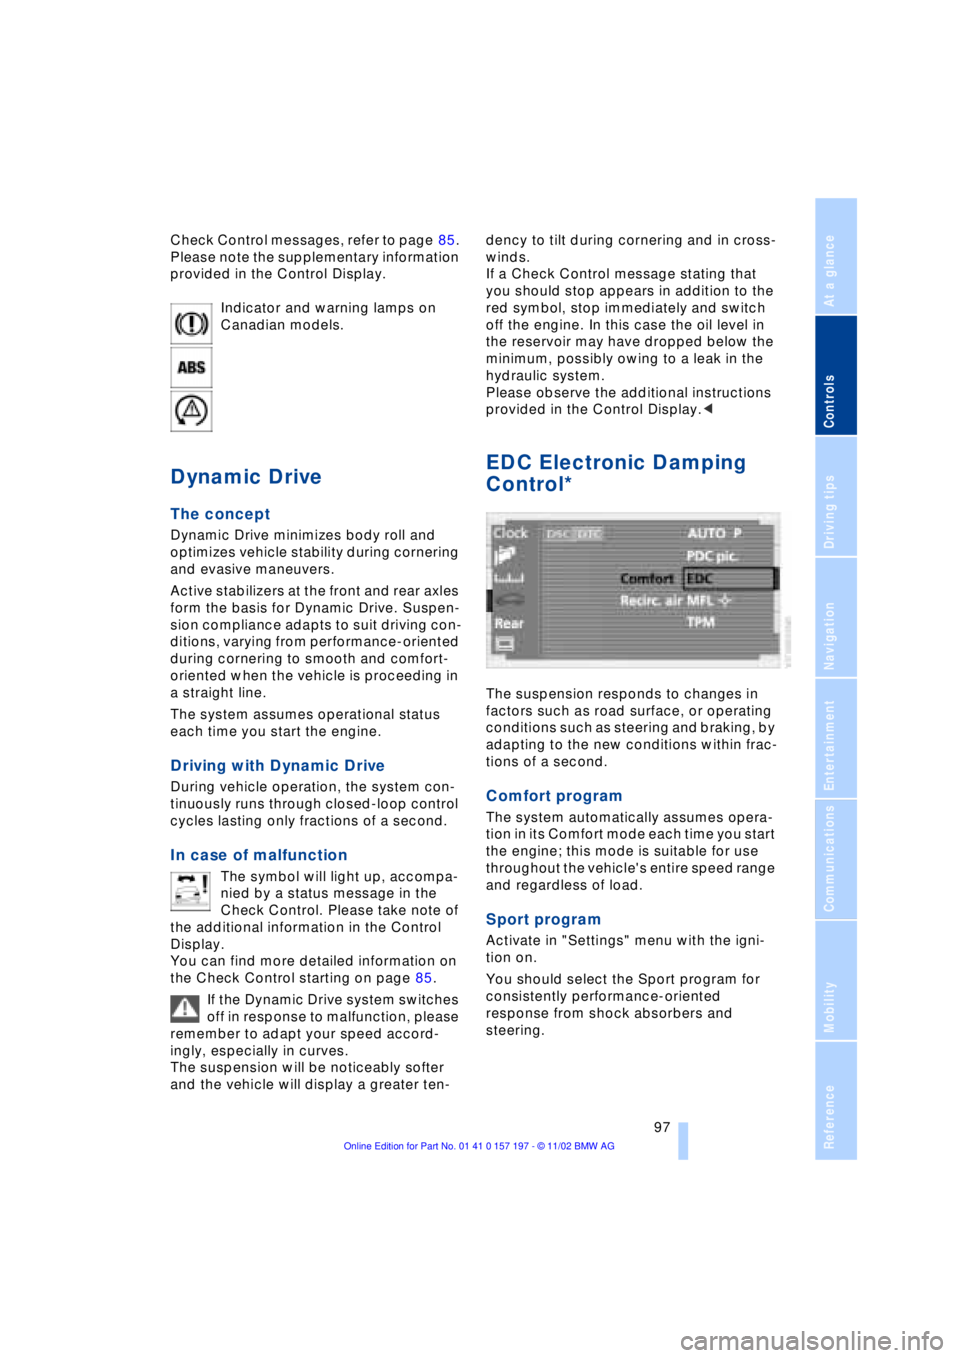
EDC Electronic Damping
Control*
The suspension responds to changes in
factors such as road surface, or operating
conditions such as steering and braking, by
adapting to the new conditions within frac-
tions of a second.
Comfort program
The system automatically assumes opera-
tion in its Comfort mode each time you start
the engine; this mode is suitable for use
throughout the vehicle's entire speed range
and regardless of load.
Sport program
Activate in "Settings" menu with the igni-
tion on.
You should select the Sport program for
consistently performance-oriented
response from shock absorbers and
steering.
Page 101 of 229
At a glance
Controls
Driving tips
Communications
Navigation
Entertainment
Mobility
Reference
99
Check the tire inflation pressure regu-
larly and correct it if necessary, refer
to page 185.
Do not initialize the system when snow
chains are fitted. False alarms and unde-
tected loss of pressure may occur in such
situations.
When driving on snow-covered or slippery
surfaces, it may take some time for a loss of
tire pressure to be indicated.
A sports driving style Ð spinning of the
driven wheels, high lateral accelerations Ð
can likewise result in a delayed response
from the Flat Tire Monitor.<
System malfunctions
The symbol will appear in yellow in the
Check Control and a message will appear.
Please refer to the additional information
supplied in the Control Display, and have
the system inspected at your BMW center.
TPM Tire Pressure Monitor*
The concept
TPM monitors inflation pressures in all four
tires while you drive. The system provides
an alert whenever the inflation pressure
drops significantly below the specified
pressure in one or more tires.
To initialize TPM, start by checking the
inflation pressures in all four tires and com-
paring them with those specified in the
table on page 185, correcting them as nec-
essary.Then proceed to initialize the
system.
This symbol will appear in the
Check Control to inform you when
the inflation pressure varies from
that stored in the system. A text message
appears at the same time.
Please take note of the additional informa-
tion in the Control Display.
You can find more information on the
Check Control starting on page 85.
The TPM cannot alert you to severe
and sudden tire damage caused by
external factors.<
Initializing the system
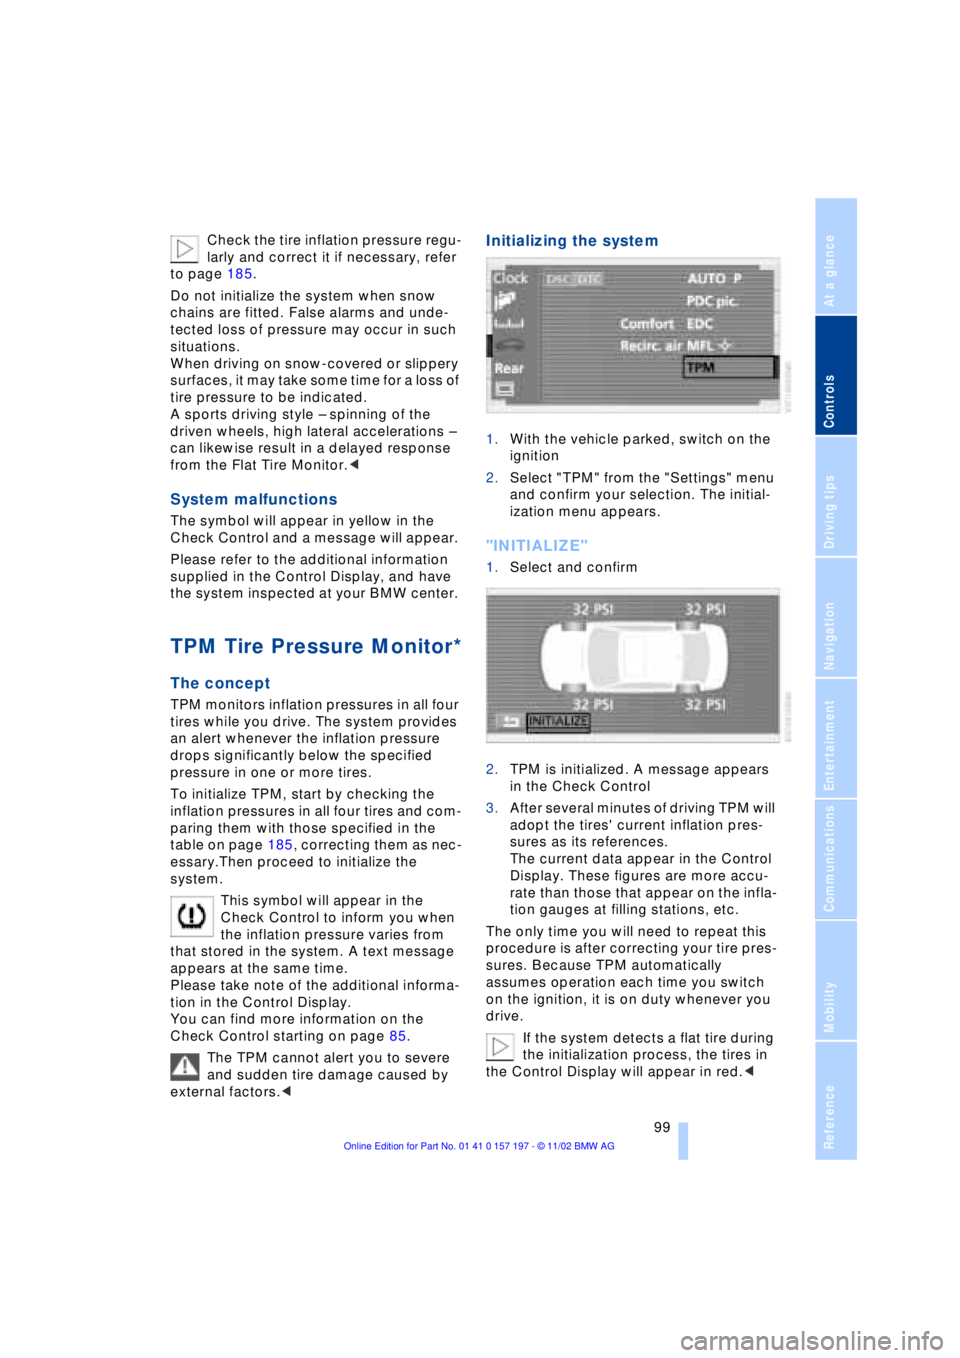
1.With the vehicle parked, switch on the
ignition
2.Select "TPM" from the "Settings" menu
and confirm your selection. The initial-
ization menu appears.
"INITIALIZE"
1.Select and confirm
2.TPM is initialized. A message appears
in the Check Control
3.After several minutes of driving TPM will
adopt the tires' current inflation pres-
sures as its references.
The current data appear in the Control
Display. These figures are more accu-
rate than those that appear on the infla-
tion gauges at filling stations, etc.
The only time you will need to repeat this
procedure is after correcting your tire pres-
sures. Because TPM automatically
assumes operation each time you switch
on the ignition, it is on duty whenever you
drive.
If the system detects a flat tire during
the initialization process, the tires in
the Control Display will appear in red.<
Page 103 of 229
At a glance
Controls
Driving tips
Communications
Navigation
Entertainment
Mobility
Reference
101
The symbol will appear in yellow in the
Check Control and a message will appear.
You will also see the same message
>in the event of a system fault
>if a wheel is mounted without the
appropriate TPM electronics
>if, in addition to the spare tire, addi-
tional wheels with TPM electronics are
on board.
Please refer to the additional information
supplied in the Control Display, and have
the system inspected at your BMW center.
Self-leveling suspension*
In the event of malfunction
A Check Control message
appearing together with this symbol
indicates a malfunction in the self-
leveling suspension. Please take note of
the additional information in the Control
Display.
Stop and inspect the vehicle. If the rear of
the vehicle is visibly lower than the front,
possibly accompanied by a tilt noticeable
when you compare the left rear with the
right rear, you should respond by immedi-
ately proceeding to the nearest BMW
center. Drive with appropriate caution in
the meantime. The vehicle has reduced
ground clearance and driving comfort may
be noticeably reduced. Even if the attitude
of the vehicle is normal, you should consult
the nearest BMW center if the warning
lamp indicates a system fault.
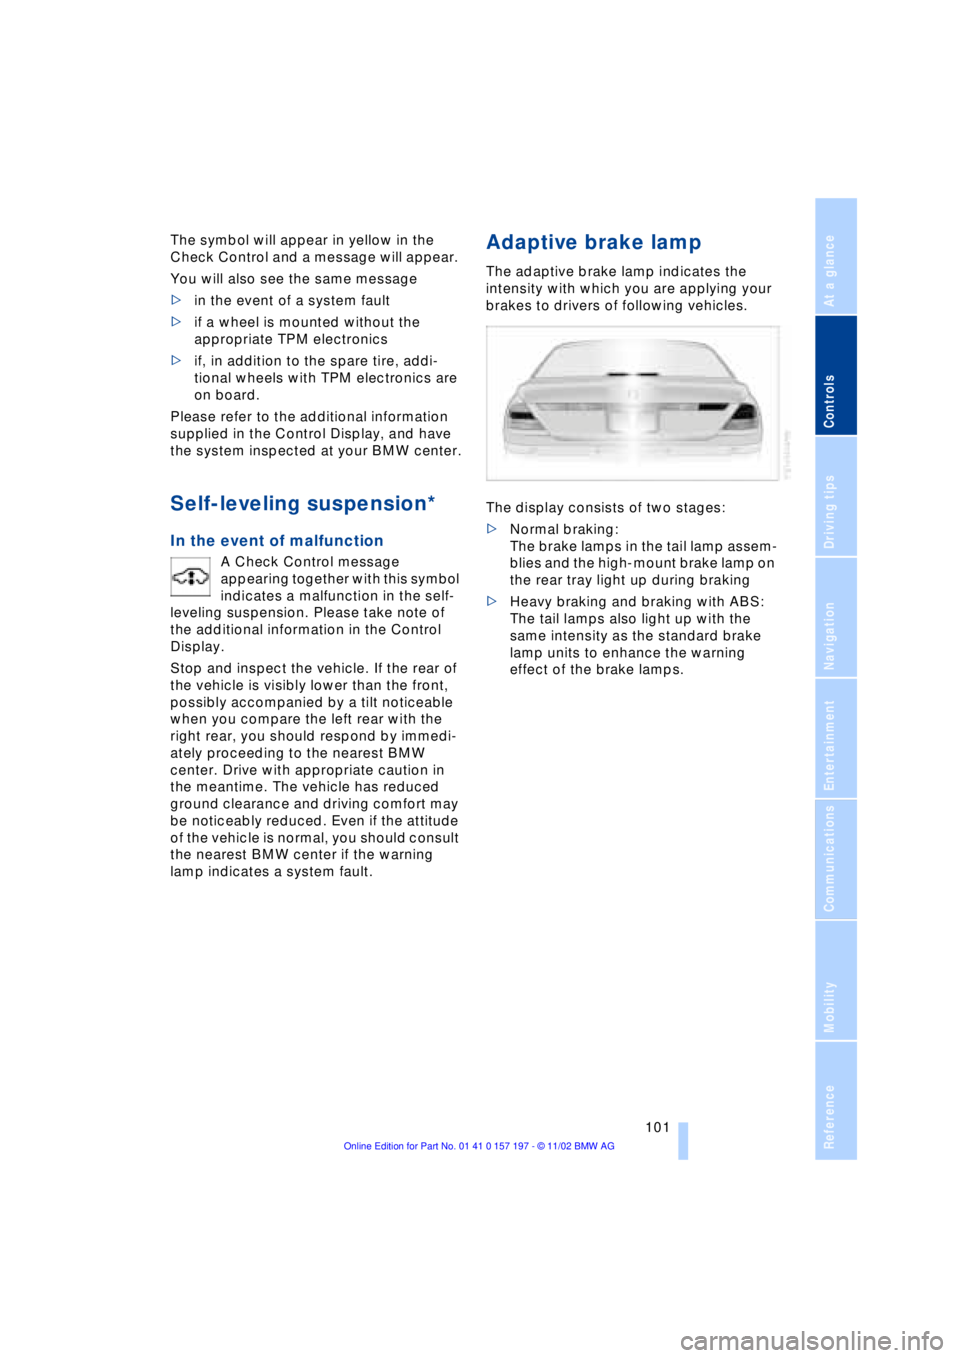
Adaptive brake lamp
The adaptive brake lamp indicates the
intensity with which you are applying your
brakes to drivers of following vehicles.
The display consists of two stages:
>Normal braking:
The brake lamps in the tail lamp assem-
blies and the high-mount brake lamp on
the rear tray light up during braking
>Heavy braking and braking with ABS:
The tail lamps also light up with the
same intensity as the standard brake
lamp units to enhance the warning
effect of the brake lamps.
Page 109 of 229
At a glance
Controls
Driving tips
Communications
Navigation
Entertainment
Mobility
Reference
107
Automatic air distribution and supply
The AUTO program adjusts the
airflow and distribution patterns
for you while also using your
preselected temperature setting as the
basis for adjusting the interior climate to
adapt to external influences Ð summer,
winter.
The air conditioner comes on automatically
when you select the AUTO program.
Temperature adjustment
You can turn to select the
desired temperatures for the
driver's and passenger sides.
Your settings appear in the
Control Display's status line.
The figures in the display provide a general
indication of interior temperature. When
you start the vehicle, this system ensures
that the selected temperature is achieved
as quickly as possible. It then maintains
this temperature, regardless of the season.
Defrosting windows and removing
condensation
This program quickly removes
ice and condensation from the
windshield and door windows.
Adjusting air supply manually
You can adjust the air supply by
turning. The automatic air
supply control is operational
whenever you see your selec-
tion represented by a bar in the
Control Display's status line. The automatic
air distribution remains in operation as
before. You can reactivate the automatic
air supply mode with the AUTO button.
Switching air conditioner mode on
and off manually
The air conditioner cools and
dehumidifies the incoming air
before also reheating it as
required, according to temperature setting.
Depending on the weather, the windshield may fog over briefly when the engine is
started.
The air conditioner comes on automatically
when you select the AUTO program.
Maximum cooling
This program quickly provides
maximum cooling.
The temperature display reverts
to 607 (166) while the
system switches to the recirculated-air
mode and starts to provide maximum air
supply through the vent outlets only. For
this reason you should ensure that these
outlets are open before selecting this pro-
gram.
Outside air/AUC Automatic recircu-
lated-air control/Recirculated air
You can respond to unpleasant
odors or pollutants in the imme-
diate environment by tempo-
rarily suspending the supply of outside air.
The system then recirculates the air cur-
rently within the vehicle. AUC executes this
function automatically.
Press the button repeatedly to run through
the following control sequence:
>Indicator lamps off: outside air flows
into the vehicle
>Left-hand indicator lamp on Ð AUC
mode: the system detects pollutants
in the outside air and responds by
blocking the supply of outside air when
required. The system then recirculates
the air currently within the vehicle.
Depending upon air quality, in the auto-
matic mode the system may start to
alternate between its outside-air and
recirculated-air modes
>Right-hand indicator lamp on Ð recircu-
lated-air mode: the supply of outside air
into the vehicle is permanently blocked.
The system then recirculates the air
currently within the vehicle.
If condensation starts to form on the
inside window surfaces during opera-
tion in the recirculated-air mode, you
Page 111 of 229
At a glance
Controls
Driving tips
Communications
Navigation
Entertainment
Mobility
Reference
109
The serrated dials 3* control the amount of
cooled air in the flow from the vent outlets:
Turn toward blue sector Ð colder
Turn toward red sector Ð warmer.
This function allows you to make minor
adjustments for maximum comfort while
also letting you vary temperatures within
the storage compartment.
Switching off automatic climate
control*
The air supply, the heater and
the air conditioner are all
switched off. You can restart
the automatic climate control
by pressing any of its buttons
except the REST button.
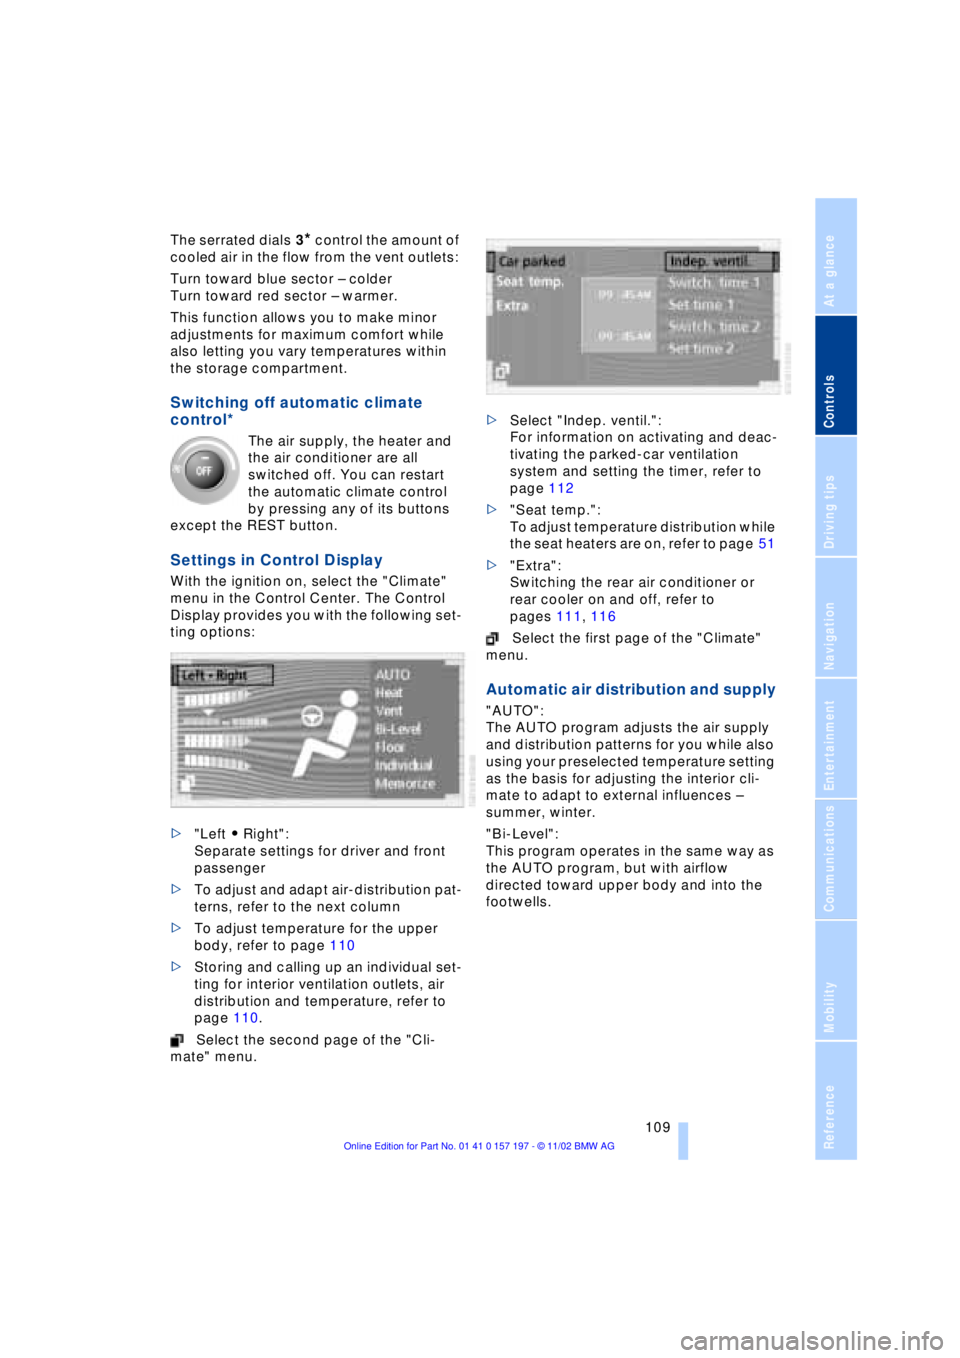
Settings in Control Display
With the ignition on, select the "Climate"
menu in the Control Center. The Control
Display provides you with the following set-
ting options:
>"Left A Right":
Separate settings for driver and front
passenger
>To adjust and adapt air-distribution pat-
terns, refer to the next column
>To adjust temperature for the upper
body, refer to page 110
>Storing and calling up an individual set-
ting for interior ventilation outlets, air
distribution and temperature, refer to
page 110.
Select the second page of the "Cli-
mate" menu. >Select "Indep. ventil.":
For information on activating and deac-
tivating the parked-car ventilation
system and setting the timer, refer to
page 112
>"Seat temp.":
To adjust temperature distribution while
the seat heaters are on, refer to page 51
>"Extra":
Switching the rear air conditioner or
rear cooler on and off, refer to
pages 111, 116
Select the first page of the "Climate"
menu.
Automatic air distribution and supply
"AUTO":
The AUTO program adjusts the air supply
and distribution patterns for you while also
using your preselected temperature setting
as the basis for adjusting the interior cli-
mate to adapt to external influences Ð
summer, winter.
"Bi-Level":
This program operates in the same way as
the AUTO program, but with airflow
directed toward upper body and into the
footwells.
Page 113 of 229
At a glance
Controls
Driving tips
Communications
Navigation
Entertainment
Mobility
Reference
111
Select "Individual" and confirm. The AUTO
program is deactivated.
Particle/activated-charcoal filter
The particle filter removes dust and pollen
from the incoming air. The activated-char-
coal filter provides additional protection by
filtering gaseous pollutants from the out-
side air. Your BMW center replaces this
combined filter as a standard part of your
scheduled maintenance.
You can select a display of more detailed
information in the Service Interval Display,
refer to page 83.
Rear air conditioner*
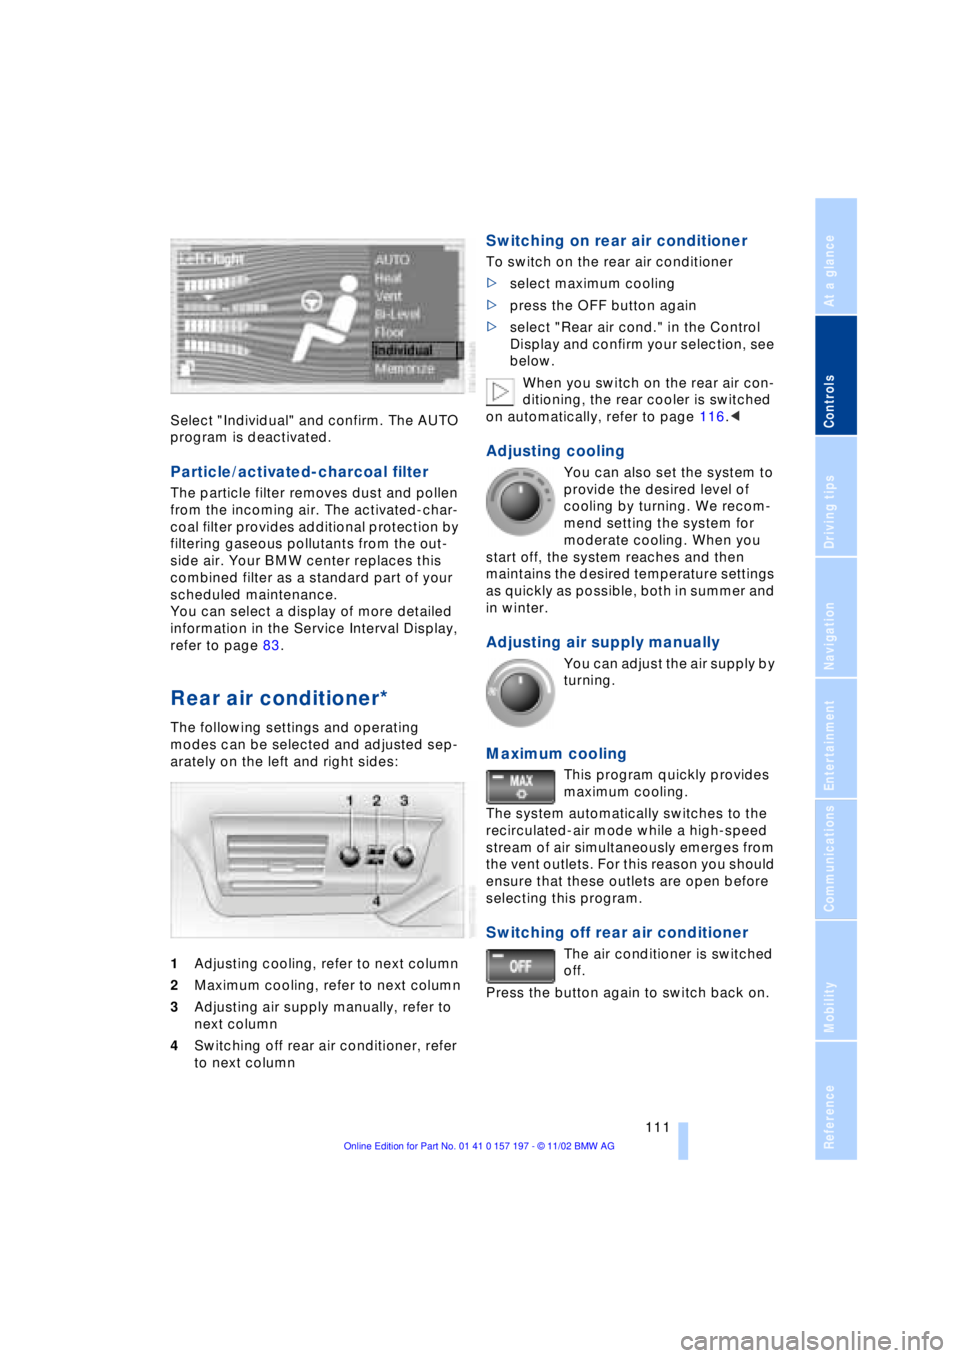
The following settings and operating
modes can be selected and adjusted sep-
arately on the left and right sides:
1Adjusting cooling, refer to next column
2Maximum cooling, refer to next column
3Adjusting air supply manually, refer to
next column
4Switching off rear air conditioner, refer
to next column
Switching on rear air conditioner
To switch on the rear air conditioner
>select maximum cooling
>press the OFF button again
>select "Rear air cond." in the Control
Display and confirm your selection, see
below.
When you switch on the rear air con-
ditioning, the rear cooler is switched
on automatically, refer to page 116.<
Adjusting cooling
You can also set the system to
provide the desired level of
cooling by turning. We recom-
mend setting the system for
moderate cooling. When you
start off, the system reaches and then
maintains the desired temperature settings
as quickly as possible, both in summer and
in winter.
Adjusting air supply manually
You can adjust the air supply by
turning.
Maximum cooling
This program quickly provides
maximum cooling.
The system automatically switches to the
recirculated-air mode while a high-speed
stream of air simultaneously emerges from
the vent outlets. For this reason you should
ensure that these outlets are open before
selecting this program.
Switching off rear air conditioner
The air conditioner is switched
off.
Press the button again to switch back on.
Page 117 of 229
At a glance
Controls
Driving tips
Communications
Navigation
Entertainment
Mobility
Reference
115
The device can be operated as of ignition
on.
If the device can not be operated after
repeated programming, check
whether the original hand-held transmitter
uses an alternating-code system. To do so,
either read the instructions of the original
hand-held transmitter or press and hold
down the programmed memory key 1 of
the integrated universal remote control. If
the indicator lamp 2 on the integrated uni-
versal remote control flashes quickly for a
brief period and then remains lit up for
approx. two seconds, this indicates that
the original hand-held transmitter is
equipped with an alternating code. In the
case of an alternating-code system, pro-
gram the memory keys 1 as described at
the section on alternating-code transmit-
ters.<
Alternating-code transmitters
Consult the operating instructions of the
unit you wish to set when programming the
integrated universal remote control. Find
out about the possibility for synchroniza-
tion.
When programming hand-held transmitters
that employ an alternating code, please
observe the following supplementary
instructions:
Programming will be easier with the
aid of a second person.<
1.Park your vehicle within the range of the
remote-controlled device
2.Program the integrated universal
remote control as described at the sec-
tion on fixed code hand-held transmit-
ters.
3.Localize the key on the receiver of the
device you want to set up, e.g. on the
upper section of the motor
4.Press the key on the receiver of the
device you want to set up. After step 4,
approx. 30 seconds remain for step 5
5.Press the programmed memory key 1
on the integrated universal remote con-
trol three times. The corresponding memory key 1 is now
programmed with the signal of the original
hand-held transmitter.
If you have any additional questions,
please contact your BMW center.<
Clearing memory keys
Individual memory keys 1 can not be
cleared. However, you clear all three
memory keys 1 together as follows:
Press both outer keys 1 of the integrated
universal remote control for approx.
20 seconds, maintaining pressure until the
indicator lamp 2 starts to flash.
Sun blinds*
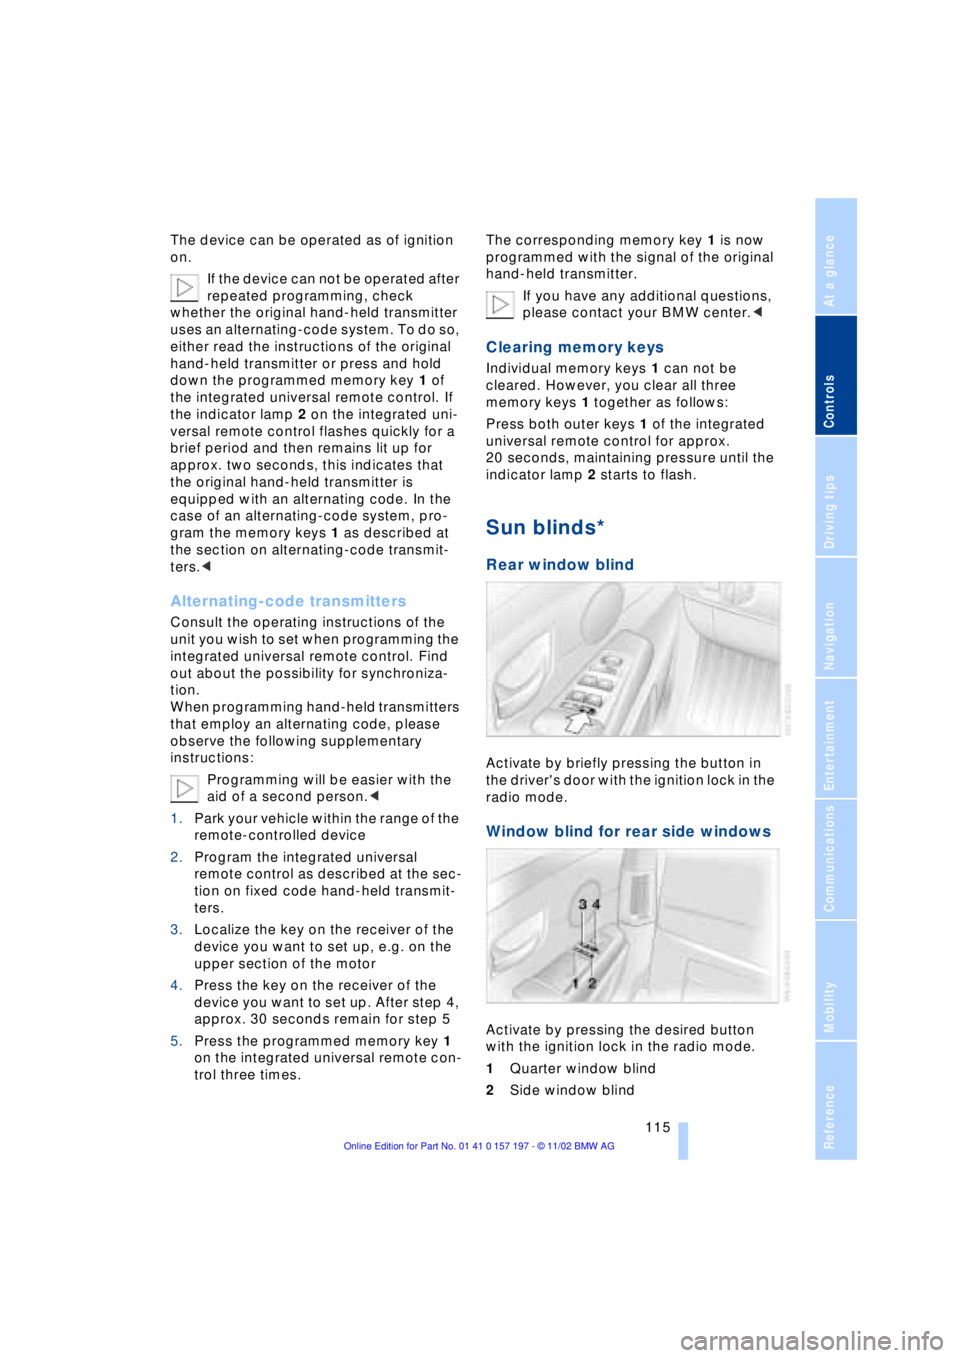
Rear window blind
Activate by briefly pressing the button in
the driver's door with the ignition lock in the
radio mode.
Window blind for rear side windows
Activate by pressing the desired button
with the ignition lock in the radio mode.
1Quarter window blind
2Side window blind
Page 127 of 229
At a glance
Controls
Driving tips
Communications
Navigation
Entertainment
Mobility
Reference
125
undermining your ability to steer and brake
the vehicle.<
Driving through water
Do not drive through water on the
road if it is deeper than 1 ft (30 cm),
and then only at walking speed at the most.
Otherwise, the vehicle's engine, the elec-
trical systems and the transmission may be
damaged.<
Brake system
Braking with ABS
The best way to achieve optimal response
from the ABS is to apply maximum pres-
sure to the brake pedal during emergencyÐ
panic stops. Since the vehicle maintains
steering responsiveness, you can never-
theless avoid possible obstacles with a
minimum of steering effort.
Pulsation at the brake pedal combines with
sounds from the hydraulic circuits to indi-
cate to the driver that ABS is in its active
mode.
Do not drive with your foot resting on
the brake pedal. Even light but con-
sistent pedal pressure can lead to high
temperatures, brake wear and possibly
even brake failure.<
Disc brakes
Driving in wet conditions
While driving in wet conditions and in
heavy rain, it is a good idea to apply light
pressure to the brake pedal every few
miles. Monitor traffic conditions to ensure
that this maneuver does not endanger
other road users. The heat generated in this
process helps dry the pads and rotors to
ensure that full braking efficiency will then
be available when you need it.
Hills
You can retain full and unimpaired braking
efficiency by downshifting to a gear in
which only minimal brake applications are
needed when descending long or steep
downhill stretches.
You can further enhance the engine's bra-
king effect by selecting a lower gear in the
automatic transmission's manual mode,
downshifting as far as first gear on extre-
mely steep stretches, refer to page 68. This
strategy helps you avoid placing excessive
loads on the brake system.
Never allow the vehicle to coast with
the transmission in Neutral Ð or with
the engine switched off Ð there is no engine
braking when the transmission is in Neu-
tral, and no power-assist for brakes and
steering when the engine is not running.
Never allow floor mats, carpets or any other
objects to protrude into the area around the
accelerator and brake pedals and obstruct
their movement.<
Corrosion
When the vehicle is driven only occasio-
nally, during extended periods when the
vehicle is not used at all, and in operating
conditions where brake applications are
less frequent, there is an increased ten-
dency for corrosion to form on rotors, while
contaminants accumulate on the brake
pads. This occurs because the minimal
pressure which must be exerted by the
pads during brake applications to clean the
rotors is not reached.
Should corrosion form on the brake rotors,
the brakes will tend to respond with a pul-
sating effect that even extended applica-
tion will fail to cure.
Brake pads
If the brake pad wear warning lamp
appears in the Check Control,
accompanied by a text: please take
careful note of the additional information in
the Control Display.