Page 2518 of 2898
Cooling CircuitNJLC0016
SLC317B
System CheckNJLC0017WARNING:
Never remove the radiator cap when the engine is hot. Serious
burns could occur from high pressure fluid escaping from the
radiator.
Wrap a thick cloth around the cap. Slowly turn it a quarter turn
to allow built-up pressure to escape. Carefully remove the cap
by turning it all the way.
CHECKING COOLING SYSTEM HOSESNJLC0017S01Check hoses for the following:
+Improper attachment
+Leaks
+Cracks
+Damage
+Loose connections
+Chafing
+Deterioration
ENGINE COOLING SYSTEMQG
Cooling Circuit
LC-12
Page 2519 of 2898

CHECKING RADIATORNJLC0017S04Check radiator for mud or clogging. If necessary, clean radiator as
follows.
+Be careful not to bend or damage the radiator fins.
+When radiator is cleaned without removal, remove all sur-
rounding parts such as cooling fan, rediator shroud and horns.
Then tape the harness and connectors to prevent water from
entering.
1. Apply water by hose to the back side of the radiator core ver-
tically download.
2. Apply water again to all radiator core surfaces once per
minute.
3. Stop washing if any stains no longer flow out from the radia-
tor.
4. Blow air into the back side of radiator core vertically download.
+Use compressesd air lower than 490 kPa (4.9 bar, 5 kg/cm
2,
71 psi) and keep distance more than 30 cm (11.8 in).
5. Blow air again into all the radiator core surfaces once per
minute until no water sprays out.
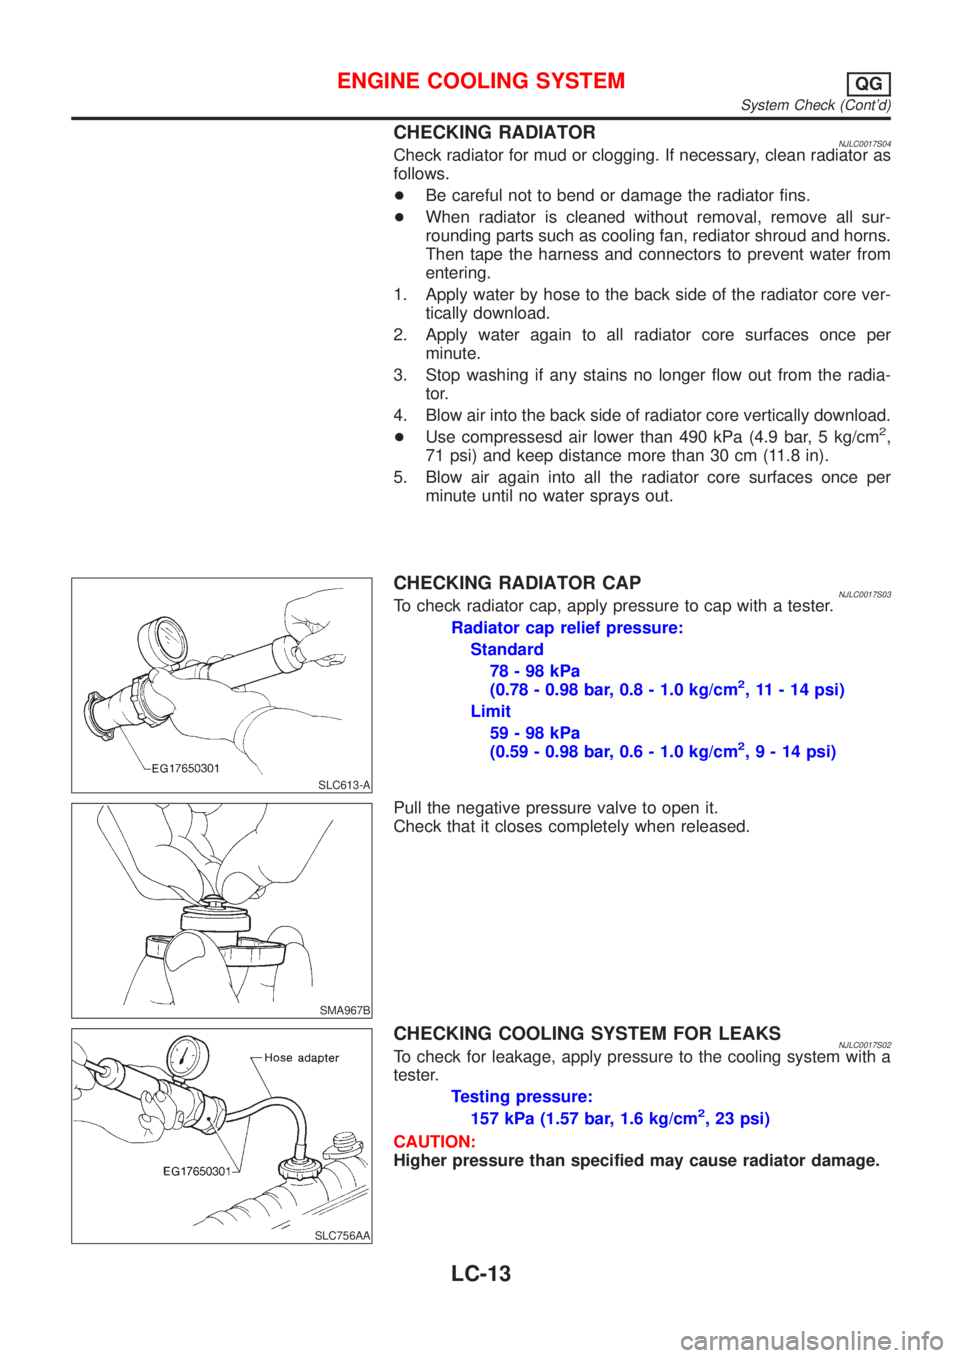
SLC613-A
CHECKING RADIATOR CAPNJLC0017S03To check radiator cap, apply pressure to cap with a tester.
Radiator cap relief pressure:
Standard
78-98kPa
(0.78 - 0.98 bar, 0.8 - 1.0 kg/cm
2, 11 - 14 psi)
Limit
59-98kPa
(0.59 - 0.98 bar, 0.6 - 1.0 kg/cm
2,9-14psi)
SMA967B
Pull the negative pressure valve to open it.
Check that it closes completely when released.
SLC756AA
CHECKING COOLING SYSTEM FOR LEAKSNJLC0017S02To check for leakage, apply pressure to the cooling system with a
tester.
Testing pressure:
157 kPa (1.57 bar, 1.6 kg/cm
2, 23 psi)
CAUTION:
Higher pressure than specified may cause radiator damage.
ENGINE COOLING SYSTEMQG
System Check (Cont'd)
LC-13
Page 2520 of 2898
Water Pump
REMOVAL AND INSTALLATIONNJLC0018
SEM858F
SEM859F
CAUTION:
+When removing water pump assembly, be careful not to
get coolant on drive belt.
+Water pump cannot be disassembled and should be
replaced as a unit.
+After installing water pump, and check for leaks using
radiator cap tester.
1. Drain engine coolant.
Refer to LC-18, ªChanging Engine Coolantº.
2. Remove drive belts and idler pulley.
3. Loosen water pump pulley bolts.
4. Remove water pump pulley.
5. Remove front right wheel.
6. Remove front right undercover and front right fender protector.
7. Remove water pump bolts.
8. Remove water pump.
9. Reinstall parts in reverse order of removal.
SEM860F
INSPECTIONNJLC0019+Check body assembly and vane for rust or corrosion.
+Check for rough operation due to excessive end play.
ENGINE COOLING SYSTEMQG
Water Pump
LC-14
Page 2521 of 2898
Thermostat
REMOVAL AND INSTALLATIONNJLC0021
SEM861F
Be careful not to spill coolant over engine compartment. Use
a rag to absorb coolant.
1. Drain engine coolant.
Refer to LC-18, ªChanging Engine Coolantº.
2. Remove water inlet, then take out thermostat.
SEM862F
3. Install gum ring to thermostat.
SEM863F
4. Install thermostat with jiggle valve or air bleeder at upper side.
After installation, run engine for a few minutes, and check
for leaks.
ENGINE COOLING SYSTEMQG
Thermostat
LC-15
Page 2522 of 2898
SLC343
INSPECTIONNJLC00221. Check for valve seating condition at normal room temperature.
It should seat tightly.
2. Check valve opening temperature and valve lift.
Valve opening temperature ÉC (ÉF) 82 (180)
Valve lift mm/ÉC (in/ÉF) More than 8/95 (0.31/203)
3. Then check if valve closes at 5ÉC (9ÉF) below valve opening
temperature.
Radiator
COMPONENTSNJLC0025
SLC279B
1. Reservoir tank
2. Reservoir tank bracket
3. Reservoir hose
4. Radiator cap5. Mounting bracket
6. Radiator
7. Radiator drain cock (For Sedan)
8. Mounting rubber9. Lower radiator hose
10. Oil cooler hose (A/T models)
11. Upper radiator hose
12. Cooling fan assembly
ENGINE COOLING SYSTEMQG
Thermostat (Cont'd)
LC-16
Page 2523 of 2898
Cooling FanNJLC0026COMPONENTSNJLC0026S01
JLC314B
ENGINE COOLING SYSTEMQG
Cooling Fan
LC-17
Page 2524 of 2898
YLC014
CONTROL SYSTEMNJLC0026S02Cooling fans are controlled by the ECM. For details, refer to
EC-406, TROUBLE DIAGNOSIS FOR OVERHEAT (COOLING
SYSTEM).
SLC276BA
Changing Engine CoolantNJLC0037WARNING:
To avoid the danger of being scalded, never change the cool-
ant when the engine is hot.
Ð DRAINING ENGINE COOLANT ÐNJLC0037S011. Set air conditioning system as follows to prevent coolant from
remaining in the system.
a. Turn ignition switch ON and set temperature controller to maxi-
mum hot position.
b. Wait 10 seconds before turning ignition switch OFF.
ENGINE COOLING SYSTEMQG
Cooling Fan (Cont'd)
LC-18
Page 2525 of 2898

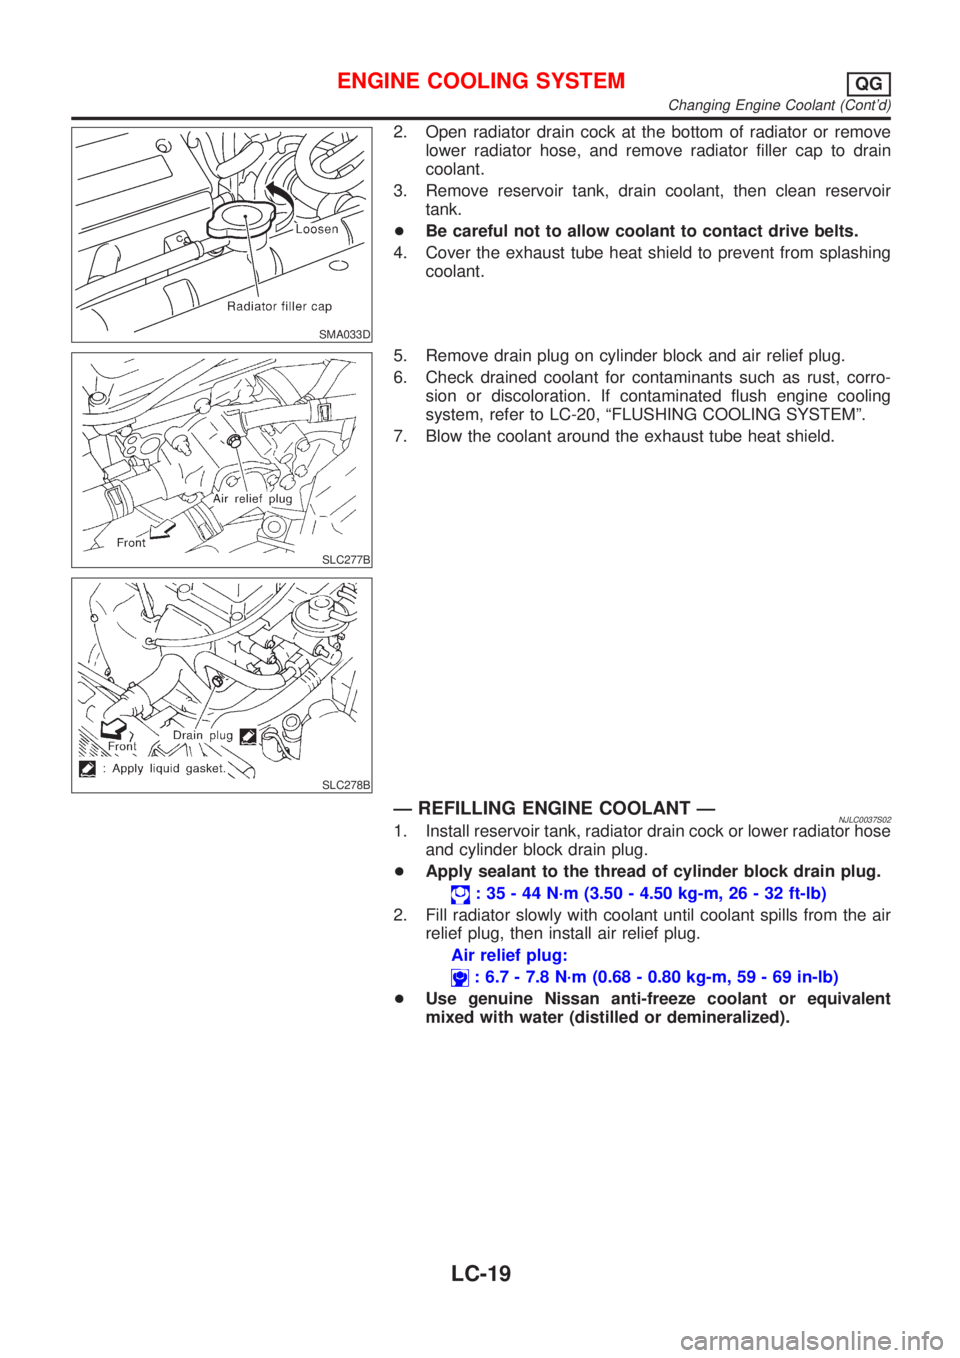
SMA033D
2. Open radiator drain cock at the bottom of radiator or remove
lower radiator hose, and remove radiator filler cap to drain
coolant.
3. Remove reservoir tank, drain coolant, then clean reservoir
tank.
+Be careful not to allow coolant to contact drive belts.
4. Cover the exhaust tube heat shield to prevent from splashing
coolant.
SLC277B
SLC278B
5. Remove drain plug on cylinder block and air relief plug.
6. Check drained coolant for contaminants such as rust, corro-
sion or discoloration. If contaminated flush engine cooling
system, refer to LC-20, ªFLUSHING COOLING SYSTEMº.
7. Blow the coolant around the exhaust tube heat shield.
Ð REFILLING ENGINE COOLANT ÐNJLC0037S021. Install reservoir tank, radiator drain cock or lower radiator hose
and cylinder block drain plug.
+Apply sealant to the thread of cylinder block drain plug.
: 35 - 44 N´m (3.50 - 4.50 kg-m, 26 - 32 ft-lb)
2. Fill radiator slowly with coolant until coolant spills from the air
relief plug, then install air relief plug.
Air relief plug:
: 6.7 - 7.8 N´m (0.68 - 0.80 kg-m, 59 - 69 in-lb)
+Use genuine Nissan anti-freeze coolant or equivalent
mixed with water (distilled or demineralized).
ENGINE COOLING SYSTEMQG
Changing Engine Coolant (Cont'd)
LC-19