1999 SUBARU LEGACY engine
[x] Cancel search: enginePage 41 of 1456

Diagnosis of engine condition by measurement of manifold vacuum
Vacuum gauge indication Possible engine condition
1. Needle is steady but lower than normal position. This ten-
dency becomes more evident as engine temperature rises.Leakage around intake manifold gasket or disconnection or
damaged vacuum hose
2. When engine speed is reduced slowly from higher speed,
needle stops temporarily when it is lowering or becomes
steady above normal position.Back pressure too high, or exhaust system clogged
3. Needle intermittently drops to position lower than normal
position.Leakage around cylinder
4. Needle drops suddenly and intermittently from normal posi-
tion.Sticky valves
5. When engine speed is gradually increased, needle begins
to vibrate rapidly at certain speed, and then vibration
increases as engine speed increases.Weak or broken valve springs
6. Needle vibrates above and below normal position in narrow
range.Defective ignition system or throttle chamber idle adjustment
6. Engine Oil Pressure
A: MEASUREMENT
1) Disconnect battery ground cable.
2) Remove generator from bracket.
(1) Disconnect connector and terminal from
generator.
G2M0088
(2) Remove V-belt cover
G2M0089
(3) Loosen lock bolt and slider bolt, and remove
V-belt for generator.
(4) Remove generator lock bolt.
(5) Remove bolt which install generator on
bracket.
G2M0090
3) Disconnect connector from oil pressure switch.
4) Remove oil pressure switch from engine cylin-
der block.
G2M0091
5) Connect oil pressure gauge hose to cylinder
block.
6) Connect battery ground cable.
7) Start the engine, and measure oil pressure.
6
2-2[W6A0]SERVICE PROCEDURE
6. Engine Oil Pressure
Page 42 of 1456

S2M0242
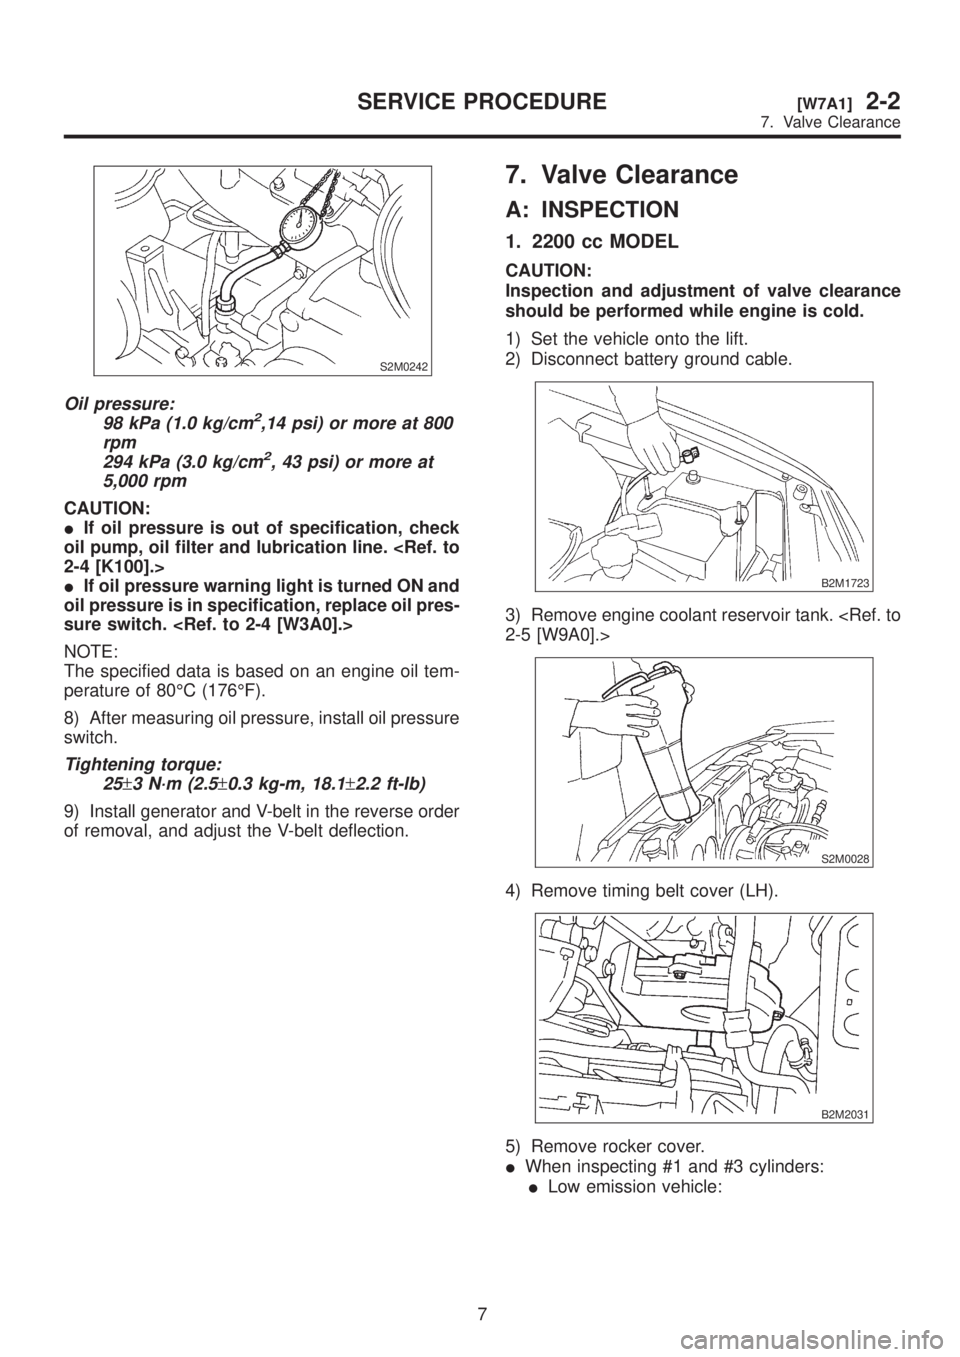
Oil pressure:
98 kPa (1.0 kg/cm2,14 psi) or more at 800
rpm
294 kPa (3.0 kg/cm
2, 43 psi) or more at
5,000 rpm
CAUTION:
IIf oil pressure is out of specification, check
oil pump, oil filter and lubrication line.
IIf oil pressure warning light is turned ON and
oil pressure is in specification, replace oil pres-
sure switch.
NOTE:
The specified data is based on an engine oil tem-
perature of 80ÉC (176ÉF).
8) After measuring oil pressure, install oil pressure
switch.
Tightening torque:
25
±3 N´m (2.5±0.3 kg-m, 18.1±2.2 ft-lb)
9) Install generator and V-belt in the reverse order
of removal, and adjust the V-belt deflection.
7. Valve Clearance
A: INSPECTION
1. 2200 cc MODEL
CAUTION:
Inspection and adjustment of valve clearance
should be performed while engine is cold.
1) Set the vehicle onto the lift.
2) Disconnect battery ground cable.
B2M1723
3) Remove engine coolant reservoir tank.
S2M0028
4) Remove timing belt cover (LH).
B2M2031
5) Remove rocker cover.
IWhen inspecting #1 and #3 cylinders:
ILow emission vehicle:
7
[W7A1]2-2SERVICE PROCEDURE
7. Valve Clearance
Page 43 of 1456

S2M0242
Oil pressure:
98 kPa (1.0 kg/cm2,14 psi) or more at 800
rpm
294 kPa (3.0 kg/cm
2, 43 psi) or more at
5,000 rpm
CAUTION:
IIf oil pressure is out of specification, check
oil pump, oil filter and lubrication line.
IIf oil pressure warning light is turned ON and
oil pressure is in specification, replace oil pres-
sure switch.
NOTE:
The specified data is based on an engine oil tem-
perature of 80ÉC (176ÉF).
8) After measuring oil pressure, install oil pressure
switch.
Tightening torque:
25
±3 N´m (2.5±0.3 kg-m, 18.1±2.2 ft-lb)
9) Install generator and V-belt in the reverse order
of removal, and adjust the V-belt deflection.
7. Valve Clearance
A: INSPECTION
1. 2200 cc MODEL
CAUTION:
Inspection and adjustment of valve clearance
should be performed while engine is cold.
1) Set the vehicle onto the lift.
2) Disconnect battery ground cable.
B2M1723
3) Remove engine coolant reservoir tank.
S2M0028
4) Remove timing belt cover (LH).
B2M2031
5) Remove rocker cover.
IWhen inspecting #1 and #3 cylinders:
ILow emission vehicle:
7
[W7A1]2-2SERVICE PROCEDURE
7. Valve Clearance
Page 47 of 1456

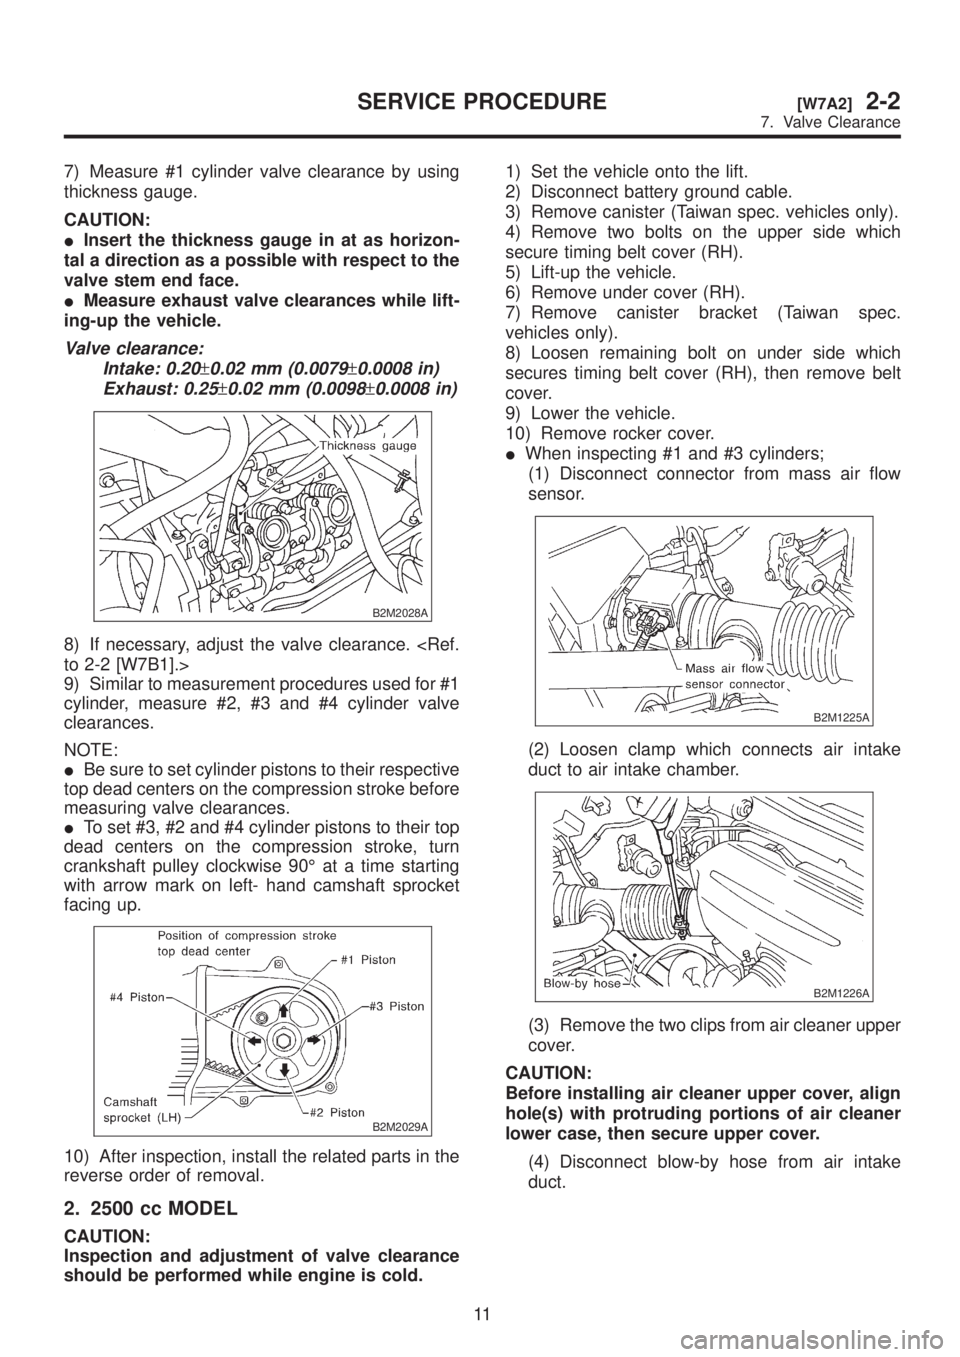
7) Measure #1 cylinder valve clearance by using
thickness gauge.
CAUTION:
IInsert the thickness gauge in at as horizon-
tal a direction as a possible with respect to the
valve stem end face.
IMeasure exhaust valve clearances while lift-
ing-up the vehicle.
Valve clearance:
Intake: 0.20
±0.02 mm (0.0079±0.0008 in)
Exhaust: 0.25
±0.02 mm (0.0098±0.0008 in)
B2M2028A
8) If necessary, adjust the valve clearance.
9) Similar to measurement procedures used for #1
cylinder, measure #2, #3 and #4 cylinder valve
clearances.
NOTE:
IBe sure to set cylinder pistons to their respective
top dead centers on the compression stroke before
measuring valve clearances.
ITo set #3, #2 and #4 cylinder pistons to their top
dead centers on the compression stroke, turn
crankshaft pulley clockwise 90É at a time starting
with arrow mark on left- hand camshaft sprocket
facing up.
B2M2029A
10) After inspection, install the related parts in the
reverse order of removal.
2. 2500 cc MODEL
CAUTION:
Inspection and adjustment of valve clearance
should be performed while engine is cold.1) Set the vehicle onto the lift.
2) Disconnect battery ground cable.
3) Remove canister (Taiwan spec. vehicles only).
4) Remove two bolts on the upper side which
secure timing belt cover (RH).
5) Lift-up the vehicle.
6) Remove under cover (RH).
7) Remove canister bracket (Taiwan spec.
vehicles only).
8) Loosen remaining bolt on under side which
secures timing belt cover (RH), then remove belt
cover.
9) Lower the vehicle.
10) Remove rocker cover.
IWhen inspecting #1 and #3 cylinders;
(1) Disconnect connector from mass air flow
sensor.
B2M1225A
(2) Loosen clamp which connects air intake
duct to air intake chamber.
B2M1226A
(3) Remove the two clips from air cleaner upper
cover.
CAUTION:
Before installing air cleaner upper cover, align
hole(s) with protruding portions of air cleaner
lower case, then secure upper cover.
(4) Disconnect blow-by hose from air intake
duct.
11
[W7A2]2-2SERVICE PROCEDURE
7. Valve Clearance
Page 49 of 1456

(1) Set arrow mark on camshaft sprocket to
position shown in figure, and measure #2 cylin-
der exhaust valve and #3 cylinder intake valve
clearances.
B2M1235A
(2) Set arrow mark on camshaft sprocket to
position shown in figure, and measure #2 cylin-
der intake valve and #4 cylinder exhaust valve
clearances.
B2M1236A
(3) Set arrow mark on camshaft sprocket to
position shown in figure, and measure #1 cylin-
der exhaust valve and #4 cylinder intake valve
clearances.
B2M1237A
15) After inspection, install the related parts in the
reverse order of removal.
B: ADJUSTMENT
1. 2200 cc MODEL
CAUTION:
Adjustment of valve clearance should be per-
formed while engine is cold.
1) Set #1 cylinder piston to top dead center of
compression stroke by rotating crankshaft pulley
clockwise.
NOTE:
When arrow mark on camshaft sprocket (LH)
comes exactly to the top, #1 cylinder piston is
brought to the top dead center of the compression
stroke.
B2M2027A
13
[W7B1]2-2SERVICE PROCEDURE
7. Valve Clearance
Page 50 of 1456

2) Adjust the #1 cylinder valve clearance.
(1) Loosen the valve rocker nut and screw.
(2) Place suitable thickness gauge.
(3) While noting valve clearance, tighten valve
rocker adjust screw.
(4) When specified valve clearance is obtained,
tighten valve rocker nut.
Tightening torque:
10
±1 N´m (1.0±0.1 kg-m, 7.2±0.7 ft-lb)
CAUTION:
IInsert the thickness gauge in at as horizon-
tal a direction as possible with respect to the
valve stem end face.
IAdjust exhaust valve clearances while lift-
ing-up the vehicle.
Valve clearance:
Intake: 0.20
±0.02 mm (0.0079±0.0008 in)
Exhaust: 0.25
±0.02 mm (0.0098±0.0008 in)
B2M2030A
(a) Thickness gauge
(b) Valve rocker nut
(c) Valve rocker screw
3) Ensure that valve clearances are within speci-
fications.
4) Turn crankshaft two complete rotations until #1
cylinder piston is again set to top dead center on
compression stroke.
5) Ensure that valve clearances are within speci-
fications. If necessary, re-adjust valve clearances.6) Similar to adjustment procedures used for #1
cylinder, adjust #2, #3 and #4 cylinder valve clear-
ances.
NOTE:
IBe sure to set cylinder pistons to their respective
top dead centers on the compression stroke before
adjusting valve clearances.
ITo set #3, #2 and #4 cylinder pistons to their top
dead centers on the compression stroke, turn
crankshaft pulley clockwise 90É at a time starting
with arrow mark on left-hand camshaft sprocket
facing up.
B2M2029A
2. 2500 cc MODEL
CAUTION:
Adjustment of valve clearance should be per-
formed while engine is cold.
1) Measure all valve clearances.
NOTE:
Record each valve clearance after it has been
measured.
B2M1234A
14
2-2[W7B2]SERVICE PROCEDURE
7. Valve Clearance
Page 55 of 1456

1. Engine
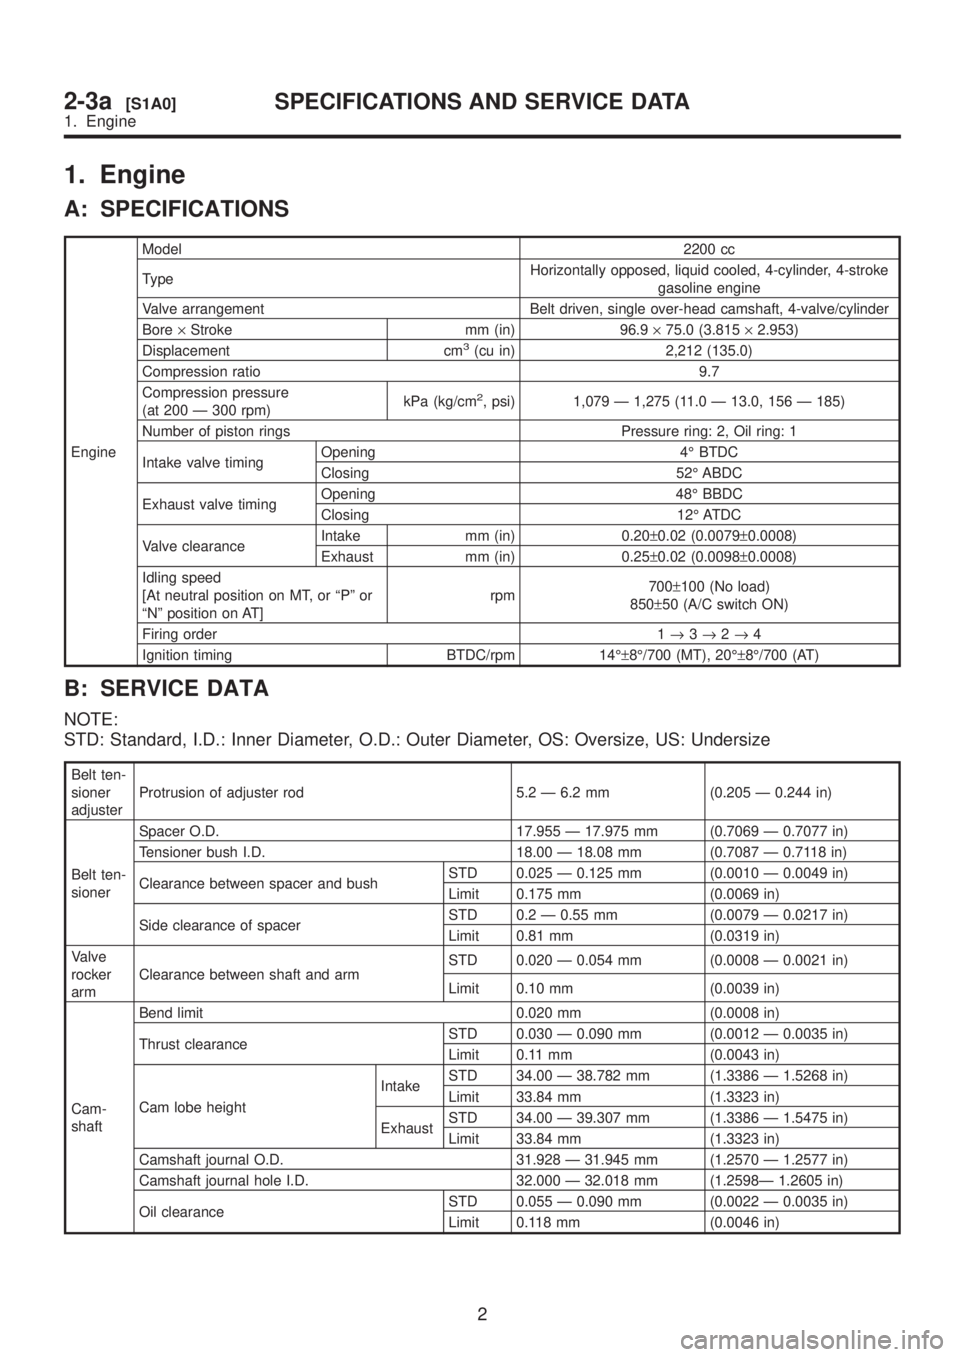
A: SPECIFICATIONS
EngineModel2200 cc
TypeHorizontally opposed, liquid cooled, 4-cylinder, 4-stroke
gasoline engine
Valve arrangement Belt driven, single over-head camshaft, 4-valve/cylinder
Bore´Stroke mm (in) 96.9´75.0 (3.815´2.953)
Displacement cm
3(cu in) 2,212 (135.0)
Compression ratio 9.7
Compression pressure
(at 200 Ð 300 rpm)kPa (kg/cm
2, psi) 1,079 Ð 1,275 (11.0 Ð 13.0, 156 Ð 185)
Number of piston rings Pressure ring: 2, Oil ring: 1
Intake valve timingOpening 4É BTDC
Closing 52É ABDC
Exhaust valve timingOpening 48É BBDC
Closing 12É ATDC
Valve clearanceIntake mm (in) 0.20±0.02 (0.0079±0.0008)
Exhaust mm (in) 0.25±0.02 (0.0098±0.0008)
Idling speed
[At neutral position on MT, or ªPº or
ªNº position on AT]rpm700±100 (No load)
850±50 (A/C switch ON)
Firing order 1®3®2®4
Ignition timing BTDC/rpm 14ɱ8É/700 (MT), 20ɱ8É/700 (AT)
B: SERVICE DATA
NOTE:
STD: Standard, I.D.: Inner Diameter, O.D.: Outer Diameter, OS: Oversize, US: Undersize
Belt ten-
sioner
adjusterProtrusion of adjuster rod 5.2 Ð 6.2 mm (0.205 Ð 0.244 in)
Belt ten-
sionerSpacer O.D. 17.955 Ð 17.975 mm (0.7069 Ð 0.7077 in)
Tensioner bush I.D. 18.00 Ð 18.08 mm (0.7087 Ð 0.7118 in)
Clearance between spacer and bushSTD 0.025 Ð 0.125 mm (0.0010 Ð 0.0049 in)
Limit 0.175 mm (0.0069 in)
Side clearance of spacerSTD 0.2 Ð 0.55 mm (0.0079 Ð 0.0217 in)
Limit 0.81 mm (0.0319 in)
Valve
rocker
armClearance between shaft and armSTD 0.020 Ð 0.054 mm (0.0008 Ð 0.0021 in)
Limit 0.10 mm (0.0039 in)
Cam-
shaftBend limit 0.020 mm (0.0008 in)
Thrust clearanceSTD 0.030 Ð 0.090 mm (0.0012 Ð 0.0035 in)
Limit 0.11 mm (0.0043 in)
Cam lobe heightIntakeSTD 34.00 Ð 38.782 mm (1.3386 Ð 1.5268 in)
Limit 33.84 mm (1.3323 in)
ExhaustSTD 34.00 Ð 39.307 mm (1.3386 Ð 1.5475 in)
Limit 33.84 mm (1.3323 in)
Camshaft journal O.D. 31.928 Ð 31.945 mm (1.2570 Ð 1.2577 in)
Camshaft journal hole I.D. 32.000 Ð 32.018 mm (1.2598Ð 1.2605 in)
Oil clearanceSTD 0.055 Ð 0.090 mm (0.0022 Ð 0.0035 in)
Limit 0.118 mm (0.0046 in)
2
2-3a[S1A0]SPECIFICATIONS AND SERVICE DATA
1. Engine
Page 56 of 1456

Cylinder
headSurface warpage limit 0.05 mm (0.0020 in)
Surface grinding limit 0.3 mm (0.012 in)
Standard height 97.5 mm (3.839 in)
Valve
setRefacing angle 90É
Contacting widthIntakeSTD 1.0 mm (0.039 in)
Limit 1.7 mm (0.067 in)
ExhaustSTD 1.4 mm (0.055 in)
Limit 2.1 mm (0.083 in)
Valve
guideInner diameter 6.000 Ð 6.012 mm (0.2362 Ð 0.2367 in)
Protrusion above headIntake 20.0 Ð 20.5 mm (0.787 Ð 0.807 in)
Exhaust 16.5 Ð 17.0 mm (0.650 Ð 0.669 in)
ValveHead edge thicknessIntakeSTD 1.0 mm (0.039 in)
Limit 0.6 mm (0.024 in)
ExhaustSTD 1.2 mm (0.047 in)
Limit 0.6 mm (0.024 in)
Stem diameterIntake 5.945 Ð 5.960 mm (0.2341 Ð 0.2346 in)
Exhaust 5.950 Ð 5.965 mm (0.2343 Ð 0.2348 in)
Stem oil clearanceSTDIntake 0.035 Ð 0.062 mm (0.0014 Ð 0.0024 in)
Exhaust 0.040 Ð 0.067 mm (0.0016 Ð 0.0026 in)
Limit Ð 0.15 mm (0.0059 in)
Overall lengthIntake 120.6 mm (4.75 in)
Exhaust 121.7 mm (4.79 in)
Valve
springFree length 54.30 mm (2.1378 in)
Squareness 2.5É, 2.4 mm (0.094 in)
Tension/spring height214.8 Ð 246.2 N
(21.9 Ð 25.1 kg, 48.3 Ð 55.3 lb)/45.0 mm (1.772 in)
526.6 Ð 581.6 N
(53.7 Ð 59.3 kg, 118.4 Ð 130.8 lb)/34.7 mm (1.366 in)
Cylinder
blockSurface warpage limit (mating with cylinder head) 0.05 mm (0.0020 in)
Surface grinding limit 0.1 mm (0.004 in)
Cylinder bore STDA 96.905 Ð 96.915 mm (3.8151 Ð 3.8155 in)
B 96.895 Ð 96.905 mm (3.8148 Ð 3.8151 in)
TaperSTD 0.015 mm (0.0006 in)
Limit 0.050 mm (0.0020 in)
Out-of-roundnessSTD 0.010 mm (0.0004 in)
Limit 0.050 mm (0.0020 in)
Piston clearanceSTD 0.010 Ð 0.030 mm (0.0004 Ð 0.0012 in)
Limit 0.050 mm (0.0020 in)
Enlarging (boring) limit 0.5 mm (0.020 in)
Piston Outer diameterSTDA 96.885 Ð 96.895 mm (3.8144 Ð 3.8148 in)
B 96.875 Ð 96.885 mm (3.8140 Ð 3.8144 in)
0.25 mm (0.0098
in) OS97.125 Ð 97.135 mm (3.8238 Ð 3.8242 in)
0.50 mm (0.0197
in) OS97.375 Ð 97.385 mm (3.8337 Ð 3.8340 in)
Piston
pinStandard clearance between piston
pin and hole in pistonSTD 0.004 Ð 0.008 mm (0.0002 Ð 0.0003 in)
Limit 0.020 mm (0.0008 in)
Degree of fitPiston pin must be fitted into position with thumb at 20ÉC
(68ÉF).
3
[S1B0]2-3aSPECIFICATIONS AND SERVICE DATA
1. Engine