Page 2212 of 4133

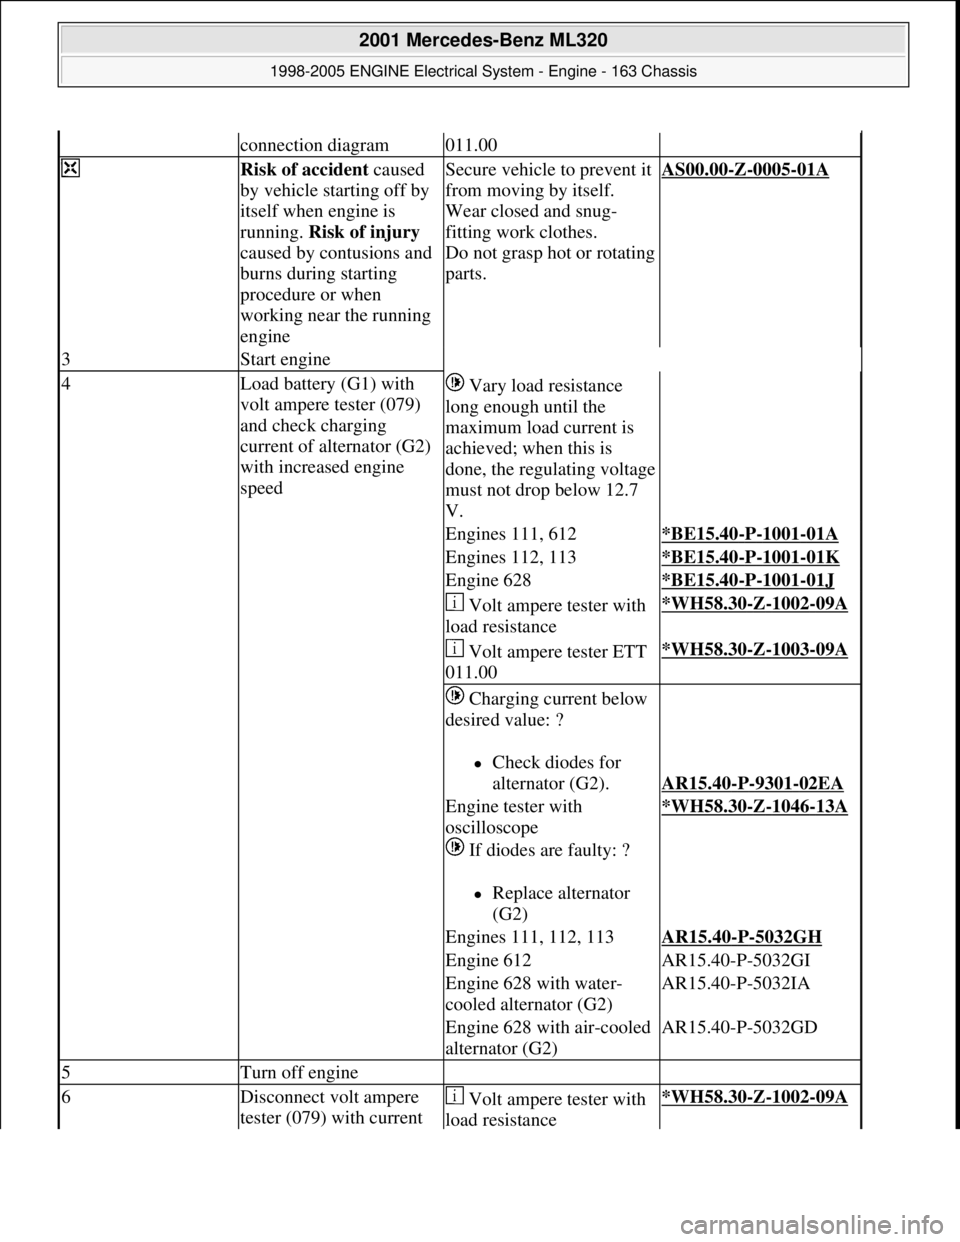
connection diagram011.00
Risk of accident caused
by vehicle starting off by
itself when engine is
running. Risk of injury
caused by contusions and
burns during starting
procedure or when
working near the running
engineSecure vehicle to prevent it
from moving by itself.
Wear closed and snug-
fitting work clothes.
Do not grasp hot or rotating
parts.AS00.00-Z-0005-01A
3Start engine
4Load battery (G1) with
volt ampere tester (079)
and check charging
current of alternator (G2)
with increased engine
speed Vary load resistance
long enough until the
maximum load current is
achieved; when this is
done, the regulating voltage
must not drop below 12.7
V.
Engines 111, 612*BE15.40-P-1001-01A
Engines 112, 113*BE15.40-P-1001-01K
Engine 628*BE15.40-P-1001-01J
Volt ampere tester with
load resistance*WH58.30-Z-1002-09A
Volt ampere tester ETT
011.00*WH58.30-Z-1003-09A
Charging current below
desired value: ?
Check diodes for
alternator (G2).
AR15.40-P-9301-02EA
Engine tester with
oscilloscope
If diodes are faulty: ?
Replace alternator
(G2)
*WH58.30-Z-1046-13A
Engines 111, 112, 113AR15.40-P-5032GH
Engine 612AR15.40-P-5032GI
Engine 628 with water-
cooled alternator (G2)AR15.40-P-5032IA
Engine 628 with air-cooled
alternator (G2)AR15.40-P-5032GD
5Turn off engine
6Disconnect volt ampere
tester (079) with current Volt ampere tester with
load resistance*WH58.30-Z-1002-09A
2001 Mercedes-Benz ML320
1998-2005 ENGINE Electrical System - Engine - 163 Chassis
me
Saturday, October 02, 2010 3:18:54 PMPage 58 © 2006 Mitchell Repair Information Company, LLC.
Page 2213 of 4133

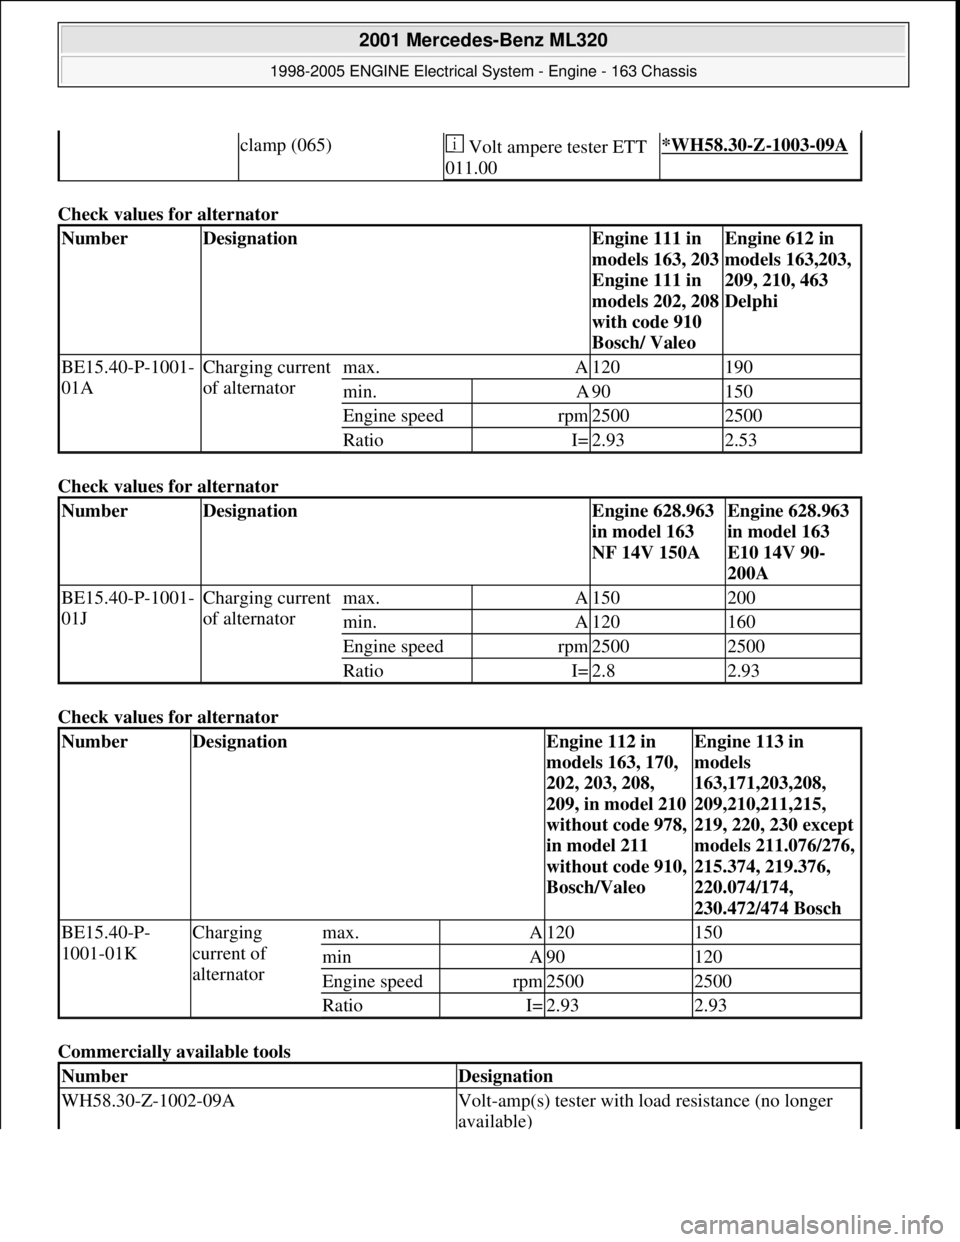
Check values for alternator
Check values for alternator
Check values for alternator
Commercially available tools
clamp (065) Volt ampere tester ETT
011.00*WH58.30-Z-1003-09A
NumberDesignationEngine 111 in
models 163, 203
Engine 111 in
models 202, 208
with code 910
Bosch/ ValeoEngine 612 in
models 163,203,
209, 210, 463
Delphi
BE15.40-P-1001-
01ACharging current
of alternatormax.A120190
min.A90150
Engine speedrpm25002500
RatioI=2.932.53
NumberDesignationEngine 628.963
in model 163
NF 14V 150AEngine 628.963
in model 163
E10 14V 90-
200A
BE15.40-P-1001-
01JCharging current
of alternatormax.A150200
min.A120160
Engine speedrpm25002500
RatioI=2.82.93
NumberDesignationEngine 112 in
models 163, 170,
202, 203, 208,
209, in model 210
without code 978,
in model 211
without code 910,
Bosch/ValeoEngine 113 in
models
163,171,203,208,
209,210,211,215,
219, 220, 230 except
models 211.076/276,
215.374, 219.376,
220.074/174,
230.472/474 Bosch
BE15.40-P-
1001-01KCharging
current of
alternatormax.A120150
minA90120
Engine speedrpm25002500
RatioI=2.932.93
NumberDesignation
WH58.30-Z-1002-09AVolt-amp(s) tester with load resistance (no longer
available)
2001 Mercedes-Benz ML320
1998-2005 ENGINE Electrical System - Engine - 163 Chassis
me
Saturday, October 02, 2010 3:18:54 PMPage 59 © 2006 Mitchell Repair Information Company, LLC.
Page 2216 of 4133

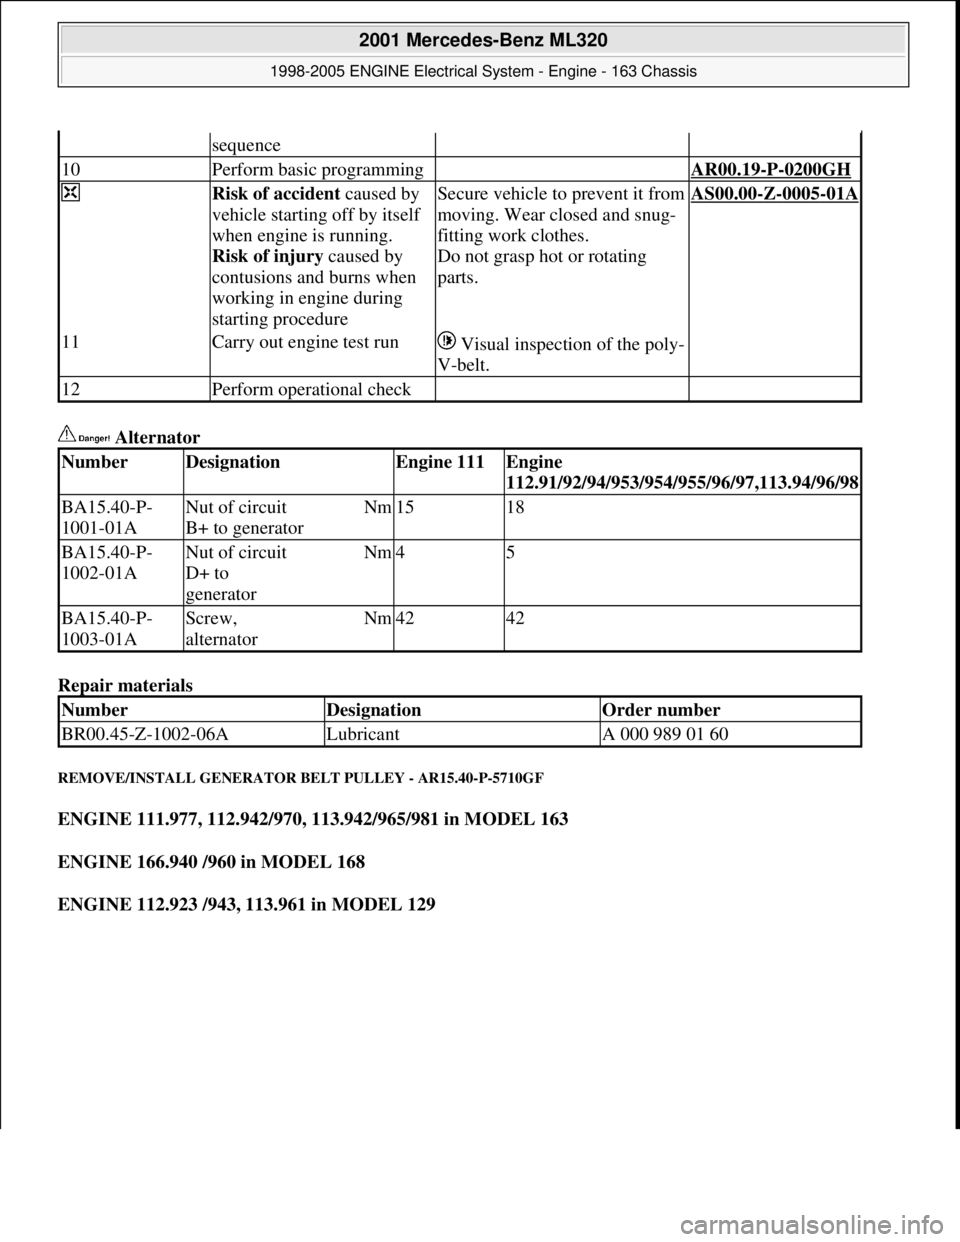
Alternator
Repair materials
REMOVE/INSTALL GENERATOR BELT PULLEY - AR15.40-P-5710GF
ENGINE 111.977, 112.942/970, 113.942/965/981 in MODEL 163
ENGINE 166.940 /960 in MODEL 168
ENGINE 112.923 /943, 113.961 in MODEL 129
sequence
10Perform basic programming AR00.19-P-0200GH
Risk of accident caused by
vehicle starting off by itself
when engine is running.
Risk of injury caused by
contusions and burns when
working in engine during
starting procedureSecure vehicle to prevent it from
moving. Wear closed and snug-
fitting work clothes.
Do not grasp hot or rotating
parts.AS00.00-Z-0005-01A
11Carry out engine test run Visual inspection of the poly-
V-belt.
12Perform operational check
NumberDesignationEngine 111Engine
112.91/92/94/953/954/955/96/97,113.94/96/98
BA15.40-P-
1001-01ANut of circuit
B+ to generatorNm1518
BA15.40-P-
1002-01ANut of circuit
D+ to
generatorNm45
BA15.40-P-
1003-01AScrew,
alternatorNm4242
NumberDesignationOrder number
BR00.45-Z-1002-06ALubricantA 000 989 01 60
2001 Mercedes-Benz ML320
1998-2005 ENGINE Electrical System - Engine - 163 Chassis
me
Saturday, October 02, 2010 3:18:55 PMPage 62 © 2006 Mitchell Repair Information Company, LLC.
Page 2226 of 4133
Fig. 47: Identifying Spark Plugs And Cylinder 4 Ignition Coil
Remove/install and
replacing
Risk of death due to
contact with high-voltage
conductive partsDo not touch parts which
conduct high voltages.
Persons who are carriers
of electronic implants
(e.g. cardiac pacemaker)
may not carry out any
work on the ignition
systemAS15.10-Z-0001-01A
Notes on avoiding damage
to ignition systemEngine 104, 111, 112,
113, 119, 120,271AH15.10-P-0002-01D
1Remove/install air filter
upper section
2
Remove ignition coils
Remove/install ignition
coils
AR15.12-P-2003A
3Disconnect spark plug
connectors Prise over cylinder
head cover.
Double open-ended
wrenchFig. 24
Checking
4Check spark plug Replace, if necessary.
2001 Mercedes-Benz ML320
1998-2005 ENGINE Electrical System - Engine - 163 Chassis
me
Saturday, October 02, 2010 3:18:55 PMPage 72 © 2006 Mitchell Repair Information Company, LLC.
Page 2233 of 4133

11
Check oil level approx. 5 min. after switching
off warm engine
Insert oil dipstick up to the stop and keep
to a residence time of at least 3 seconds.
Model 163, 210 with Engine 612
*BE18.00-P-1001-02B
Model 203, Model 209 with Engine 612
On Model 203, Model 209 after oil level
check pay attention to correct seating of the
cap, otherwise it could result in engine
damage.
Only Model 203:
Up to engine end number: 134 163 oil level
MAX. 135
mm,
MIN 110
mm.
As of engine end number: 134 164 oil level
MAX. 124,5
mm,
MIN 99,5
mm.
Measuring rod
*120589072100
12
Install trim panel of cylinder head cover
AR01.20-P-5014-02B
*BA01.20-P-1002-01A
*BA01.20-P-1003-01A
Test values for engine lubrication - general
Number
Designation
Engine
612.961
Engine
612.963
BE18.00-P-1001-02B
Dipstick marking
Color red
t
1
Color black
t
2
Color green
t
3
Color gentian blue
t
4
Numbers on handle
Number
6020760206
Round handle
Color
--
Bottle opener-shaped
handle
Color
11
Designation
Engine
612.961/962/
963/965/966,
613.961
Engine
612.967
Engine
612.990
BA01.45-P-1003-01A
Oil drain plug at oil pan
M12
Nm
---
M14
Nm
303030
Engine lubrication, oil filter
Number
Designation
Engine
612.961/962/
963/967/990,
613.960/961
BA18.20-P-1002-01G
Screw cap at oil filter
Nm
25
Crankcase ventilation, cylinder head cover
Number
Designation
Engine
612.961/
962/967
Engine
612.963
Engine
612.990
Copyright DaimlerChrysler AG 20.05.2006 CD-Ausgabe G/10/04 . This WIS print-out will not be recorde
d by Modification services.
Page 2
Page 2235 of 4133
AR61.20-P-1105GH
Remove/install bottom engine compartment paneling
22.6.00
MODEL
163.172 with ENGINE 113.942
MODEL
163.174 with ENGINE 113.981
MODEL
163.175 with ENGINE 113.965
P61.20-2017-12
1
Engine compartment paneling
2
Grub screw
3
Plastic clips
Remove/Install
1
Remove grub screws (2) of plastic clips (3)
6 grub screws pins.
Installation:
Check grub screws, replace
if necessary.
2
Pull out plastic clips (3)
Installation:
Check plastic clips, replace
if necessary.
3
Remove engine compartment panel (1)
Installation:
Ensure that engine
compartment panel is positioned correctly.
4
Install in the reverse order
Copyright DaimlerChrysler AG 12.05.2006 CD-Ausgabe G/10/04 . This WIS print-out will not be recorde
d by Modification services.
Page 1
Page 2239 of 4133

AF07.00-P-9000B
Engine runs rough, surges or does not turn over
29.4.02
ENGINE
611 in MODEL 203, 202, 210
ENGINE
612 in MODEL 163, 203, 210, 209
ENGINE
613 in MODEL 210, 220
ENGINE
628 in MODEL 163, 220, 211
ENGINE
646 in MODEL 203, 211
ENGINE
647 in MODEL 211
ENGINE
648 in MODEL 220, 211
ENGINE
668 in MODEL 168
ENGINE
612, 628 in MODEL 463
Modification notes
23.3.01
Supersedes STIP 07.16-014 dated 11.12.00
Damage code
Cause
Remedy
07 206 D5
High-pressure pump
To verify whether high pressure pump is
damaged.
#
High pressure pump of common rail
injection system is damaged mechanically.
1
Remove/install/replace high pressure
pump.
When the high pressure pump of the common
rail injection system is damaged metal chips
and/or damage to the pump drive (timing
drive) can occur due to contamination of the
injection system components.
2
Turn high pressure pump by hand with
driver.
If mechanical resistance can be felt,
perform the following tests. Clarify additional
work with ESKULAB by specifying repair work:
#
3
Check driver of high pressure pump or
mount in sprocket for damage (visual
check).
If high pressure pump is locked:
#
4
Check timing
5
Check timing drive for damage.
In each case:
#
6
Remove/install/replace timing chain.
If timing deviates by a crankshaft angle of
more than 20 degrees (corresponding to one
tooth skipped):
#
7
Check pressure loss.
8
Open low pressure connection on high
pressure pump return (plastic line in
area of pressure regulator valve) and
check connection point in rail for chips.
If chips are present when checking
injection system:
#
9
Thoroughly clean all fuel low pressure
lines as well as feed and return lines.
Flush and blow out with compressed air.
10
Remove fuel preheater and fuel filter
with filter housing, replace.
Fuel preheater is only installed in models
202, 203 and 163.
11
Remove/install/replace fuel cooler at
vehicle and engine end.
Not installed in model 210 up to 6/99 and
model 168.
12
Remove fuel tank, replace.
On engine 628:
#
13
Remove/install/replace electric supply
pump.
14
Remove/install/replace injectors, rail
(including pressure regulation valve and
rail pressure sensor), high pressure
lines and injector leak oil rail.*
Copyright DaimlerChrysler AG 28.05.2006 CD-Ausgabe G/10/04 . This WIS print-out will not be recorde
d by Modification services.
Page 1
Page 2240 of 4133
Fuel pump (gear pump) and electric
shutoff valve can remain on engine.
15
Check injection system for leakage.
16
Check with HHT/DAS for proper
function (check actual value).
17
Read DTC memory and erase after
checking.
Copyright DaimlerChrysler AG 28.05.2006 CD-Ausgabe G/10/04 . This WIS print-out will not be recorde
d by Modification services.
Page 2