Page 1621 of 2890

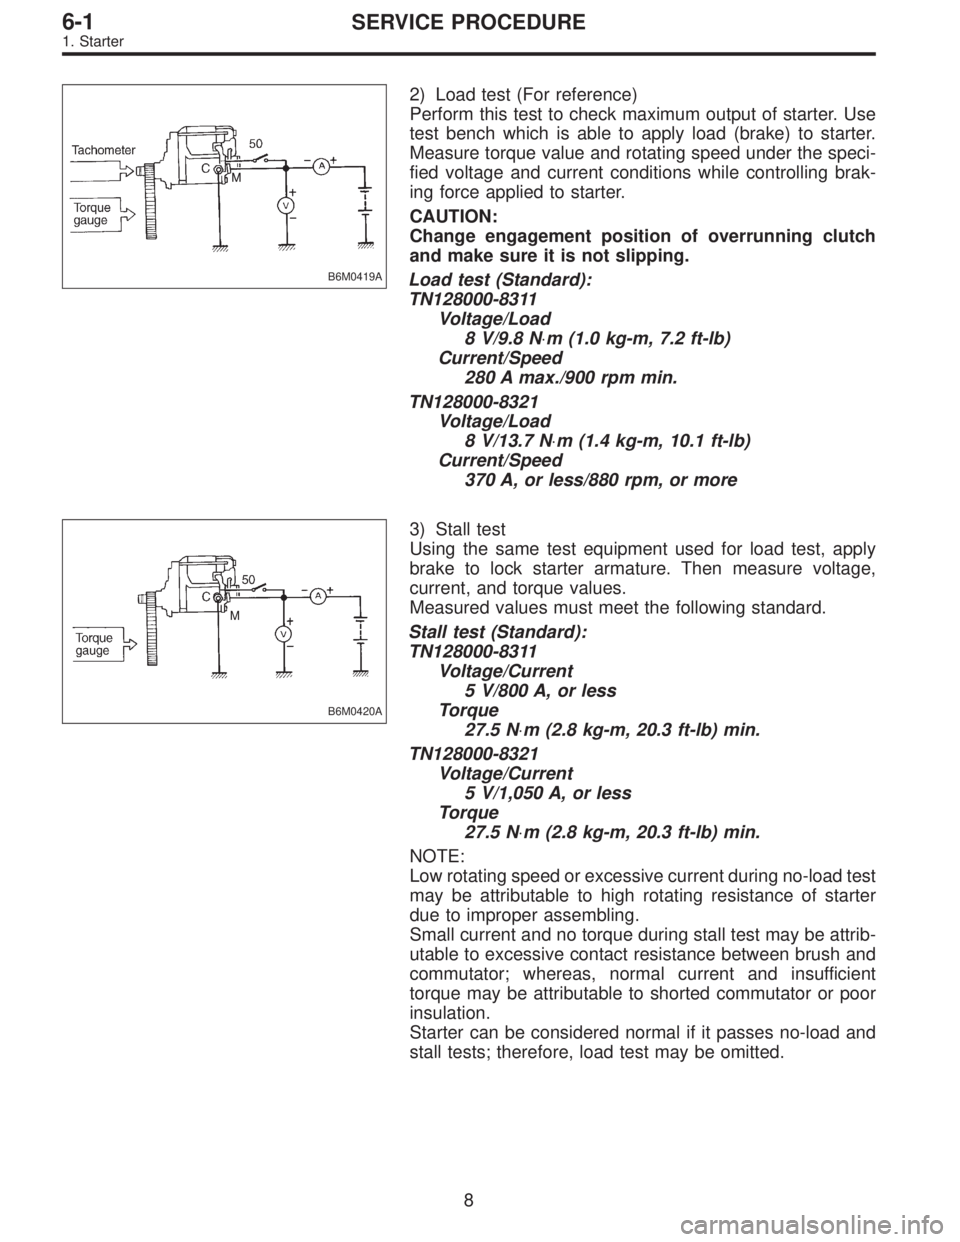
B6M0419A
2) Load test (For reference)
Perform this test to check maximum output of starter. Use
test bench which is able to apply load (brake) to starter.
Measure torque value and rotating speed under the speci-
fied voltage and current conditions while controlling brak-
ing force applied to starter.
CAUTION:
Change engagement position of overrunning clutch
and make sure it is not slipping.
Load test (Standard):
TN128000-8311
Voltage/Load
8 V/9.8 N⋅m (1.0 kg-m, 7.2 ft-lb)
Current/Speed
280 A max./900 rpm min.
TN128000-8321
Voltage/Load
8 V/13.7 N⋅m (1.4 kg-m, 10.1 ft-lb)
Current/Speed
370 A, or less/880 rpm, or more
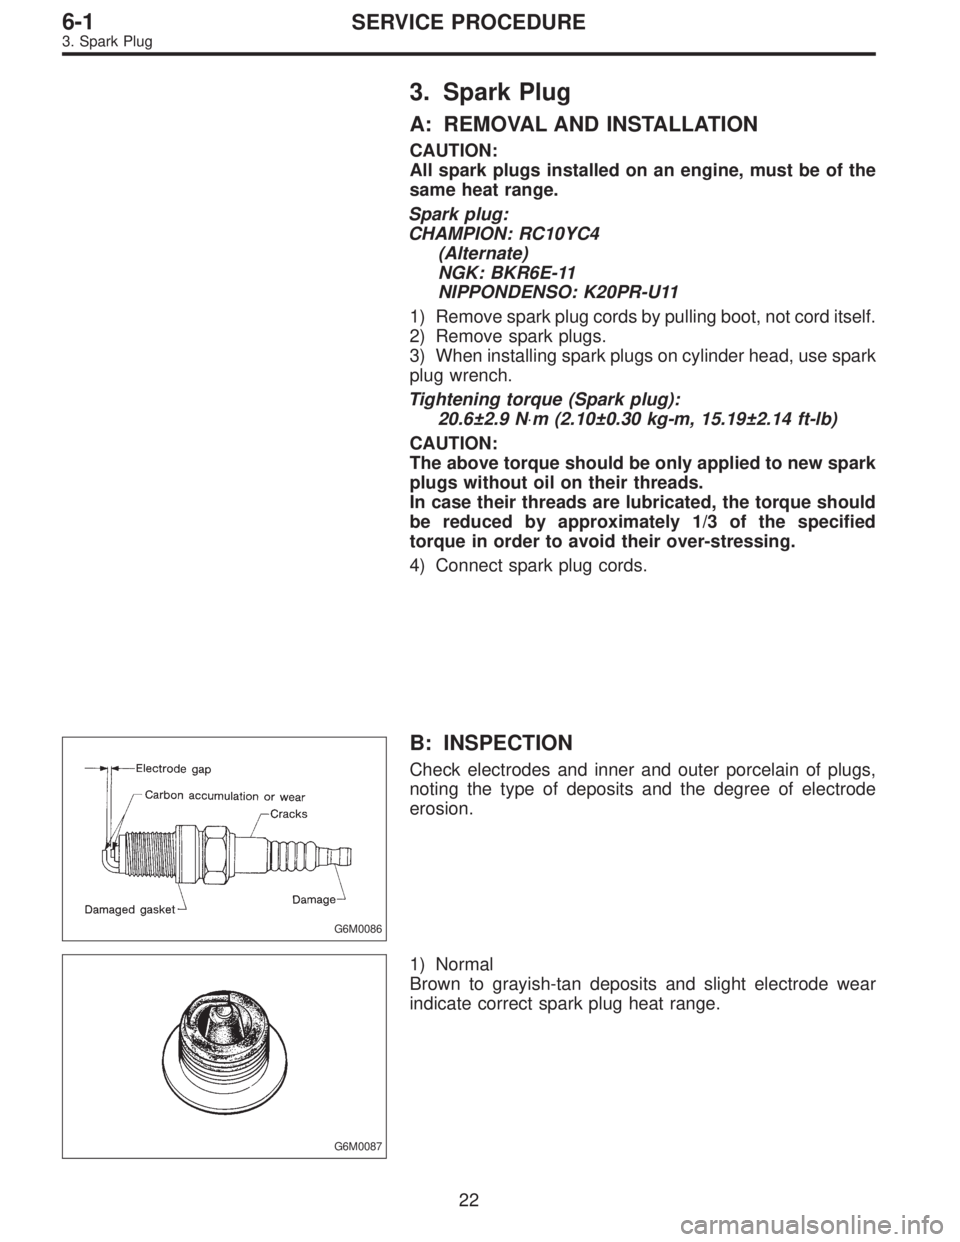
B6M0420A
3) Stall test
Using the same test equipment used for load test, apply
brake to lock starter armature. Then measure voltage,
current, and torque values.
Measured values must meet the following standard.
Stall test (Standard):
TN128000-8311
Voltage/Current
5 V/800 A, or less
Torque
27.5 N⋅m (2.8 kg-m, 20.3 ft-lb) min.
TN128000-8321
Voltage/Current
5 V/1,050 A, or less
Torque
27.5 N⋅m (2.8 kg-m, 20.3 ft-lb) min.
NOTE:
Low rotating speed or excessive current during no-load test
may be attributable to high rotating resistance of starter
due to improper assembling.
Small current and no torque during stall test may be attrib-
utable to excessive contact resistance between brush and
commutator; whereas, normal current and insufficient
torque may be attributable to shorted commutator or poor
insulation.
Starter can be considered normal if it passes no-load and
stall tests; therefore, load test may be omitted.
8
6-1SERVICE PROCEDURE
1. Starter
Page 1636 of 2890

3. Spark Plug
A: REMOVAL AND INSTALLATION
CAUTION:
All spark plugs installed on an engine, must be of the
same heat range.
Spark plug:
CHAMPION: RC10YC4
(Alternate)
NGK: BKR6E-11
NIPPONDENSO: K20PR-U11
1) Remove spark plug cords by pulling boot, not cord itself.
2) Remove spark plugs.
3) When installing spark plugs on cylinder head, use spark
plug wrench.
Tightening torque (Spark plug):
20.6±2.9 N⋅m (2.10±0.30 kg-m, 15.19±2.14 ft-lb)
CAUTION:
The above torque should be only applied to new spark
plugs without oil on their threads.
In case their threads are lubricated, the torque should
be reduced by approximately 1/3 of the specified
torque in order to avoid their over-stressing.
4) Connect spark plug cords.
G6M0086
B: INSPECTION
Check electrodes and inner and outer porcelain of plugs,
noting the type of deposits and the degree of electrode
erosion.
G6M0087
1) Normal
Brown to grayish-tan deposits and slight electrode wear
indicate correct spark plug heat range.
22
6-1SERVICE PROCEDURE
3. Spark Plug
Page 1638 of 2890
G6M0095
1. #1 SPARK PLUG
1) Disconnect battery ground cable.
B6M0552A
2) Remove #1 spark plug cord by pulling boot, not cord
itself.
B6M0553
3) Remove spark plug with the spark plug socket.
4) Installation is in the reverse order of removal.
Tightening torque (Spark plug):
20.6±2.9 N⋅m (2.10±0.30 kg-m, 15.19±2.14 ft-lb)
G6M0095
2. #2 SPARK PLUG
1) Disconnect battery ground cable.
24
6-1SERVICE PROCEDURE
3. Spark Plug
Page 1639 of 2890
B6M0554
2) Remove battery.
B6M0555A
3) Remove #2 spark plug cord by pulling boot, not cord
itself.
B6M0556
4) Remove spark plug with the spark plug socket.
5) Installation is in the reverse order of removal.
Tightening torque (Spark plug):
20.6±2.9 N⋅m (2.10±0.30 kg-m, 15.19±2.14 ft-lb)
G6M0095
3. #3 SPARK PLUG
1) Disconnect battery ground cable.
25
6-1SERVICE PROCEDURE
3. Spark Plug
Page 1640 of 2890
B6M0557A
2) Disconnect mass air flow sensor connector.
3) Remove four clips securing air cleaner upper cover.
B6M0558
4) Loosen the clamp screw and separate air cleaner upper
cover from air intake duct.
5) Remove air cleaner element.
B6M0559A
6) Remove #3 spark plug cord by pulling boot, not cord
itself.
B6M0560
7) Remove spark plug with the spark plug socket.
8) Installation is in the reverse order of removal.
Tightening torque (Spark plug):
20.6±2.9 N⋅m (2.10±0.30 kg-m, 15.19±2.14 ft-lb)
26
6-1SERVICE PROCEDURE
3. Spark Plug
Page 1642 of 2890
B6M0563A
6) Remove #4 spark plug cord by pulling boot, not cord
itself.
B6M0564
7) Remove spark plug with the spark plug socket.
8) Installation is in the reverse order of removal.
Tightening torque (Spark plug):
20.6±2.9 N⋅m (2.10±0.30 kg-m, 15.19±2.14 ft-lb)
CAUTION:
The above torque should be only applied to new spark
plugs without oil on their threads.
In case their threads are lubricated, the torque should
be reduced by approximately 1/3 of the specified
torque in order to avoid over-stressing.
E: REMOVAL (2500 cc OUTBACK MODEL)
CAUTION:
All spark plugs installed on an engine, must be of the
same heat range.
Spark plug:
NGK: PFR5B-11
G6M0095
1. #1 SPARK PLUG
1) Disconnect battery ground cable.
28
6-1SERVICE PROCEDURE
3. Spark Plug
Page 1648 of 2890

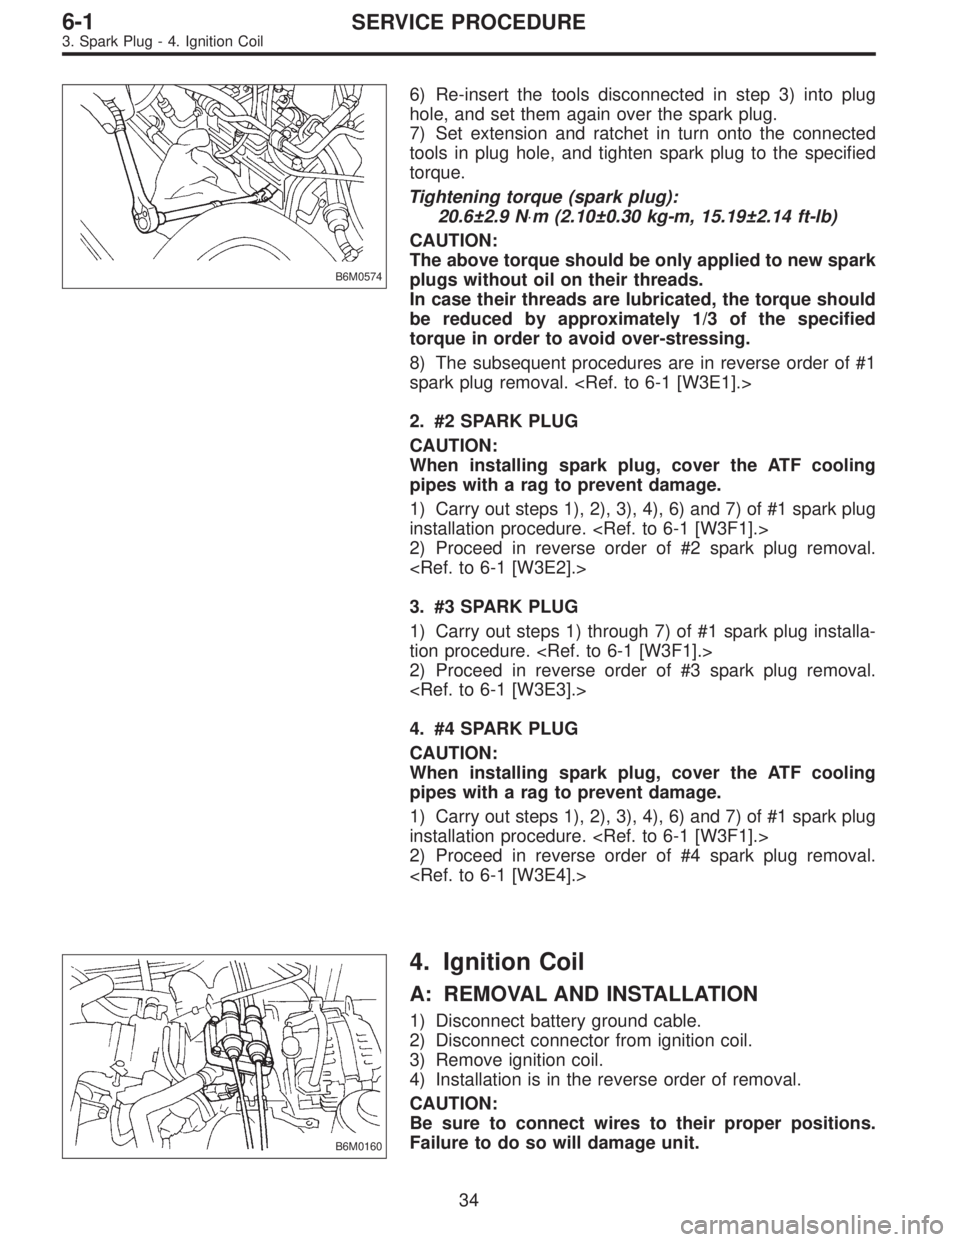
B6M0574
6) Re-insert the tools disconnected in step 3) into plug
hole, and set them again over the spark plug.
7) Set extension and ratchet in turn onto the connected
tools in plug hole, and tighten spark plug to the specified
torque.
Tightening torque (spark plug):
20.6±2.9 N⋅m (2.10±0.30 kg-m, 15.19±2.14 ft-lb)
CAUTION:
The above torque should be only applied to new spark
plugs without oil on their threads.
In case their threads are lubricated, the torque should
be reduced by approximately 1/3 of the specified
torque in order to avoid over-stressing.
8) The subsequent procedures are in reverse order of #1
spark plug removal.
2. #2 SPARK PLUG
CAUTION:
When installing spark plug, cover the ATF cooling
pipes with a rag to prevent damage.
1) Carry out steps 1), 2), 3), 4), 6) and 7) of #1 spark plug
installation procedure.
2) Proceed in reverse order of #2 spark plug removal.
3. #3 SPARK PLUG
1) Carry out steps 1) through 7) of #1 spark plug installa-
tion procedure.
2) Proceed in reverse order of #3 spark plug removal.
4. #4 SPARK PLUG
CAUTION:
When installing spark plug, cover the ATF cooling
pipes with a rag to prevent damage.
1) Carry out steps 1), 2), 3), 4), 6) and 7) of #1 spark plug
installation procedure.
2) Proceed in reverse order of #4 spark plug removal.
B6M0160
4. Ignition Coil
A: REMOVAL AND INSTALLATION
1) Disconnect battery ground cable.
2) Disconnect connector from ignition coil.
3) Remove ignition coil.
4) Installation is in the reverse order of removal.
CAUTION:
Be sure to connect wires to their proper positions.
Failure to do so will damage unit.
34
6-1SERVICE PROCEDURE
3. Spark Plug - 4. Ignition Coil
Page 1649 of 2890

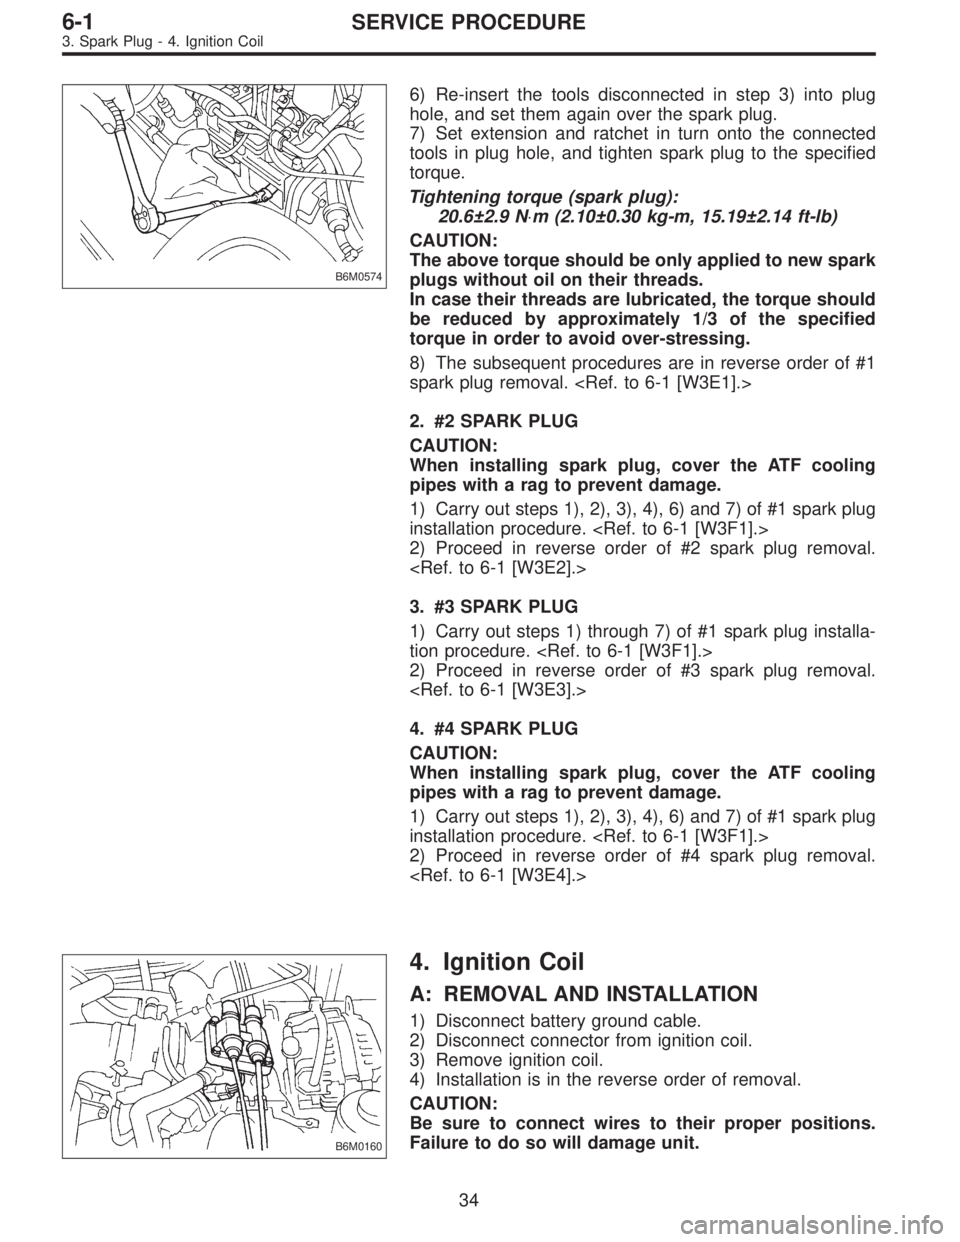
B6M0574
6) Re-insert the tools disconnected in step 3) into plug
hole, and set them again over the spark plug.
7) Set extension and ratchet in turn onto the connected
tools in plug hole, and tighten spark plug to the specified
torque.
Tightening torque (spark plug):
20.6±2.9 N⋅m (2.10±0.30 kg-m, 15.19±2.14 ft-lb)
CAUTION:
The above torque should be only applied to new spark
plugs without oil on their threads.
In case their threads are lubricated, the torque should
be reduced by approximately 1/3 of the specified
torque in order to avoid over-stressing.
8) The subsequent procedures are in reverse order of #1
spark plug removal.
2. #2 SPARK PLUG
CAUTION:
When installing spark plug, cover the ATF cooling
pipes with a rag to prevent damage.
1) Carry out steps 1), 2), 3), 4), 6) and 7) of #1 spark plug
installation procedure.
2) Proceed in reverse order of #2 spark plug removal.
3. #3 SPARK PLUG
1) Carry out steps 1) through 7) of #1 spark plug installa-
tion procedure.
2) Proceed in reverse order of #3 spark plug removal.
4. #4 SPARK PLUG
CAUTION:
When installing spark plug, cover the ATF cooling
pipes with a rag to prevent damage.
1) Carry out steps 1), 2), 3), 4), 6) and 7) of #1 spark plug
installation procedure.
2) Proceed in reverse order of #4 spark plug removal.
B6M0160
4. Ignition Coil
A: REMOVAL AND INSTALLATION
1) Disconnect battery ground cable.
2) Disconnect connector from ignition coil.
3) Remove ignition coil.
4) Installation is in the reverse order of removal.
CAUTION:
Be sure to connect wires to their proper positions.
Failure to do so will damage unit.
34
6-1SERVICE PROCEDURE
3. Spark Plug - 4. Ignition Coil