1993 VOLKSWAGEN GOLF fuel
[x] Cancel search: fuelPage 2 of 156
Downloaded from www.Manualslib.com manuals search engine l
,
l
You have chosen the European bestseller, the Golf
... and the environment
Built for the future
You I ave chosen a car Whlcli is ladlcal in ev ry respeCt. Even concerning the environ
ment Your new Golf has been developed to damage the e nvironme nt as little as possIL le Nor o nly today, but tomorrow and In he
'utu r .
Clean solutions from clean ideas
W e beheve that more can be done fo r the
envtronment today If we forgo some th ings.
S o
In manufacturing your new Golf , we have . wherever possib le, forgone environmentall y harmful materials, for e :amp le CFCs In p lastic parts, cadmium and asbes
t os .
For [he paintwork. we are fO I going chemica l
solvents to an ever rncreaslng degree, and sing more and more aler-based paints
Clean performance
Naturally, all engines fitted III the Golf are low pollutants .
They are particularly qUiet
and low In uel
consumption That is of course dependent on your driv ing style . Tips and advice on the
s ubject can be found in thiS manual Exactly
Ihere can b e found in the alpha betrcallnde x
under the heading" EnVIronm ent" .
Reduced emissions
Vaporrzation -from plastics in th e ve hicle in
teriol or from the fuel tank -Will hardly occlIr In you r new Golf.
For examp le, we have llserl new materlals
for the Instrument panel, and the walls of the fuel tank have be en treated to red uce emiSSions a" much as pOSSible
A sign of the times
Y our new Golf has been constructed In such
a wa y that It can be disp osed of env ironmen
t ally
The plast iC parts have
a speCial marking to Simplify Identlfeat lon and reprocessing of materials at a later date.
Some of these plastiC parts are made entire
l y from
recy cled mate rial.
These really a re signs of tile times.
... and more safety
Safe all round
Your nevy Golf has exemp lary safet y.
It offers an extraordinar y high deg ree of aci e and pass i e safet
Active -from the running
gear to the ergo
nomics of the interior . Passive -from the
fron enlj structure nd the passenge r cell , the steenng, the steerlllg wheel, the seats ,
through 10 he seat belt sYStem With bel tra e an oressure limiters for driver ilnd fro· seat passenger.
.411 15 S he result of our safety philosophy.
For us sa ety means protection .
~ '" e ar Iples
Safe and Sound
All mo,
By,
ev e
wh
str i
Sa
E VE fe e
T he
a nc
f
ro' eVE
I t (
T h , Slt
m" d ar
in c
Cu
T h
o p·
b e p re
i m
Page 5 of 156
Downloaded from www.Manualslib.com manuals search engine CONTROLS AND EQUIPMENT
Dashboard and Controls ..... 4
. ey s, Cen tral locking . . .... 6, 7
::"tl-thef t warning system .... 8
Joors .......................... .... 9
oot lid .... ........... . . . . . 10
::Iectric windows .. . .. 10
• ~Irrors . . ..... . ... 12
Seal belts 13
"" rbag System . . . . . 18
Safe ty for children .. ... 21
ead restraints . . . . . .. 24
= ro nt seats . . . . . . . . . . . .. 25
Rear seat . . . 27
L u ggage compartment ... . ... . ...... 28
M esh partition (Estate) ...... 29
L u ggage compartment cover /
F olding/sliding cover
... 30
Pedals, Hand brake .. 31
Manual gearbox .... ... .... 31
Automati c gearbox . . . .. .......... 32
H eig ht-adjustable steering wheel ..... 35
I gnition lock. . . . . .. 35
Starting/stopp ing engine 36, 38
\lIstrumellts .. .... 39
Warning lamps ....... 46
Switches . . . . . . . . . . . . . . 50
Turn signal and dip lever ............. 53
Cruise control system ........... 54
Wi ndscreen wipe r and washer system 55
Heating an d ventilation .. . ...... 56
Air cond itioner ......' 59
Sliding/ti ltin g roof. . . . . . . . . . . . ... 65
Sun visors / Interior lights 66,67
Cigarette lighter, Ash tray ..... 68
Shelves and boxes . . . . . . . . . . . ... 69
Roof rack / Roof ra ilings ... 70
DRIVING TIPS
The firs t 1500 km -and after wards .... 71
Driving economically and ecologically .. 72
Brakes. . . . . . . . . . . . . . . . 75
Tra iler tow ing . .. ..... . .... ... ...... 77
Driving a four- wheel drive vehicle .. 79
GENERAL MAINTENANCE
Filling the tan k, Fuel. 81, 82
Care of vehicle ........ .. . . 85
Bonnet . . ... 90
Engine compartment .. ...... .... .... 91
Engine oil ..... .......... ........... 92
Automatic transmission fluid (ATF)* ... 96
Power-assisted steering .. 96
Cooling system . . . . . . . . . . .. . 97
B rake fluid ...... 99
Battery . . . . .. 100
Spark plugs. V-belts . . . . . . . . . 102
Washer system
... . .. 103
Windscreen w iper blades . . . 104
Dust a
nd pollen filter * . 104
Wheel s . 105
D riving abroad ..... ............... 110
Accessories, modifications and
renewa l ot parts .............. III
Mobile telephones and tw o-way rad ios 111
DO -lT-YOURSELF
First -aid kit, Warn ing triangle ........ 112
Storage of vehicle tools, spare wheel
a n d ball coupling trailer bracket ...... 113
Vehicle tools, Spare wheel 114
CONTENTS
Changing w heels . 116
F uses . ........ .. .. . . . ... . .... 119
Changing bulbs. . .... .. . 121
Installing radio . . . . .. 127
E mergency starting .. .. 128
Tow starting / to wing . . .. 129
L ift ing vehicle ......... 131
SPECIAL INFORMATION
Body ..... .... . .......... 132
Environmental compatibility ... 133
TECHNICAL DATA
Engine data . .. , .... .... . 134
P er forman ce .. ... ... ... . .. 136
Fuel consump tion .. 137
Wh eels
. . 139
T yre pressures
.. .. ... .. . . .. ... 1 4 1
Weights ... 143
Trailer weights .. 144
Dimensions. ...... .. ... 145
Capacities " ..... 146
Vehicle identification data ... 147
ALPHABETICAL INDEX
Alph abetical index ... 148
3
Page 34 of 156
Downloaded from www.Manualslib.com manuals search engine Automatic gearbox*
Driving programmes
The gearbox control unit is equipped with two driving programmes:
• Sport programme
• Economy programme
The programme is selected automatically depending on operation of the accel
erator pedal.
The sport programme is selected if the
accelerator pedal is operated rapidly. In this
case the accelerator pedal need not be de
pressed to the point of kick-down (see
Page 33). In the sport programme, full use is made of the engine's power reserves
through delayed change to higher gear
The
economy programme is selected
when the acce lerator, pedal is operated
s lowly or normally. Fuel consumption is reduced by changing early into higher gear and later into lower.
Selector lever lock
In positions "P" and " N" with the ignition
s wi tc h on the selector lever is locked . To move the selector lever out of these posi
t ions the brake pedal must be depressed and the selector lever button pushed in .
This prevents a gear being engaged inadver
tently
and the vehicle unintentional ly mov
ing off .
A de l
ay circuit prevents the selector lever
f rom locking when it is moved quickly past the" N" position (for Instan ce from" R" to "
D " ) This enables for examp
le the vehicle
to be " rocked" out of a "bogged down "
position The shift lock only locks the selec
tor
leve r if it is left in the " N" position for
more than about 1 second without the
brake pedal being depressed.
At speeds above 5 km/h the selector lever
is automatically switched-off in position "N".
Selector lever positions
P -Parking lock
The driving wheels are lock ed mechanically
The parking lock may only be engaged
when the vehicle is stationary. Before mov
ing the lever in or out of the" P" position the
lock button in the selector lever handle
must be pressed. Before moving the selec
tor lever out of
the" P" pOSition, the brake
pedal must also be depressed w hen the
ignition is switched on .
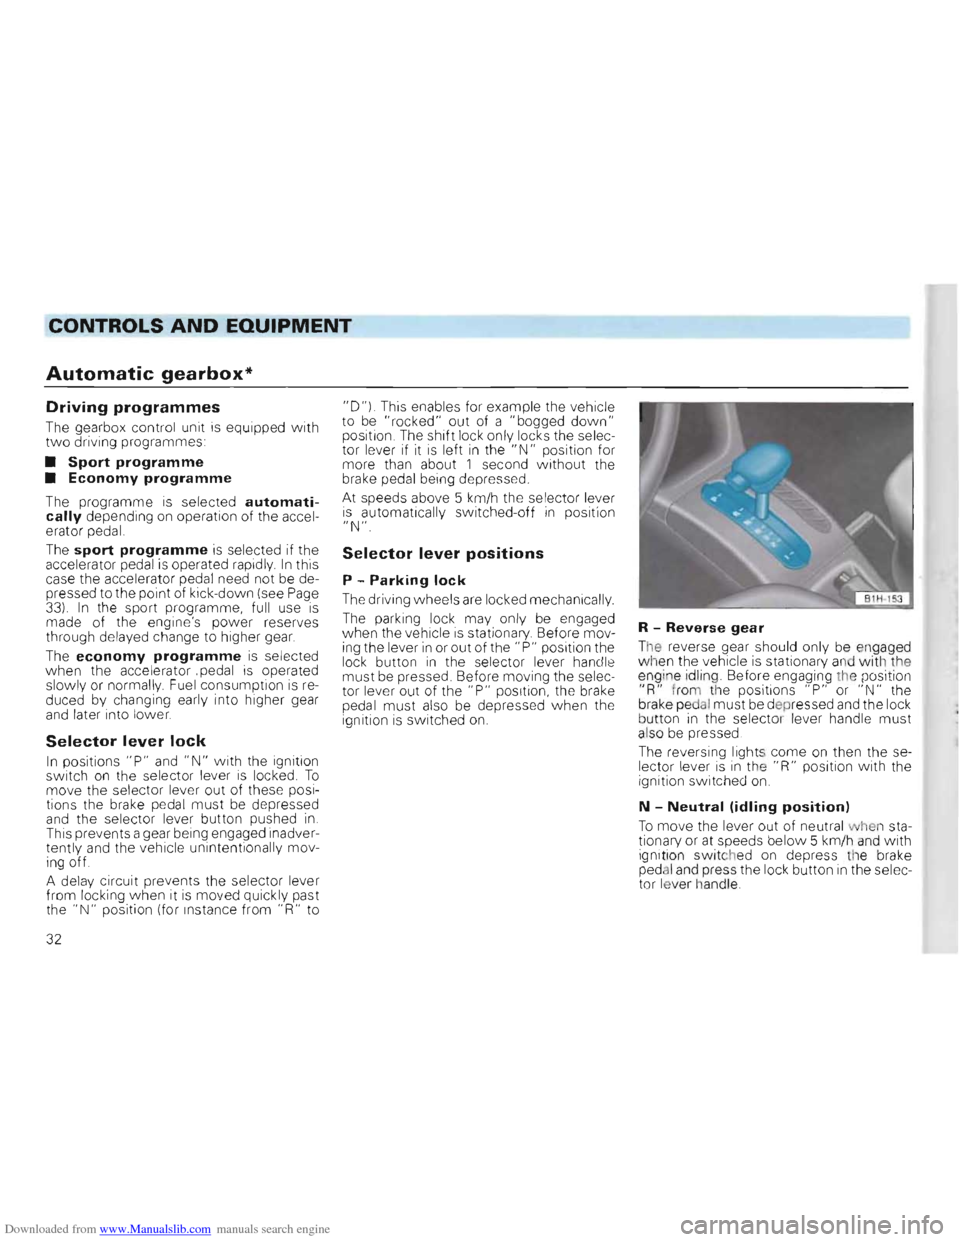
R -Reverse gear
The reverse gear should only be engaged
when the vehicle is station ary and with the
eng ine id ling. Before engaging the position
"R " from the positions "P" or "N " the
brake pedal must be d epr essed and the lock
b u tton in the selecto r lever handle must
also be p re ssed .
The
reversing lights come on then the se
l e cto r leve r is in the "R" position with the
ignition switched on.
N -Neutral (idling position)
To move the leve r out of neutral when sta
tionary or at speeds below 5 km/h and with
ignit ion switc hed on depress the brake
ped al and press the lock button in the selec
t or lever handle .
32
Page 37 of 156
Downloaded from www.Manualslib.com manuals search engine CONTROLS AND EQUIPMENT
Height adjustable
steering wheel*
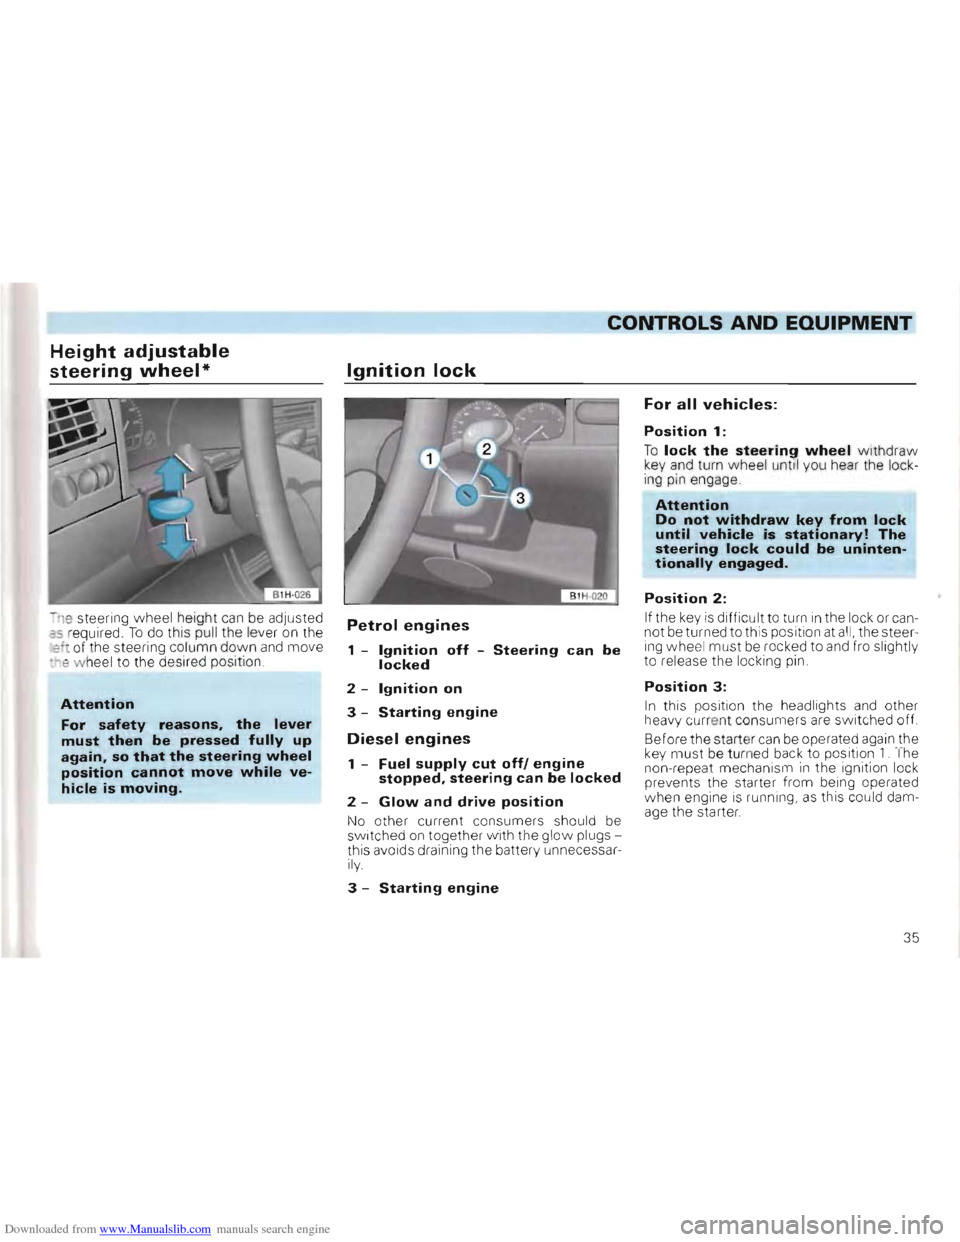
-n e steering wheel height can be adjusted as r equired . To do this pull the lever on the :::1 of th e stee ring co lumn down and move -~e w hee l to the desir ed position
Attention
For safety reasons, the lever
must then be pressed fully up again, so that the steering wheel position cannot move while ve
hicle is moving.
Ignition lock
Petrol engines
1 -Ignition off -Steering can be locked
2 -Ignition on
3 -Starting engine
Diesel engines
1 -Fuel supply cut off! engine stopped, steering can be locked
2 -Glow and drive position
No other current co nsumer s should be sw itc hed on together w ith the glow plugs
this aVOi d s dra ining the batte ry unn ecessa rily.
3 -Starting engine
For all vehicles:
Position 1:
To lock the steering wheel withdraw key and turn wheel unti l you hear the lock
ing pin engage
Attention Do not withdraw key from lock until vehicle is stationary! The steering lock could be unintentionally engaged.
Position 2:
If the key is difficult to turn in the lock or can
not be turned to this position at all, the steer
ing wheel must be rocked to and fro slightly
to release the locking pin .
Position 3:
In this pos ition the headlights and other
h eavy cu rre nt consume rs are switched off.
Before the start er
can be operated again the key must be turned back to position 1. The
non-repeat mechanism in the ignition lock
prevents th e starter from being operated
w hen engine
is ru nning, as this could dam
age the starter.
35
Page 38 of 156
Downloaded from www.Manualslib.com manuals search engine CONTROLS AND EQUIPMEN-=-T-=------___
Starting the engine
General hints
Attention When starting the engine in confined spaces there is a danger of poisoning.
• Before starting, move gear lever to neu·
tral (with automatic gearbox: Selector lever in "P" or"N" position) and apply handbrake fi rmly
•
On vehicles with a manual gearbox de
press the clutch pedal when operating
starter
so that starter only has to turn en
gine .
• As soon
as engine starts, release the
ignition key so that starter can dise ngage .
• After starting a co
ld engine It may sound
noisy for a moment or two because the 011 pressure has to build up in the hydraulic
tappets first. This is normal and no cause for
alarm .
~Do not warm engine up by run~ning it with vehicle stationary. Drive off straight away.
Do not overrev or use full throttle until the
engine has reached the normal operating
temperature .
• On vehicles with a catalytic converter the engine must not be started by towing the vehicle in ex· cess of 50 m. Otherwise unburnt fuel can pass into the converter and lead to damage.
• Before trying to start engine by towing, the battery from another ve· hicle should be used for starting if possible -see page 128.
Petrol engines
These engines are equipped with a petrol in
jection system that automat ically supp lies
the correct fuel/air mixture at all ambient
temperatures.
When engine
is cold or at operating temperature do not accelerate before or
during the starting procedure.
I f the engin e does not start at once, stop
us ing th e starter after 10 secs. wait about
half a m in ute and then try again.
If the engine sti
ll does not start, the electric
fuel pump fuse may have blown -see page
119 .
When the engine
is very hot it may be
neces sary to accelerate slightl y after the
engine has start
ed.
/
36
Page 40 of 156
Downloaded from www.Manualslib.com manuals search engine CONTROLS AND EQUIPMENT
Stopping engine
66 kW engine
Starting a cold engine
Ambient temperature above +5 0C:
The engine can be started without pre
glow Do not depress throttle during the
starting procedure.
Ambient temperature below +5 0C:
• Turn the key in the ignition lock to posi
tion 2 (see page 35) -the glow plug warning
lamp comes on It goes out when the igni
tion temperature is reached (see page 47). While the glow plugs are working do not switch on any other heavy current consumers because this would place an unnecessary load on the battery.
• When the warning lamp goes out, start
the engine immediately
If the engine does not start, repeat
preglow and try starting it again as described. If the
engine still does not start the fuse for the glow plugs may have blown -see page 120.
Starting a warm engine
The glow plug lamp does not come on -the
engine can be started straight away
When engine has been running fast for a long time, let it idle for about 2 minutes so that it can cool down slightly before being switched off.
Attention After the engine has been stopped the fan can continue running for a while (up to about 10 minutes) with the ignition switched off. It can also start to run again suddenly after a short time if -the coolant temperature increases due to heat build-up
-when engine is hot and the engine compartment is heated additionally by strong sunlight.
Special care must therefore be taken when working in the engine compartment.
On vehicles with a catalytic converter, the ignition must not be switched off as long as the vehicle is rolling with a gear engaged, otherwise, unburnt fuel can pass into the catalytic converter and cause damage.
38
Page 41 of 156
Downloaded from www.Manualslib.com manuals search engine CONTROLS AND EQUIPMENT
Instruments
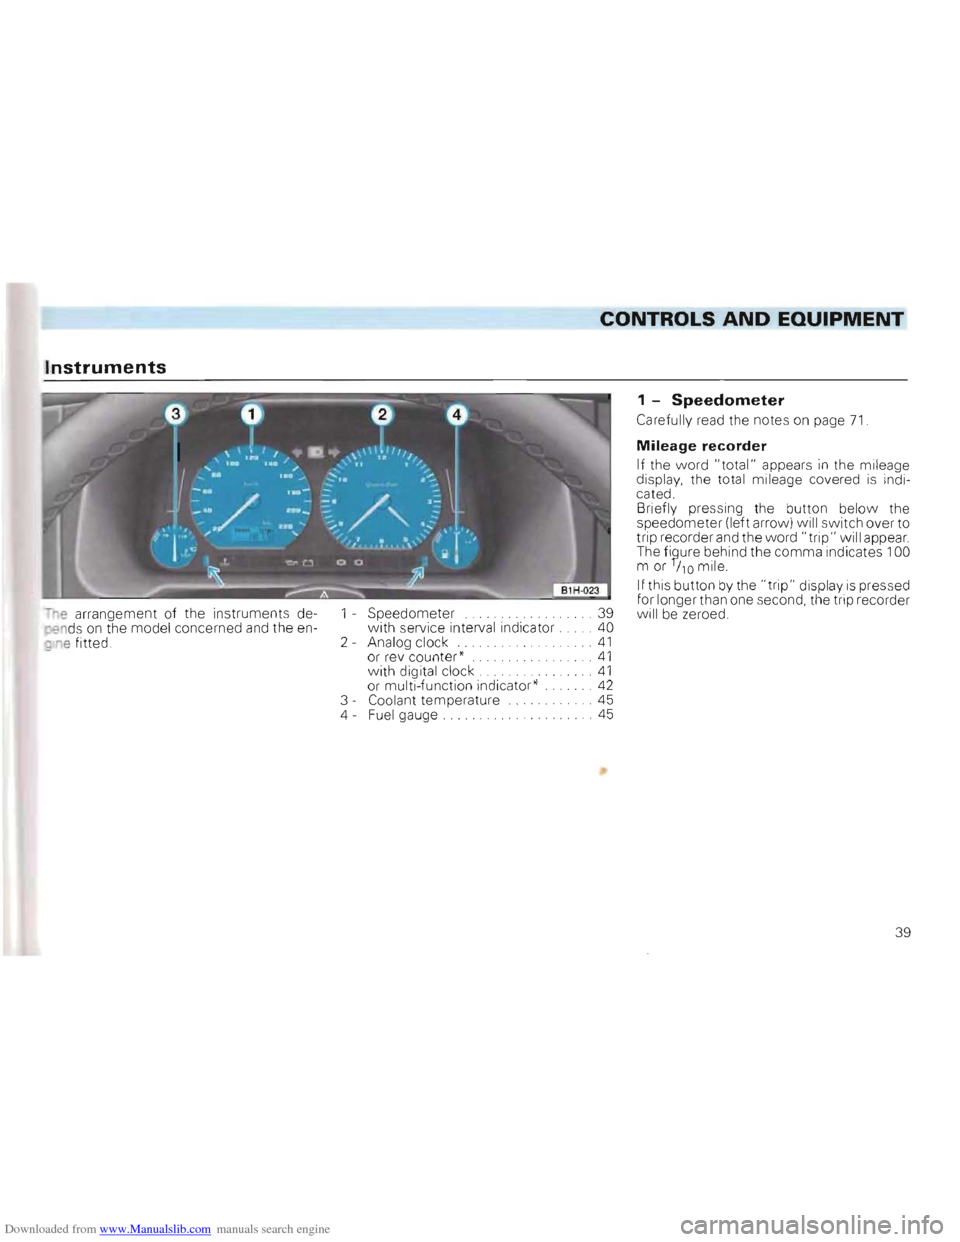
r;e arrangement of the instruments de-~nds on the model concerned and the en'le fitted . 1
Speedometer
................ 39 with service interval indicator. . 40
2 Analog clock ... 41 or rev counter* ... 41 with digital clock. . . . 41 or multi-function indicator* . . 42 3 Coolant temperature .. 45
4 Fuel gauge . . .... 45
1 -Speedometer
Carefully read the notes on page 71.
Mileage recorder
If the word "total" appears in the mileage
display, the total mileage covered is indi
cated.
Briefly pressing the button below the
speedomete r (left arrow) will switch over
to
trip recorder and the word "trip" will appear.
The fi?ure behind the comma indicates 100
m or
ha mile.
If this button by the
"trip" display is pressed
for longer than one second, the trip recorder
will be zeroed.
39
Page 43 of 156
Downloaded from www.Manualslib.com manuals search engine CONTROLS AND EQUIPMENT
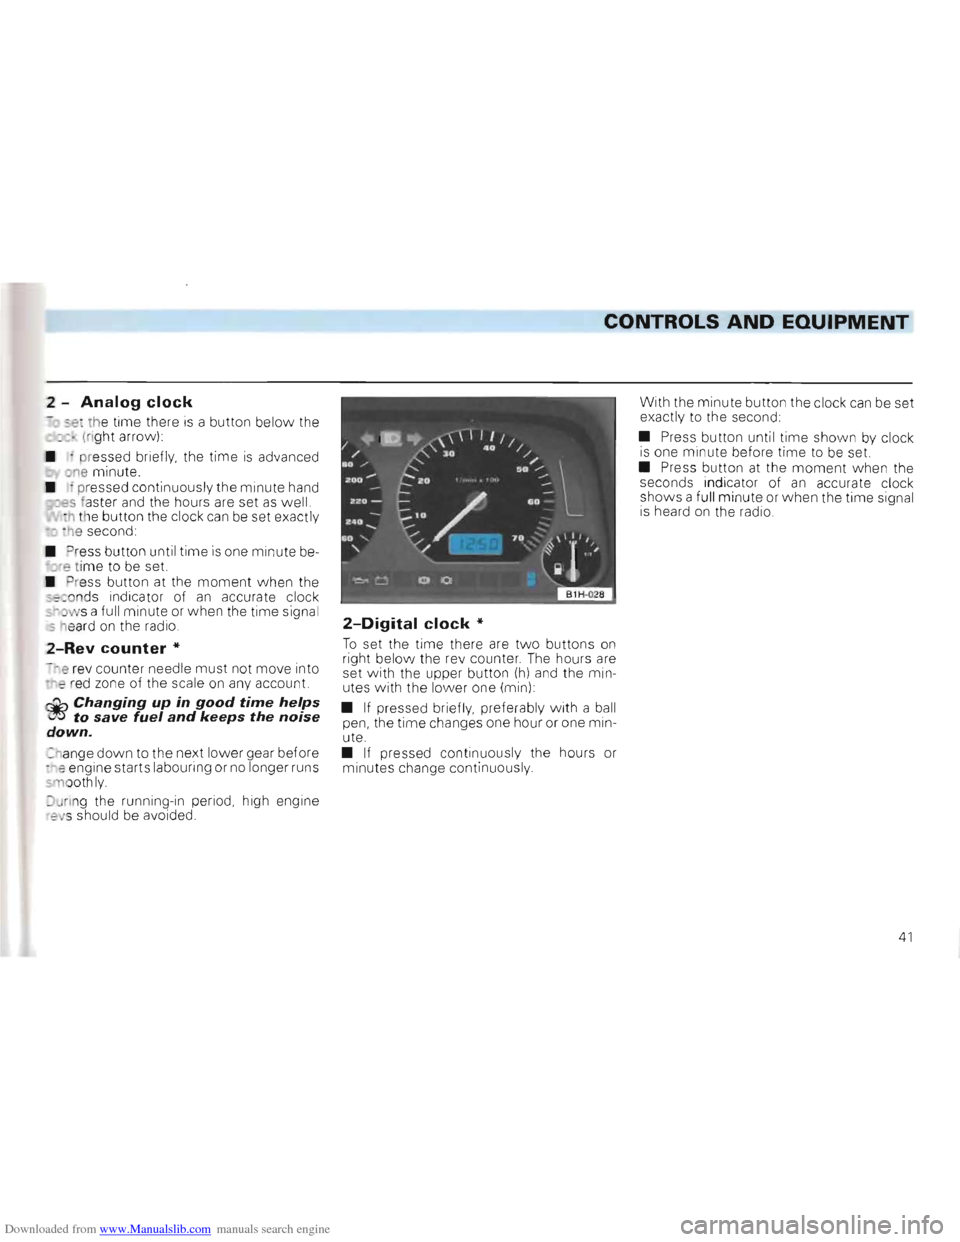
2 -Analog clock
--e th e time there is a button below the
_ -(right arrow):
• -pr esse d briefly , the
time is advanced one minute.
• pressed continuous ly the minute hand
ss fa ster and the hours are set as well.
;h the button the clock can be set exactly
- h e second :
• Press button until
time is one minute be.,re ti me to be set.
• ress button at the
moment when the
_ =f'"on ds indicator of an accurate clock -~ows a full minute or when the time signal
s eard on the radio.
2-Rev counter *
- e rev counter needle mu st not move into
e red zone of the sca le on any account.
~Changing up in good time helps ~,) to save fuel and keeps the noise down.
_hange down to the next lower gear before ~"e engine starts labouring or no longer runs
l oothly.
rin g the running-in period, high engine ' 9VS should be avoided.
2-Digital clock *
To set the time there are tw o buttons on right below the re v counter . The hours are
set with the upper button (h) and the min
utes with the lower one (min) :
•
If pressed briefly, preferably w ith a ball
pen, the time changes one hour or one min
ute.
• If pressed continuous ly the hours or
m inutes change continuous ly . With
the minute button the clock
can be set
exactly to the second:
• Press button until
time shown by clock is one mi nute before time to be set.
• Press button at the moment w he n the
seconds indicator of an accurate clock
shows a fu ll minute or when the time signa l
i s heard on the radio.
41