1987 MAZDA 626 low oil pressure
[x] Cancel search: low oil pressurePage 907 of 1865

TROUBLESHOOTING (G4A-HL) 7B
TROUBLESHOOTING (G4A-HL)
GENERAL NOTE
In the event of a problem with the automatic transaxle, the cause may be in the engine, power train,
hydraulic control system, or electrical control system.
When troubleshooting, therefore, it is recommended to begin from those points that can be judged
quickly and easily. The recommended troubleshooting sequence is described below.
STEP 4: TIME LAG TEST
Check time lag of oil pressure supply
STEP 6: OIL PRESSURE TEST Check line, throttle, and governor pressures
This step checks conditions surrounding the automatic
transaxle.
This step checks the electrical control system.
• Function of the electrical control system
• Components
This step checks the power train. • Friction element slipping • Torque converter capacity
This step checks operation of the hydraulic control system. • Accumulators • Friction elements slipping • Regulating valves
This step checks functions of the electric control system and
hydraulic control system.
This step checks major points of the hydraulic control system.
• Oil pump • Line pressure control • Throttle pressure control
• Governer pressure control
STEP 5: ROAD TEST Check items on road test
• Shift point • Shift schedule
• Kick-down • Shift shock • Lock-up and overdrive inhibition
By following the above 6 steps, the cause of the problem should be located.
As another guide to faster location of the causes of problems, the Quick Diagnosis Chart is included
at pages 7B—42, 43.
In this chart, a circle is used to indicate the components that might be the cause of trouble for 20
types of problems. It is only necessary to check those components indicated by circles, at each step
of the troubleshooting process, in order to quickly locate the cause of the problem.
76G07B-040
7B—41
Page 908 of 1865

7B TROUBLESHOOTING (G4A-HL)
Quick Diagnosis Chart
The Quick Diagnosis Chart shows various problems and the relationship of various components that
might be the cause of the problem.
The following is an explanation of the symbols used in this chart.
1. Components indicated in the "Adjustment" column indicate that there is a possibility that the prob-
lem may be the result of an incorrect adjustment.
Check the adjustment of each component, and readjust if necessary.
2. The components indicated in the "Electrical System Inspection" column can be checked for mal-
function by the results of the checking procedure.
3. Components indicated in the "Stall Test" column can be checked for malfunction by the results
of the stall test.
4. Components indicated in the "Time Lag Test" column can be checked for malfunction by the results
of the time lag test.
5. Components indicated in the "Road Test" column can be checked for malfunction by the results
of the road test.
6. Components indicated in the "Oil Pressure Test" column can be checked for malfunction by the
results of the oil pressure test.
7. The checking, adjusting, repair or replacement procedures for each component is described in the
page(s) noted in the "Reference Page" column.
76G07B-041
Inspection point
Item
Adjustment
Electrical System Inspection
Electrical control system
JO o
II in a> ZJ i 2 : o. 5 E - £ CD _
O §
o
o
Prelimi-nary
CD t/1 ro cd
O O
o
CD ro — o o u 0) CD CO
O
Hydraulic control system
cn "o w ~ CD ro .> -a 5 CD > cl o
5 O
3 a
3 6
o
Power train
O I h
£ ro o O LL O
o > CD (fl "D c ro sz CD o JJL. "3 ro o _Q •sT co C\J
ro ro 5 ? CD CD c c O O
Stall Test
Time Lag Test
O O o o o o o o o o
o o o o o o o o
Oil Pressure Test O o o o o o o o o o o
Road Test O o o o
7B—42
Page 917 of 1865

TROUBLESHOOTING (G4A-HL) 7B
Evaluation
Condition Possible cause
Above specification
In all ranges Insufficient line pressure
Worn oil pump
Above specification
In all ranges Insufficient line pressure Oil leakage from oil pump, control valve, and/or transaxle case
Stuck pressure regulator valve
Above specification
In D 2, and 1 One-way clutch 1 slipping
Above specification
In D range only One-way clutch 2 slipping
Above specification In 2 range only 2-4 brake slipping Above specification
In R range only
Low and reverse brake slipping
Above specification
In R range only
Reverse clutch slipping
Above specification
In R range only Perform a road test, to determine if this is caused by the low and reverse brake or the reverse clutch, as follows:
a) Effective engine braking in 1 range Front clutch
b) No engine braking in 1 range Low and reverse brake
Within specification All shift control elements within transaxle are functioning
normally.
Below specification
Engine out of tune
Below specification One-way clutch slipping within torque converter
76G07B-055
7B—51
Page 925 of 1865

TROUBLESHOOTING (G4A-HL) 7B
Specified Line pressure:
Condition Line pressure kPa (kg/cm2, psi)
Range DSL R
When idling 350-490 (3.6-5.0, 51-71) 600-830 (6.1-8.5, 87-121)
At stall speed 980-1230 (10.0—12.5, 142—178) 1470-1960 (15.0-20.0, 213-284)
76G07B-063
Evaluation
Condition Possible Cause
Below specification
In all ranges
Worn oil pump
Below specification
In all ranges
Fluid leakage from the oil pump, control valve body
and/or transaxle case
Below specification
In all ranges Stuck pressure regulator valve
Below specification
In all ranges
Stuck throttle valve
Below specification
In all ranges
Stuck pressure modulator valve
Below specification
In D, 2 and 1 range
Fluid leakage from the forward clutch hydraulic circuit
Below specification
In D, 2 and 1 range Fluid leakage from the governor valve hydraulic circuit
Below specification
In D, 2 and 1 range
Fluid leakage from the N-R accumulator seal rings
Below specification In D and 1 range Fluid leakage from the 2-3 accumulator seal rings Below specification In D and 1 range Fluid leakage from the 1-2 accumulator seal rings Below specification
In D and R range Fluid leakage from the N-D accumulator seal rings
Below specification
In 2 and 1 range Fluid leakage from the coasting clutch hydraulic circuit
Below specification
In 2 and 1 range Stuck throttle backup valve
Below specification
In R and 1 range Fluid leakage from the low and reverse brake hydraulic
circuit
Below specification
In 2 range only Fluid leakage from 2-4 brake servo hydraulic circuit
Below specification
In 1 range only Stuck low reducing valve
Below specification
In R range only Fluid leakage from reverse clutch hydraulic circuit
Excessive line pressure
Stuck throttle valve
Excessive line pressure Stuck throttle modulator valve Excessive line pressure Stuck pressure regulator valve Excessive line pressure
Stuck throttle backup valve
76G07B-216
7B—59
Page 987 of 1865

INSPECTION AND REPAIR 7B
6. Check for the clutch operation as follows.
(1) Set the clutch assembly onto the oil pump.
(2) Check the clutch operation by applying com-
pressed air through the fluid passages as
shown.
Applied air pressure:
392 kPa (4.0 kg/cm2, 57 psi)
86U07B-217
(3) Pour in ATF so that the reverse piston, coast-
ing clutch drum, and coasting clutch piston are
fully submerged.
86U07B-218
(4) Check that no bubbles come from between the
piston and drum seal when applying com-
pressed air through the fluid passages as
shown.
Caution
The compressed air must be under 392 kPa
(4.0 kg/cm2, 57 psi), and should not applied
for over 3 seconds.
86U07B-219
7. Apply petroleum jelly to the thrust bearings to se-
cure them; then install them on both sides of the
reverse and forward drum.
Thrust bearing outer diameter
Oil pump side: 86.0 mm (3.39 in)
Small sun gear and one-way clutch side:
56.1 mm (2.21 in)
86U07B-220
7B-121
Page 1011 of 1865

INSPECTION AND REPAIR 7B
Inspection
Check the following and replace any faulty parts.
1. Damaged or worn valves
2. Damaged oil passage
3. Cracked or damaged valve body
4. Operation of each valve
5. Weakened spring
Spring
Spring name Outer dia.
mm
(in) Free length
mm (in)
Wire dia.
mm
(in) Spring color
Pressure modifier spring 8.3 (0.327) 26.5 (1.043) 0.8 (0.031)
—
Low reducing spring 8.7 (0.343) 38.3 (1.508) 0.9 (0.035) Black
1-2 shift spring 8.7 (0.343) 41.3 (1.626) 1.0 (0.039) Yellow
2-3, 3-4 shift spring 7.4 (0.291) 36.6 (1.441) 0.8 (0.031) Gray
Throttle backup spring 9.65 (0.380) 26.9 (1.059) 0.55 (0.022) Red
Throttle modulator spring 6.3 (0.248) 47.9 (1.886) 0.8 (0.031)
—
Throttle assist spring 5.15 (0.203) 32.3 (1.272) 0.55 (0.022) Dark green
Throttle spring 5.4 (0.213) 47.2 (1.858) 0.8 (0.031) Pink
Converter relief ball spring 6.9 (0.272) 24.1 (0.949) 0.9 (0.035) Maroon
Orifice check valve spring 5.0 (0.197) 12.5 (0.492) 0.23 (0.009)
—
76G07B-219
]
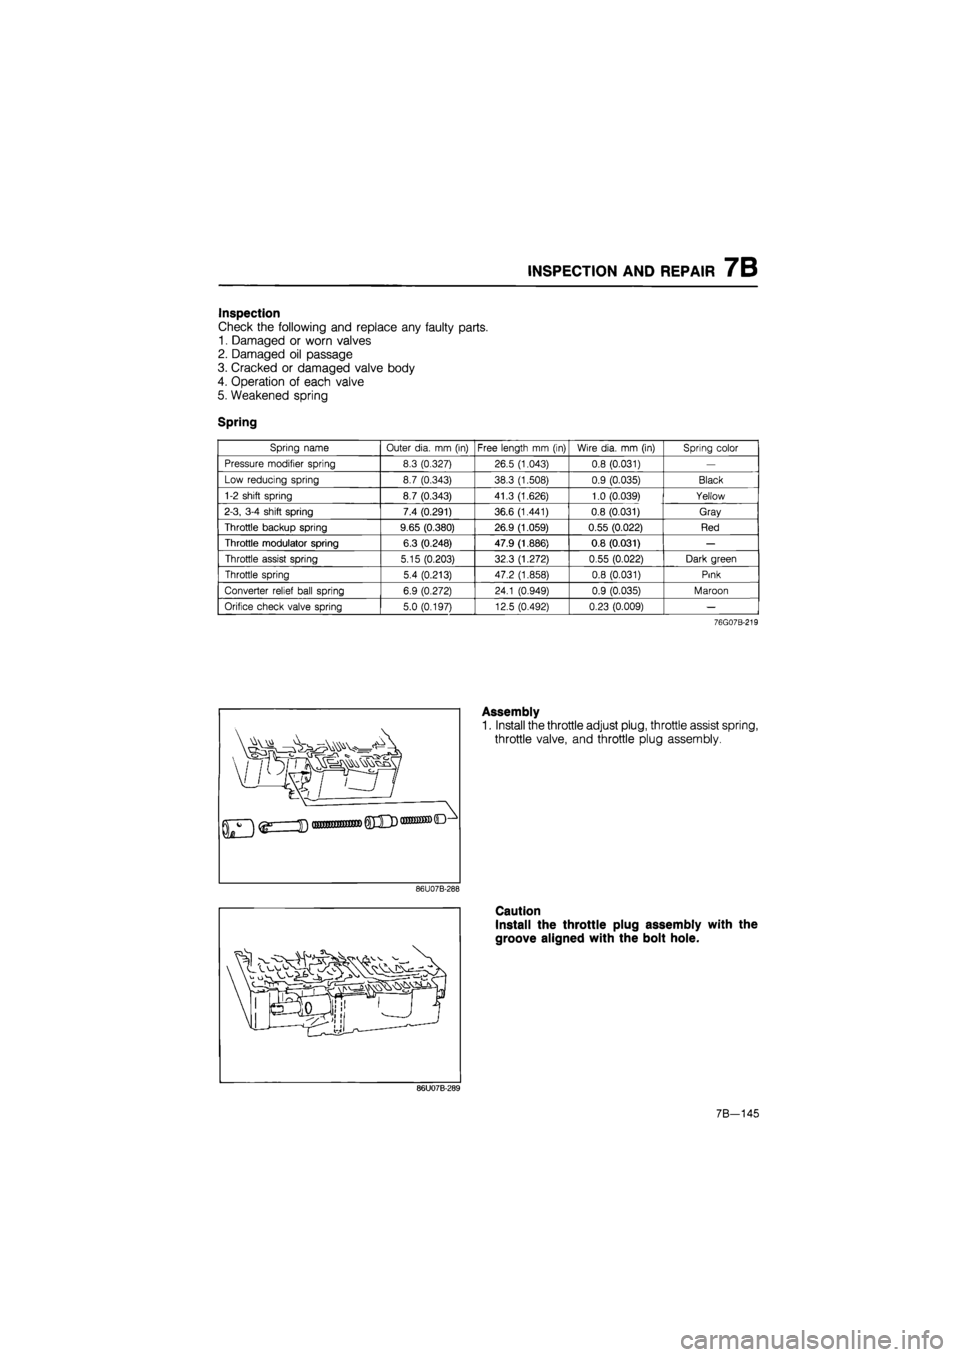
Assembly
1. Install the throttle adjust plug, throttle assist spring,
throttle valve, and throttle plug assembly.
86U07B-288
Caution
Install the throttle plug assembly with the
groove aligned with the bolt hole.
86U07B-289
7B-145
Page 1014 of 1865

7B INSPECTION AND REPAIR
Inspection
Check the following and replace any faulty parts.
1. Damaged or worn valves
2. Damaged oil passage
3. Cracked or damaged valve body
4. Operation of each valve
5. Weakened spring
Spring
Spring name Outer dia.
mm
(in) Free length
mm
(in) Wire dia.
mm (in)
Spring color
Pressure regulator spring 11.5 (0.453) 26.5 (1.043) 1.0 (0.039) Maroon
Lock-up control spring 5.0 (0.197) 35.2 (1.386) 0.6 (0.024) Purple
86U07B-295
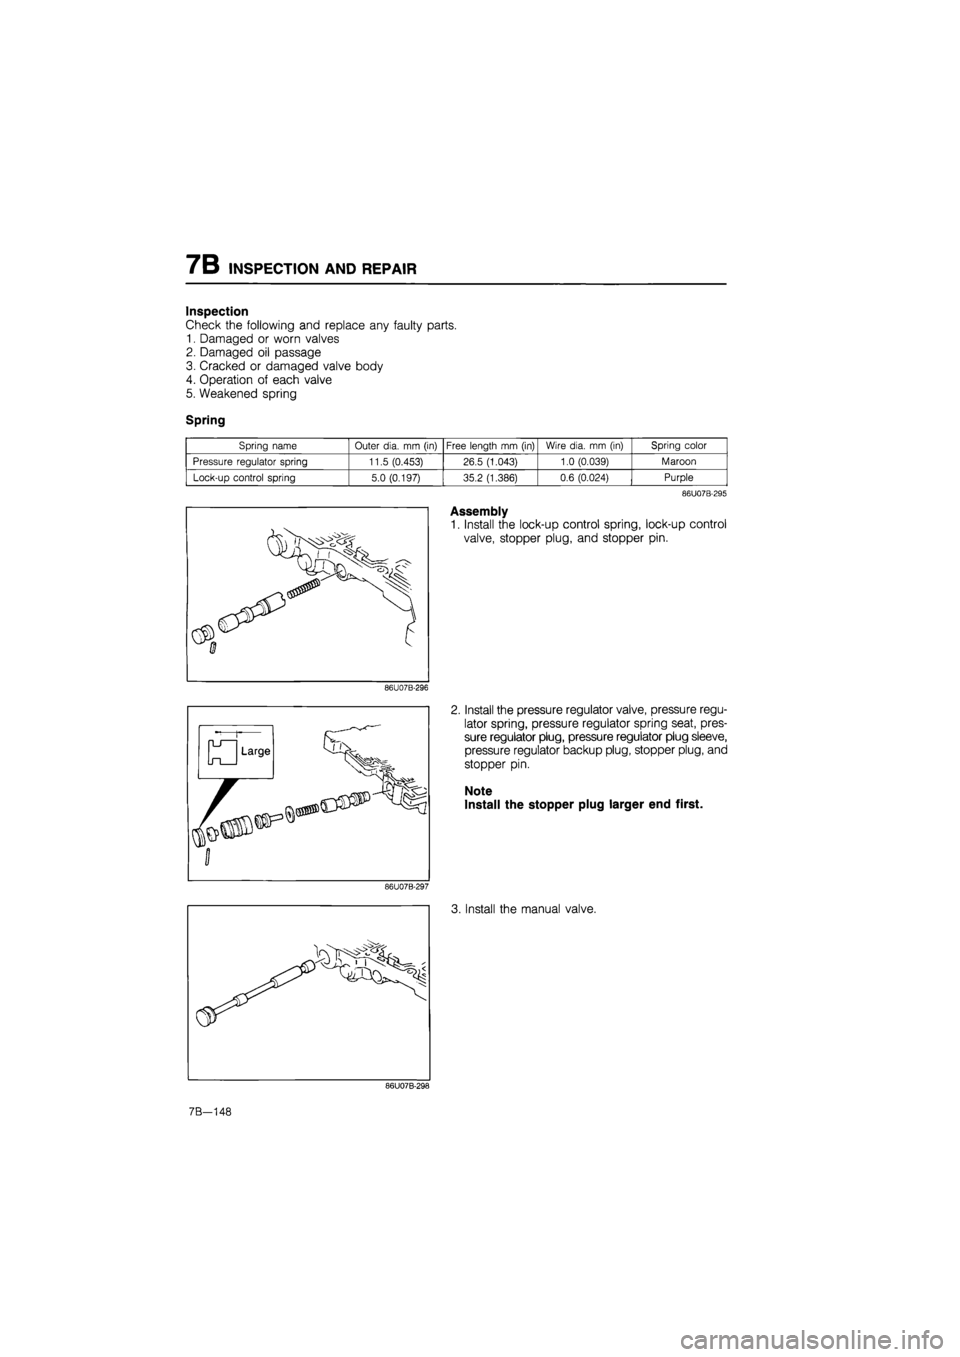
Assembly
1. Install the lock-up control spring, lock-up control
valve, stopper plug, and stopper pin.
86U07B-296
Install the pressure regulator valve, pressure regu-
lator spring, pressure regulator spring seat, pres-
sure regulator plug, pressure regulator plug sleeve,
pressure regulator backup plug, stopper plug, and
stopper pin.
Note
Install the stopper plug larger end first.
86U07B-297
3. Install the manual valve.
86U07B-298
7B-148
Page 1035 of 1865

INSPECTION AND REPAIR 7B
Inspection
Check the following and replace any faulty parts.
1. Damaged or worn valves
2. Damaged oil passage
3. Cracked or damaged valve body
4. Operation of each valve
5. Weakened spring
Spring
Spring name Outer dia.
mm (in)
Free length
mm
(in)
30.7 (1.209)
46
2
(1 819)
52
3
(2.059)
Wire dia.
mm (in)
Spring color
Blue
Yellow
Red"
Pressure regulator spring 9.5 (0.374)
Free length
mm
(in)
30.7 (1.209)
46
2
(1 819)
52
3
(2.059)
0.7 (0 028)
0
8
(0.031)
1.0 (0.039)
0.8 (0.031)
Spring color
Blue
Yellow
Red"
Lock-up control spring 7,3 (0 287)
Free length
mm
(in)
30.7 (1.209)
46
2
(1 819)
52
3
(2.059)
0.7 (0 028)
0
8
(0.031)
1.0 (0.039)
0.8 (0.031)
Spring color
Blue
Yellow
Red"
Lock-up support spring 7.0 (0.276)
Free length
mm
(in)
30.7 (1.209)
46
2
(1 819)
52
3
(2.059)
0.7 (0 028)
0
8
(0.031)
1.0 (0.039)
0.8 (0.031)
Spring color
Blue
Yellow
Red" OD lock-up spring 7.1 (0.280) 66.5 (2.618)
0.7 (0 028)
0
8
(0.031)
1.0 (0.039)
0.8 (0.031)
Spring color
Blue
Yellow
Red"
76G07B-166
Assembly
1. Install the lock-up support spring, lock-up support
valve, stopper plug, and stopper pin.
Note
Install the stopper plug large end first.
83U07B-305
2. Install the pressure regulator valve, pressure regu-
lator spring, pressure regulator spring seat, pres-
sure regulator plug, pressure regulator plug sleeve,
pressure regulator backup plug, stopper plug, and
stopper pin.
Note
Install the stopper plug large end first.
83U07B-306
7B—169