1900 MITSUBISHI DIAMANTE check engine
[x] Cancel search: check enginePage 394 of 408
IJront Wheel or Wheel Bearing Loose
All Wheel and Four Wheel Drive Vehicles a. Torque lug nuts and axle nuts to specification and recheck for looseness.
b. Wheel bearing worn or damaged. Replace wheel bearing.
Front Wheel Drive Vehicles
a. Torque lug nuts and axle nuts to specification and recheck for looseness.
b. Wheel bearing worn or damaged. Replace wheel bearing.
Rear Wheel Drive Vehicles a. Wheel bearing out of adjustment. Adjust wheel bearing to specification; if still loose,
replace.
b. Torque lug nuts to specification and recheck for looseness.
c. Wheel bearing worn or damaged. Replace wheel bearing.
2. Rear Wheel or Wheel Bearing Loose
All Wheel and Four Wheel Drive Vehicles a. Torque lug nuts and axle nuts to specification and recheck for looseness.
b. Wheel bearing worn or damaged. Replace wheel bearing.
Front Wheel Drive Vehicles a. Wheel bearing out of adjustment. Adjust wheel bearing to specification; if still loose,
replace.
b. Torque lug nuts to specification and recheck for looseness.
c. Wheel bearing worn or damaged. Replace wheel bearing.
Rear Wheel Drive Vehicles a. Torque lug nuts and to specification and recheck for looseness.
b. Wheel bearing worn or damaged. Replace wheel bearing.
11-12 TROUBLESHOOTING
8. Brake pedal goes to floor when pressed and will not pump up
a. Check the brake hydraulic fluid level and inspect the fluid lines and seals for leakage.
Repair or replace leaking components, then bleed and flush the brake system using
fresh brake fluid that meets the manufacturer’s recommended standards.
b. Check the brake fluid level. Inspect the brake fluid level and brake hydraulic seals. If
the fluid level is ok, and the brake hydraulic system is free of hydraulic leaks, replace
the brake master cylinder, then bleed and flush the brake system using fresh brake
fluid that meets the manufacturer’s recommended standards.
9. Brakes produce a burning odor
a. Check for a seizing brake hydraulic component such as a brake caliper. Check the
caliper piston for surface damage such as rust, and measure for out-of-round wear
and caliper-to-piston clearance. Overhaul or replace failed parts and flush the brake
system.
b. Check for an internally restricted flexible brake hydraulic hose. Replace the hose and
flush the brake system.
c. Check the parking brake release mechanism, seized linkage or cable, and repair as
necessary. BRAKE PERFORMANCE TROU5LESHOOTINc; HIIVTS Brake vibrations or pulsation can often be diagnosed on a safe and careful test drive.
A brake vibration which is felt through the brake pedal while braking, but not felt in the
steering wheel, is most likely caused by brake surface variations in the rear brakes. If
both the brake pedal and steering wheel vibrate during braking, a surface variation in the
front brakes, or both front and rear brakes, is very likely.
A brake pedal that pumps up with repeated use can be caused by air in the brake hy-
draulic system or, if the vehicle is equipped with rear drum brakes, the brake adjusters
may be seized or out of adjustment. A quick test for brake adjustment on vehicles with
rear drum brakes is to pump the brake pedal several times with the vehicle’s engine not
running and the parking brake released. Pump the brake pedal several times and con-
tinue to apply pressure to the brake pedal. With pressure being applied to the brake
pedal, engage the parking brake. Release the brake pedal and quickly press the brake
pedal again. If the brake pedal pumped up, the rear brakes are in need of adjustment. Do
not compensate for the rear brake adjustment by adjusting the parking brake, this will
cause premature brake lining wear.
To test a vacuum brake booster, pump the brake pedal several times with the vehicle’s
engine off. Apply pressure to the brake pedal and then start the engine. The brake pedal
should move downward about one inch (25mm).
1. Tires worn on inside tread
a. Check alignment for a toed-out condition. Check and set tire pressures and properly
adjust the toe.
b. Check for worn, damaged or defective suspension components. Replace defective
parts and adjust the alignment.
2. Tires worn on outside tread e
a. Check alignment for a toed-in condition. Check and set tire pressures and properly
adjust the toe.
b. Check for worn, damaged or defective suspension components. Replace defective
parts and adjust the alignment.
3. Tires worn unevenly
a. Check the tire pressure and tire balance. Replace worn or defective tires and check the
.
alignment; adjust if necessary. b. Check for worn shock absorbers. Replaced failed components, worn or defective tires
and check the alignment; adjust if necessary.
c. Check the alignment settings. Check and set tire pressures and properly adjust the
alignment to specification.
d. Check for worn, damaged or defective suspension components. Replace defective
parts and adjust the alignment to specification,
1. Excessive play in steering wheel
a. Check the steering gear free-play adjustment and properly adjust to remove excessive
play.
b. Check the steering linkage for worn, damaged or defective parts. Replace failed com-
ponents and perform a front end alignment.
c. Check for a worn, damaged, or defective steering box, replace the steering gear and
check the front end alignment.
2. Steering wheel shakes at cruising speeds
a. Check for a bent front wheel. Replace a damaged wheel and check the tire for possible
internal damage.
b. Check for an unevenly worn front tire. Replace the tire, adjust tire pressure and bal-
ance.
c. Check the front tires for hidden internal damage. Tires which have encountered large
pot holes or suffered other hard blows may have sustained internal damage and
should be replaced immediately.
d. Check the front tires for an out-of-balance condition. Remove, spin balance and rein-
stall. Torque all the wheel bolts or lug nuts to the recommended specification.
e. Check for a loose wheel bearing. If possible, adjust the bearing, or replace the bearing
if it is a non-adjustable bearing.
3. Steering wheel shakes when braking
a. Refer to section 3-A, condition number 1.
4. Steering wheel becomes stiff when turned
a. Check the steering wheel free-play adjustment and reset as needed.
b. Check for a damaged steering gear assembly. Replace the steering gear and perform a
front end alignment.
c. Check for damaged or seized suspension components. Replace defective components
and perform a front end alignment.
1. Vehicle pulls to one side
a. Tire pressure uneven. Adjust tire pressure to recommended settings.
b. Tires worn unevenly. Replace tires and check alignment settings.
c. Alignment out of specification. Align front end and check thrust angle.
d. Check for a dragging brake and repair or replace as necessary.
2. Vehicle is very bouncy over bumps
a. Check for worn or leaking shock absorbers or strut assemblies and replace as neces-
sary.
b. Check for seized shock absorbers or strut assemblies and replace as necessary.
Page 396 of 408
II-14 TROUBLESHOOTING
b. Check for low voltage at the bulb socket positive terminal or a poor ground. If voltage
is low, or the ground marginal, trace the wiring to, and check for loose, damaged or
corroded wires and electrical terminals; repair as necessary.
c. Check the light switch operation and replace if necessary.
1. Interior light inoperative
a. Verify the interior light switch location and position(s), and set the switch in the cor-
rect position.
b. Check for battery voltage and ground at the interior light bulb socket. If battery voltage
and ground are present, replace the bulb. If voltage is not present, check the interior
light fuse for battery voltage. If the fuse is missing, replace the fuse. If the fuse has
blown, or if battery voltage is present, refer to the wiring diagram to troubleshoot the
cause for an open or shorted circuit. If ground is not present, check the door switch
contacts and clean or repair as necessary.
2. Interior light works intermittent/y
a. Check the bulb for a damaged filament, and replace if damaged.
b. Check the bulb and bulb socket for corrosion, and clean or replace the bulb and
socket.
c. Check for loose, damaged or corroded wires and electrical terminals; repair as neces-
sary.
d. Check the door and light switch operation, and replace if necessary.
3. Interior light very dim
a. Check the bulb and bulb socket for corrosion, and clean or replace the bulb and
socket.
b. Check for low voltage at the bulb socket positive terminal or a poor ground. If voltage
is low, or the ground marginal, trace the wiring to, and check for loose, damaged or
corroded wires and electrical terminals; repair as necessary.
c. Check the door and light switch operation, and replace if necessary.
1. One brake light inoperative
a. PressPress the brake pedal and check for battery voltage and ground at the brake light
bulb socket. If present, replace the bulb. If either battery voltage or ground is not pre-
sent, refer to the wiring diagram to troubleshoot.
2. Both brake lights inoperative
a. Press the brake pedal and check for battery voltage and grou’nd at the brake light bulb
socket. If present, replace both bulbs. If battery voltage is not present, check the brake
light switch adjustment and adjust as necessary. If the brake light switch is properly
adjusted, and battery voltage or the ground is not present at the bulb sockets, or at the
bulb electrical connector with the brake pedal pressed, refer to the wiring diagram to
troubleshoot the cause of an open circuit.
3. One or both brake lights very dim
a. Press the brake pedal and measure the voltage at the brake light bulb socket. If the
measured voltage is close to the battery voltage, check for a poor ground caused by a
loose, damaged, or corroded wire, terminal, bulb or bulb socket. If the ground is
bolted to a painted surface, it may be necessary to remove the electrical connector and
clean the mounting surface, so the connector mounts on bare metal. If battery voltage
is low, check for a poor connection caused by either a faulty brake light switch, a
loose, damaged, or corroded wire, terminal or electrical connector. Refer to the wiring
diagram to troubleshoot the cause of a voltage drop.
1. Warning light(s) stay on when the engine is started
Ignition, Battery or Alternator Warning light a. Check the alternator output and voltage regulator operation, and replace as necessary.
b. Check the warning light wiring for a shorted wire.
Check Engine Light a. Check the engine for routine maintenance and tune-up status. Note the engine tune-up
specifications and verify the spark plug, air filter and engine oil condition; replace
and/or adjust items as necessary.
b. Check the fuel tank for low fuel level, causing an intermittent lean fuel mixtur
e. Top off fuel tank and reset check engine light.
c. Check for a failed or disconnected engine fuel or ignition component, sensor or con-
trol unit and repair or replace as necessary.
d. Check the intake manifold and vacuum hoses for air leaks and repair as
necessary.
e. Check the engine’s mechanical condition for excessive oil consumption.
Anti-Lock Braking System (ABS) Light a. Check the wheel sensors and sensor rings for debris, and clean as necessary.
b. Check the brake master cylinder for fluid leakage or seal failure and replace as neces-
sary.
c, Check the ABS control unit, pump and proportioning valves for proper operation; re-
place as necessary.
d. Check the sensor wiring at the wheel sensors and the ABS control unit for a loose or
shorted wire, and repair as necessary.
brake Warning Light a. Check the brake fluid level and check for possible leakage from the hydraulic lines and
seals. Top off brake fluid and repair leakage as necessary.
b. Check the brake linings for wear and replace as necessary.
c. Check for a loose or shot-ted brake warning light sensor or wire, and replace or repair
as necessary.
Oil Pressure Warning Light a. Stop the engine immediately. Check the engine oil level and oil filter condition, and
top off or change the oil as necessary.
b. Check the oil pressure sensor wire for being shorted to ground. Disconnect the wire
from the oil pressure sensor and with the ignition in the ON position, but not running,
the oil pressure light should not be working. If the light works with the wire discon-
nected, check the sensor wire for being shorted to ground. Check the wire routing to
make sure the wire is not pinched and check for insulation damage. Repair or replace
the wire as necessary and recheck before starting the engine.
c. Remove the oil pan and check for a clogged oil pick-up tube screen.
d. Check the oil pressure sensor operation by substituting a known good sensor.
e. Check the oil filter for internal restrictions or leaks, and replace as necessary.
WARNING: If the engine is operated with oil pressure below the manufac-
turer’s specification, severe (and costly) engine damage could occur. Low
oil pressure can be caused by excessive internal wear or damage to the en-
gine bearings, oil pressure relief valve, oil pump or oil pump drive mecha-
nism.
Before starting the engine, check for possible causes of rapid oil loss, such as leaking
oil lines or a loose, damaged, restricted, or leaking oil filter or oil pressure sensor. If the
engine oil level and condition are acceptable, measure the engine’s oil pressure using a
pressure gauge, or determine the cause for the oil pressure warning light to function
when the engine is running, before operating the engine for an extended period of time.
Another symptom of operating an engine with low oil pressure is the presence of severe
knocking and tapping noises.
Parking Brake Warning Light a. Check the brake release mechanism and verify the parking brake has been fully re-
leased.
b. CheckCheck the parking brake light switch for looseness or misalignment.
c. CheckCheck for a damaged switch or a loose or shorted brake light switch wire, and
replace or repair as necessary.
2. Warning light(s) flickers on and off when driving
Ignition, Battery or Alternator Warning Light a. Check the alternator output and voltage regulator operation. An intermittent condition
may indicate worn brushes, an internal short, or a defective voltage regulator. Replace
the alternator or failed component.
b. Check the warning light wiring for a shorted, pinched or damaged wire and repair as
necessary.
Check Engine Light a. Check the engine for required maintenance and tune-up status. Verify engine tune-up
specifications, as well as spark plug, air filter and engine oil condition; replace and/or
adjust items as necessary.
b. Check the fuel tank for low fuel level causing an intermittent lean fuel mixture. Top off
fuel tank and reset check engine light.
c. Check for an intermittent failure or partially disconnected engine fuel and ignition
component, sensor or control unit; repair or replace as necessary.
d. Check the intake manifold and vacuum hoses for air leaks, and repair as necessary.
e. Check the warning light wiring for a shorted, pinched or damaged wire and repair as
necessary.
Anti-Lock Braking System (ABS) Light a. Check the wheel sensors and sensor rings for debris, and clean as necessary.
b. Check the brake master cylinder for fluid leakage or seal failure and replace as neces-
sary.
c. Check the ABS control unit, pump and proportioning valves for proper operation, and
replace as necessary.
Page 397 of 408
TROUBLESHOOTING 1145
d. Check the sensor wiring at the wheel sensors and the ABS control unit for a loose or
shorted wire and repair as necessary.
Brake Warninu Liaht a. Check the brakefluid~evel and check for possible leakage from the hydraulic lines and
seals. Top off brake fluid and repair leakage as necessary.
b. Check the brake linings for wear and replace as necessary.
c. Check for a loose or shorted brake warning light sensor or wire, and replace or repair
as necessary.
Oil Pressure Warning Light a. Stop the engine immediately. Check the engine oil level and check for a sudden and
rapid oil loss, such as a leaking oil line or oil pressure sensor, and repair or replace as
necessary.
b. Check the oil pressure sensor operation by substituting a known good sensor.
c. Check the oil pressure sensor wire for being shorted to ground. Disconnect the wire
from the oil pressure sensor and with the ignition in the ON position, but not running,
the oil pressure light should not be working. If the light works with the wire discon-
nected, check the sensor wire for being shorted to ground. Check the wire routing to
make sure the wire is not pinched and check for insulation damage. Repair or replace
the wire as necessary and recheck before starting the engine.
d. Remove the oil pan and check for a clogged oil pick-up tube screen.
Parking Brake Warning Light a. Check the brake release mechanism and verify the parking brake has been fully re-
leased.
b. Check the parking brake light switch for looseness or misalignment.
c. Check for a damaged switch or a loose or shorted brake light switch wire, and replace
or repair as necessary.
3. Warning li#ht(s) inoperative with iflnition on,
and engine not started
a. Check for a defective bulb by installing a known good bulb.
b. Check for a defective wire using the appropriate wiring diagram(s).
c. Check for a defective sending unit by removing and then grounding the wire at the
sending unit. If the light comes on with the ignition on when grounding the wire, re-
place the sending unit.
1. Turn siflnais or hazard iiflhts come on, but do not flash
a. Check for a defective flasher unit and replace as necessary.
2. Turn signals or hazard iiflhts do not function on either side
a. Check the fuse and replace, if defective.
b. Check the flasher unit by substituting a known good flasher unit.
c. Check the turn signal electrical system for a defective component, open circuit, short
circuit or poor ground.
3. Turn siflnais or hazard lights only work on one side
a. Check for failed bulbs and replace as necessary.
b. Check for poor grounds in both housings and repair as necessary.
4. One siflnai light does not work
a. Check for a failed bulb and replace as necessary.
b. Check for corrosion in the bulb socket, and clean and repair as necessary.
c. Check for a poor ground at the bulb socket, and clean and repair as necessary.
5. Turn signals flash too slowly
a. Check signal bulb(s) wattage and replace with lower wattage bulb(s). 6. Turn signals flash too fast
a, Check signal bulb(s) wattage and replace with higher wattage bulb(s).
b. Check for installation of the correct flasher unit and replace if incorrect.
7. Four-way hazard flasher indicator iiflhi inoperative
a. Verify that the exterior lights are functioning and, if so, replace indicator bulb.
b. Check the operation of the warning flasher switch and replace if defective.
0. Turn signal indicator ii#ht(s) do not work in either direction
a. Verify that the exterior lights are functioning and, if so, replace indicator bulb(s).
b. Check for a defective flasher unit by substituting a known good unit.
9. One turn signal indicator liflht does not work
a. Check for a defective bulb and replace as necessary.
b. Check for a defective flasher unit by substituting a known good unit.
1. Horn does not operate
a. Check for a defective fuse and replace as necessary.
b. Check for battery voltage and ground at horn electrical connections when pressing the
horn switch. If voltage is present, replace the horn assembly. If voltage or ground is
not present, refer to Chassis Electrical coverage for additional troubleshooting tech-
niques and circuit information.
2. Horn has an unusual tone
a. On single horn systems, replace the horn.
b. On dual horn systems, check the operation of the second horn. Dual horn systems
have a high and low pitched horn. Unplug one horn at a time and recheck operation.
Replace the horn which does not function.
c. Check for debris or condensation build-up in horn and verify the horn positioning. If
the horn has a single opening, adjust the opening downward to allow for adequate
drainage and to prevent debris build-up.
1. Windshield wipers do not operate
a. Check fuse and replace as necessary.
b. Check switch operation and repair or replace as necessary.
c. Check for corroded, loose, disconnected or broken wires and clean or repair as neces-
sary.
d. Check the ground circuit for the wiper switch or motor and repair as necessary.
2. Windshield wiper motor makes a humming noise, gets hot or blows
fuses
a. Wiper motor damaged internally; replace the wiper motor.
b. Wiper linkage bent, damaged or seized. Repair or replace wiper linkage as necessary.
3. Windshield wiper motor operates, but one or both wipers fail to move
a. Windshield wiper motor linkage loose or disconnected. Repair or replace linkage as
necessary.
b. Windshield wiper arms loose on wiper pivots. Secure wiper arm to pivot or replace
both the wiper arm and pivot assembly.
4. Windshield wipers will not park
a. Check the wiper switch operation and verify that the switch properly interrupts the
power supplied to the wiper motor.
b. If the wiper switch is functioning properly, the wiper motor parking circuit has failed.
Replace the wiper motor assembly. Operate the wiper motor at least one time before
installing the arms and blades to ensure correct positioning, then recheck using the
highest wiper speed on a wet windshield to make sure the arms and blades do not
contact the windshield trim.
1. Speedometer does not work to minimize sharp bends or kinks.
If the sheathing has been
damaged, replace the ca-
a. Check and verify that the speedometer cable is properly seated into the speedometer ble assembly.
assembly and the speedometer drive gear. b. Check the speedometer cable for adequate lubrication. Remove the cable, inspect for
b. Check the speedometer cable for breakage or rounded-off cable ends where the cable damage, clean, lubricate and reinstall. If the cable has been damaged, replace the ca-
seats into the speedometer drive gear and into the speedometer assembly. If damaged, ble.
broken or the cable ends are rounded off, replace the cable.
c. Check speedometer drive gear condition and replace as necessary. 3. Speedometer works intermittently
d. Install a known good speedometer to test for proper operation. If the substituted a. Check the cable and verify that the cable is fully installed and the fasteners are secure.
speedometer functions properly, replace the speedometer assembly. b. Check the cable ends for wear and rounding, and replace as necessary.
Page 398 of 408
II-16 TROUBLESHOOTING
c. Gauge sending unit defective. Replace gauge sending unit.
d. Gauge or sending unit improperly installed. Verify installation and wiring, and repair
1. Speedometer does not work
a. Check the speed sensor pickup and replace as necessary.
b. Check the wiring between the speed sensor and the speedometer for corroded termi-
nals, loose connections or broken wires and clean or repair as necessary.
c. Install a known good speedometer to test for proper operation. If the substituted
speedometer functions properly, replace the speedometer assembly.
2. Speedometer works intermittently
a. Check the wiring between the speed sensor and the speedometer for corroded termi-
nals, loose connections or broken wires and clean or repair as necessary.
b. Check the speed sensor pickup and replace as necessary. as necessary.
2. Gauge operates enatica//y
a. Checkfor ioose, shorted, damaged or corroded electrical connections or wiring and
repair as necessary.
b. Check gauge sending units and replace as necessary.
3. Gauge operates fully pegged
a. Sending unit-to-gauge wire shorted to ground.
b. Sending unit defective; replace sending unit.
c. Gauge or sending unit not properly grounded.
d. Gauge or sending unit improperly installed. Verify installation and wiring, and repair
as necessary.
I. Gauge does not register
a. Check for a missing or blown fuse and replace as necessary.
b. Check for an open circuit in the gauge wiring. Repair wiring as necessary.
I. No air coming from air conditioner vents
a. Check the air conditioner fuse and replace as necessary.
b. Air conditioner system discharged. Have the system evacuated, charged and leak
tested by an MVAC certified technician, utilizing approved recovery/recycling equip-
ment. Repair as necessary.
c. Air conditioner low pressure switch defective. Replace switch.
d. Air conditioner fan resistor pack defective. Replace resistor pack.
e. Loose connection, broken wiring or defective air conditioner relay in air conditioning*
electrical circuit. Repair wiring or replace relay as necessary.
2. Air conditioner blows warm air
a. Air conditioner system is discharged. Have the system evacuated, charged and leak
tested by an MVAC certified technician, utilizing approved recovery/recycling equip-
ment. Repair as necessary.
b. Air conditioner compressor clutch not engaging. Check compressor clutch wiring,
electrical connections and compressor clutch, and repair or replace as necessary.
3. Water collects on the interior floor when the air conditioner is used
a. Air conditioner evaporator drain hose is blocked. Clear the drain hose where it exits
the passenger compartment.
b. Air conditioner evaporator drain hose is disconnected. Secure the drain hose to the
evaporator drainage tray under the dashboard.
4. Air conditioner has a moldy odor when used
a. The air conditioner evaporator drain hose is blocked or partially restricted, allowing
condensation to build up around the evaporator and drainage tray. Clear the drain
hose where it exits the passenger compartment.
,
1. Blower motor does not operate
a. Check blower motor fuse and replace as necessary.
b. Check blower motor wiring for loose, damaged or corroded contacts and repair as
necessary.
c. Check blower motor switch and resistor pack for open circuits, and repair or replace
as necessary.
d. Check blower motor for internal damage and repair or replace as necessary.
2. Heater blows cool air
a. Check the engine coolant level. If the coolant level is low, top off and bleed the air
from the cooling system as necessary and check for coolant leaks.
b. Check engine coolant operating temperature. If coolant temperature is below specifica-
tion, check for a damaged or stuck thermostat.
c. Check the heater control valve operation. Check the heater control valve cable or vac-
uum hose for proper installation. Move the heater temperature control from hot to cold
several times and verify the operation of the heater control valve. With the engine at
normal operating temperature and the heater temperature control in the full hot posi-
tion, carefully feel the heater hose going into and exiting the control valve. If one
heater hose is hot and the other is much cooler, replace the control valve.
3. Heater steams the windshield when used
a. Check for a loose cooling system hose clamp or leaking coolant hose near the engine
firewall or under the dash area, and repair as necessary.
b. Check for the existence of a sweet odor and fluid dripping from the heater floor vents,
indicating a failed or damaged heater core. Pressure test the cooling system with the
heater set to the fully warm position and check for fluid leakage from the floor vents. If
leakage is verified, remove and replace the heater core assembly.
NOTE: On some vehicles, the dashboard must be disassembled and re-
moved to access the heater core.
Page 399 of 408
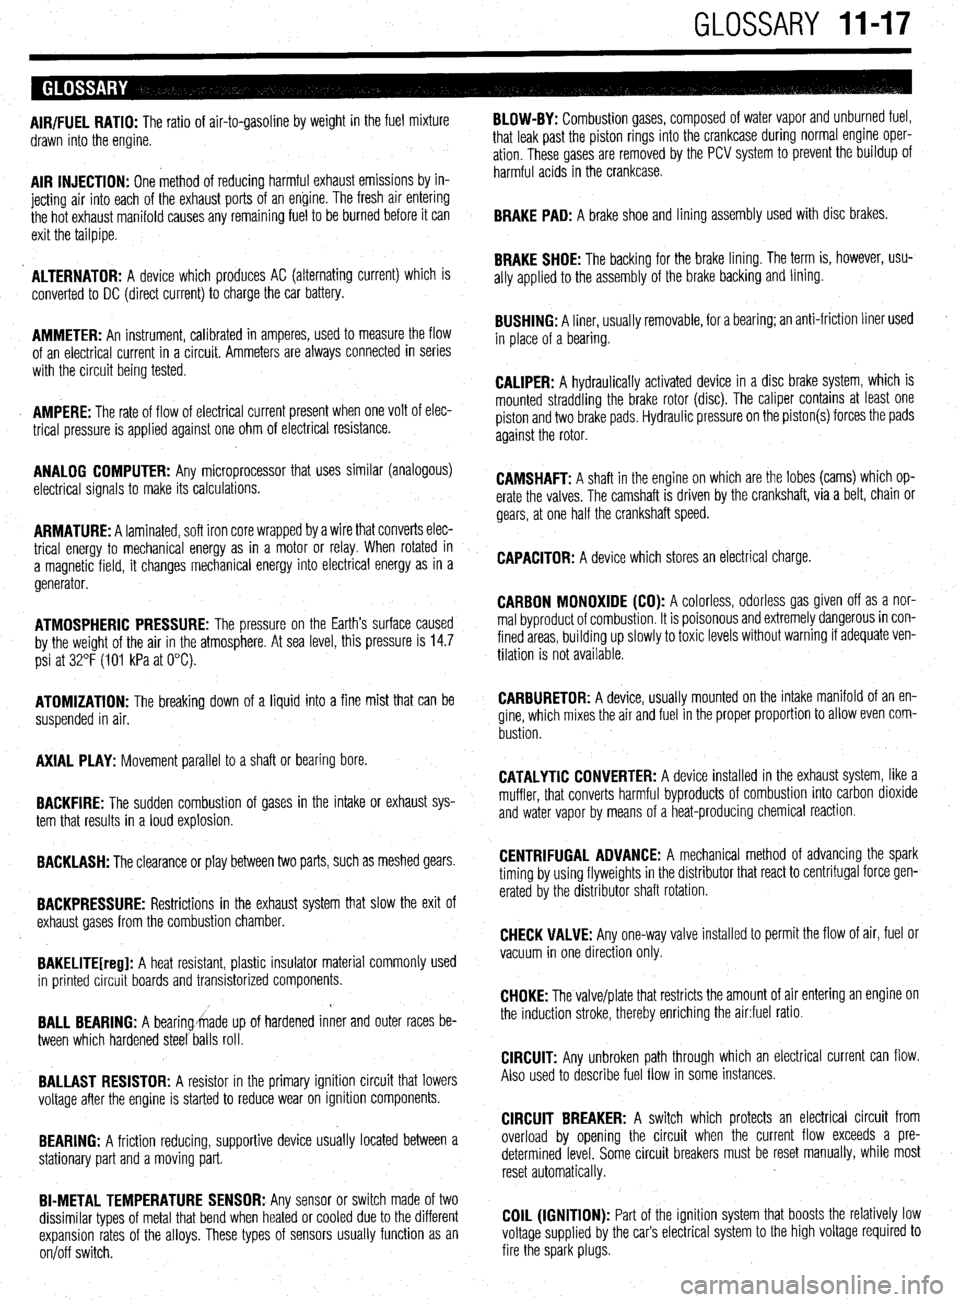
GLOSSARY 11-17
AIR/FUEL RATIO: The ratio of air-to-gasoline by weight in the fuel mixture
drawn into the engine.
AIR INJECTION: One method of reducing harmful exhaust emissions by in-
jecting air into each of the exhaust ports of an engine. The fresh air entering
the hot exhaust manifold causes any remaining fuel to be burned before it can
exit the tailpipe.
ALTERNATOR: A device which produces AC (alternating current) which is
converted to DC (direct current) to charge the car battery.
AMMETER: An instrument, calibrated in amperes, used to measure the flow
of an electrical current in a circuit. Ammeters are always connected in series
with the circuit being tested.
AMPERE: The rate of flow of electrical current present when one volt of elec-
trical pressure is applied against one ohm of electrical resistance.
ANALOG COMPUTER: Any microprocessor that uses similar (analogous)
electrical signals to make its calculations.
ARMATURE: A laminated, soft iron core wrapped by a wire that converts elec-
trical energy to mechanical energy as in a motor or relay. When rotated in
a magnetic field, it changes mechanical energy into electrical energy as in a
generator.
ATMOSPHERIC PRESSURE: The pressure on the Earth’s surface caused
by the weight of the air in the atmosphere. At sea level, this pressure is 14.7
psi at 32°F (101 kPa at OOC).
ATOMIZATION: The breaking down of a liquid into a fine mist that can be
suspended in air.
AXIAL PLAY: Movement parallel to a shaft or bearing bore.
BACKFIRE: The sudden combustion of gases in the intake or exhaust sys-
tem that results in a loud explosion.
BACKLASH: The clearance or play between two parts, such as meshed gears.
BACKPRESSURE: Restrictions in the exhaust system that slow the exit of
exhaust gases from the combustion chamber.
BAKELITE[reg]: A heat resistant, plastic insulator material commonly used
in printed circuit boards and transistorized components.
BALL BEARING: A bearingmade up of hardened inner and outer races be-
tween which hardened steel’balls roll.
BALLAST RESISTOR: A resistor in the primary ignition circuit that lowers
voltage after the engine is started to reduce wear on ignition components.
BEARING: A friction reducing, supportive device usually located between a
stationary part and a moving part.
BI-METAL TEMPERATURE SENSOR: Anv sensor or switch made of two
dissimilar types of metal that bend when heated or cooled due to the different
expansion rates of the alloys. These types of sensors usually function as an
on/off switch. BLOW-BY: Combustion gases, composed of water vapor and unburned fuel,
that leak past the piston rings into the crankcase during normal engine oper-
ation. These gases are removed by the PCV system to prevent the buildup of
harmful acids in the crankcase.
BRAKE PAD: A brake shoe and lining assembly used with disc brakes.
BRAKE SHOE: The backing for the brake lining. The term is, however, usu-
ally applied to the assembly of the brake backing and lining.
BUSHING: A liner, usually removable, for a bearing; an anti-friction liner used
in place of a bearing.
CALIPER: A hydraulically activated device in a disc brake system, which is
mounted straddling the brake rotor (disc). The caliper contains at least one
piston and two brake pads. Hydraulic pressure on the piston(s) forces the pads
against the rotor.
CAMSHAFT: A shaft in the engine on which are the lobes (cams) which op-
erate the valves. The camshaft is driven by the crankshaft, via a belt, chain or
gears, at one half the crankshaft speed.
CAPACITOR: A device which stores an electrical charge.
CARBON MONOXIDE (CO): A colorless, odorless gas given off as a nor-
mal byproduct of combustion. It is poisonous and extremely dangerous in con-
fined areas, building up slowly to toxic levels without warning if adequate ven-
tilation is not available.
CARBURETOR: A device, usually mounted on the intake manifold of an en-
gine, which mixes the air and fuel in the proper proportion to allow even com-
bustion
CATALYTIC CONVERTER: A device installed in the exhaust system, like a
muffler, that converts harmful byproducts of combustion into carbon dioxide
and water vapor by means of a heat-producing chemical reaction.
CENTRIFUGAL ADVANCE: A mechanical method of advancing the spark
timing by using flyweights in the distributor that react to centrifugal force gen-
erated by the distributor shaft rotation.
CHECK VALVE: Any one-way valve installed to permit the flow of air, fuel or
vacuum in one direction only.
CHOKE: The valve/plate that restricts the amount of air entering an engine on
the induction stroke, thereby enriching the air:fuel ratio.
CIRCUIT: Any unbroken path through which an electrical current can flow.
Also used to describe fuel flow in some instances.
CIRCUIT BREAKER: A switch which protects an electrical circuit from
overload by opening the circuit when the current flow exceeds a pre-
determined level. Some circuit breakers must be reset manually, while most
reset automatically.
COIL (IGNITION): Part of the ignition system that boosts the relatively low
voltage supplied by the car’s electrical system to the high voltage required to
fire the spark plugs.
Page 400 of 408
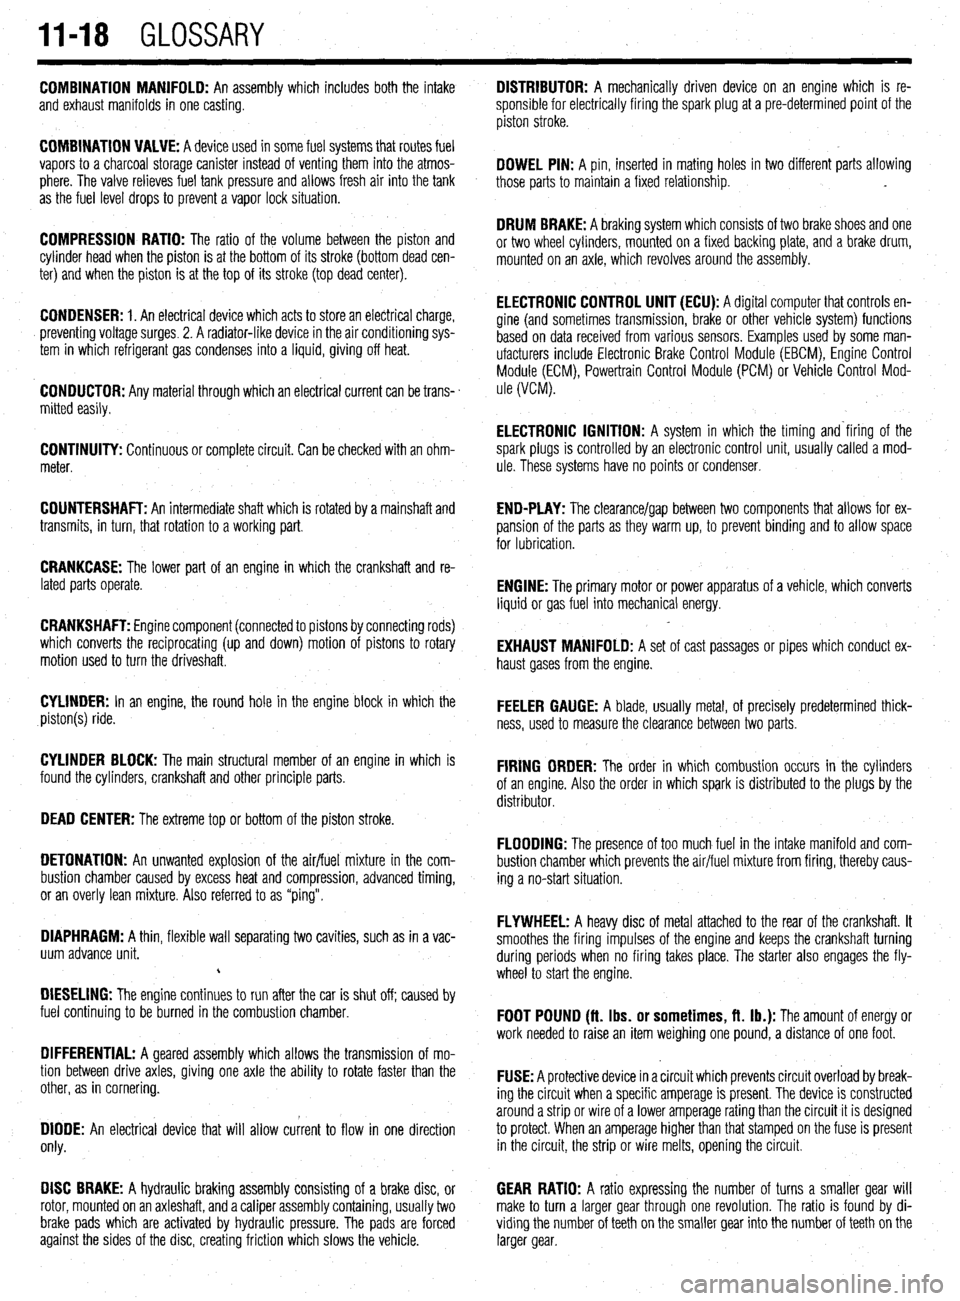
11-18 GLOSSARY
COMBINATION MANIFOLD: An assembly which includes both the intake
and exhaust manifolds in one casting.
COMBINATION VALVE: A device used in some fuel systems that routes fuel
vapors to a charcoal storage canister instead of venting them into the atmos-
phere. The valve relieves fuel tank pressure
and allows fresh air into the tank
as the fuel level drops to prevent a vapor lock situation.
COMPRESSION RATIO: The ratio of the volume between the piston and
cylinder head when the piston is at the bottom of its stroke (bottom dead cen-
ter) and when the piston is at the top of its stroke (top dead center).
CONDENSER: 1. An electrical device which acts to store an electrical charge,
preventing voltage surges. 2. A radiator-like device in the air conditioning sys-
tem in which refrigerant gas condenses into a liquid, giving off heat.
CONDUCTOR: Any material through which an electrical current can be trans-
mitted easily.
CONTINUITY: Continuous or complete circuit. Can be checked with an ohm-
meter.
COUNTERSHAFT: An intermediate shaft which is rotated by a mainshaft and
transmits, in turn, that rotation to a working part.
CRANKCASE: The lower part of an engine in which the crankshaft and re-
lated parts operate.
CRANKSHAFT: Engine component (connected to pistons by connecting rods)
which converts the reciprocating (up and down) motion of pistons to rotary
motion used to turn the driveshaft.
CYLINDER: In an engine, the round hole in the engine block in which the
piston(s) ride.
CYLINDER BLOCK: The main structural member of an engine in which is
found the cylinders, crankshaft and other principle parts.
DEAD CENTER: The extreme top or bottom of the piston stroke.
DETONATION: An unwanted explosion of the air/fuel mixture in the com-
bustion chamber caused by excess heat and compression, advanced timing,
or an overly lean mixture. Also referred to as “ping”.
DIAPHRAGM: A thin, flexible wall separating two cavities, such as in a vac-
uum advance unit.
c
DIESELING: The engine continues to run after the car is shut off; caused by
fuel continuing to be burned in the combustion chamber.
DIFFERENTIAL: A geared assembly which allows the transmission of mo-
tion between drive axles, giving one axle the ability to rotate faster than the
other, as in cornering.
DIODE: An electrical device that will allow current to flow in one direction
only.
DISC BRAKE: A hydraulic braking assembly consisting of a brake disc, or
rotor, mounted on an axleshaft, anda caliper assembly containing, usually two GEAR RATIO: A ratio expressing the number of turns a smaller gear will
make to turn a larger gear through one revolution. The ratio is found by di-
brake pads which are activated by hydraulic pressure. The pads are forced viding the number of teeth on the smaller gear into the number of teeth on the
against the sides of the disc, creating friction which slows the vehicle. larger gear. DISTRIBUTOR: A mechanically driven device on an engine which is re-
sponsible for electrically firing the spark plug at a pre-determined point of the
piston stroke.
DOWEL PIN: A pin, inserted in mating holes in two different parts allowing
those parts to maintain a fixed relationship. .
DRUM BRAKE: A braking system which consists of two brake shoes and one
or two wheel cylinders, mounted on a fixed backing plate, and a brake drum,
mounted on an axle, which revolves around the assembly.
ELECTRONIC CONTROL UNIT (ECU): A diqital computer that controls en-
gine (and sometimes transmission‘, brake or other vehicle system) functions
based on data received from various sensors. Examples used by some man-
ufacturers include Electronic Brake Control Module (EBCM), Engine Control
Module (ECM), Powertrain Control Module (PCM) or Vehicle Control Mod-
ule (VCM).
ELECTRONIC IGNITION: A system in which the timing and‘firing of the
spark plugs is controlled by an electronic control unit, usually called a mod-
ule. These systems have no points or condenser,
END-PLAY: The clearance/gap between two components that allows for ex-
pansion of the parts as they warm up, to prevent binding and to allow space
for lubrication.
ENGINE: The primary motor or power apparatus of a vehicle, which converts
liquid or gas fuel into mechanical energy.
EXHAUST MANIFOLD: A set of cast passages or pipes which conduct ex-
haust gases from the engine.
FEELER GAUGE: A blade, usually metal, of precisely predetermined thick-
ness, used to measure the clearance between two parts.
FIRING ORDER: The order in which combustion occurs in the cylinders
of an engine. Also the order in which spark is distributed to the plugs by the
distributor.
FLOODING: The presence of too much fuel in the intake manifold and com-
bustion chamber which prevents the air/fuel mixture from firing, thereby caus-
ing a no-start situation.
FLYWHEEL: A heavy disc of metal attached to the rear of the crankshaft. It
smoothes the firing impulses of the engine and keeps the crankshaft turning
during periods when no firing takes place. The starter also engages the fly-
wheel to start the engine.
FOOT POUND (ft. Ibs. or sometimes, ft. lb.): The amount of energy or
work needed to raise an item weighing one pound, a distance of one foot.
FUSE: A protective device in a circuit which prevents circuit overload by break-
ing the circuit when a specific amperage is present. The device is constructed
around a strip or wire of a lower amperage rating than the circuit it is designed
to protect. When an amperage higher than that stamped on the fuse is present
in the circuit, the strip or wire melts, opening the circuit.
Page 404 of 408
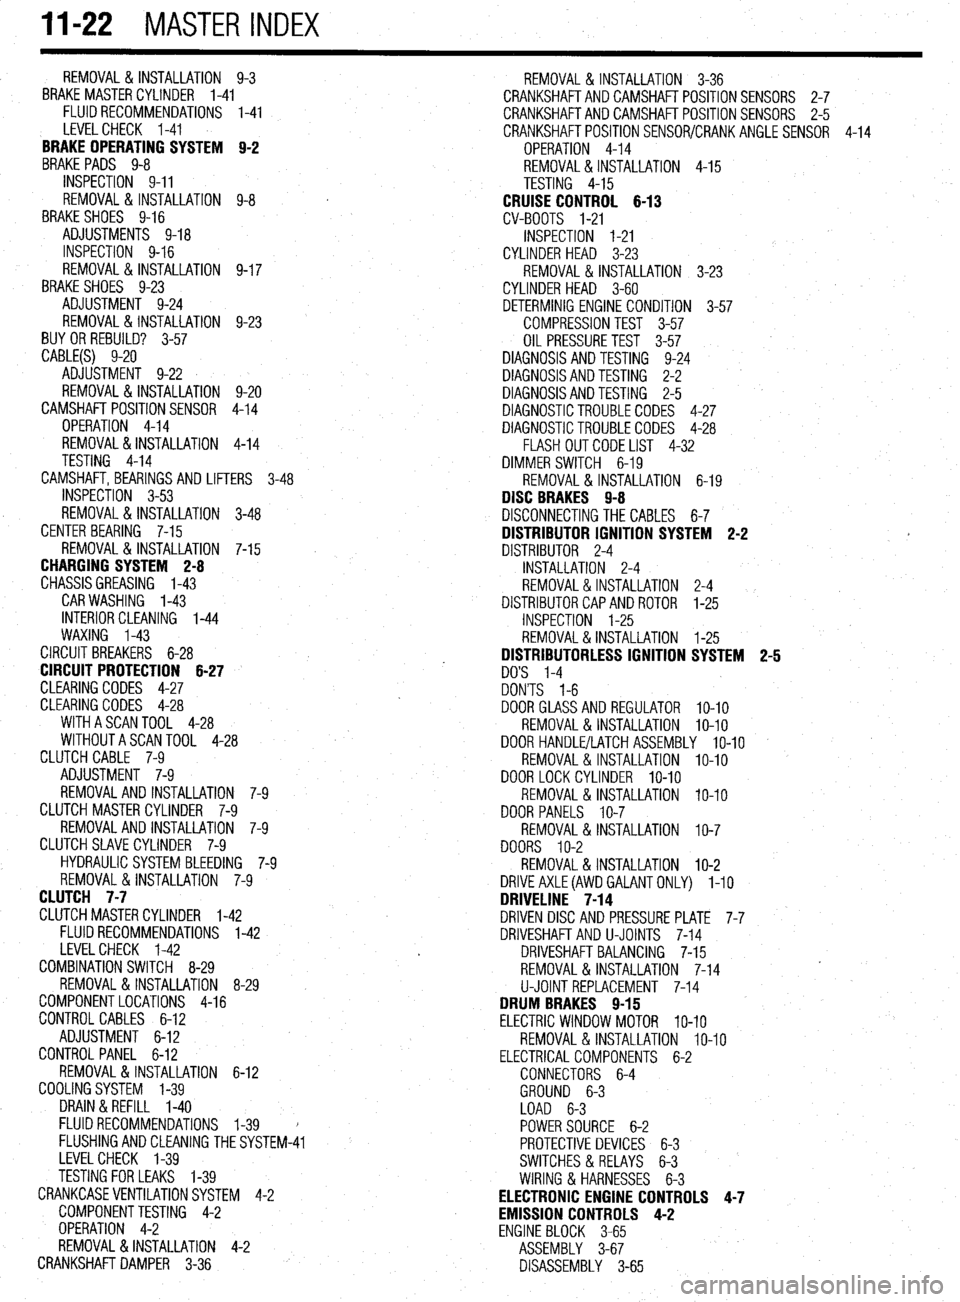
11-22 MASTER INDEX
REMOVAL&INSTALLATION 9-3
BRAKE MASTERCYLINDER I-41
FLUIDRECOMMENDATIONS 1-41
LEVELCHECK I-41
BRAKE OPERATING SYSTEM B-2
BRAKEPADS 9-8
INSPECTION 9-11
REMOVAL & INSTALLATION 9-8
'
BRAKESHOES 9-16
ADJUSTMENTS 9-18
INSPECTION 9-16
REMOVAL&INSTALLATION 9-17
BRAKESHOES 9-23
ADJUSTMENT 9-24
REMOVAL & INSTALLATION 9-23
BUY OR REBUILD? 3-57
CABLE(S) 9-20
ADJUSTMENT 9-22
REMOVAL & INSTALLATION 9-20
CAMSHAFT POSITIONSENSOR 4-14
OPERATION 4-14
REMOVAL &INSTALLATION 4-14
TESTING 4-14
CAMSHAFT, BEARINGSAND LIFTERS 3-48
INSPECTION 3-53
REMOVAL & INSTALLATION 3-48
CENTERBEARING 7-15
REMOVAL & INSTALLATION 7-15
CHARGING SYSTEM 2-8
CHASSISGREASING l-43
CAR WASHING 1-43
INTERIOR CLEANING l-44
WAXING l-43
CIRCUIT BREAKERS 6-28
CIRCUIT PROTECTION 6-27
CLEARING CODES 4-27
CLEARING CODES 4-28
WITHASCANTOOL 4-28
WITHOUTASCANTOOL 4-28
CLUTCH CABLE 7-9
ADJUSTMENT 7-9
REMOVAL AND INSTALLATION 7-9
CLUTCH MASTER CYLINDER 7-9
REMOVALANDINSTALLATION 7-9
CLUTCHSLAVECYLINDER 7-9
HYDRAULIC SYSTEM BLEEDING 7-9
REMOVAL &INSTALLATION 7-9
CLUTCH 7-7
CLUTCHMASTERCYLINDER l-42
FLUIDRECOMMENDATIONS l-42
LEVELCHECK l-42
COMBINATION SWITCH 8-29
REMOVAL &INSTALLATION 8-29
COMPONENTLOCATIONS 4-16
CONTROL CABLES 6-12
ADJUSTMENT 6-12
CONTROL PANEL 6-12
REMOVAL&INSTALLATION 6-12
COOLINGSYSTEM l-39
DRAIN &REFILL I-40
FLUIDRECOMMENDATIONS l-39
FLUSHINGANDCLEANING THESYST
EM-41
LEVELCHECK l-39
TESTING FOR LEAKS l-39
CRANKCASEVENTILATIONSYSTEM 4-2
COMPONENTTESTING 4-2
OPERATION 4-2
REMOVAL &INSTALLATION 4-2
CRANKSHAFTDAMPER 3-36 REMOVAL &INSTALLATION 3-36
CRANKSHAFTANDCAMSHAFTPOSITIONSENSORS 2-7
CRANKSHAFTANDCAMSHAFTPOSITIONSENSORS 2-5
CRANKSHAFTPOSlTlONSENSOR/CRANKANGLESENSOR 4-14
OPERATION 4-14
REMOVAL&INSTALLATION 4-15
TESTING 4-15
CRUISE CONTROL 6-13
CV-BOOTS I-21
INSPECTION I-21
CYLINDER HEAD 3-23
REMOVAL & INSTALLATION 3-23
CYLINDER HEAD 3-60
DETERMINIG ENGINE CONDITION 3-57
COMPRESSION TEST 3-57
OIL PRESSURETEST 3-57
DIAGNOSIS AND TESTING 9-24
DIAGNOSISANDTESTING 2-2
DIAGNOSISANDTESTING 2-5
DIAGNOSTICTROUBLECODES 4-27
DIAGNOSTICTROUBLECODES 4-28
FLASH OUTCODELIST 4-32
DIMMER SWITCH 6-19
REMOVAL &INSTALLATION 6-19
DISC BRAKES 9-8
DISCONNECTING THE CABLES 6-7
DISTRIBUTOR IGNITION SYSTEM 2-2 f
DISTRIBUTOR 2-4
INSTALLATION 2-4
REMOVAL&INSTALLATION 2-4
DISTRIBUTORCAPANDROTOR l-25
INSPECTION l-25
REMOVAL&INSTALLATION l-25
DISTRIBUTORLESS IGNITION SYSTEM 2-5
DO'S l-4
DON'TS l-6
DOORGLASSANDREGULATOR lo-10
REMOVAL &INSTALLATION IO-IO
DOOR HANDLE/LATCHASSEMBLY IO-IO
REMOVAL & INSTALLATION IO-IO
DOORLOCKCYLINDER IO-IO
REMOVAL & INSTALLATION IO-IO
DOOR PANELS IO-7
REMOVAL & INSTALLATION IO-7
DOORS IO-2
REMOVAL &INSTALLATION IO-2
DRlVEAXLE(AWD GALANTONLY) l-10
DRIVELINE 7-14
DRIVEN DISC AND PRESSURE PLATE 7-7
DRIVESHAFTAND U-JOINTS 7-14
DRIVESHAFT BALANCING 7-15
REMOVAL & INSTALLATION 7-14
U-JOINTREPLACEMENT 7-14
DRUM BRAKES 9-15
ELECTRIC WINDOW MOTOR IO-IO
REMOVAL &INSTALLATION IO-IO
ELECTRICALCOMPONENTS 6-2
CONNECTORS 6-4
GROUND 6-3
LOAD 6-3
POWERSOURCE 6-2
PROTECTIVE DEVICES 6-3
SWITCHES&RELAYS 6-3
WIRING & HARNESSES 6-3
ELECTRONIC ENGINE CONTROLS 4-7
EMISSION CONTROLS 4-2
ENGINE BLOCK 3-65
ASSEMBLY 3-67
DISASSEMBLY 3-65
Page 405 of 408
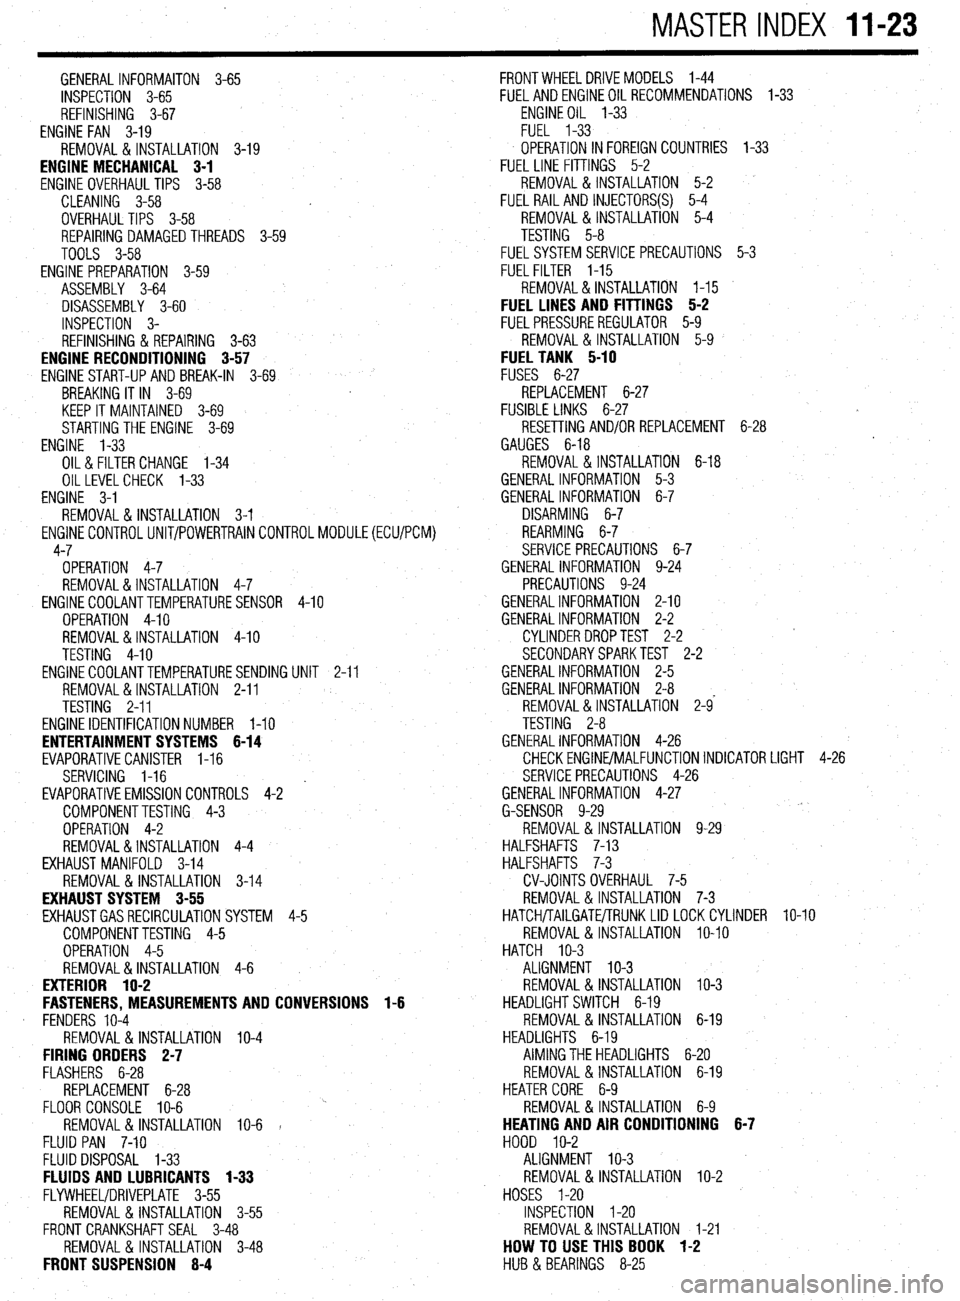
MASTER INDEX 11-23
GENERALINFORMAITON 3-65
INSPECTION 3-65
REFINISHING 3-67
ENGINE FAN 3-19
REMOVAL & INSTALLATION 3-19
ENGINE MECHANICAL 3-1
ENGINE OVERHAUL TIPS 3-58
CLEANING 3-58
OVERHAUL TIPS 3-58
REPAIRING DAMAGEDTHREADS 3-59
TOOLS 3-58
ENGINE PREPARATION 3-59
ASSEMBLY 3-64
DISASSEMBLY 3-60
INSPECTION 3-
REFINISHING & REPAIRING 3-63
ENGINE RECONDITIONING 3-57
ENGINE START-UP AND BREAK-IN
3-69
BREAKING IT IN 3-69
KEEP IT MAINTAINED 3-69
STARTING THE ENGINE 3-69
ENGINE 'l-33
OIL& FILTER CHANGE 1-34
OILLEVELCHECK 1-33
ENGINE 3-1
REMOVAL&INSTALLATION 3-l
ENGlNECONTROLUNIT/POWERTRAINCONTROLMODULE(ECU/PCM)
4-7
OPERATION 4-7
REMOVAL&INSTALLATION 4-7
ENGINECOOLANTTEMPERATURESENSOR
4-10
OPERATION 4-10
REMOVAL&INSTALLATION 4-10
TESTING 4-10
ENGINECOOLANTTEMPERATURESENDING
UNIT 2-11
REMOVAL&INSTALLATION 2-11
TESTING 2-11
ENGINE IDENTIFICATION NUMBER l-10
ENTERTAINMENT SYSTEMS 6-14
EVAPORATIVECANISTER I-16
SERVICING 1-16
' EVAPORATIVEEMISSIONCONTROLS 4-2
COMPONENTTESTING 4-3
OPERATION 4-2
REMOVAL&INSTALLATION 4-4
EXHAUST MANIFOLD 3-14
REMOVAL & INSTALLATION 3-14
EXHAUST SYSTEM 3-55
EXHAUSTGASRECIRCULATION SYSTEM
4-5
COMPONENTTESTING 4-5
OPERATION 4-5
REMOVAL&INSTALLATION 4-6
EXTERIOR 1 O-2
FASTENERS, MEASUREMENTS AND CONVERSIONS 1-6
. FENDERS 10-4
REMOVAL &INSTALLATION IO-4
FIRING ORDERS 2-7
FLASHERS 6-28
REPLACEMENT 6-28
FLOOR CONSOLE IO-6
REMOVAL& INSTALLATION IO-6 1
FLUID PAN 7-10
FLUID DISPOSAL 1-33
FLUIDS AND LUBRICANTS 1-33
FLYWHEEVDRIVEPLATE 3-55
REMOVAL & INSTALLATION 3-55
FRONT CRANKSHAFT SEAL 3-48
REMOVAL & INSTALLATION 3-48
FRONT SUSPENSION 8-4 FRONTWHEELDRIVEMODELS 1-44
FUELANDENGINEOILRECOMMENDATIONS 1-33
ENGINEOIL l-33
FUEL 1-33
OPERATION IN FOREIGN COUNTRIES
1-33
FUEL LINE FITTINGS 5-2
REMOVAL&INSTALLATION 5-2
FUEL RAIL AND INJECTORS(S)
5-4
REMOVAL &INSTALLATION 5-4
TESTING 5-8
FUELSYSTEM SERVICE PRECAUTIONS 5-3
FUELFILTER 1-15
REMOVAL&INSTALLATION l-15
FUEL LINES AND FITTINGS 5-2
FUELPRESSUREREGULATOR 5-9
REMOVAL & INSTALLATION 5-9
FUEL TANK 5-10
FUSES 6-27
REPLACEMENT 6-27
FUSIBLE LINKS 6-27 #
RESETTING AND/OR REPLACEMENT 6-28
GAUGES 6-18
REMOVAL & INSTALLATION 6-18
GENERAL INFORMATION 5-3
GENERAL INFORMATION 6-7
DISARMING 6-7
REARMING 6-7
SERVICE PRECAUTIONS 6-7
GENERAL INFORMATION 9-24
PRECAUTIONS 9-24
GENERALINFORMATION 2-10
GENERALINFORMATION 2-2
CYLINDER DROPTEST 2-2
SECONDARYSPARKTEST 2-2
GENERALINFORMATION 2-5
GENERALINFORMATION 2-8
REMOVAL &INSTALLATION 2-9'
TESTING 2-8
GENERALINFORMATION 4-26
CHECKENGlNE/MALFUNCTlONlNDlCATOR LIGHT 4-26
SERVICE PRECAUTIONS 4-26
GENERALINFORMATION 4-27
G-SENSOR 9-29
REMOVAL &INSTALLATION 9-29
HALFSHAFTS 7-13
HALFSHAFTS 7-3
CV-JOINTS OVERHAUL 7-5
REMOVAL&INSTALLATION 7-3
HATCH/TAILGATE/TRUNKLID LOCKCYLINDER lo-10
REMOVAL & INSTALLATION IO-IO
HATCH IO-3
ALIGNMENT IO-3
REMOVAL & INSTALLATION IO-3
HEADLIGHT SWITCH 6-19
REMOVAL 81 INSTALLATION 6-19
HEADLIGHTS 6-19
AIMING THE HEADLIGHTS 6-20
REMOVAL& INSTALLATION 6-19
HEATER CORE 6-9
REMOVAL&INSTALLATION 6-9
HEATING AND AIR CONDITIONING 6-7
HOOD IO-2
ALIGNMENT IO-3
REMOVAL & INSTALLATION IO-2
HOSES I-20
INSPECTION I-20
REMOVAL&INSTALLATION I-21
HOW TO USE THIS BOOK 1-2
HUB & BEARINGS 8-25