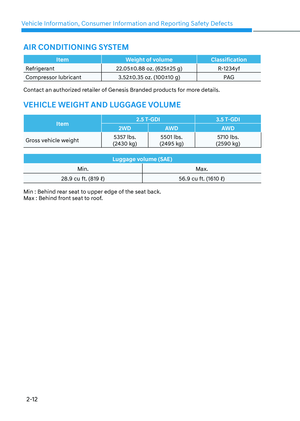
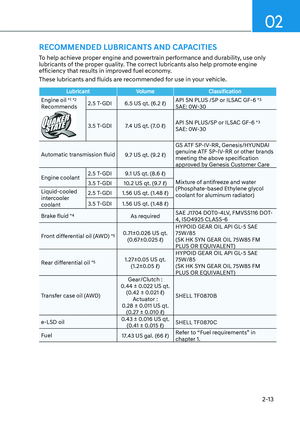
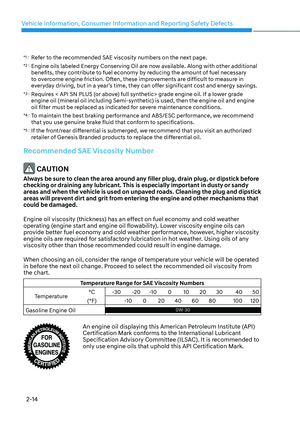
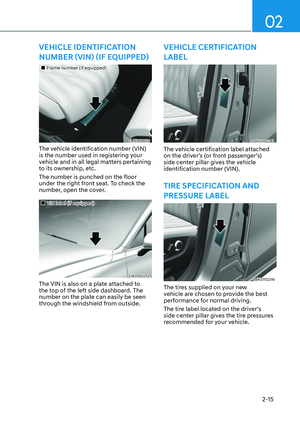
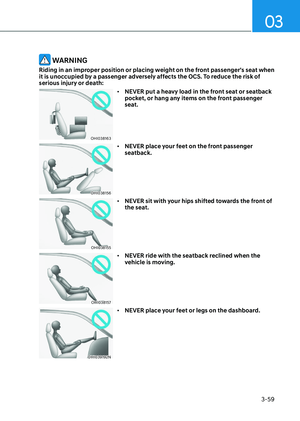
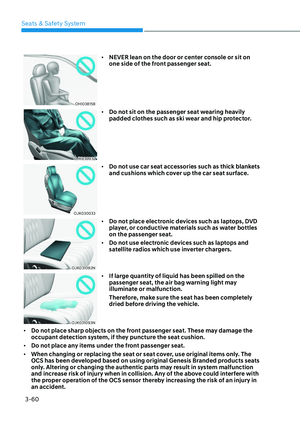
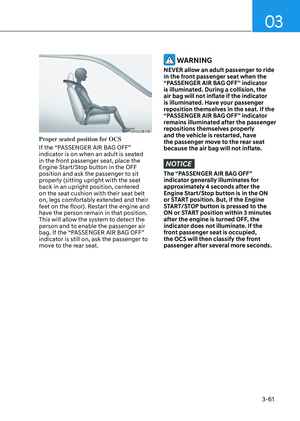
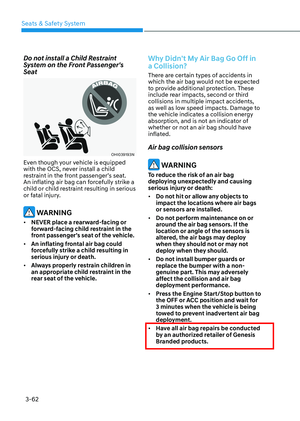
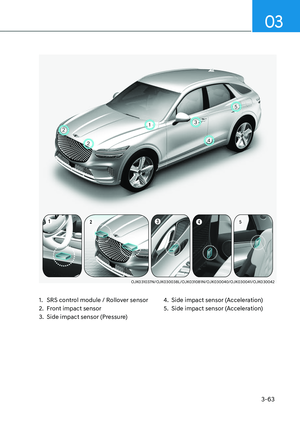
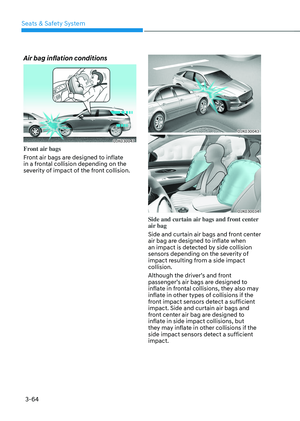
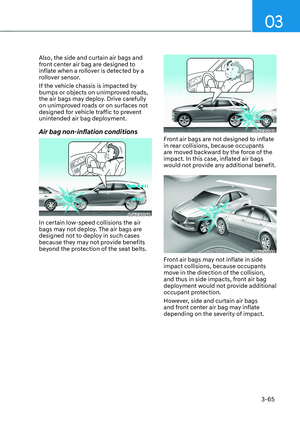
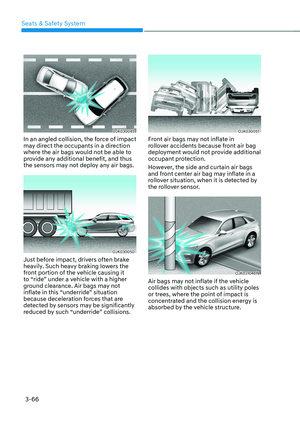
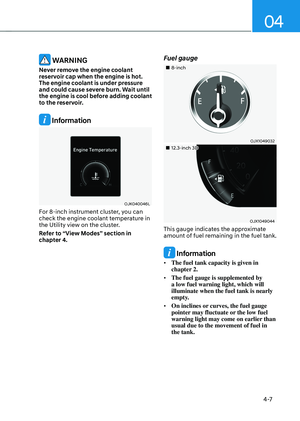
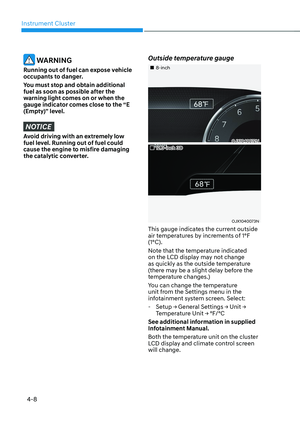
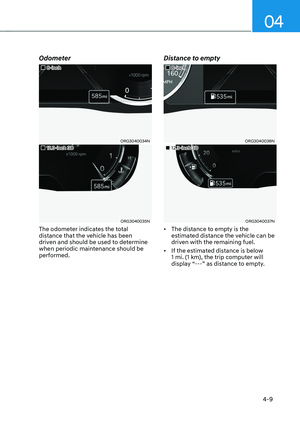
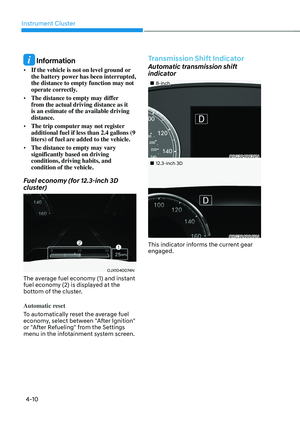
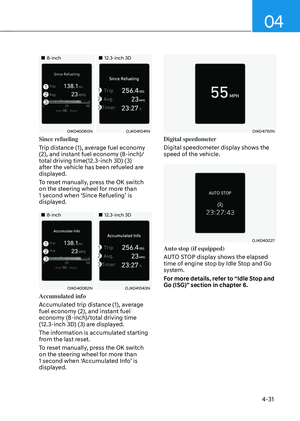
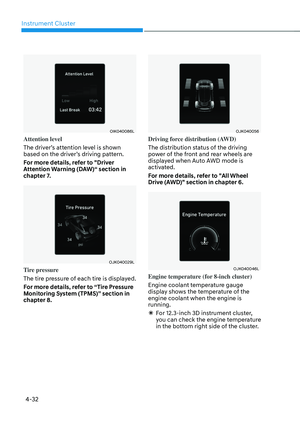
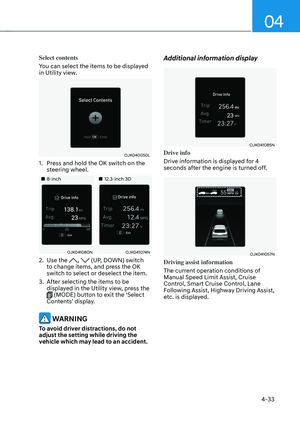
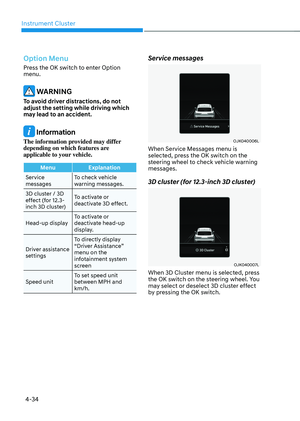
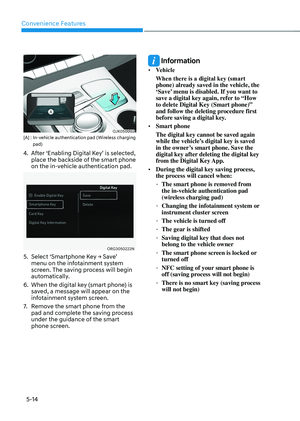
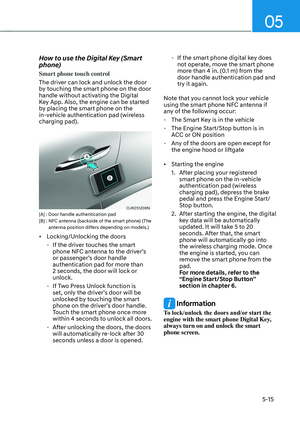
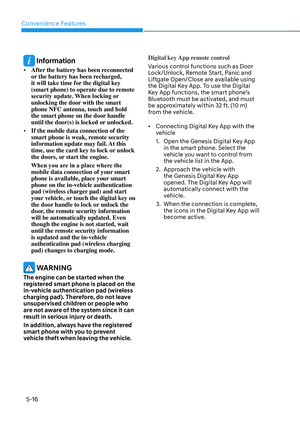
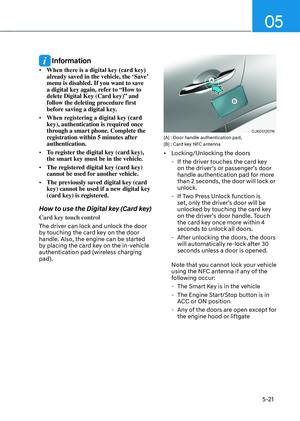
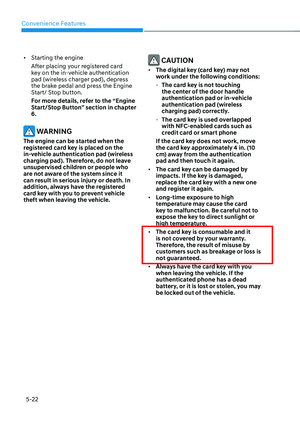
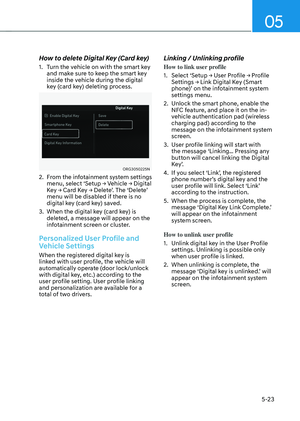
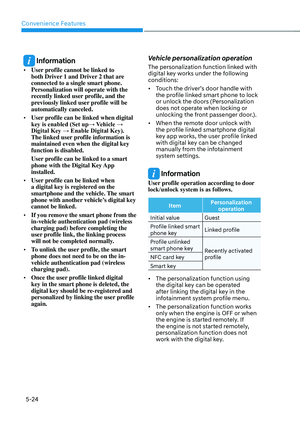
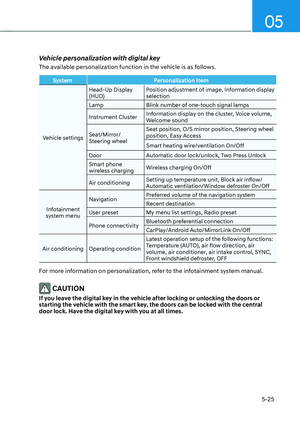
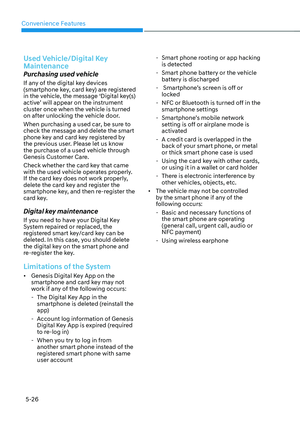
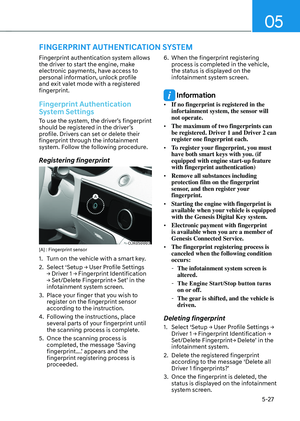
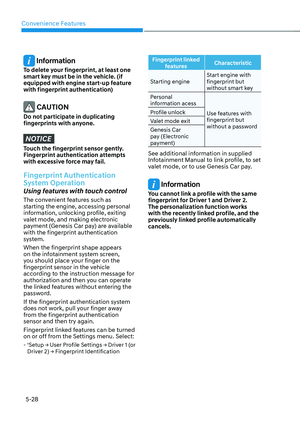
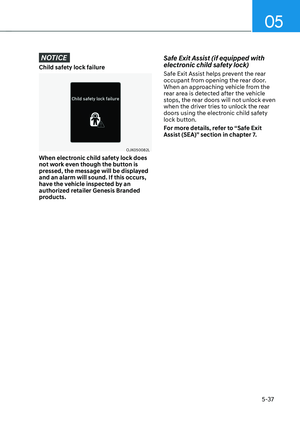
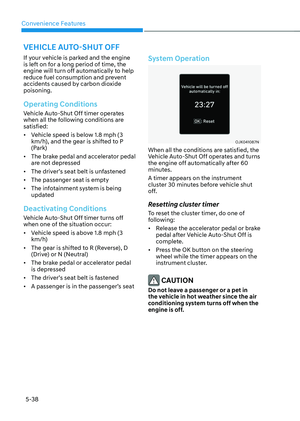
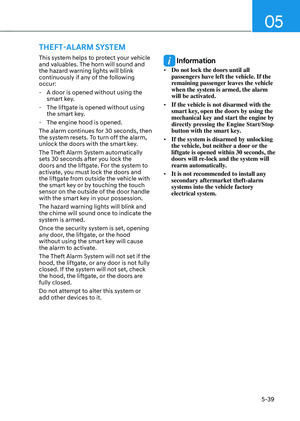
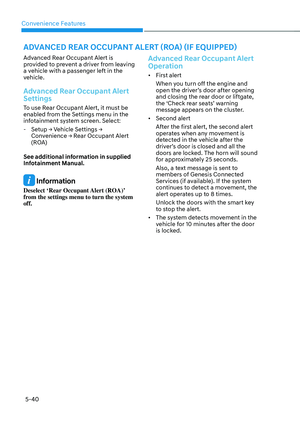
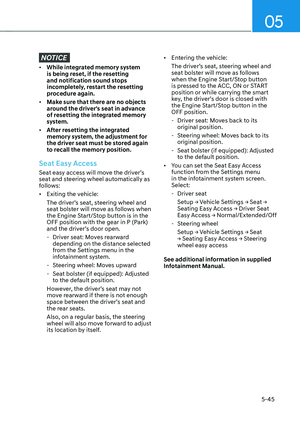
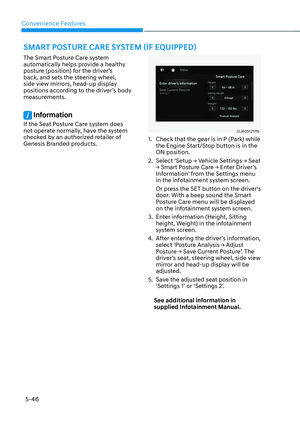
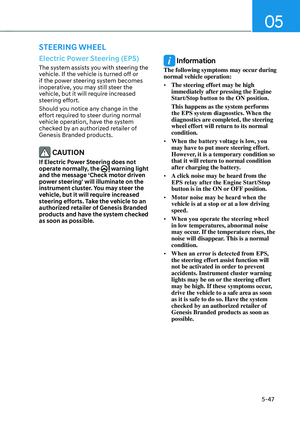
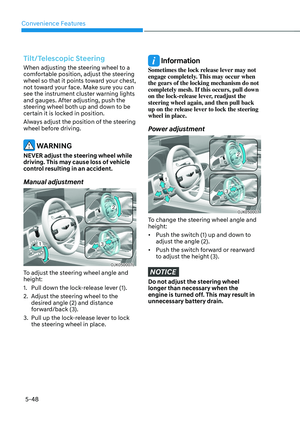
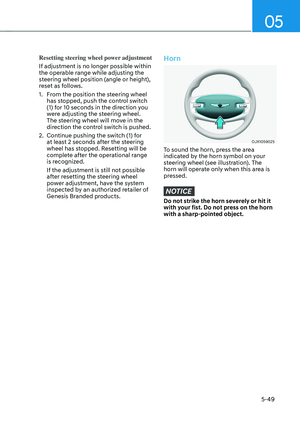
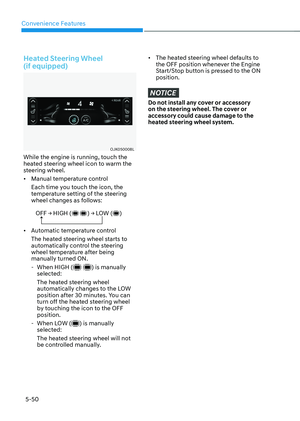
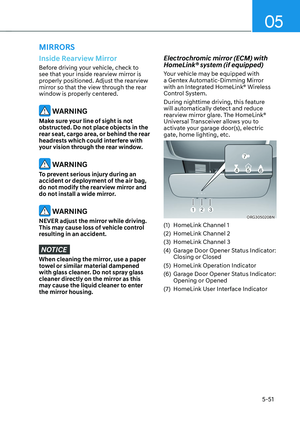
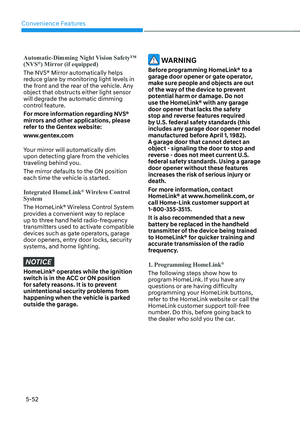
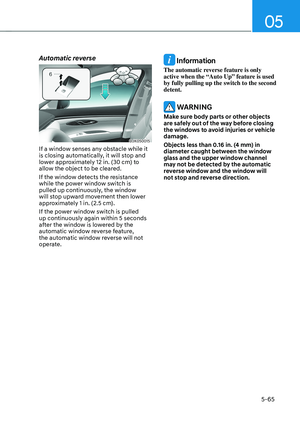
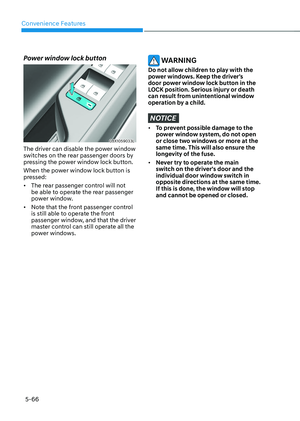
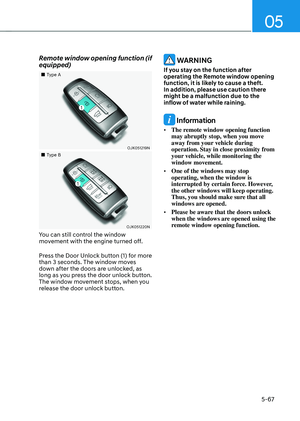
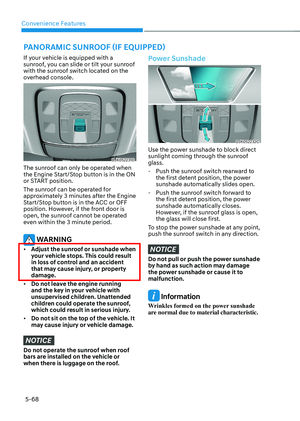
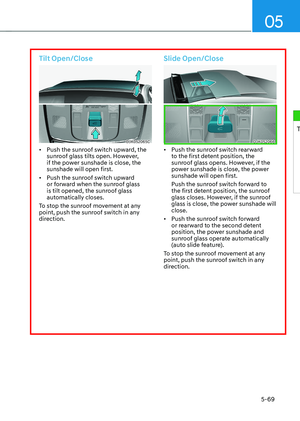
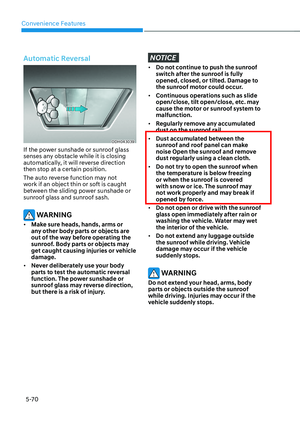
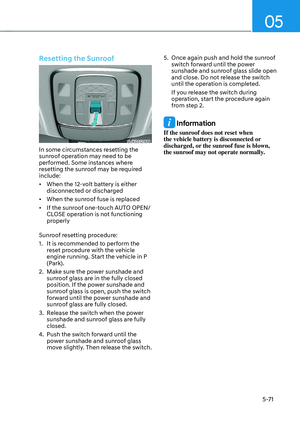
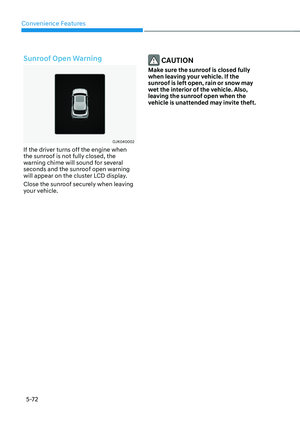
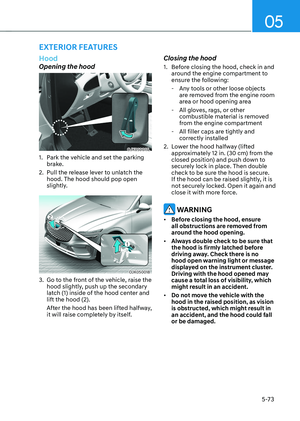
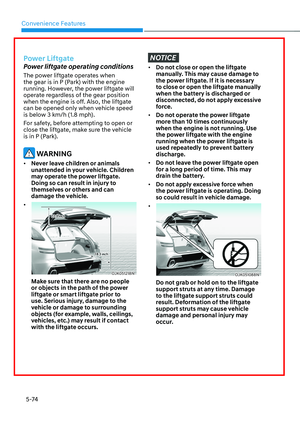
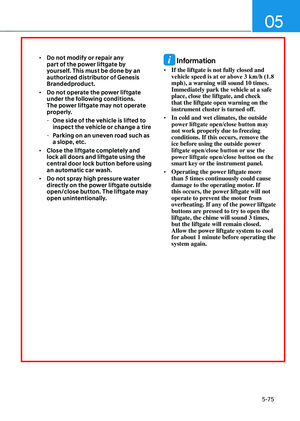
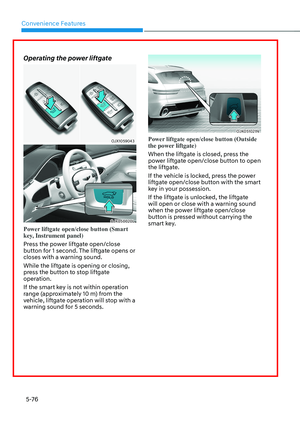
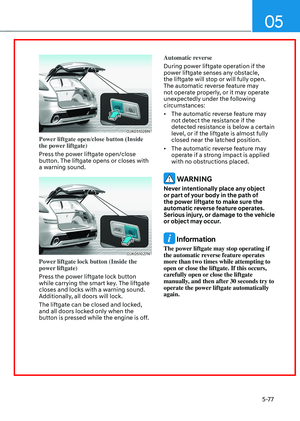
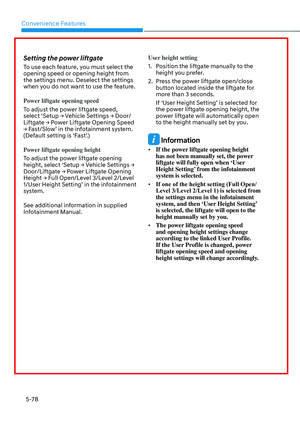
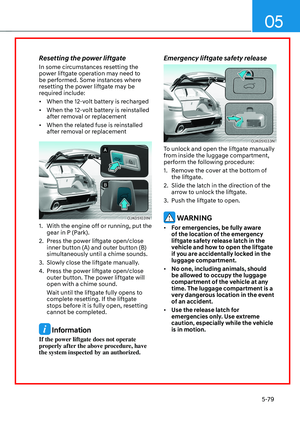
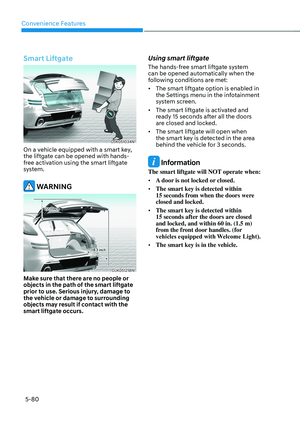
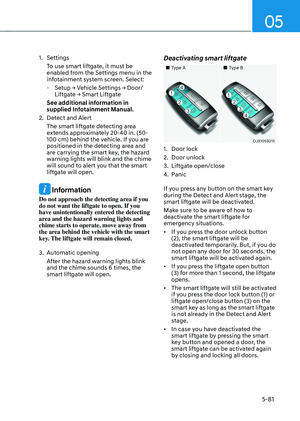
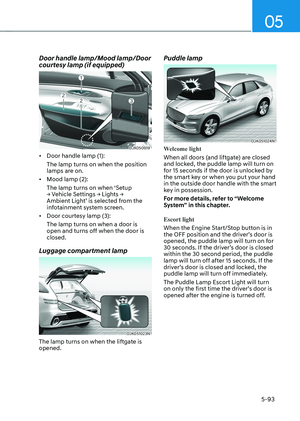
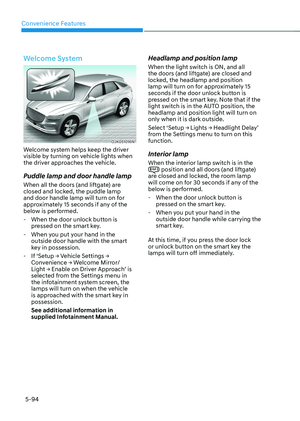
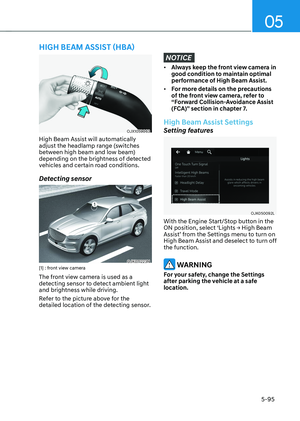
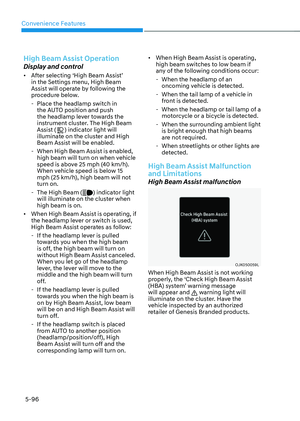
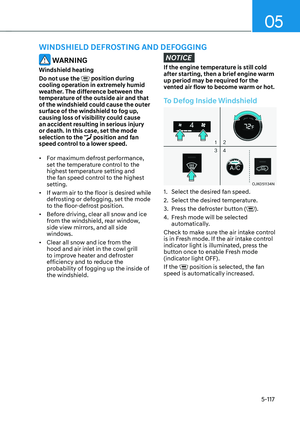
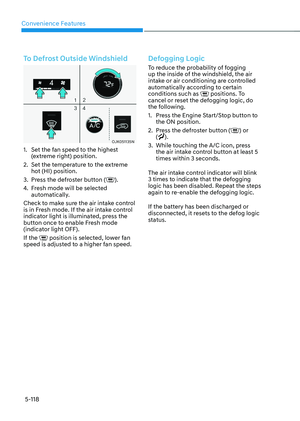
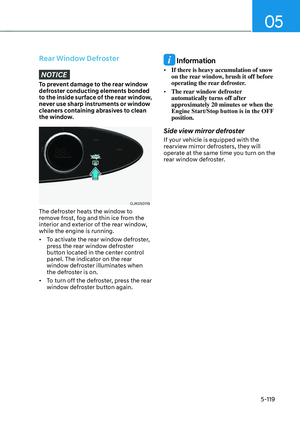
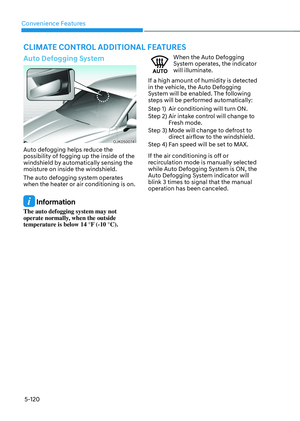
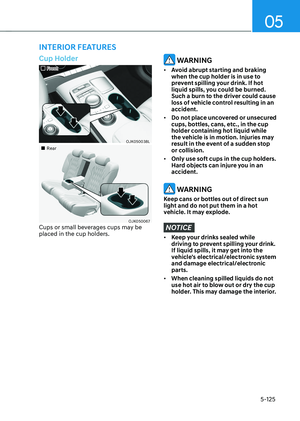
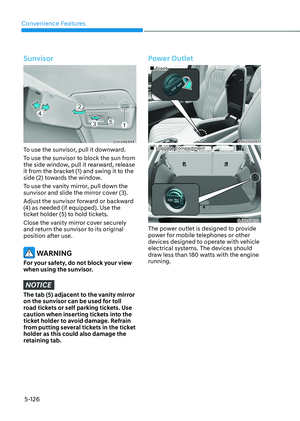
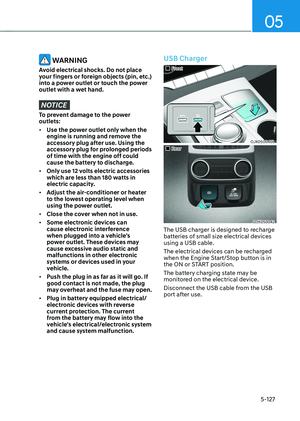
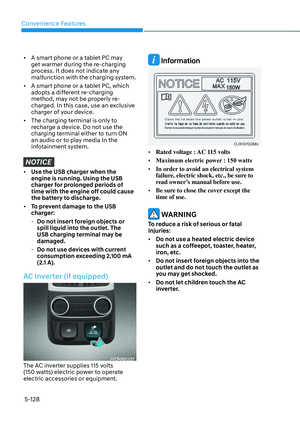
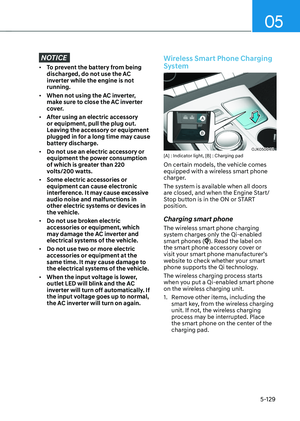
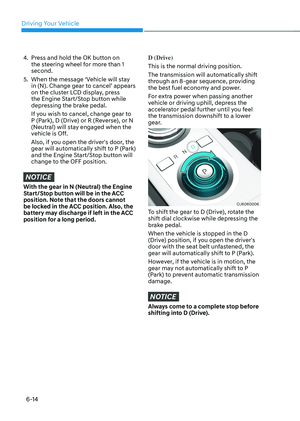
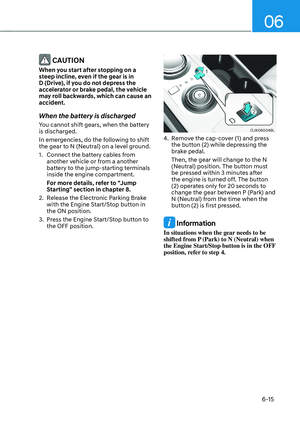
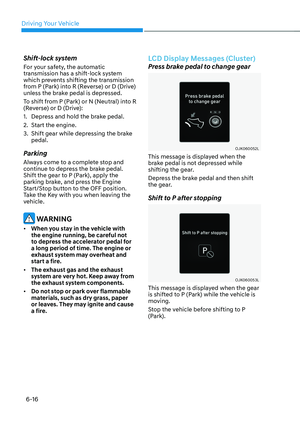
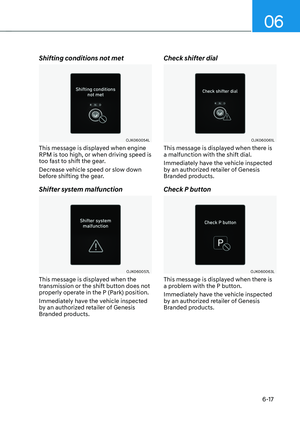
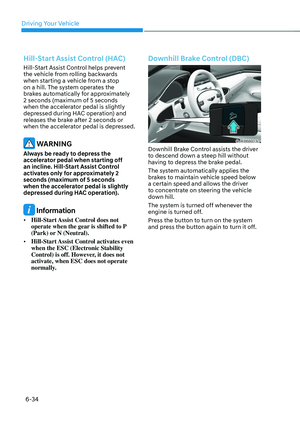
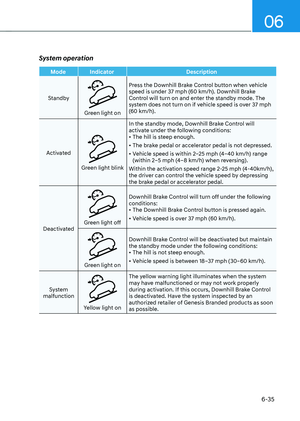
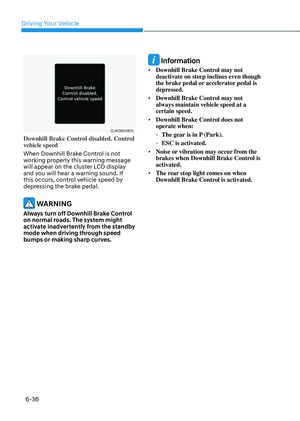
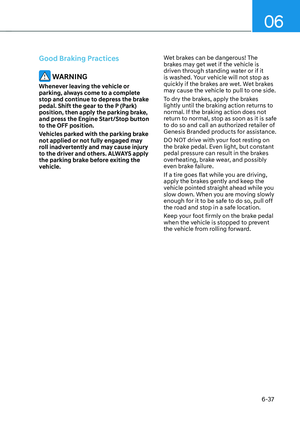
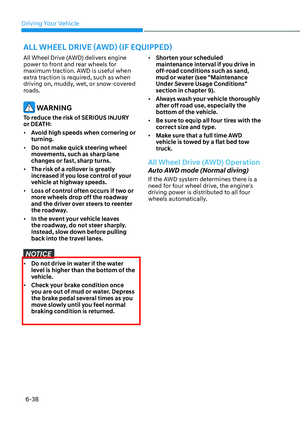
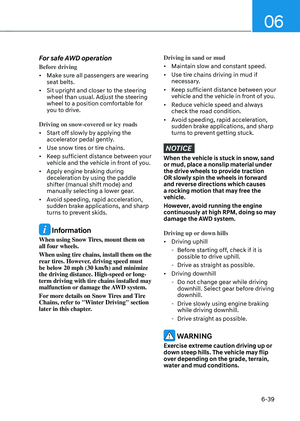
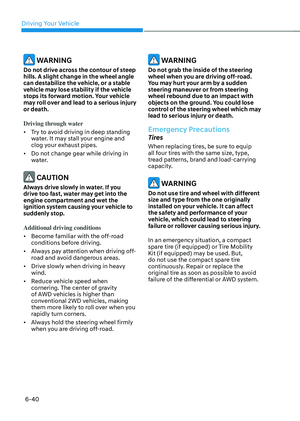
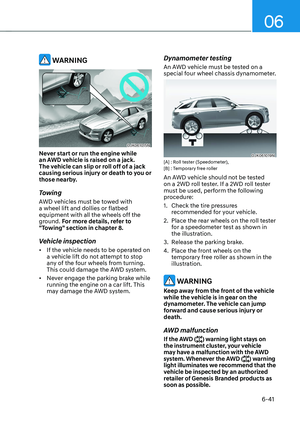
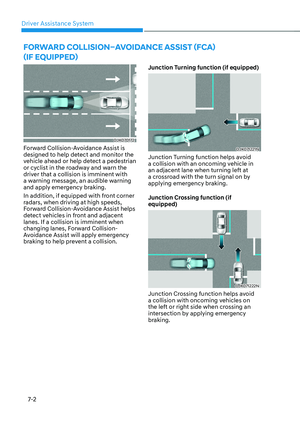
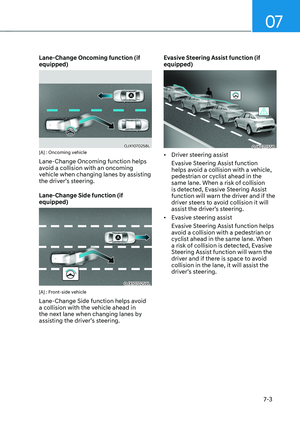
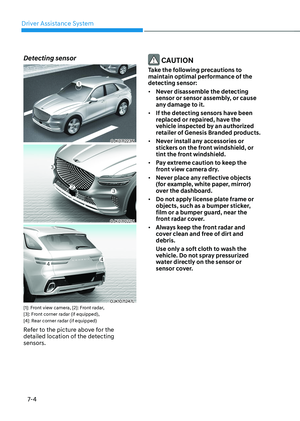
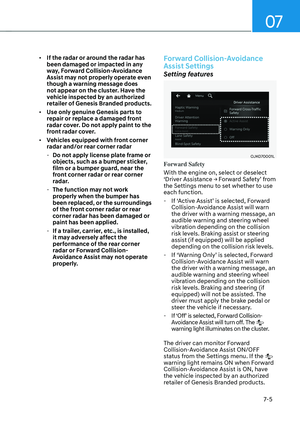
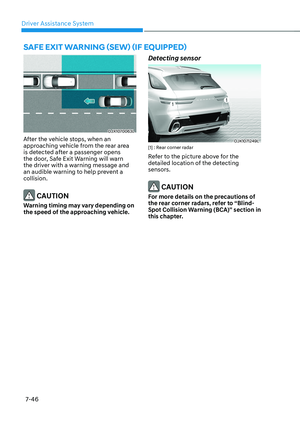
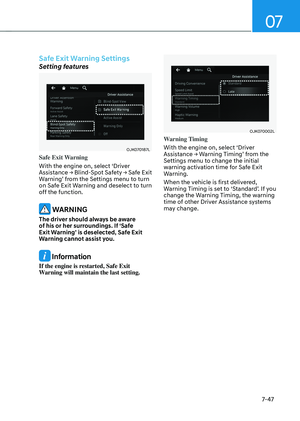
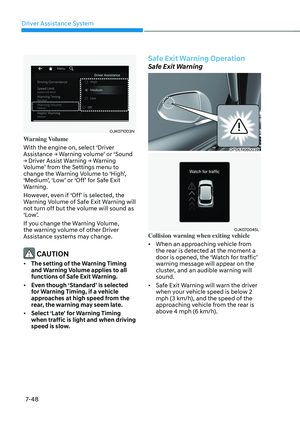
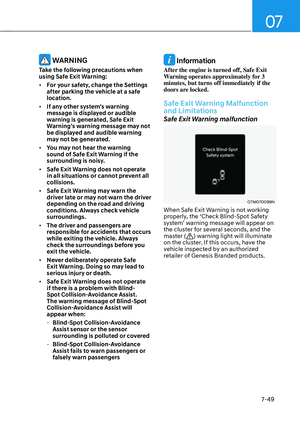
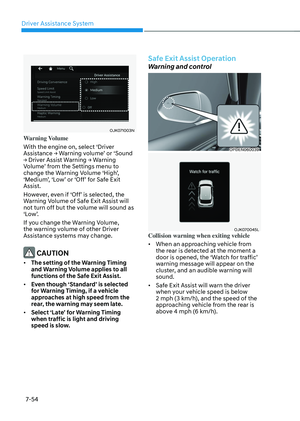
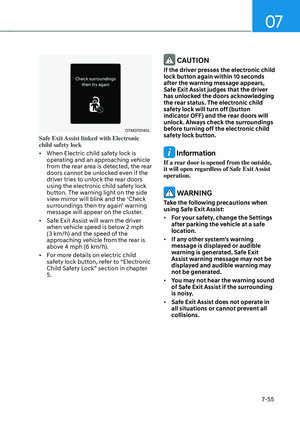
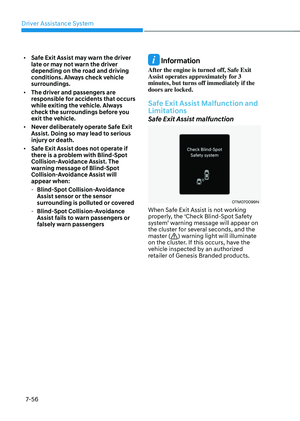
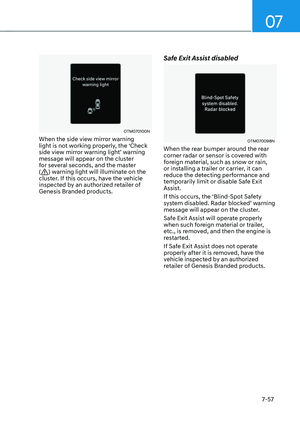
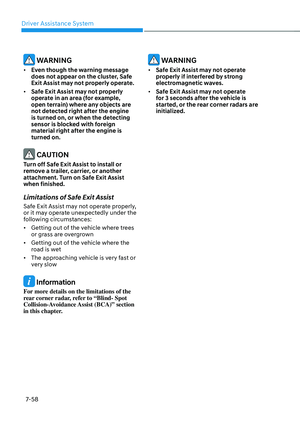
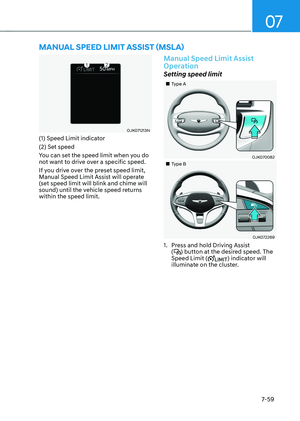
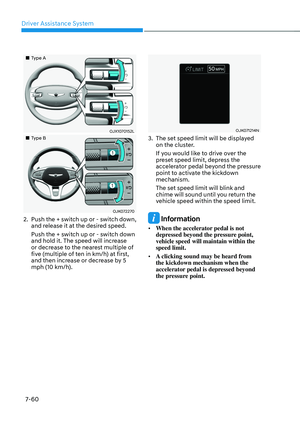
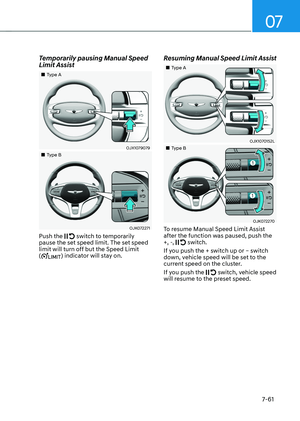
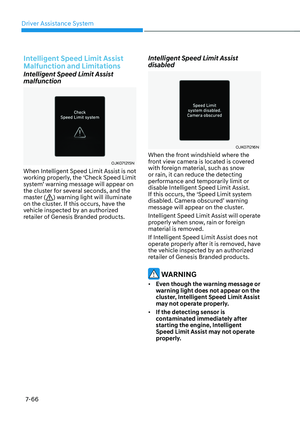
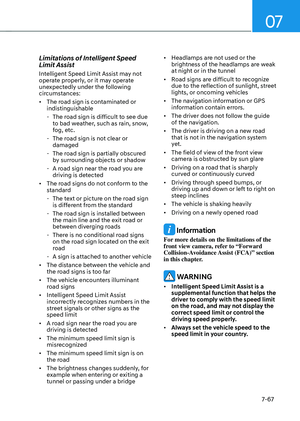
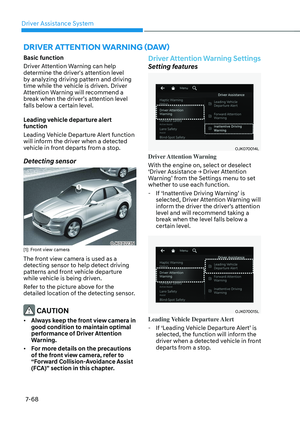
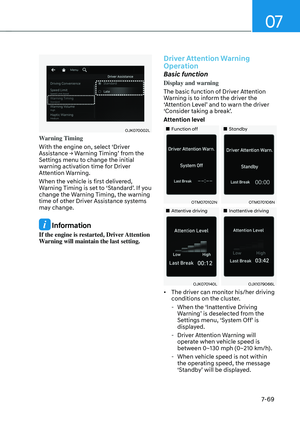
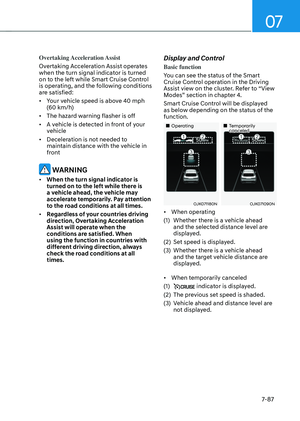
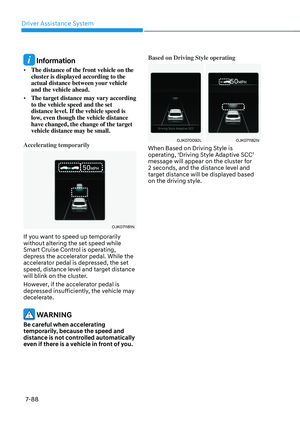
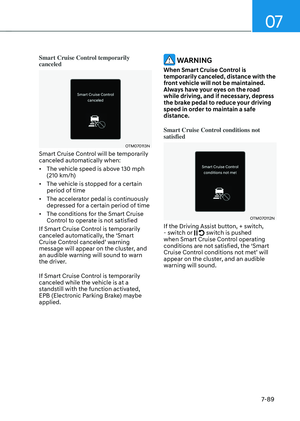
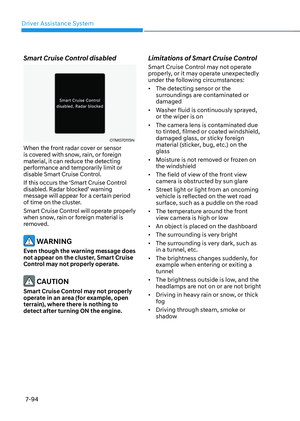
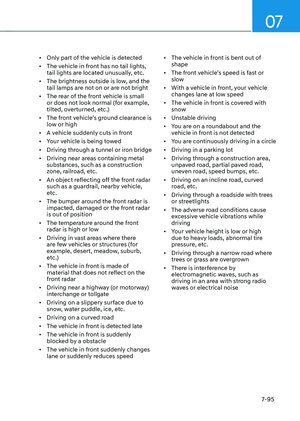
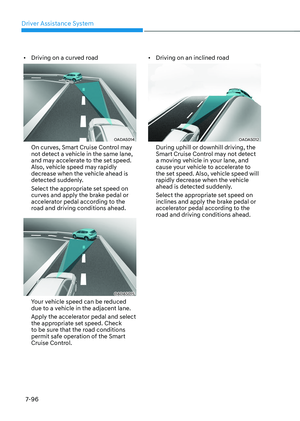
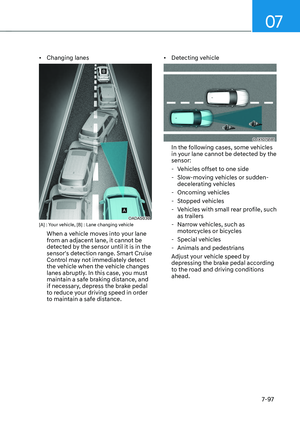
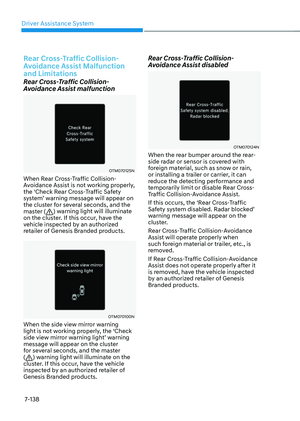
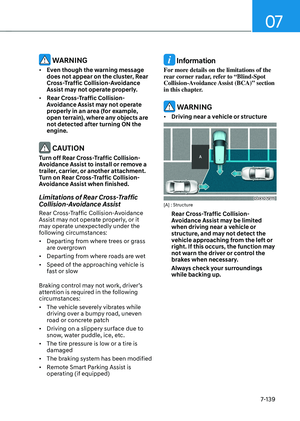
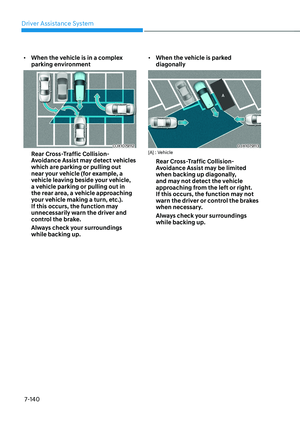
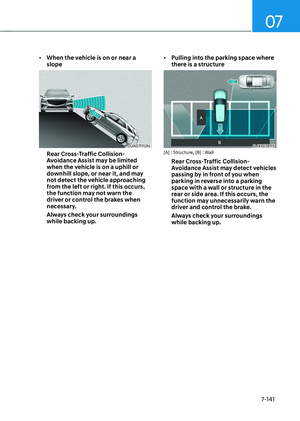
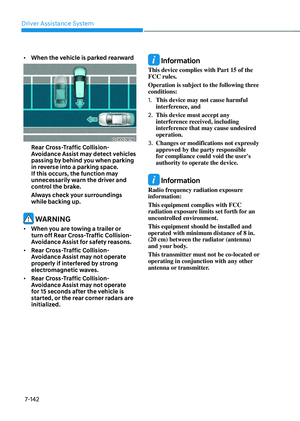
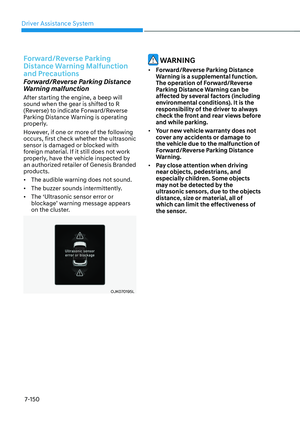
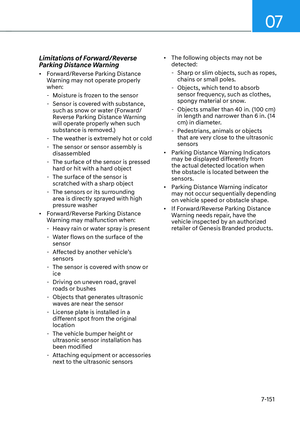
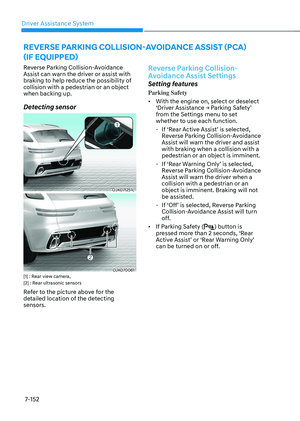
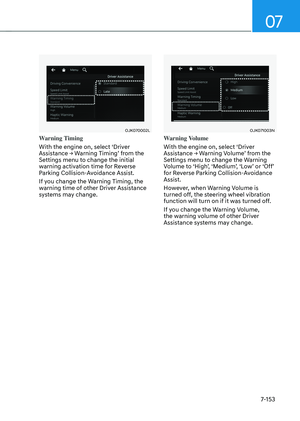
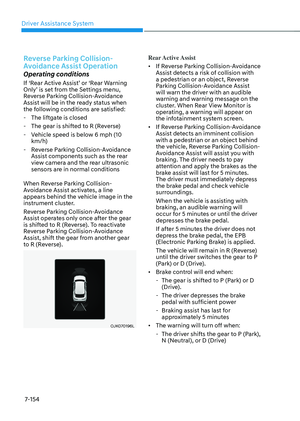
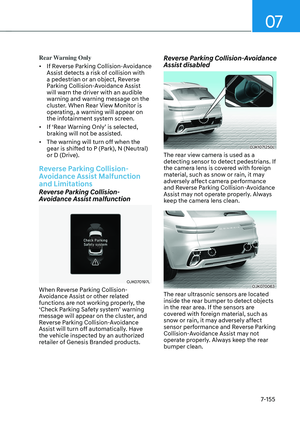
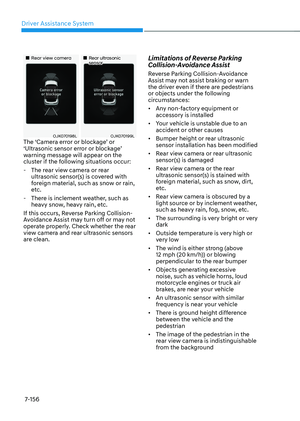
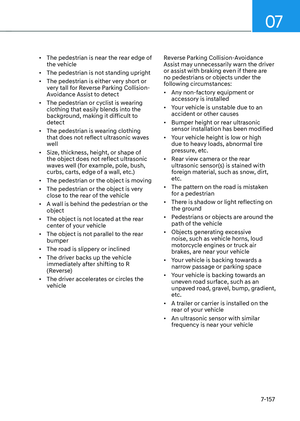
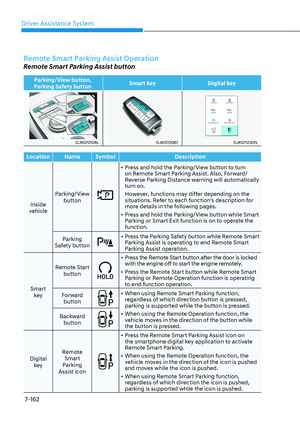
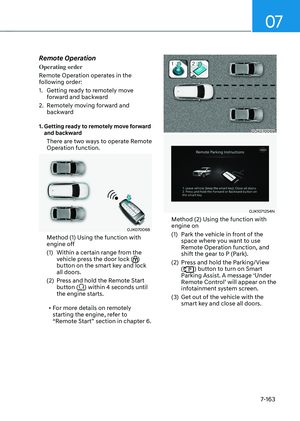
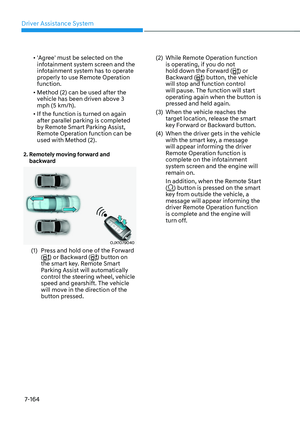
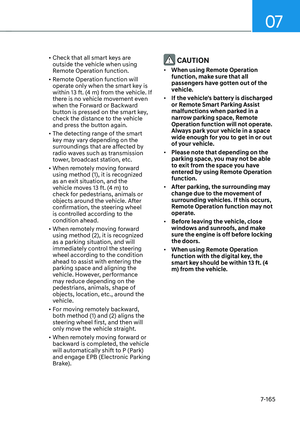
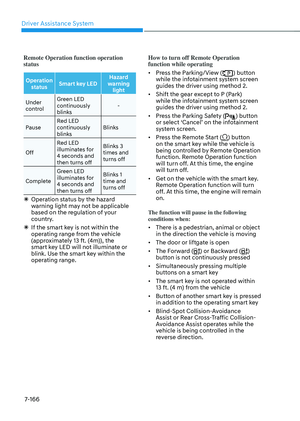
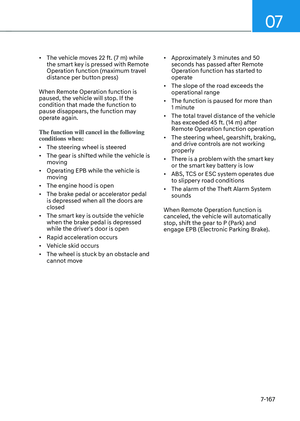
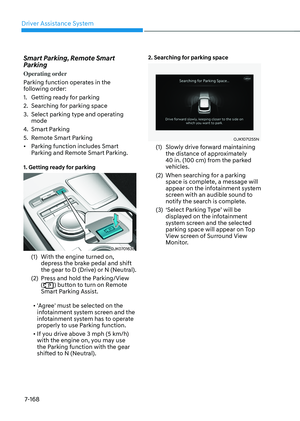
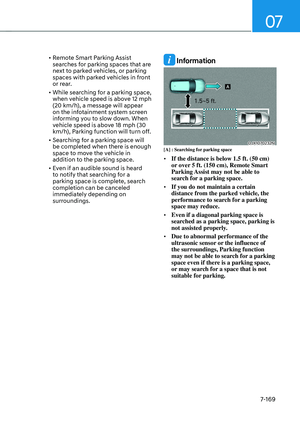
Page 217 of 637

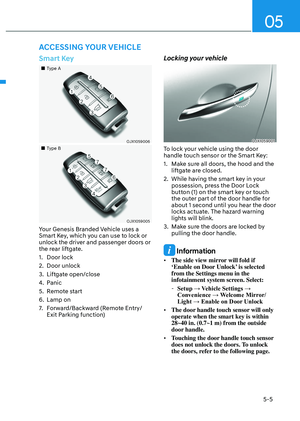
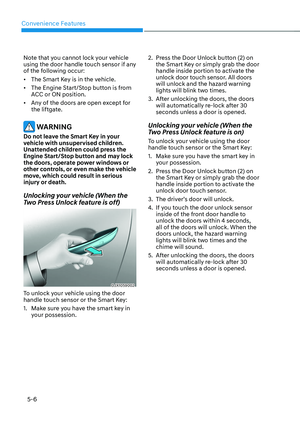
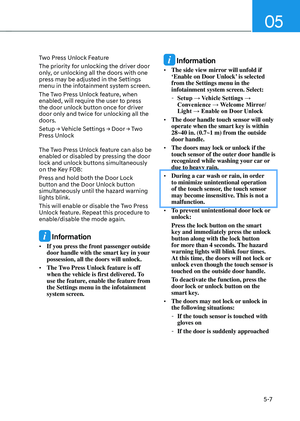
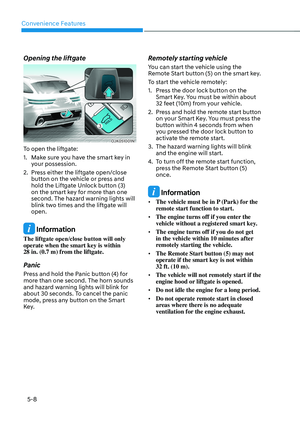
05
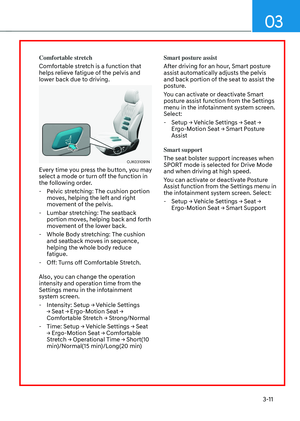
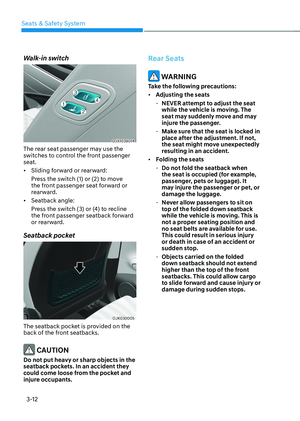
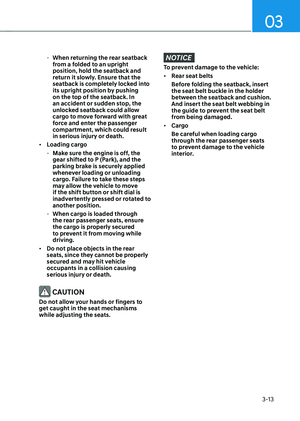
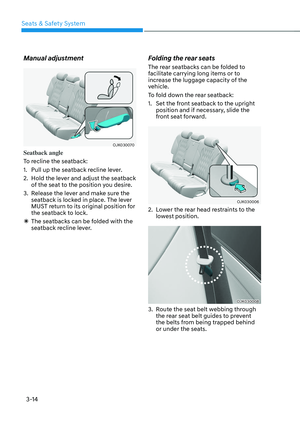
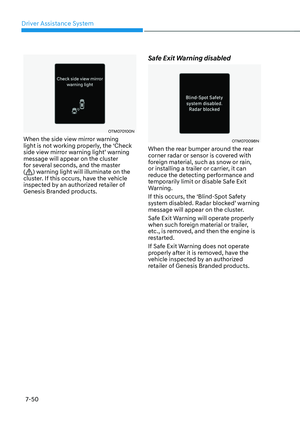
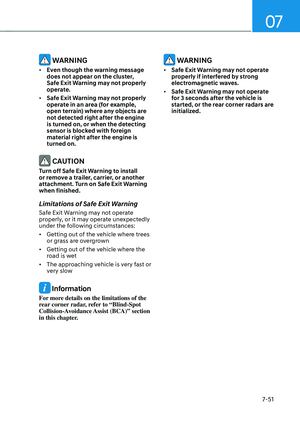
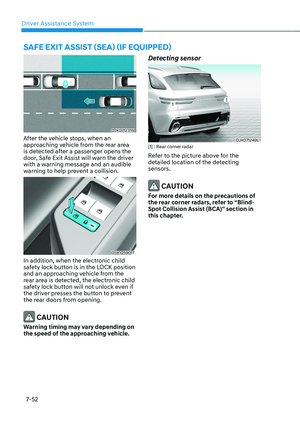
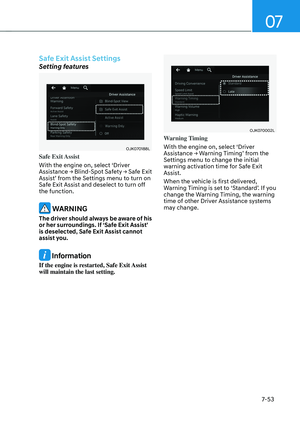
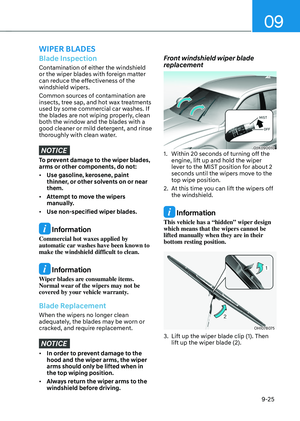
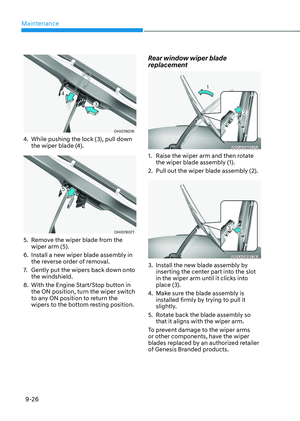
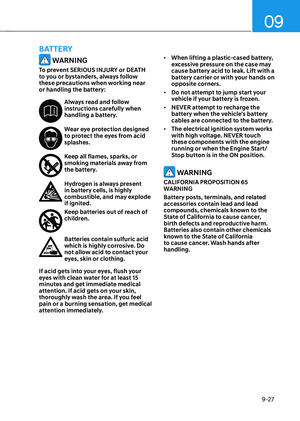
5-81
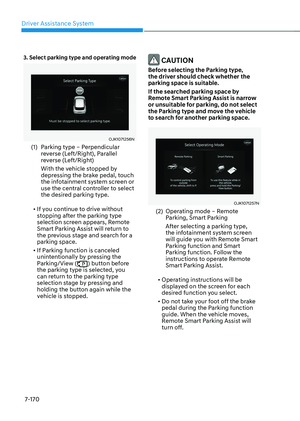
1. Settings
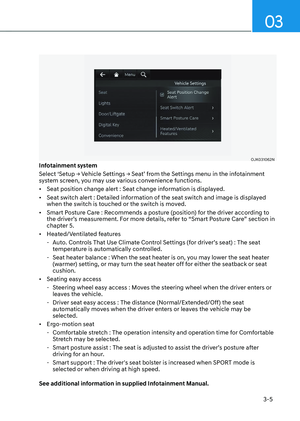
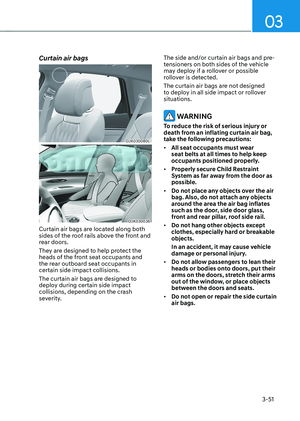
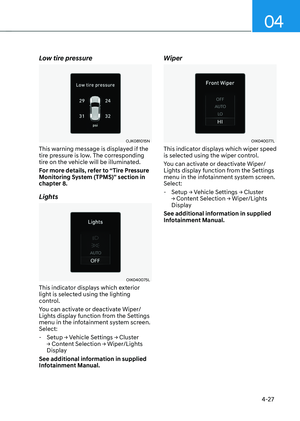
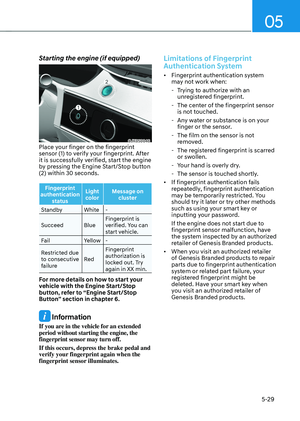
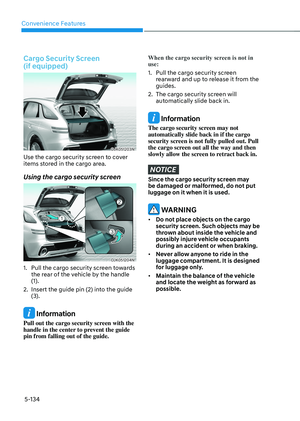
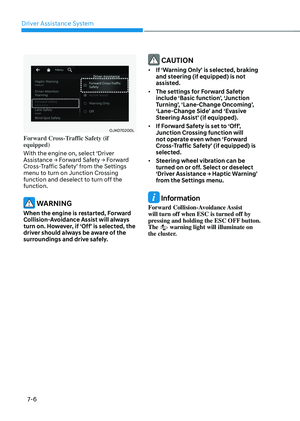
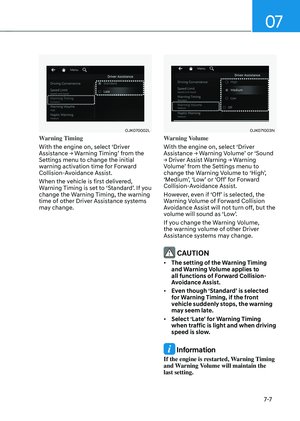
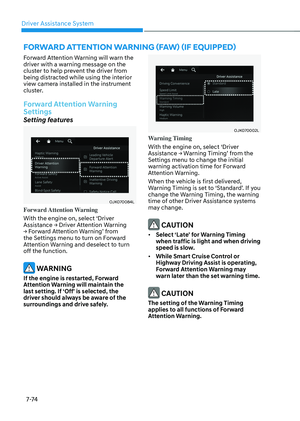
To use smart liftgate, it must be
enabled from the Settings menu in the
infotainment system screen. Select:
-Setup → Vehicle Settings → Door/
Liftgate → Smart Liftgate
See additional information in
supplied Infotainment Manual.
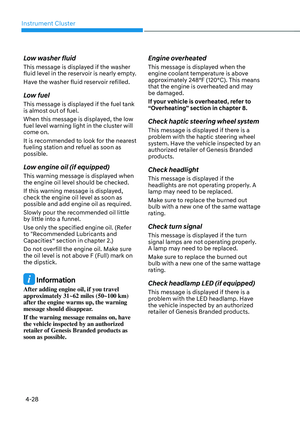
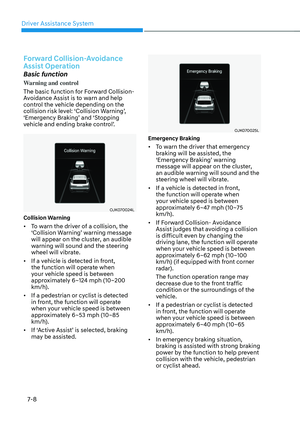
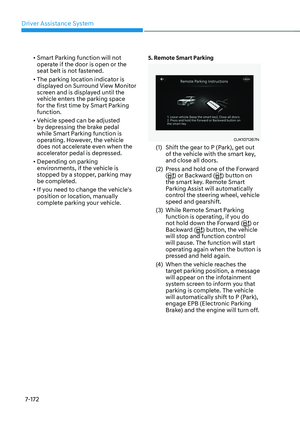
2. Detect and Alert
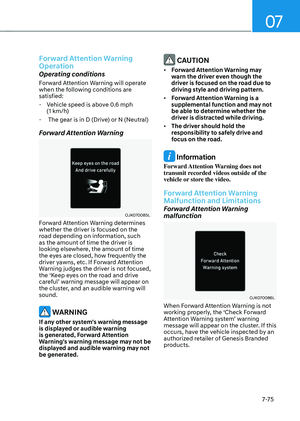
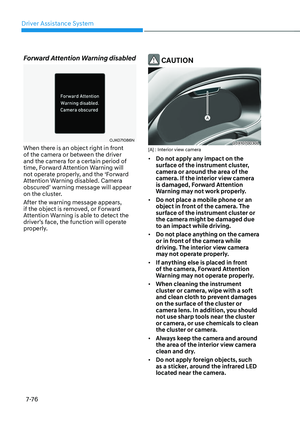
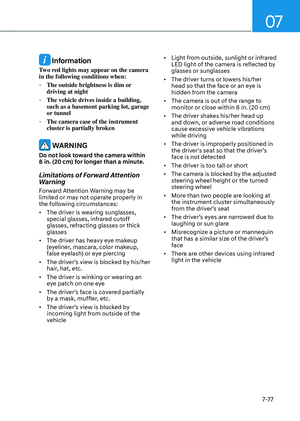
The smart liftgate detecting area
extends approximately 20-40 in. (50-
100 cm) behind the vehicle. If you are
positioned in the detecting area and
are carrying the smart key, the hazard
warning lights will blink and the chime
will sound to alert you that the smart
liftgate will open.
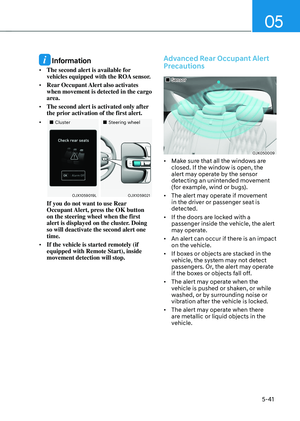
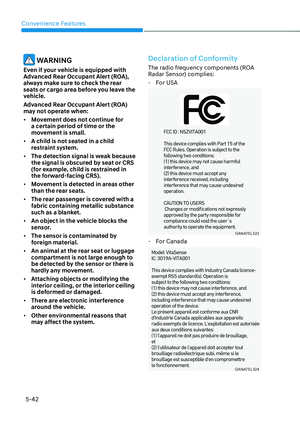
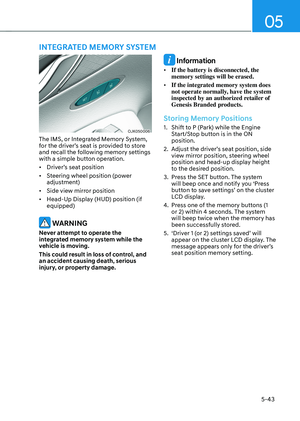
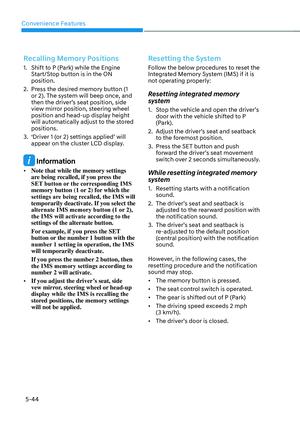
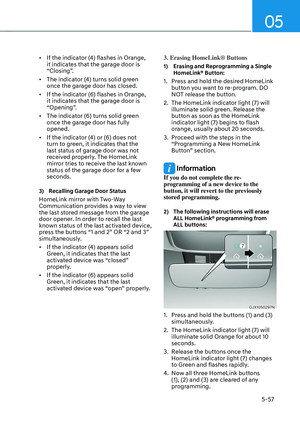
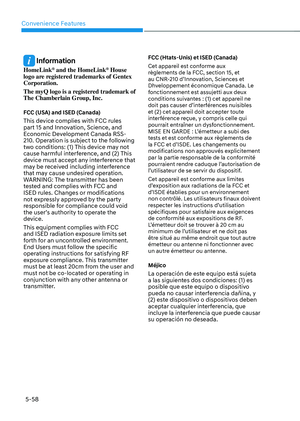
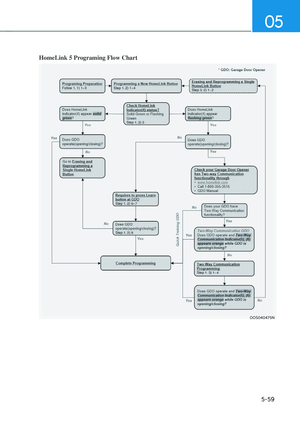
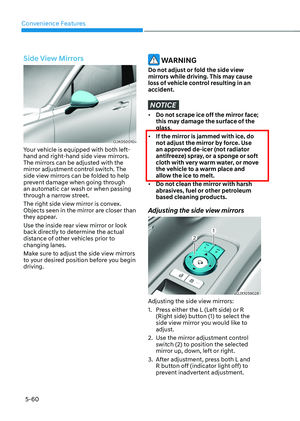
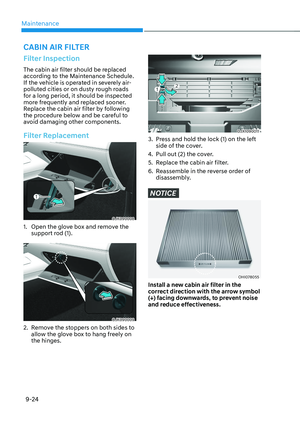
Information
Do not approach the detecting area if you
do not want the liftgate to open. If you
have unintentionally entered the detecting
area and the hazard warning lights and
chime starts to operate, move away from
the area behind the vehicle with the smart
key. The liftgate will remain closed.
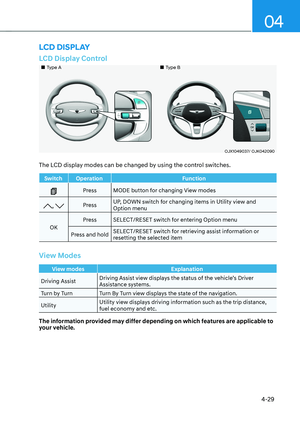
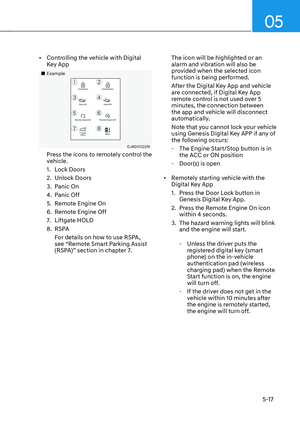
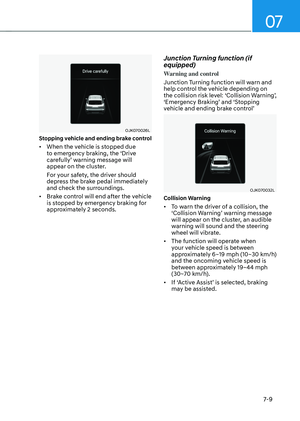
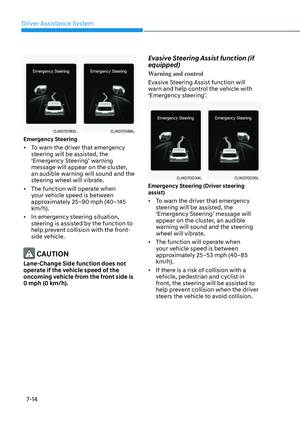
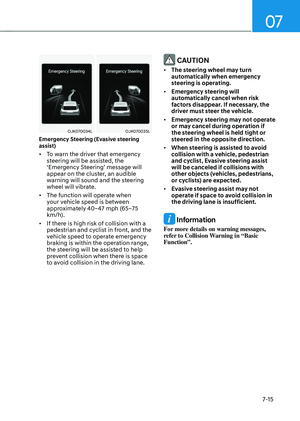
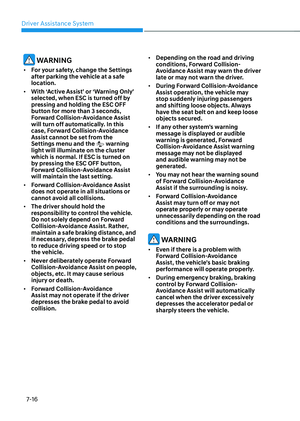
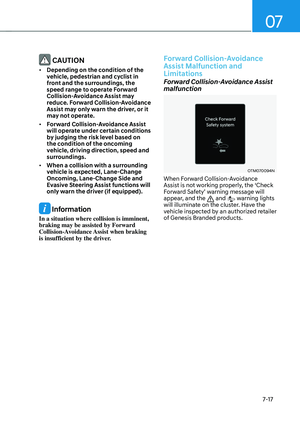
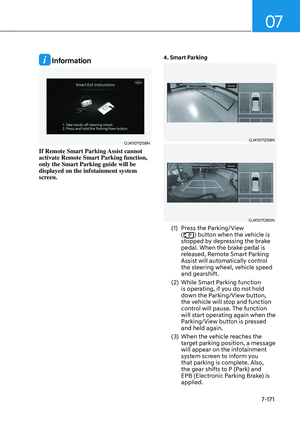
3. Automatic opening
After the hazard warning lights blink
and the chime sounds 6 times, the
smart liftgate will open.
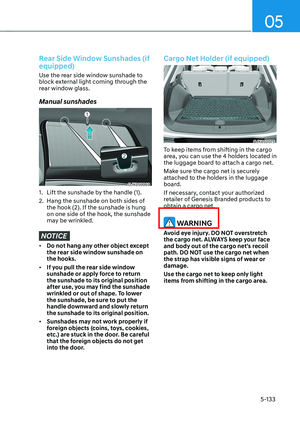
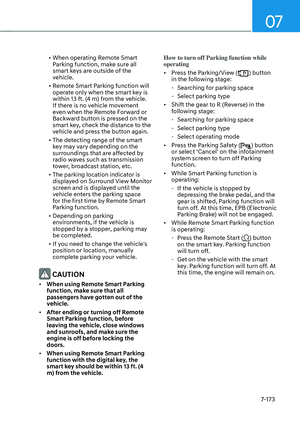
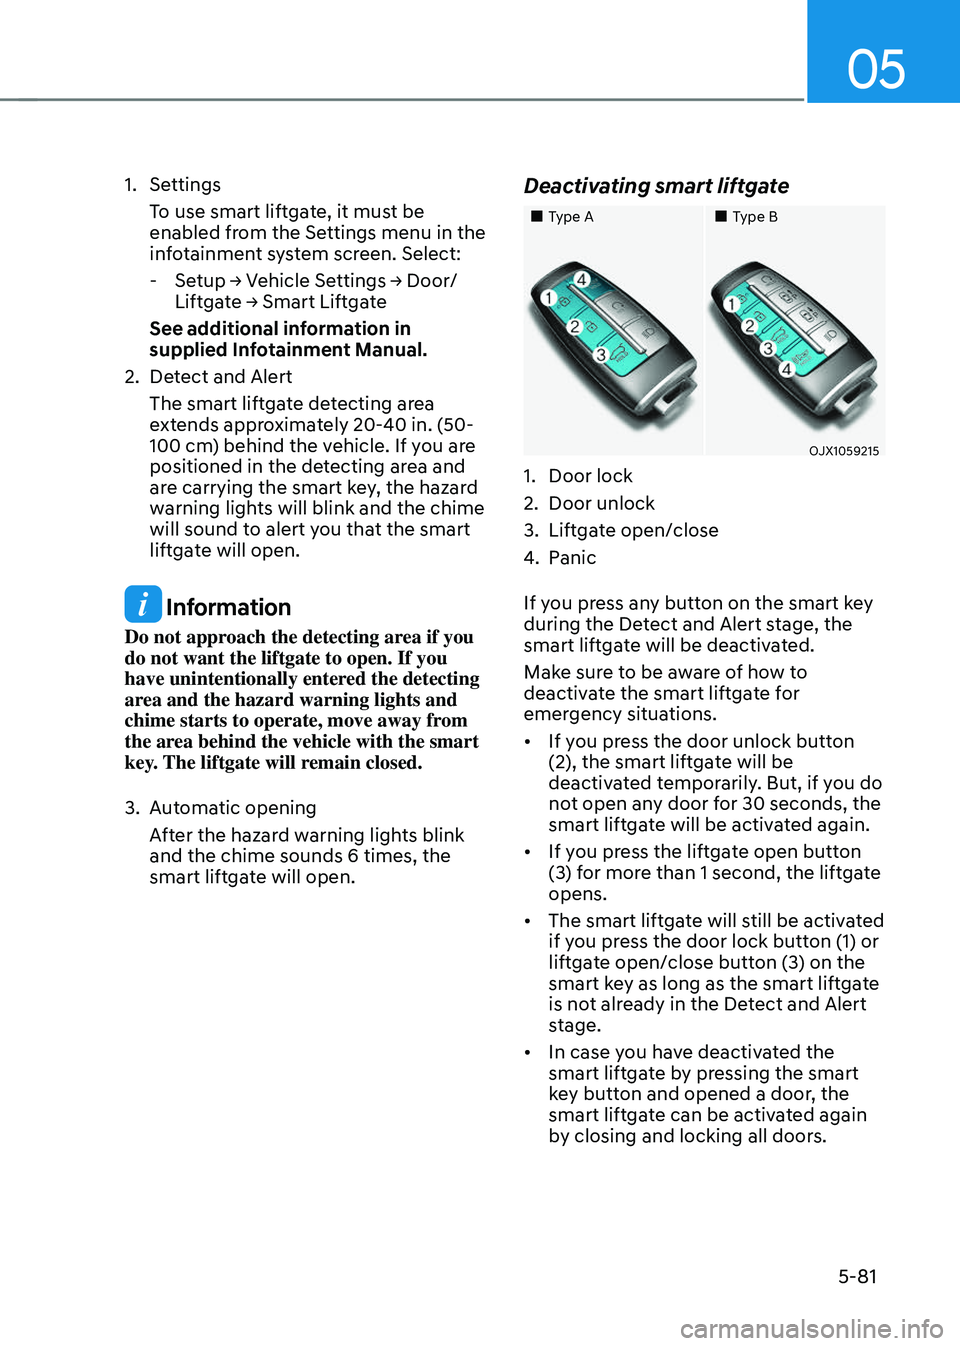
Deactivating smart liftgate
Page 218 of 637

Convenience Features
5-82
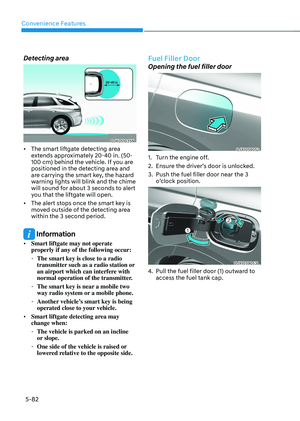
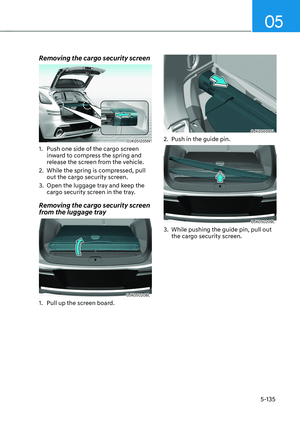
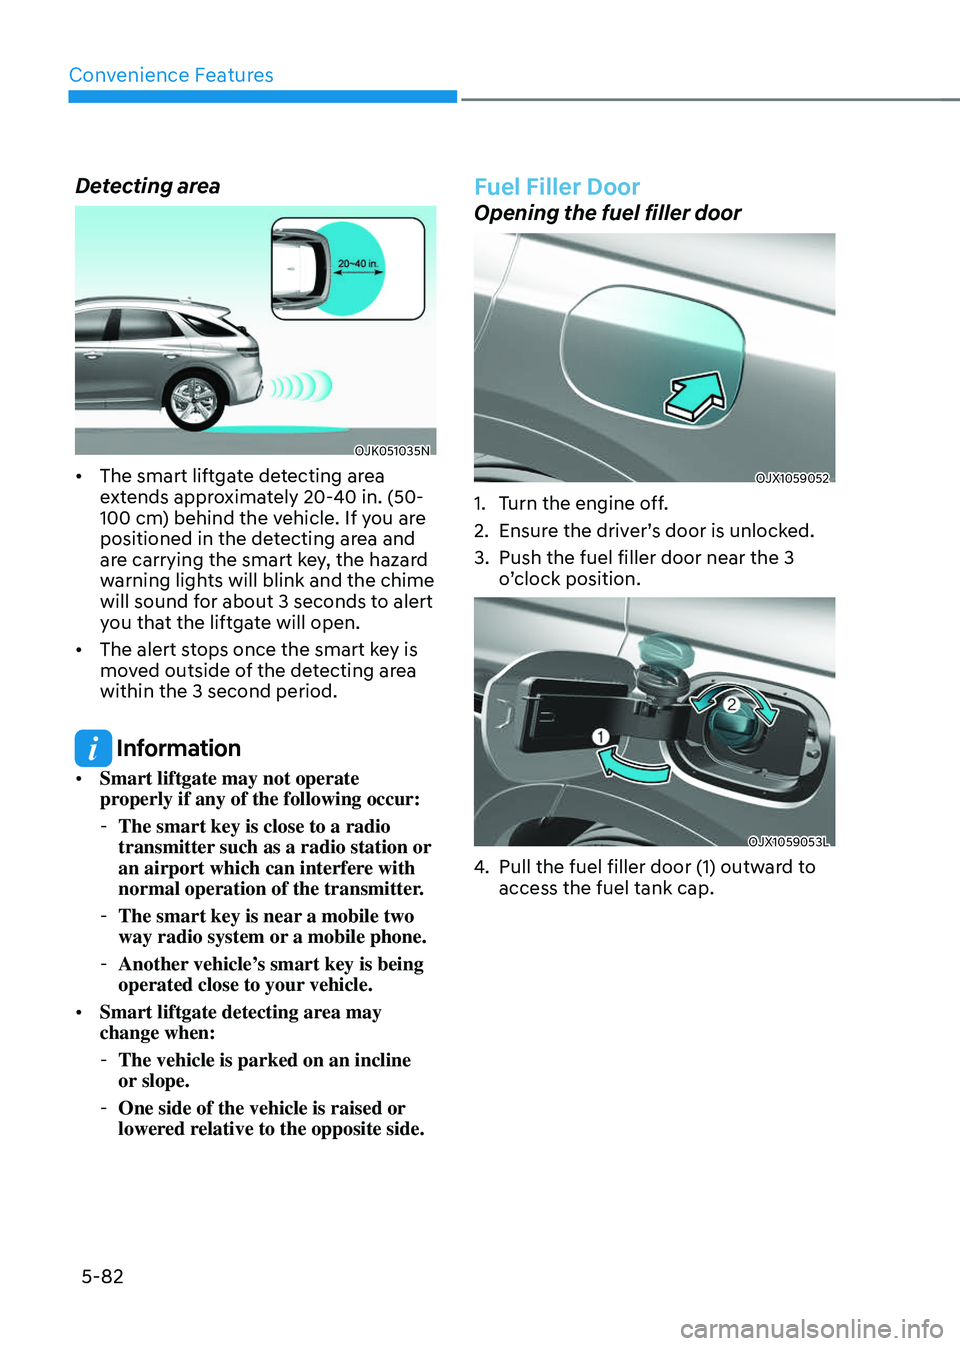
Detecting area
OJK051035NOJK051035N
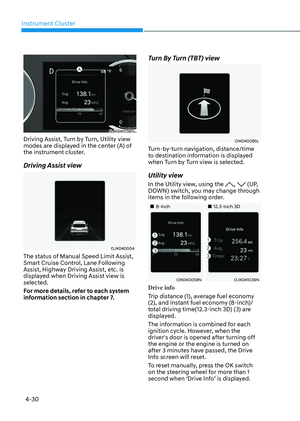
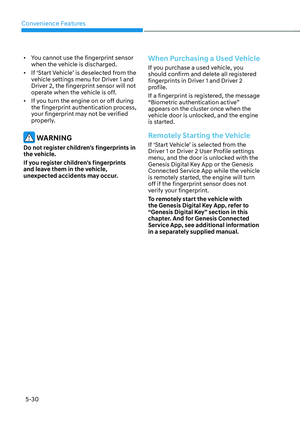
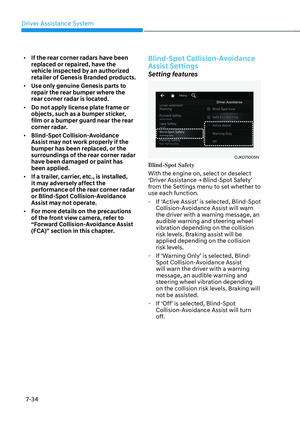
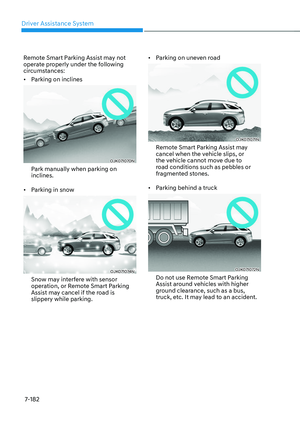
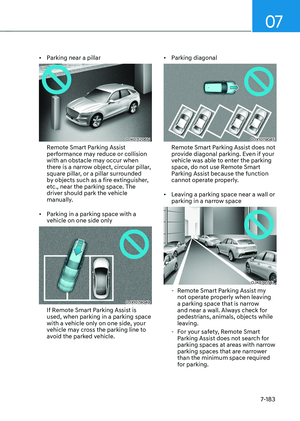
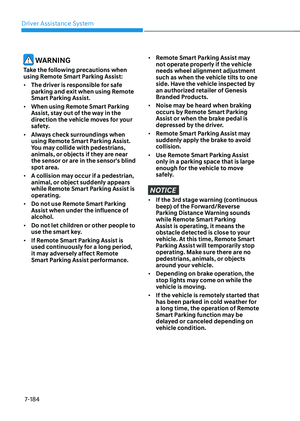
• The smart liftgate detecting area
extends approximately 20-40 in. (50-
100 cm) behind the vehicle. If you are
positioned in the detecting area and
are carrying the smart key, the hazard
warning lights will blink and the chime
will sound for about 3 seconds to alert
you that the liftgate will open.
• The alert stops once the smart key is
moved outside of the detecting area
within the 3 second period.
Information
• Smart liftgate may not operate
properly if any of the following occur:
-The smart key is close to a radio
transmitter such as a radio station or
an airport which can interfere with
normal operation of the transmitter.
-The smart key is near a mobile two
way radio system or a mobile phone.
-Another vehicle’s smart key is being
operated close to your vehicle.
• Smart liftgate detecting area may
change when:
-The vehicle is parked on an incline
or slope.
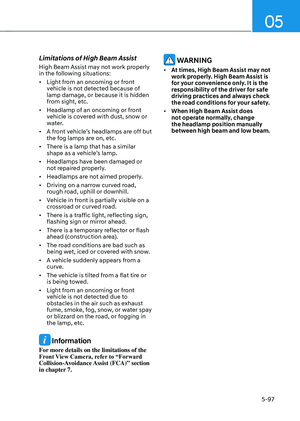
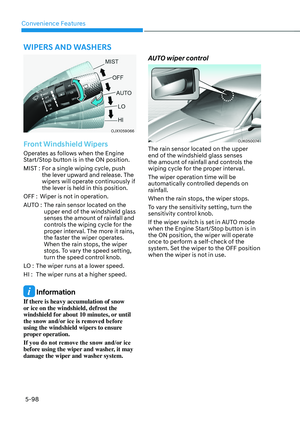
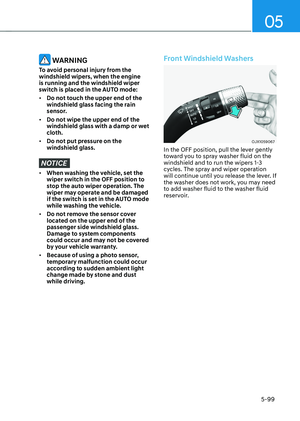
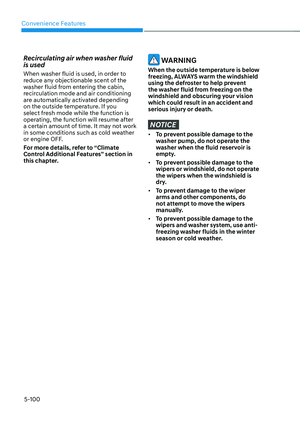
-One side of the vehicle is raised or
lowered relative to the opposite side.
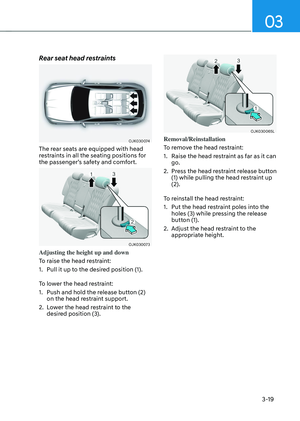
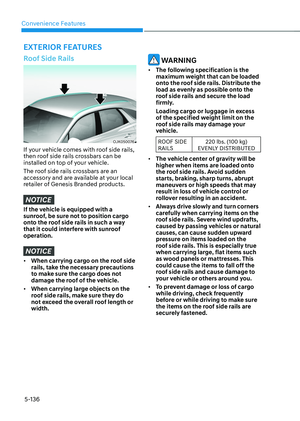
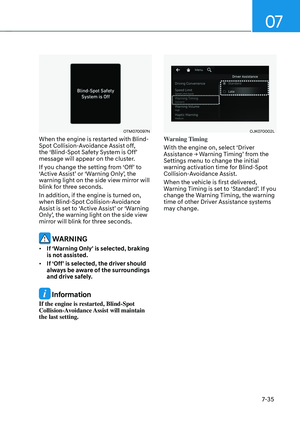
Fuel Filler Door
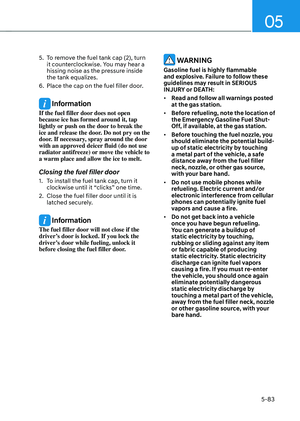
Opening the fuel filler door
OJX1059052OJX1059052
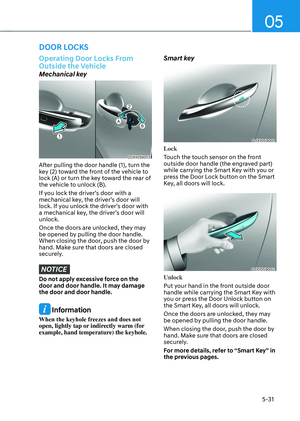
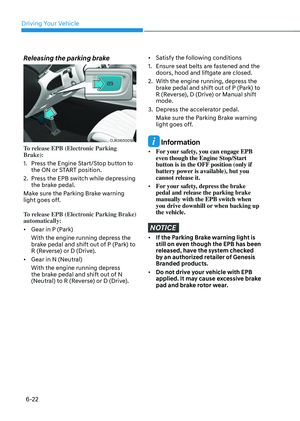
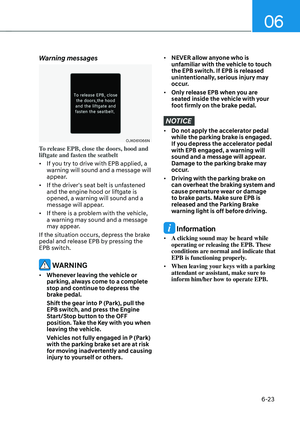
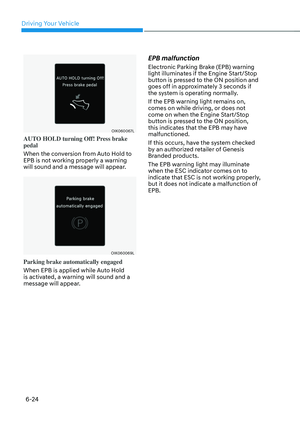
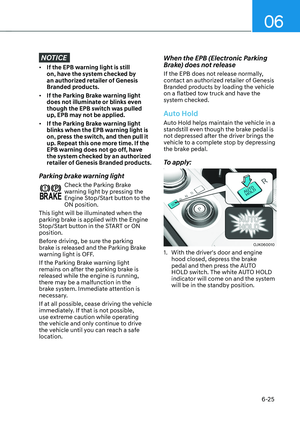
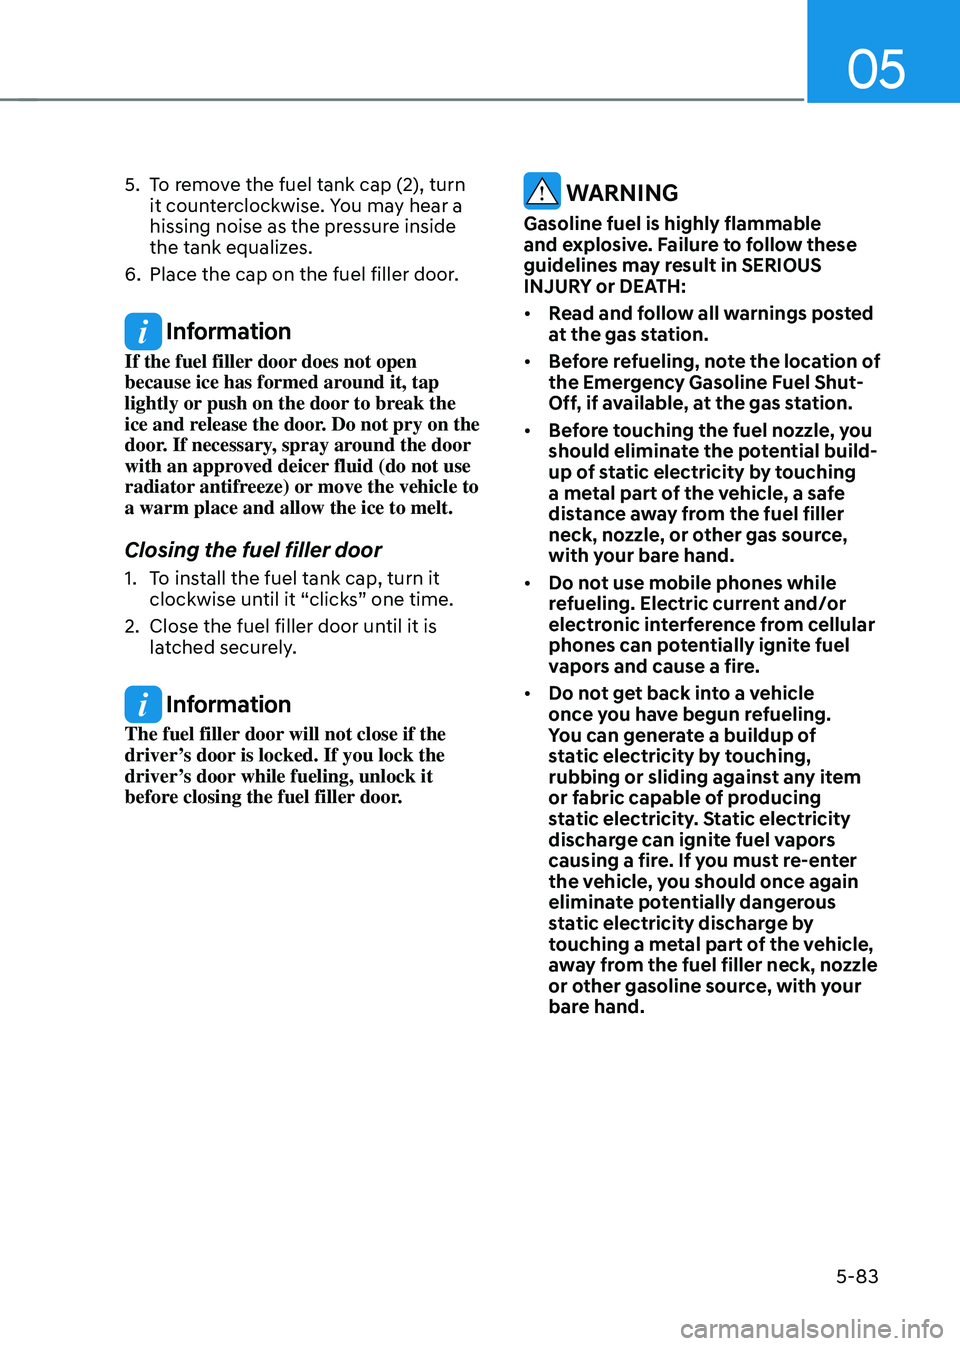
1. Turn the engine off.
2. Ensure the driver’s door is unlocked.
3. Push the fuel filler door near the 3
o’clock position.
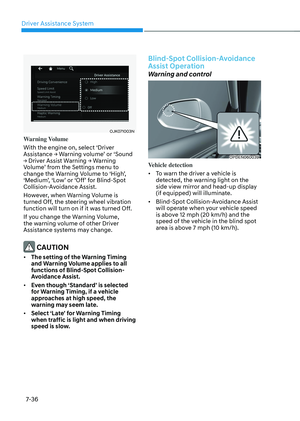
OJX1059053LOJX1059053L
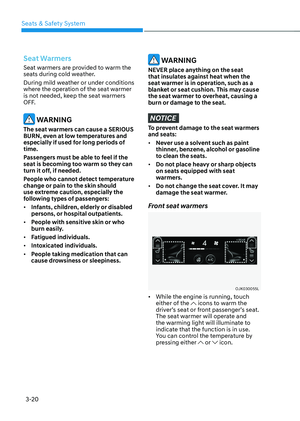
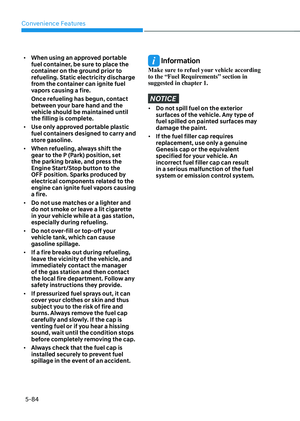
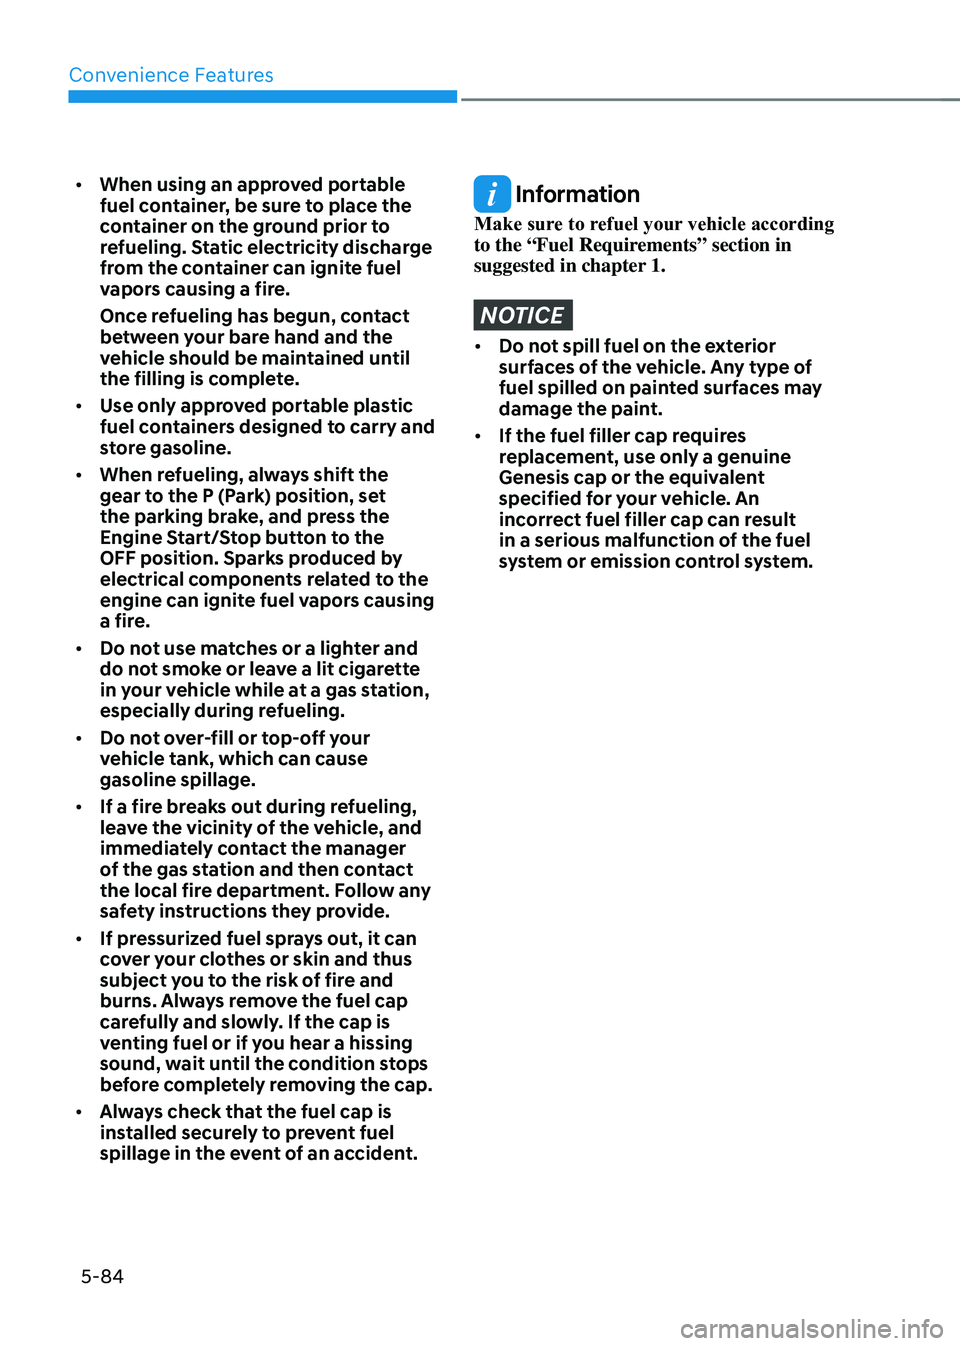
4. Pull the fuel filler door (1) outward to
access the fuel tank cap.
Page 219 of 637

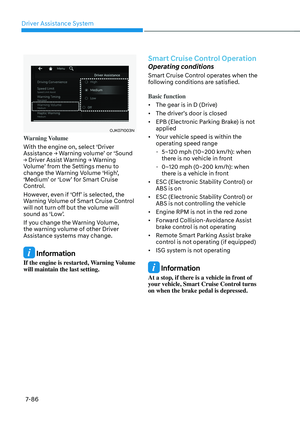
05
5-83
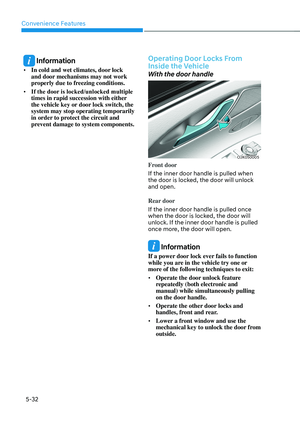
5. To remove the fuel tank cap (2), turn
it counterclockwise. You may hear a
hissing noise as the pressure inside
the tank equalizes.
6. Place the cap on the fuel filler door.
Information
If the fuel filler door does not open
because ice has formed around it, tap
lightly or push on the door to break the
ice and release the door. Do not pry on the
door. If necessary, spray around the door
with an approved deicer fluid (do not use
radiator antifreeze) or move the vehicle to
a warm place and allow the ice to melt.
Closing the fuel filler door
1. To install the fuel tank cap, turn it
clockwise until it “clicks” one time.
2. Close the fuel filler door until it is
latched securely.
Information
The fuel filler door will not close if the
driver’s door is locked. If you lock the
driver’s door while fueling, unlock it
before closing the fuel filler door.
WARNING
Gasoline fuel is highly flammable
and explosive. Failure to follow these
guidelines may result in SERIOUS
INJURY or DEATH:
• Read and follow all warnings posted
at the gas station.
• Before refueling, note the location of
the Emergency Gasoline Fuel Shut-
Off, if available, at the gas station.
• Before touching the fuel nozzle, you
should eliminate the potential build-
up of static electricity by touching
a metal part of the vehicle, a safe
distance away from the fuel filler
neck, nozzle, or other gas source,
with your bare hand.
• Do not use mobile phones while
refueling. Electric current and/or
electronic interference from cellular
phones can potentially ignite fuel
vapors and cause a fire.
• Do not get back into a vehicle
once you have begun refueling.
You can generate a buildup of
static electricity by touching,
rubbing or sliding against any item
or fabric capable of producing
static electricity. Static electricity
discharge can ignite fuel vapors
causing a fire. If you must re-enter
the vehicle, you should once again
eliminate potentially dangerous
static electricity discharge by
touching a metal part of the vehicle,
away from the fuel filler neck, nozzle
or other gasoline source, with your
bare hand.
Page 220 of 637

Convenience Features
5-84
• When using an approved portable
fuel container, be sure to place the
container on the ground prior to
refueling. Static electricity discharge
from the container can ignite fuel
vapors causing a fire.
Once refueling has begun, contact
between your bare hand and the
vehicle should be maintained until
the filling is complete.
• Use only approved portable plastic
fuel containers designed to carry and
store gasoline.
• When refueling, always shift the
gear to the P (Park) position, set
the parking brake, and press the
Engine Start/Stop button to the
OFF position. Sparks produced by
electrical components related to the
engine can ignite fuel vapors causing
a fire.
• Do not use matches or a lighter and
do not smoke or leave a lit cigarette
in your vehicle while at a gas station,
especially during refueling.
• Do not over-fill or top-off your
vehicle tank, which can cause
gasoline spillage.
• If a fire breaks out during refueling,
leave the vicinity of the vehicle, and
immediately contact the manager
of the gas station and then contact
the local fire department. Follow any
safety instructions they provide.
• If pressurized fuel sprays out, it can
cover your clothes or skin and thus
subject you to the risk of fire and
burns. Always remove the fuel cap
carefully and slowly. If the cap is
venting fuel or if you hear a hissing
sound, wait until the condition stops
before completely removing the cap.
• Always check that the fuel cap is
installed securely to prevent fuel
spillage in the event of an accident.
Information
Make sure to refuel your vehicle according
to the “Fuel Requirements” section in
suggested in chapter 1.
NOTICE
• Do not spill fuel on the exterior
surfaces of the vehicle. Any type of
fuel spilled on painted surfaces may
damage the paint.
• If the fuel filler cap requires
replacement, use only a genuine
Genesis cap or the equivalent
specified for your vehicle. An
incorrect fuel filler cap can result
in a serious malfunction of the fuel
system or emission control system.
Page 221 of 637

05
5-85
HEAD-UP DISPLAY (HUD) (IF EQUIPPED)
OJK052052NOJK052052N
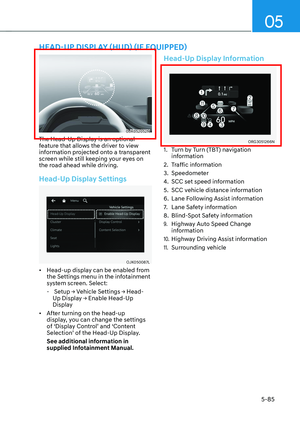
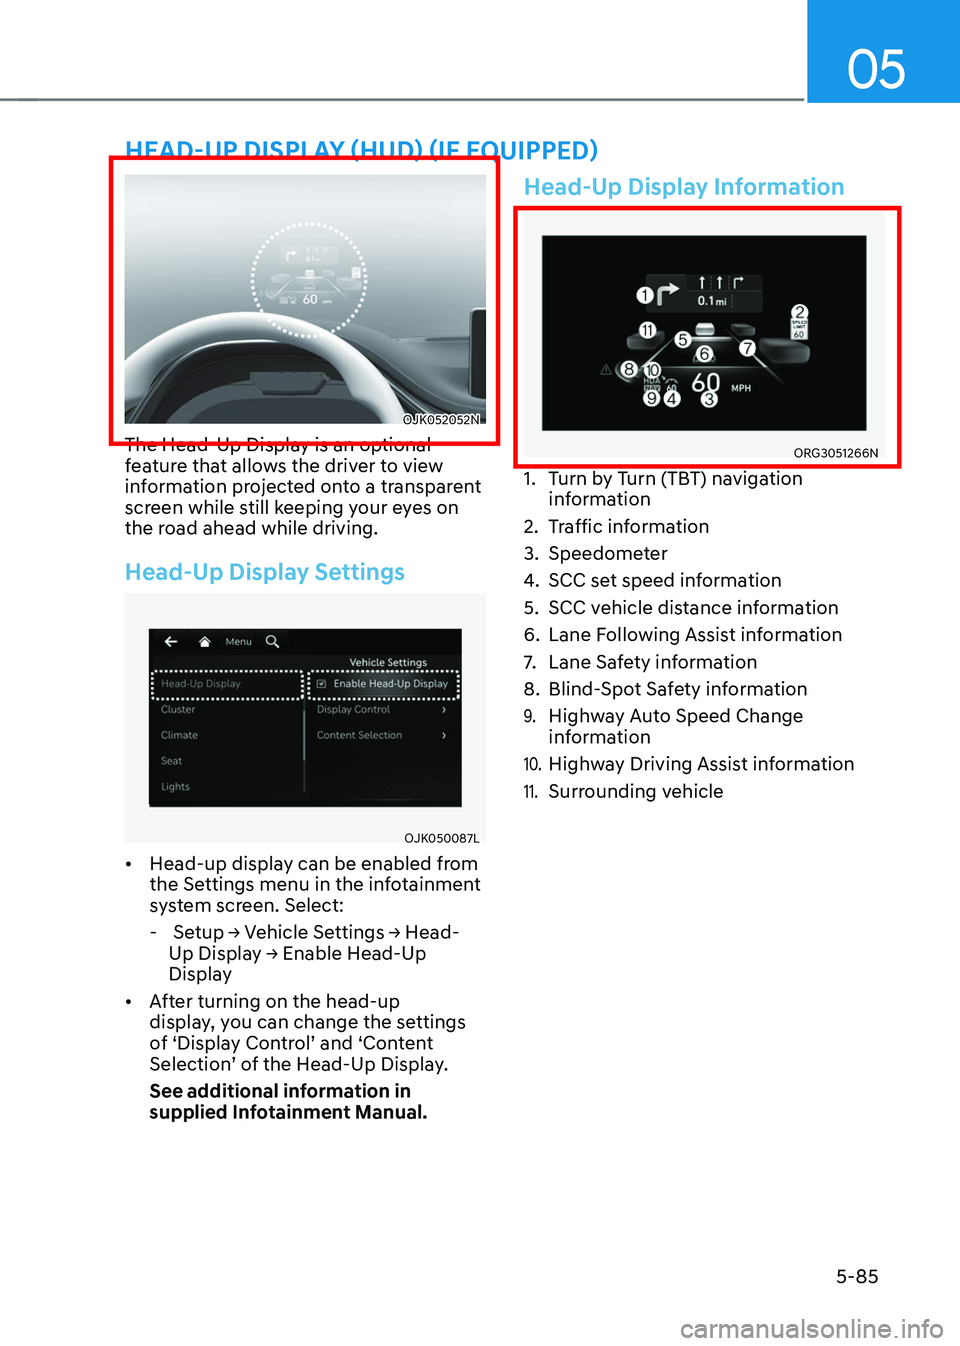
The Head-Up Display is an optional
feature that allows the driver to view
information projected onto a transparent
screen while still keeping your eyes on
the road ahead while driving.
Head-Up Display Settings
OJK050087LOJK050087L
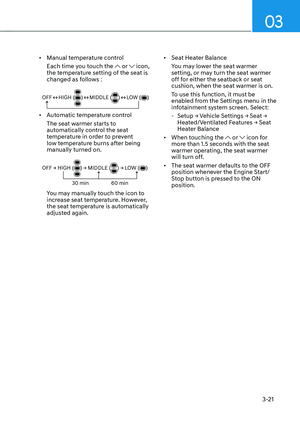
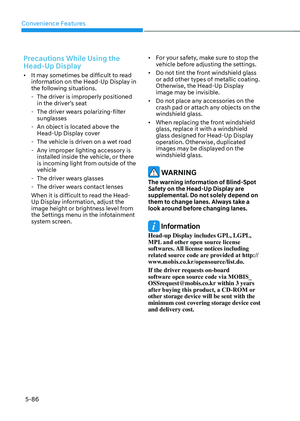
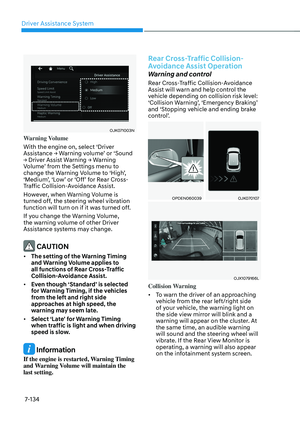
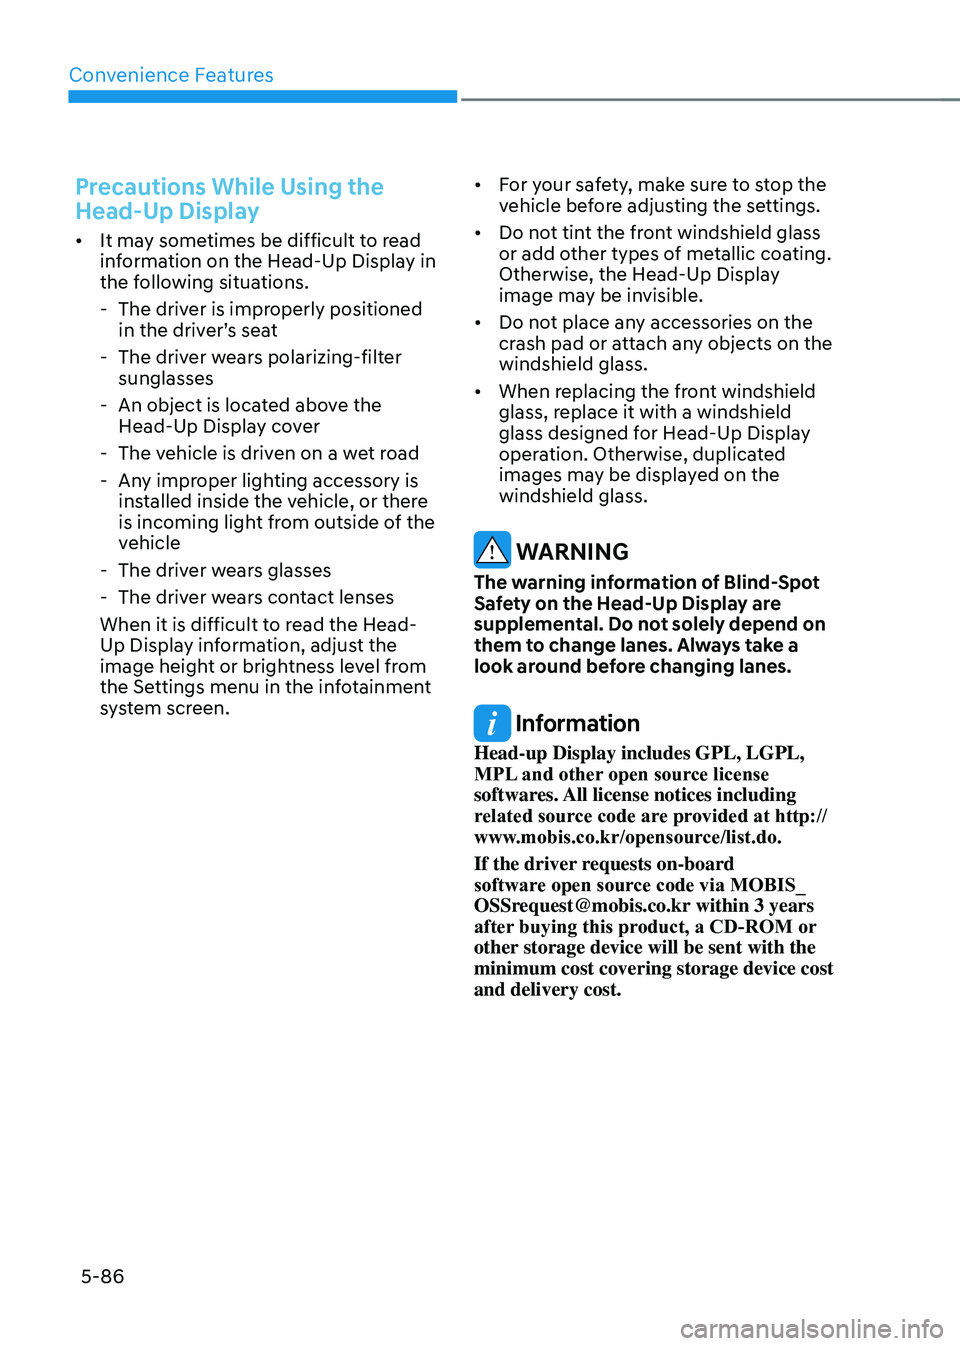
• Head-up display can be enabled from
the Settings menu in the infotainment
system screen. Select:
- Setup → Vehicle Settings → Head-
Up Display → Enable Head-Up
Display
• After turning on the head-up
display, you can change the settings
of ‘Display Control’ and ‘Content
Selection’ of the Head-Up Display.
See additional information in
supplied Infotainment Manual.
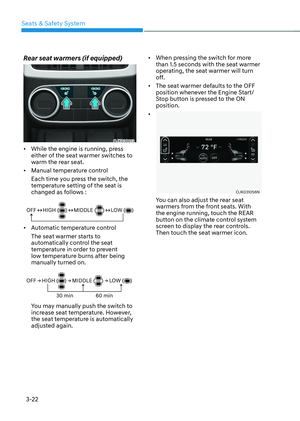
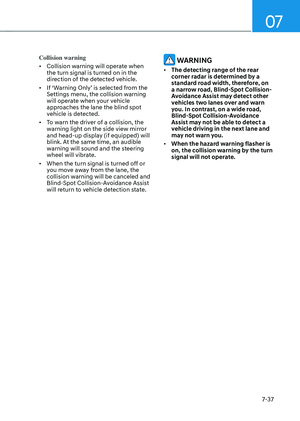
Head-Up Display Information
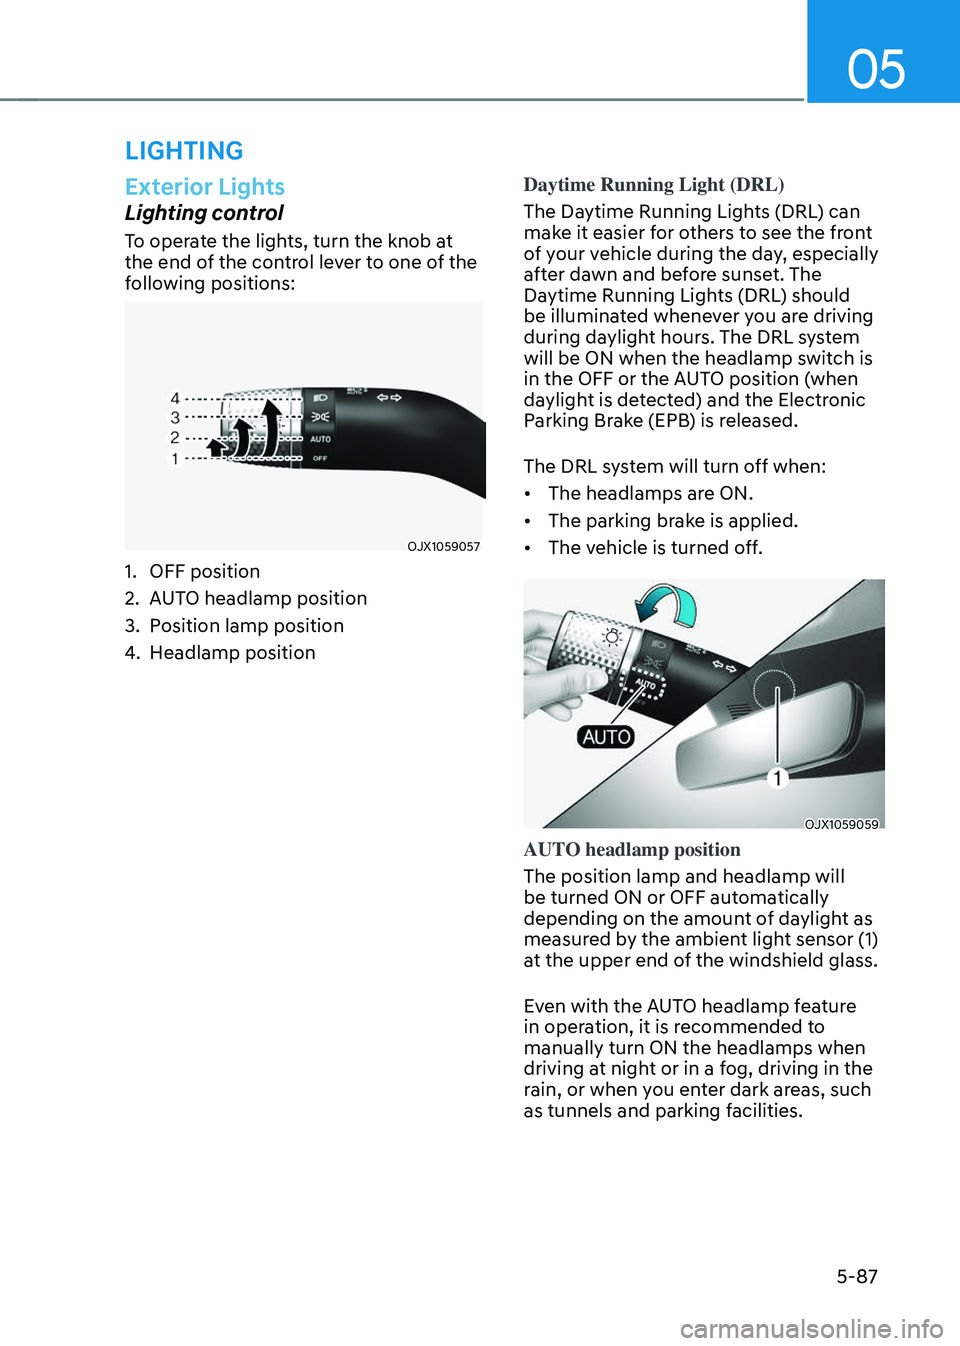
ORG3051266NORG3051266N
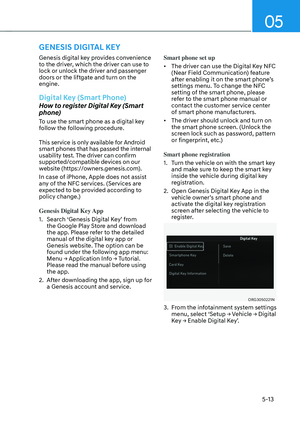
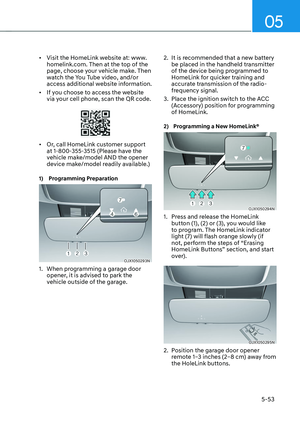
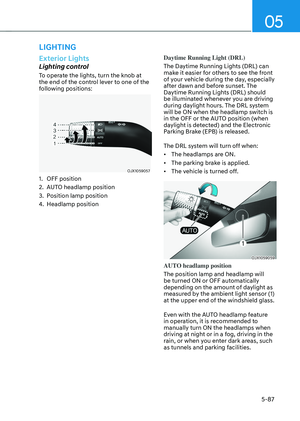
1. Turn by Turn (TBT) navigation
information
2. Traffic information
3. Speedometer
4. SCC set speed information
5. SCC vehicle distance information
6. Lane Following Assist information
7. Lane Safety information
8. Blind-Spot Safety information
9. Highway Auto Speed Change
information
10. Highway Driving Assist information
11. Surrounding vehicle
Page 222 of 637

Convenience Features
5-86
Precautions While Using the
Head-Up Display
• It may sometimes be difficult to read
information on the Head-Up Display in
the following situations.
-The driver is improperly positioned
in the driver’s seat
-The driver wears polarizing-filter
sunglasses
-An object is located above the
Head-Up Display cover
-The vehicle is driven on a wet road
-Any improper lighting accessory is
installed inside the vehicle, or there
is incoming light from outside of the
vehicle
-The driver wears glasses
-The driver wears contact lenses
When it is difficult to read the Head-
Up Display information, adjust the
image height or brightness level from
the Settings menu in the infotainment
system screen.
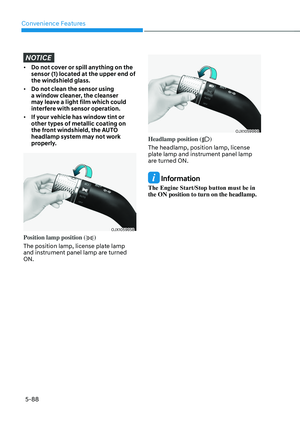
• For your safety, make sure to stop the
vehicle before adjusting the settings.
• Do not tint the front windshield glass
or add other types of metallic coating.
Otherwise, the Head-Up Display
image may be invisible.
• Do not place any accessories on the
crash pad or attach any objects on the
windshield glass.
• When replacing the front windshield
glass, replace it with a windshield
glass designed for Head-Up Display
operation. Otherwise, duplicated
images may be displayed on the
windshield glass.
WARNING
The warning information of Blind-Spot
Safety on the Head-Up Display are
supplemental. Do not solely depend on
them to change lanes. Always take a
look around before changing lanes.
Information
Head-up Display includes GPL, LGPL,
MPL and other open source license
softwares. All license notices including
related source code are provided at http://
www.mobis.co.kr/opensource/list.do.
If the driver requests on-board
software open source code via MOBIS_
[email protected] within 3 years
after buying this product, a CD-ROM or
other storage device will be sent with the
minimum cost covering storage device cost
and delivery cost.
Page 223 of 637

05
5-87
Exterior Lights
Lighting control
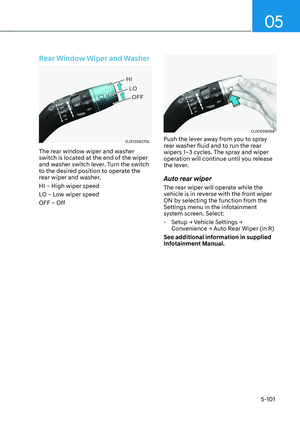
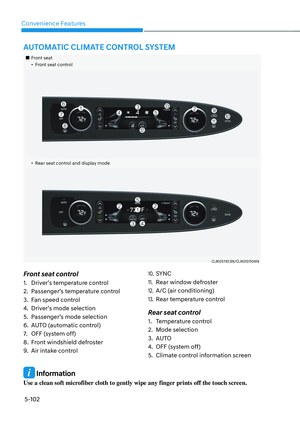
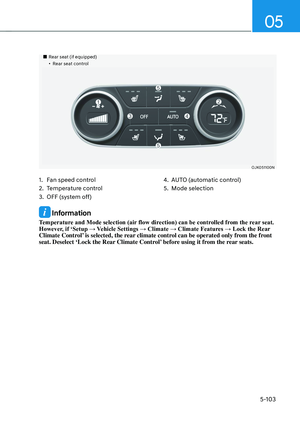
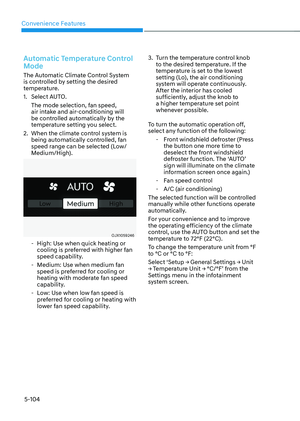
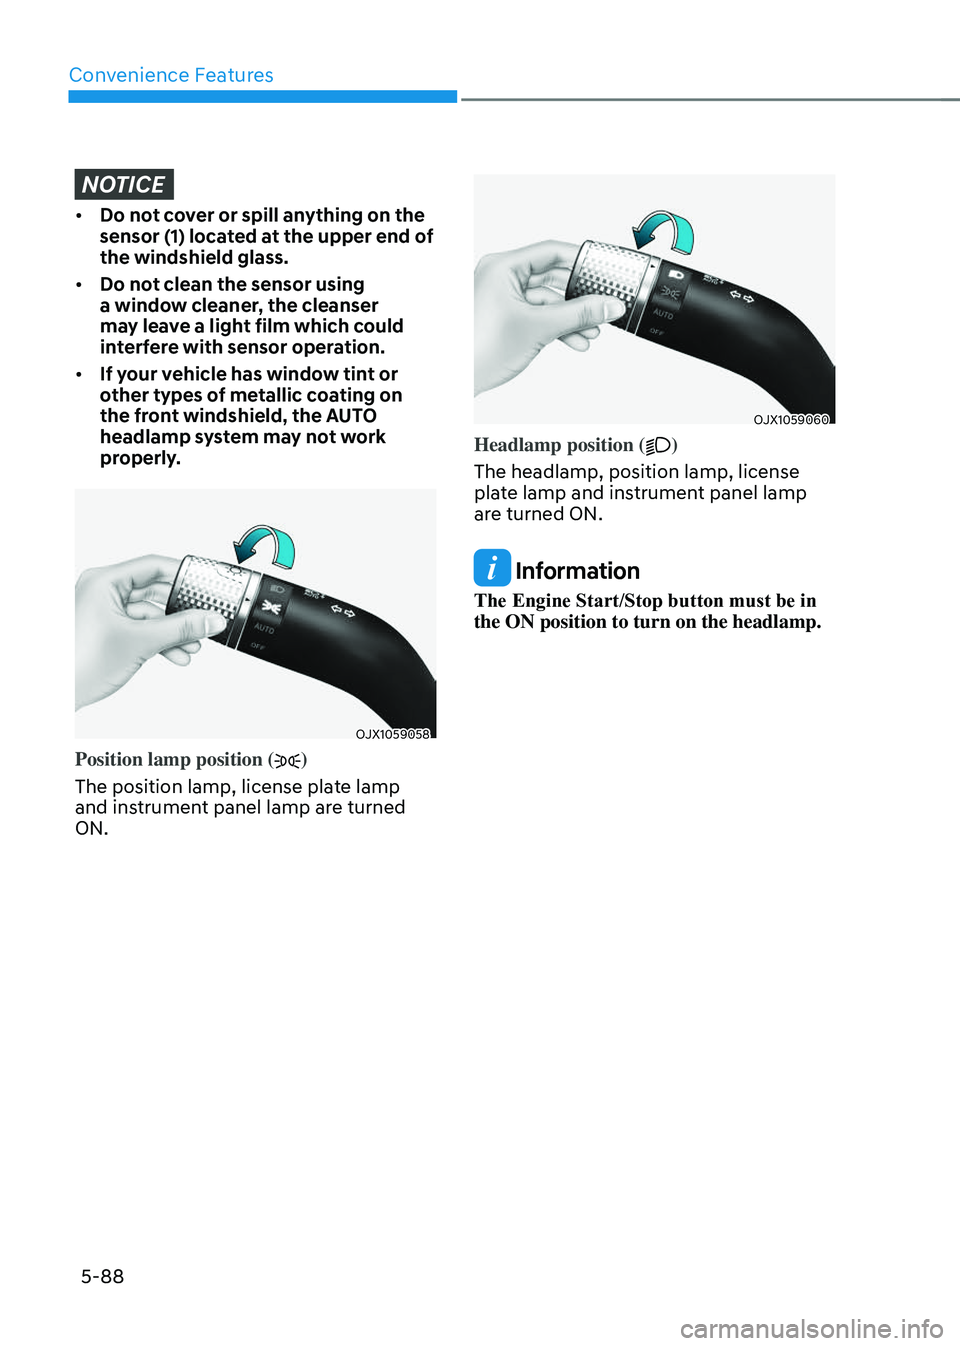
To operate the lights, turn the knob at
the end of the control lever to one of the
following positions:
OJX1059057OJX1059057
1. OFF position
2. AUTO headlamp position
3. Position lamp position
4. Headlamp positionDaytime Running Light (DRL)
The Daytime Running Lights (DRL) can
make it easier for others to see the front
of your vehicle during the day, especially
after dawn and before sunset. The
Daytime Running Lights (DRL) should
be illuminated whenever you are driving
during daylight hours. The DRL system
will be ON when the headlamp switch is
in the OFF or the AUTO position (when
daylight is detected) and the Electronic
Parking Brake (EPB) is released.
The DRL system will turn off when:
• The headlamps are ON.
• The parking brake is applied.
• The vehicle is turned off.
OJX1059059OJX1059059
AUTO headlamp position
The position lamp and headlamp will
be turned ON or OFF automatically
depending on the amount of daylight as
measured by the ambient light sensor (1)
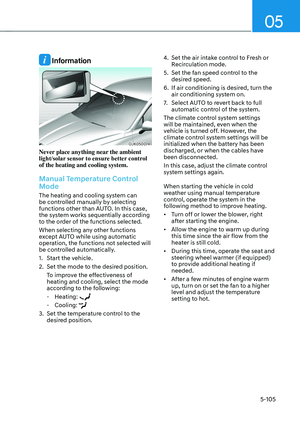
at the upper end of the windshield glass.
Even with the AUTO headlamp feature
in operation, it is recommended to
manually turn ON the headlamps when
driving at night or in a fog, driving in the
rain, or when you enter dark areas, such
as tunnels and parking facilities.
LIGHTING
Page 224 of 637
Convenience Features
5-88
NOTICE
• Do not cover or spill anything on the
sensor (1) located at the upper end of
the windshield glass.
• Do not clean the sensor using
a window cleaner, the cleanser
may leave a light film which could
interfere with sensor operation.
• If your vehicle has window tint or
other types of metallic coating on
the front windshield, the AUTO
headlamp system may not work
properly.
OJX1059058OJX1059058
Position lamp position ()
The position lamp, license plate lamp
and instrument panel lamp are turned
ON.
OJX1059060OJX1059060
Headlamp position ()
The headlamp, position lamp, license
plate lamp and instrument panel lamp
are turned ON.
Information
The Engine Start/Stop button must be in
the ON position to turn on the headlamp.