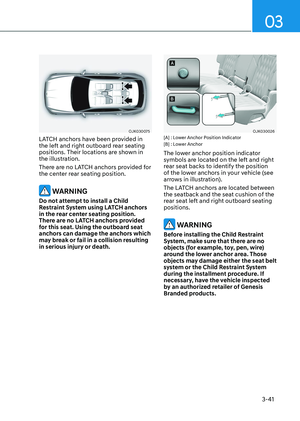
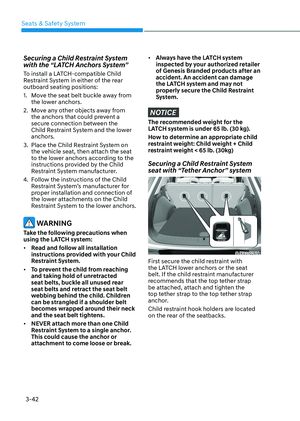
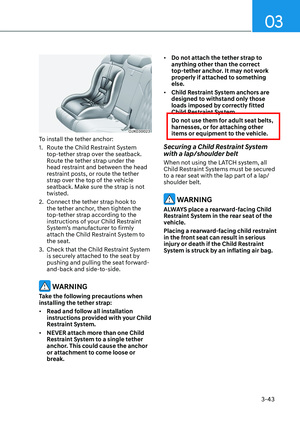
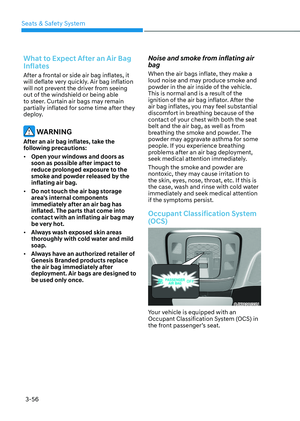
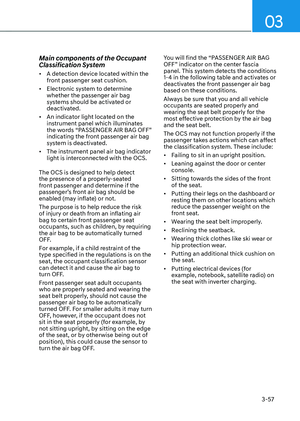
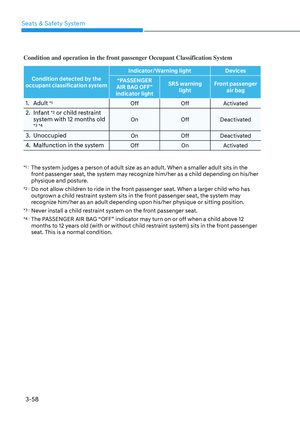
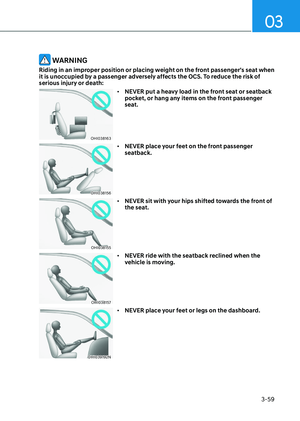
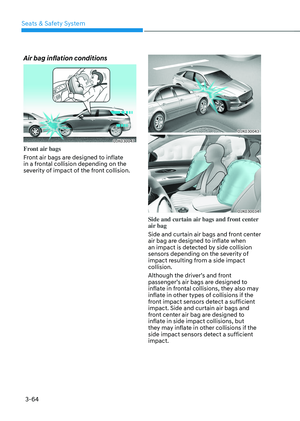
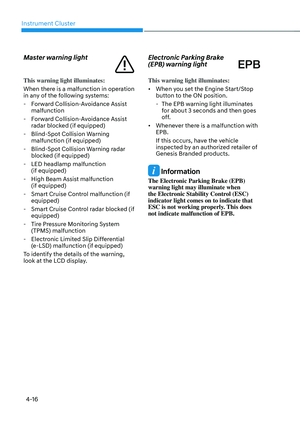
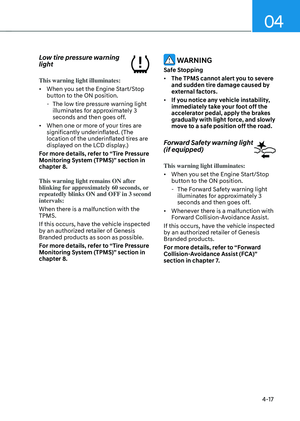
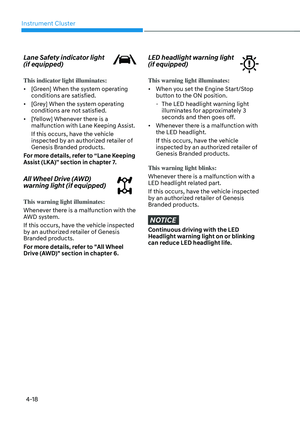
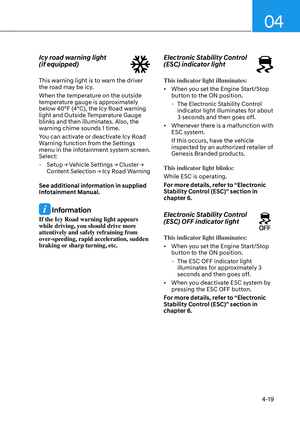
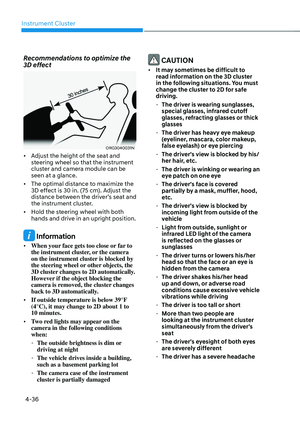
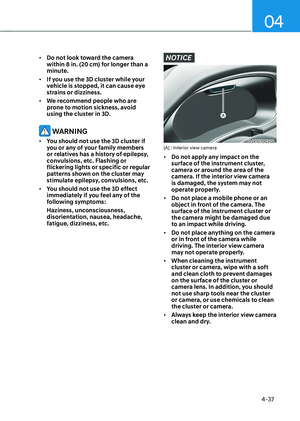
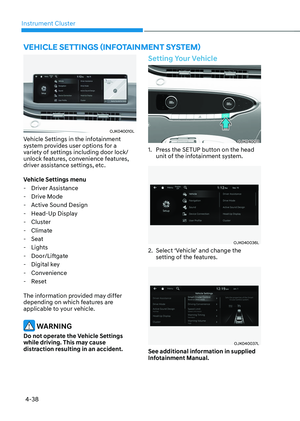
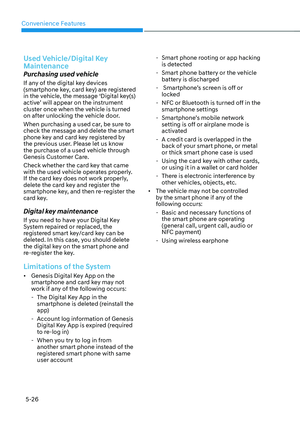
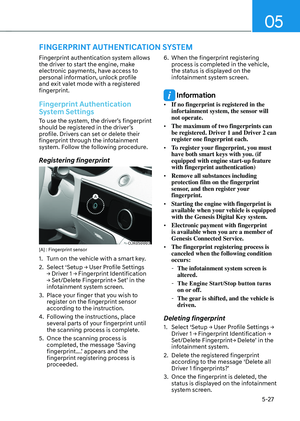
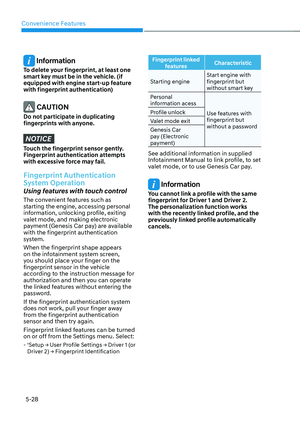
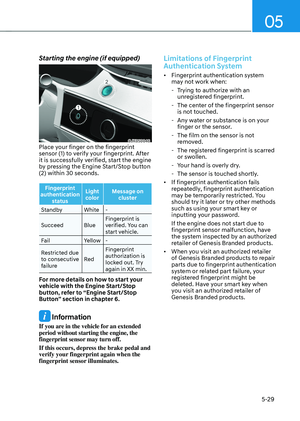
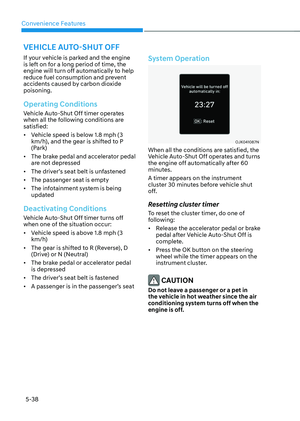
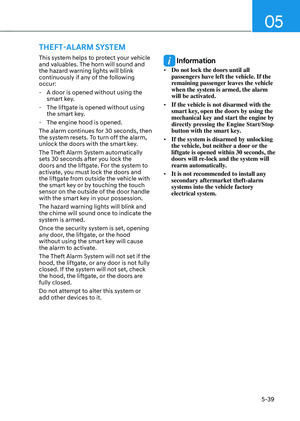
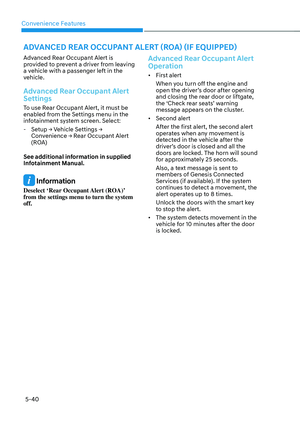
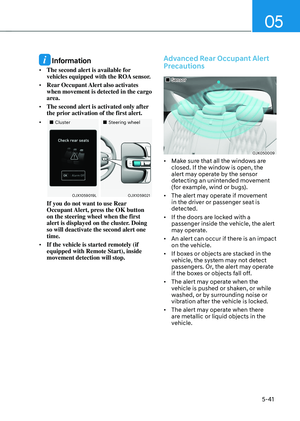
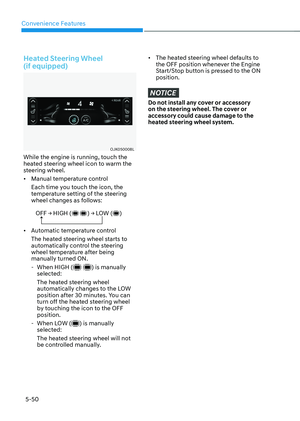
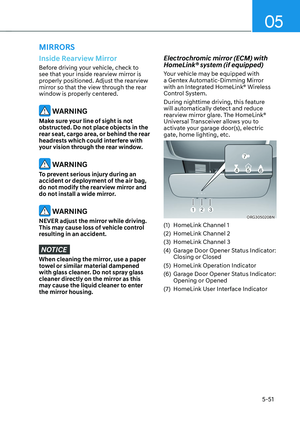
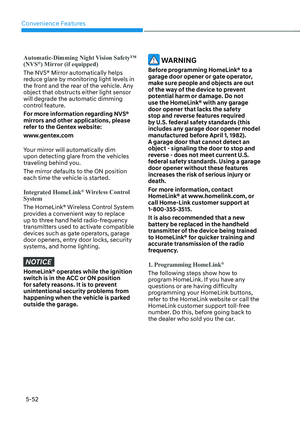
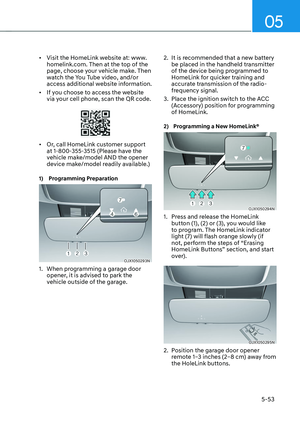
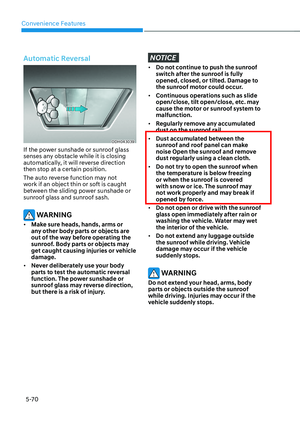
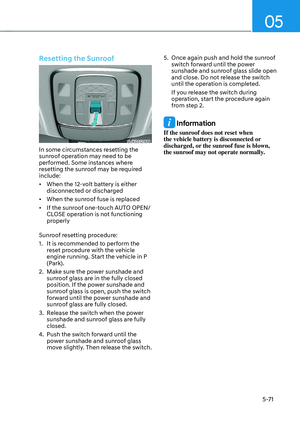
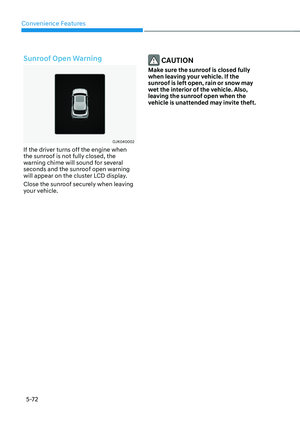
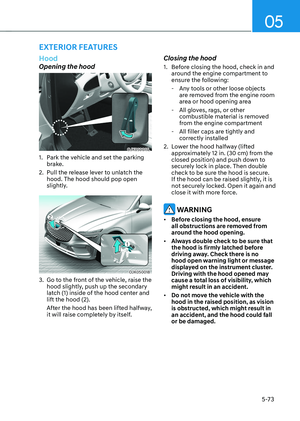
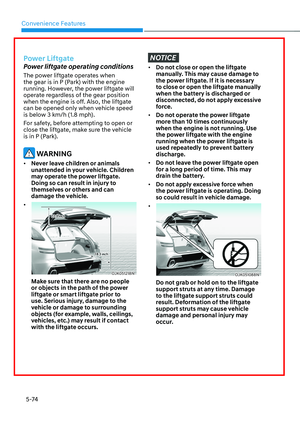
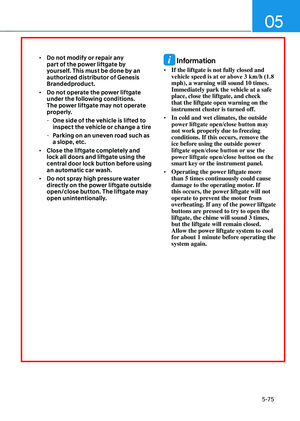
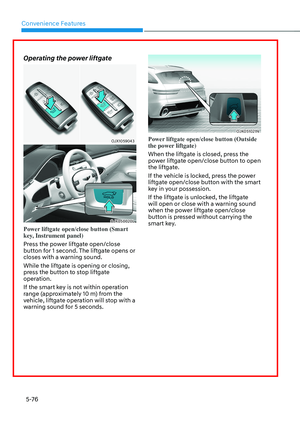
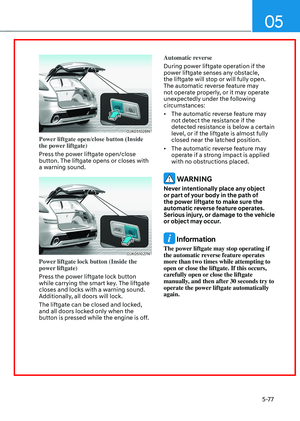
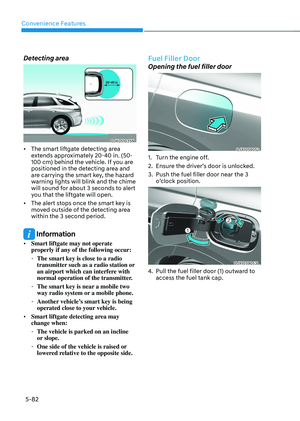
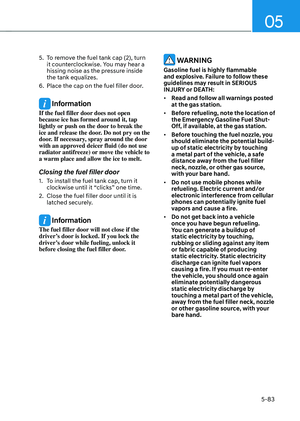
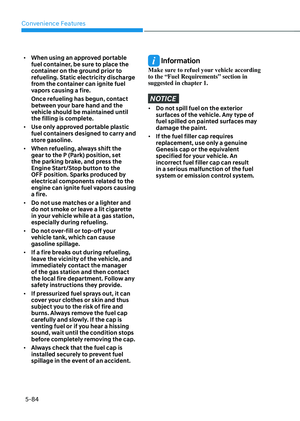
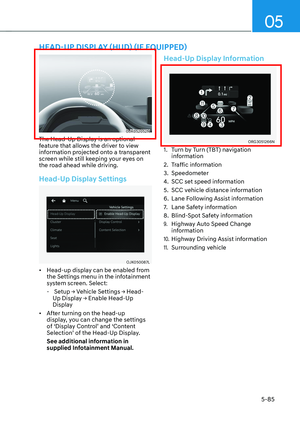
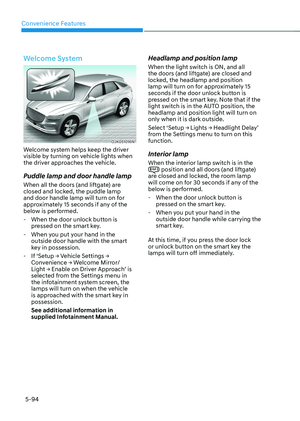
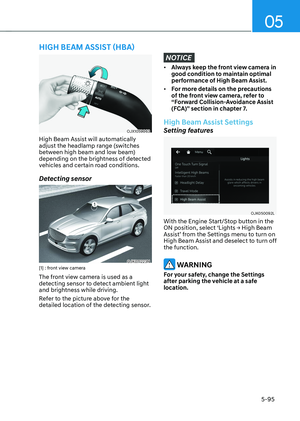
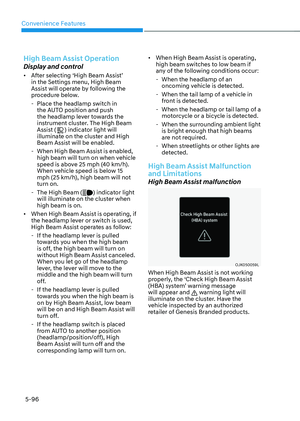
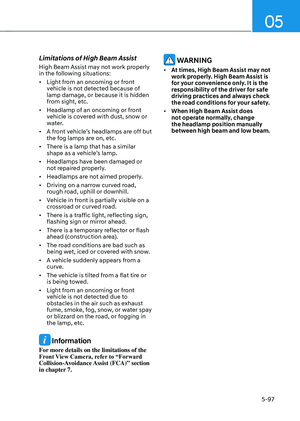
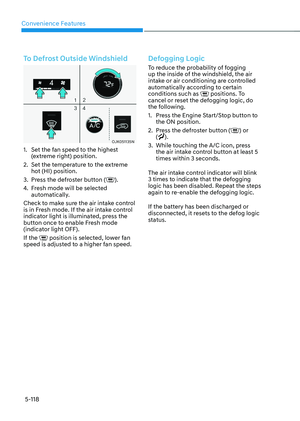
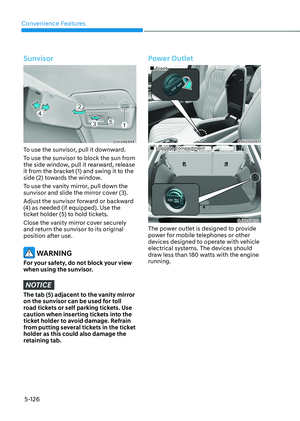
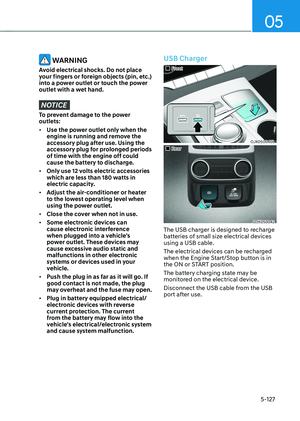
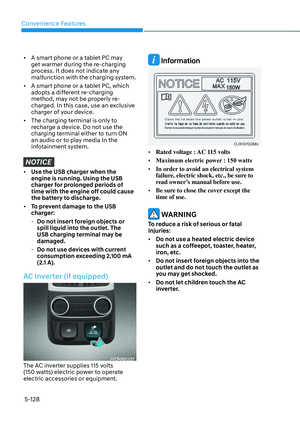
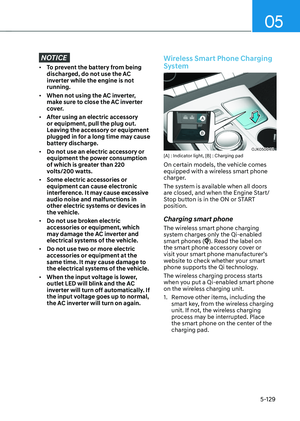
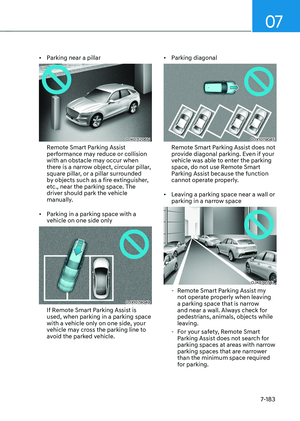
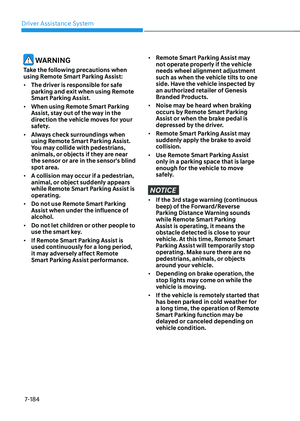
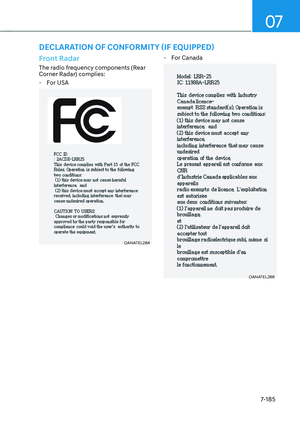
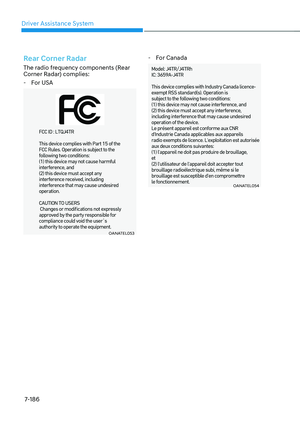
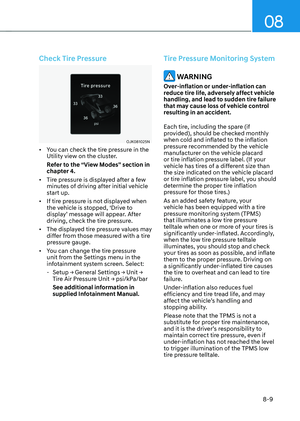
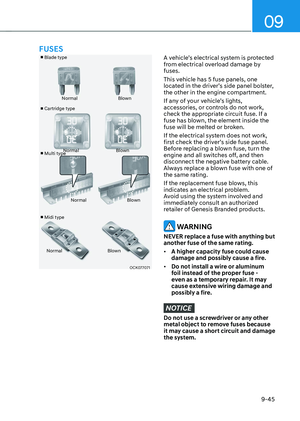
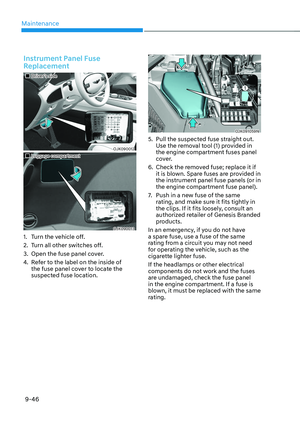
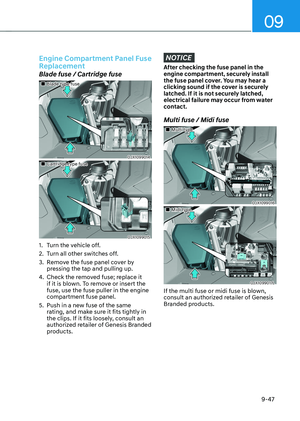
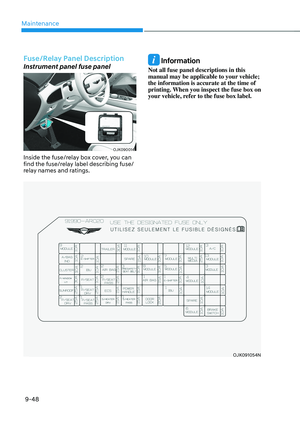
Page 177 of 637
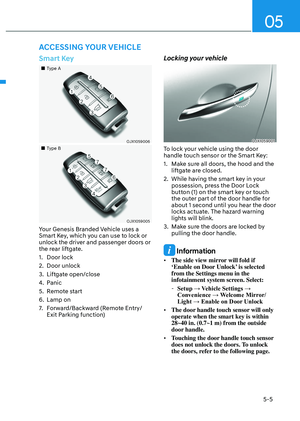
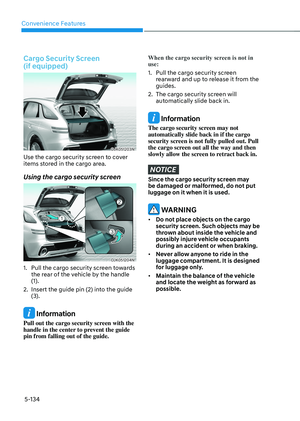
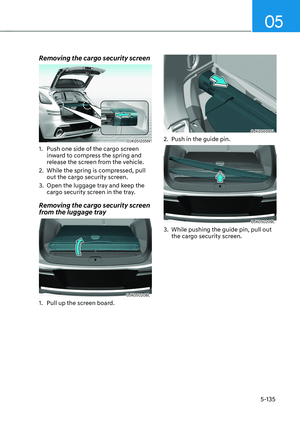
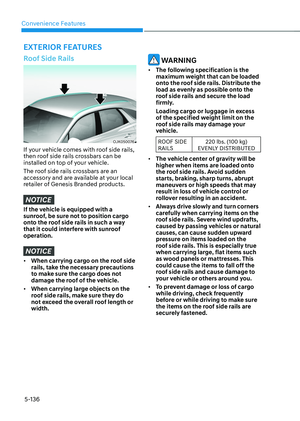
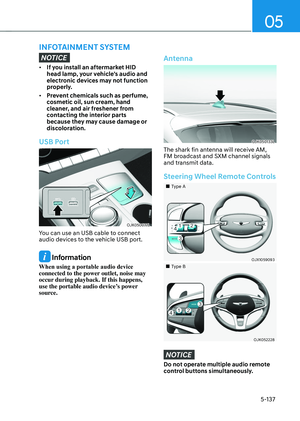
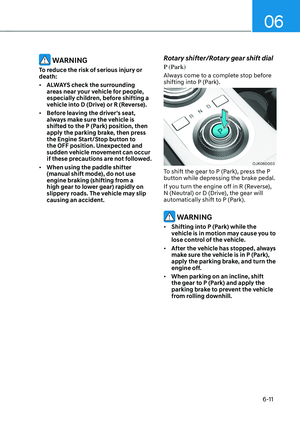
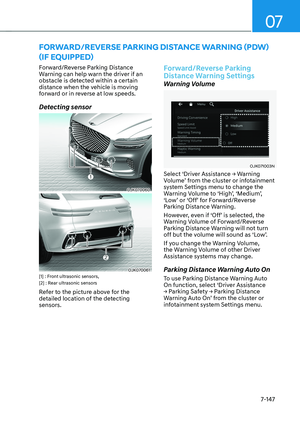
05
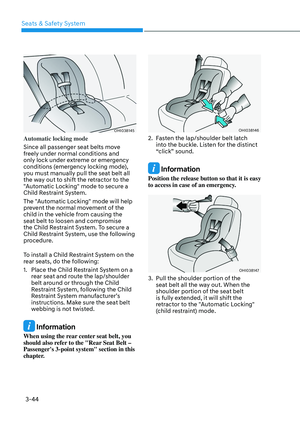
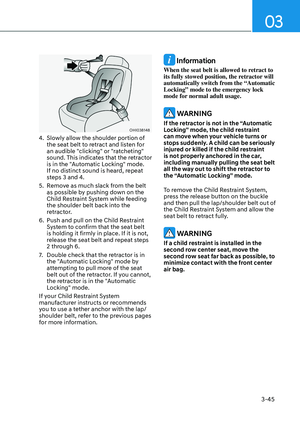
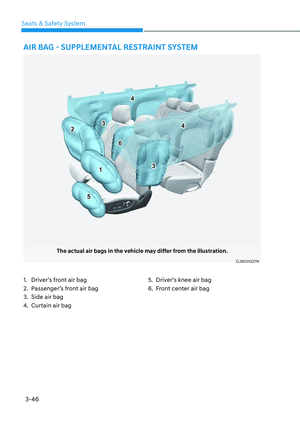
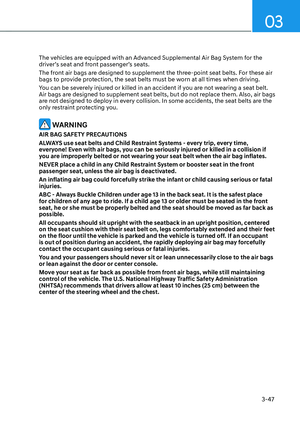
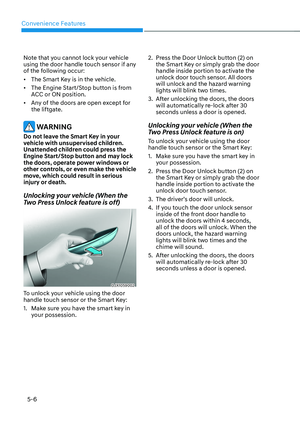
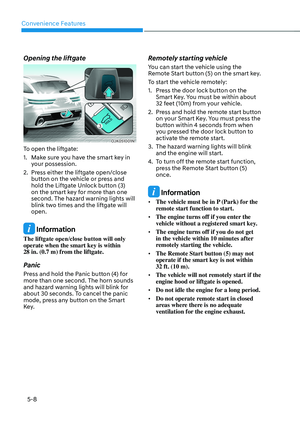
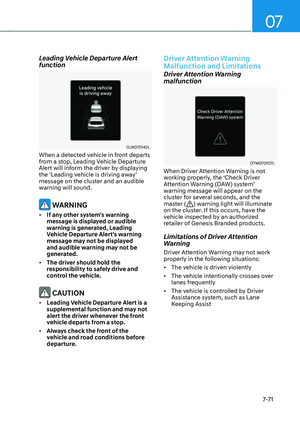
5-41
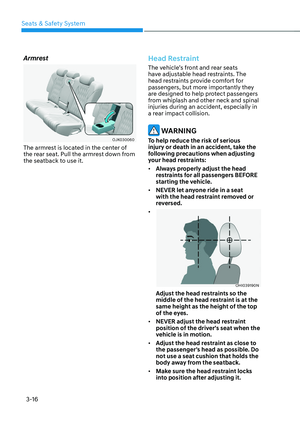
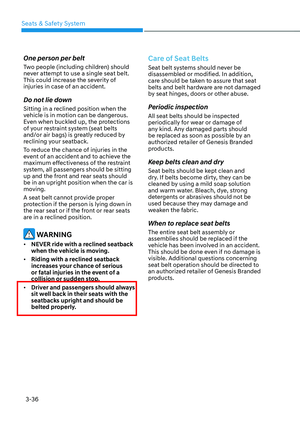
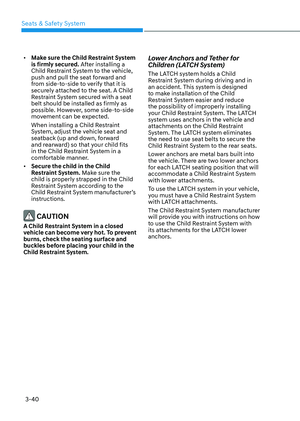
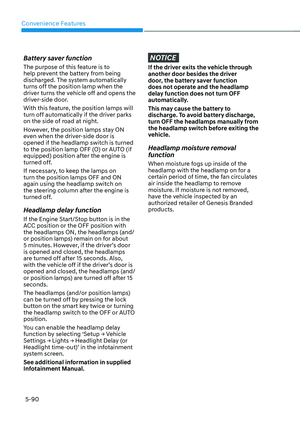
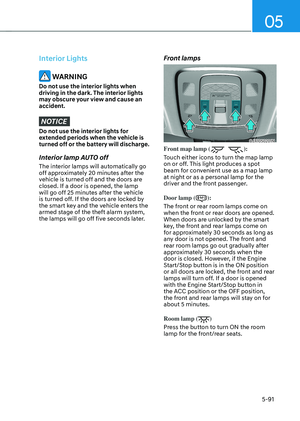
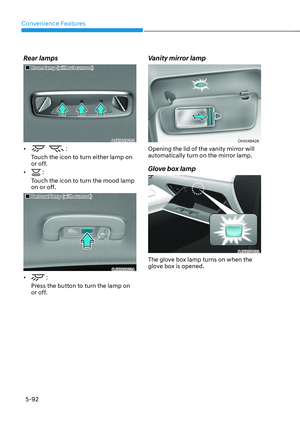
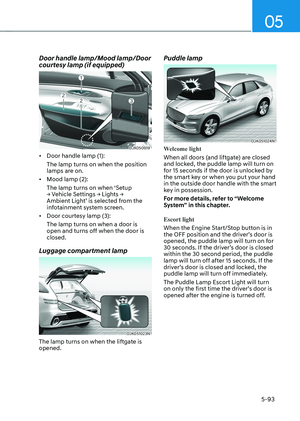
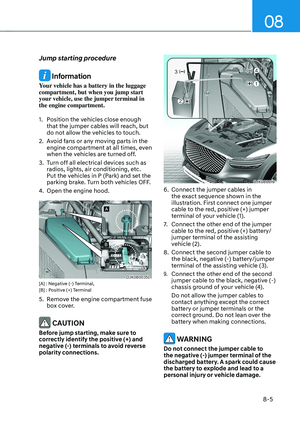
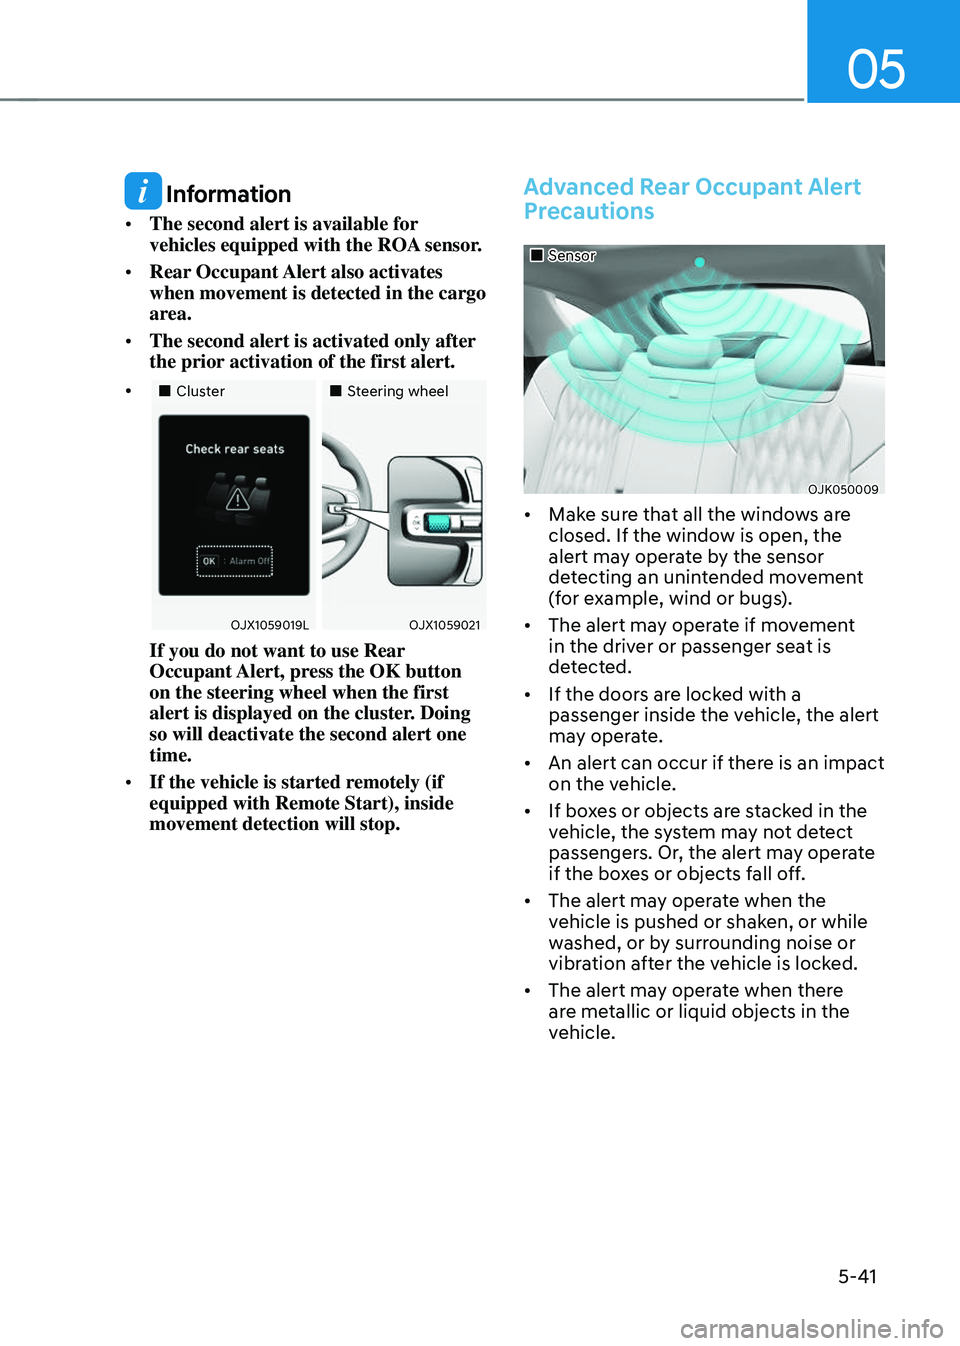
Information
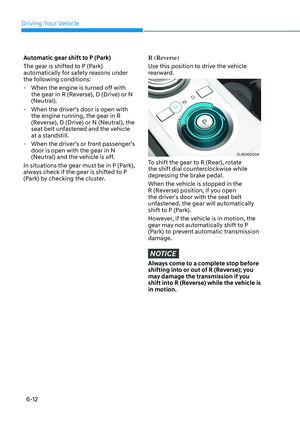
• The second alert is available for
vehicles equipped with the ROA sensor.
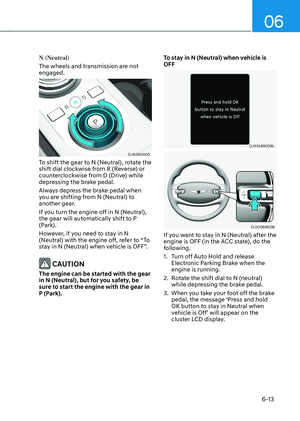
• Rear Occupant Alert also activates
when movement is detected in the cargo
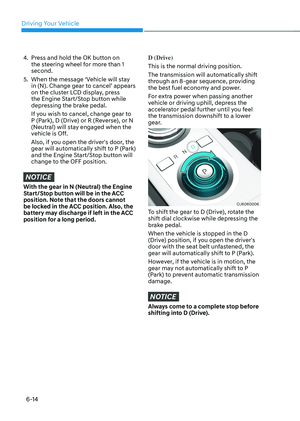
area.
• The second alert is activated only after
the prior activation of the first alert.
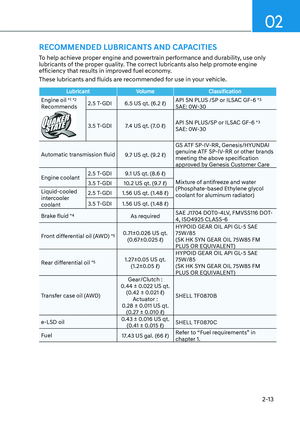
•
Page 178 of 637

Convenience Features
5-42
WARNING
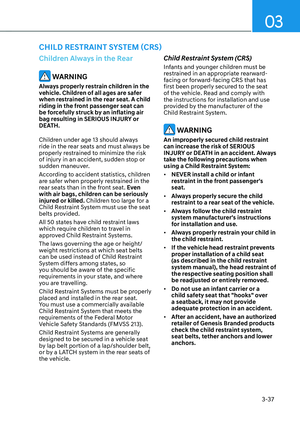
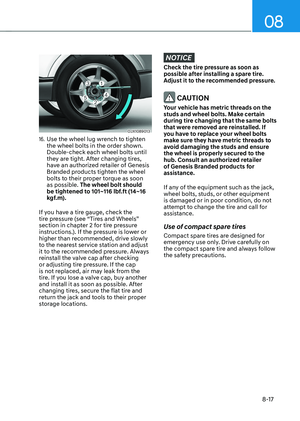
Even if your vehicle is equipped with
Advanced Rear Occupant Alert (ROA),
always make sure to check the rear
seats or cargo area before you leave the
vehicle.
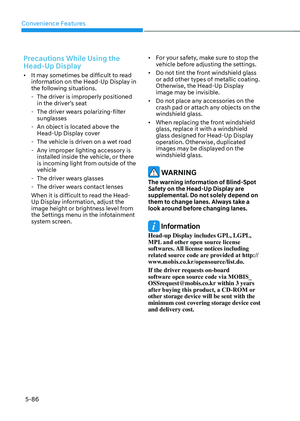
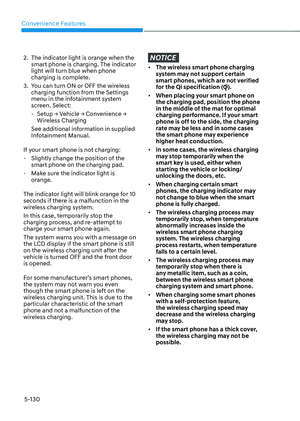
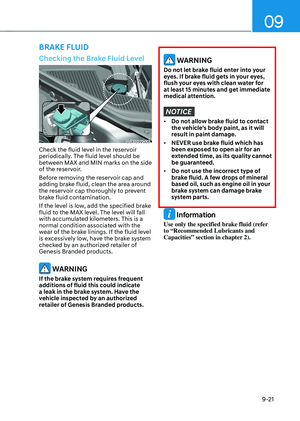
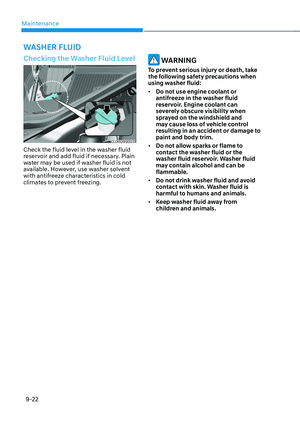
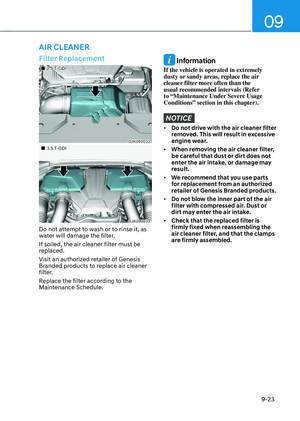
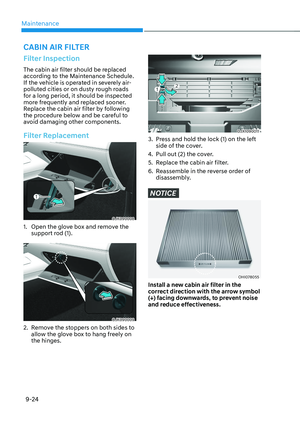
Advanced Rear Occupant Alert (ROA)
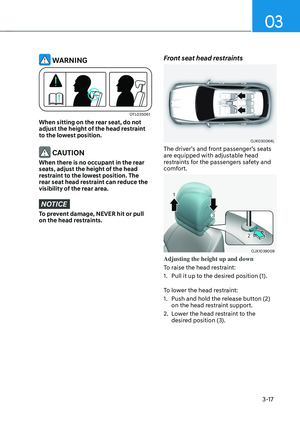
may not operate when:
• Movement does not continue for
a certain period of time or the
movement is small.
• A child is not seated in a child
restraint system.
• The detection signal is weak because
the signal is obscured by seat or CRS
(for example, child is restrained in
the forward-facing CRS).
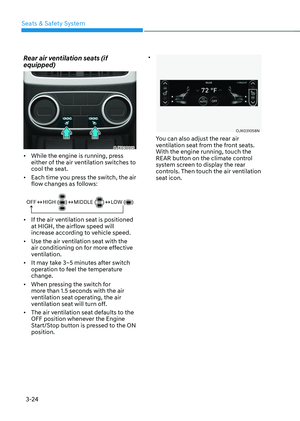
• Movement is detected in areas other
than the rear seats.
• The rear passenger is covered with a
fabric containing metallic substance
such as a blanket.
• An object in the vehicle blocks the
sensor.
• The sensor is contaminated by
foreign material.
• An animal at the rear seat or luggage
compartment is not large enough to
be detected by the sensor or there is
hardly any movement.
• Attaching objects or modifying the
interior ceiling, or the interior ceiling
is deformed or damaged.
• There are electronic interference
around the vehicle.
• Other environmental reasons that
may affect the system.
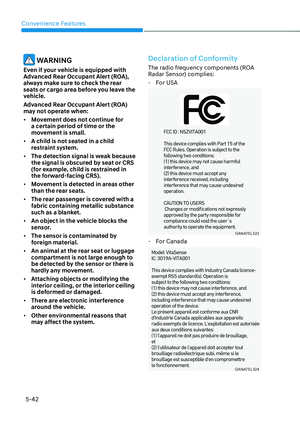
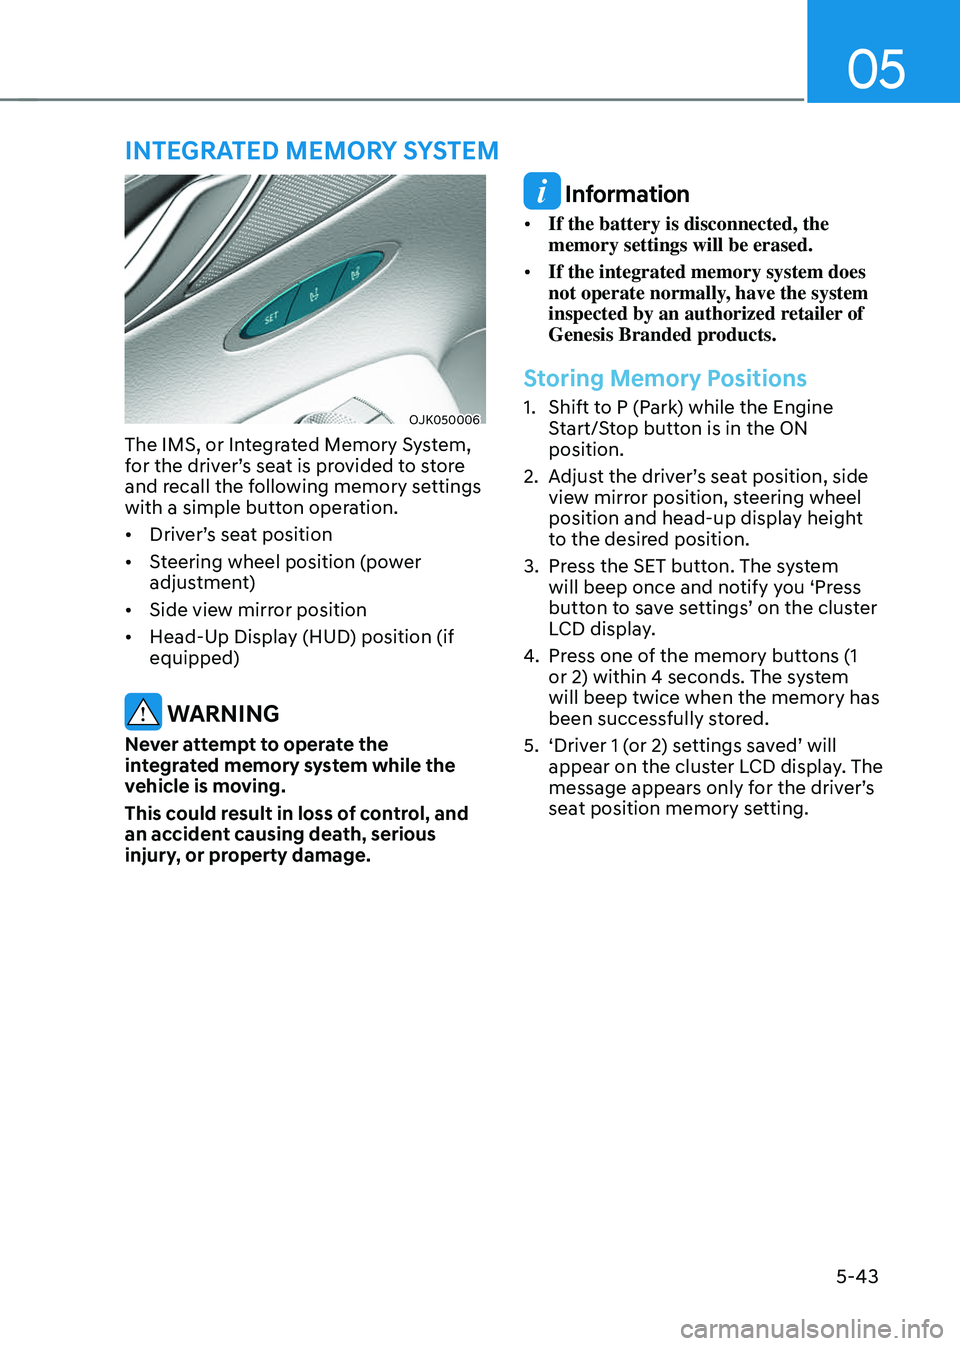
Declaration of Conformity
The radio frequency components (ROA
Radar Sensor) complies:
-For USA
OANATEL323OANATEL323
-For Canada
OANATEL324OANATEL324
Page 179 of 637

05
5-43
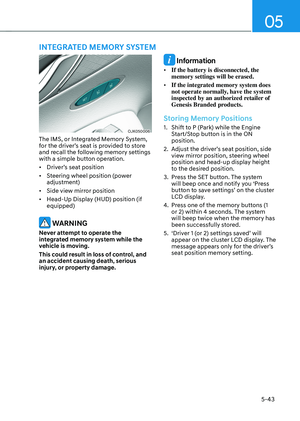
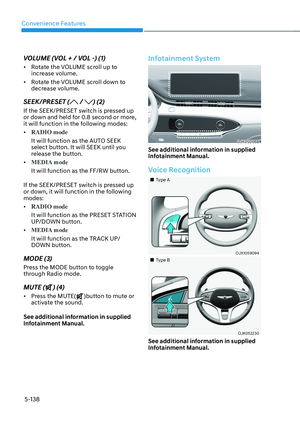
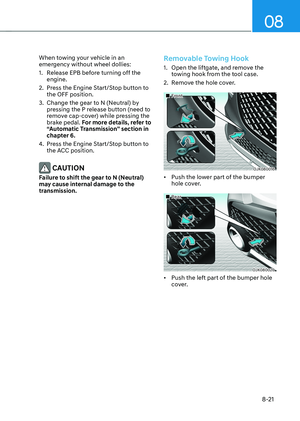
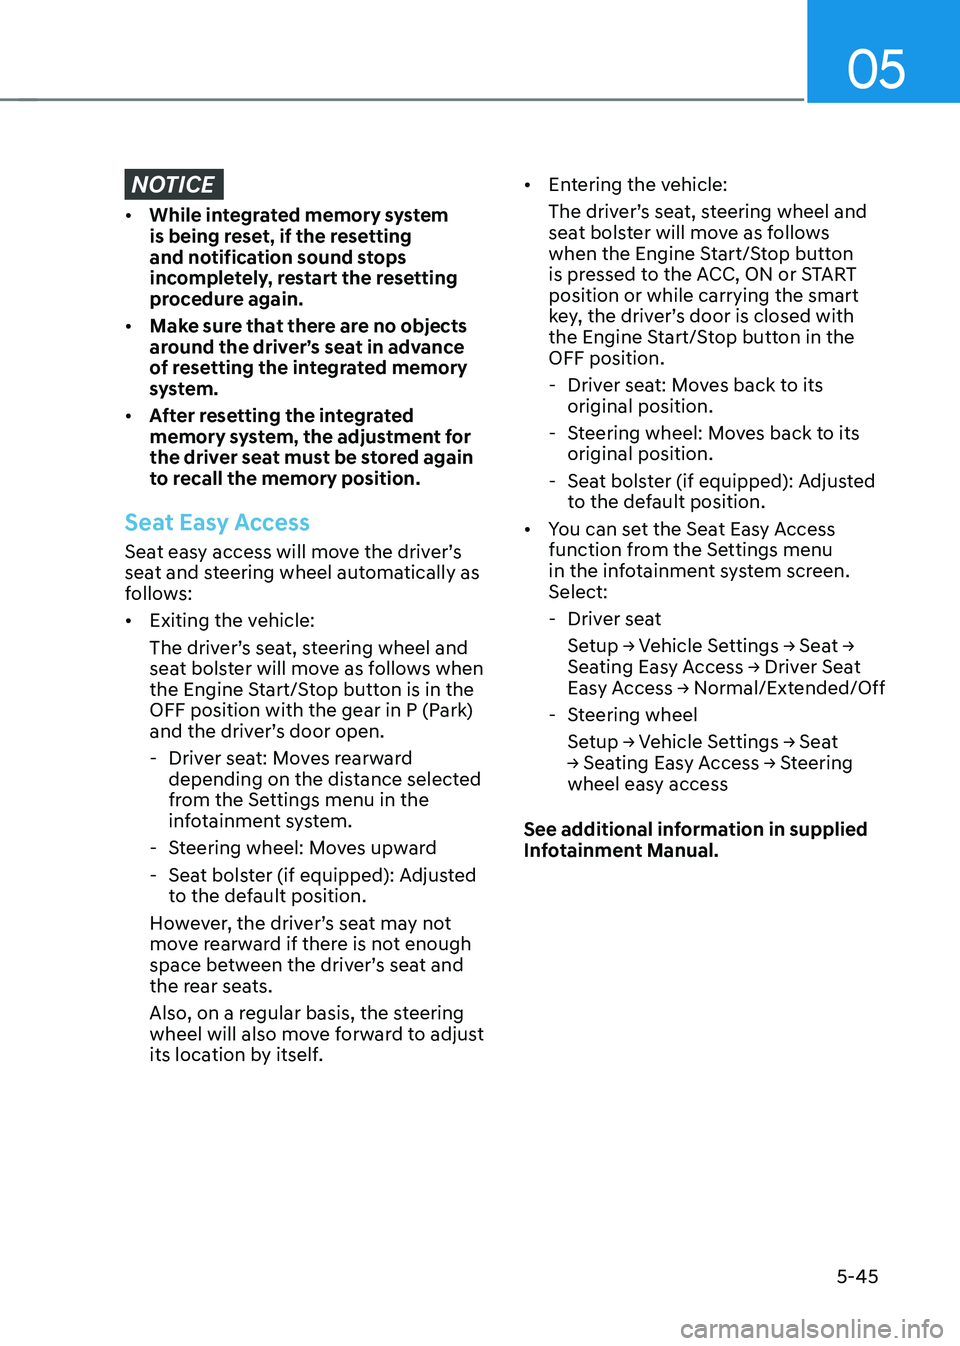
OJK050006OJK050006
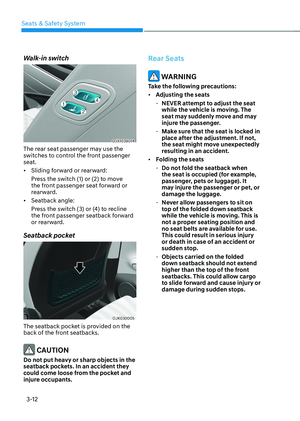
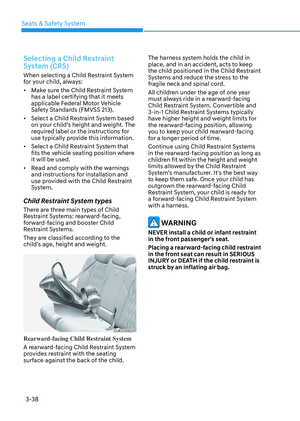
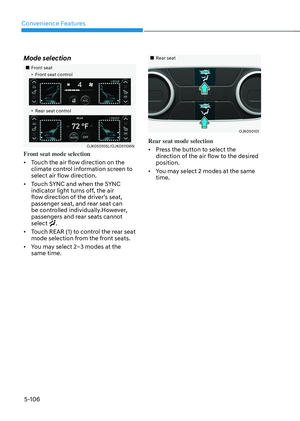
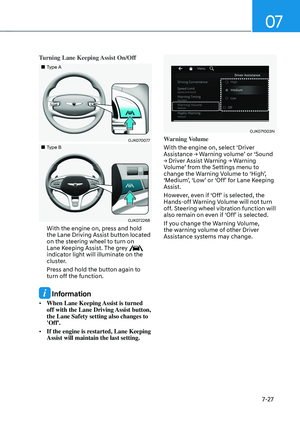
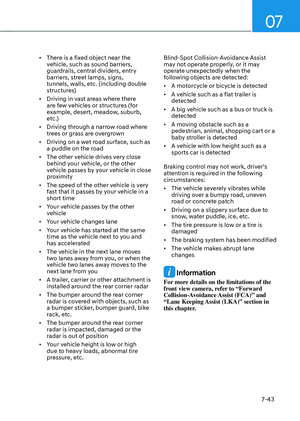
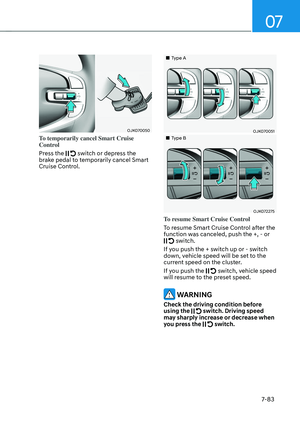
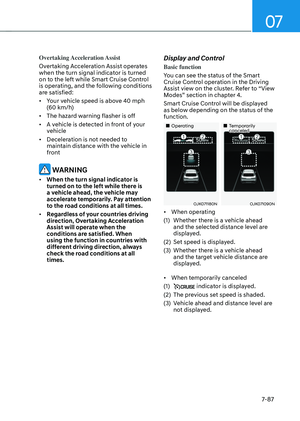
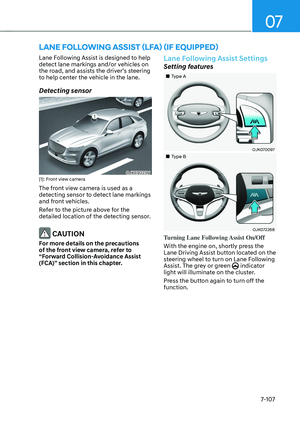
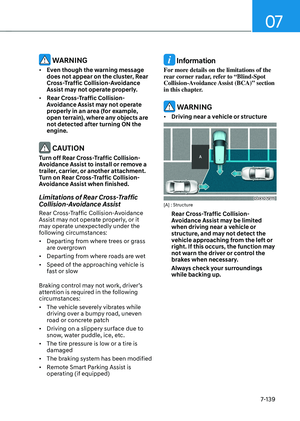
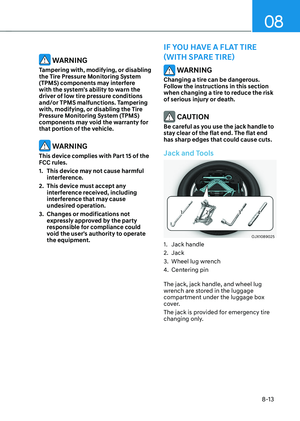
The IMS, or Integrated Memory System,
for the driver’s seat is provided to store
and recall the following memory settings
with a simple button operation.
• Driver’s seat position
• Steering wheel position (power
adjustment)
• Side view mirror position
• Head-Up Display (HUD) position (if
equipped)
WARNING
Never attempt to operate the
integrated memory system while the
vehicle is moving.
This could result in loss of control, and
an accident causing death, serious
injury, or property damage.
Information
• If the battery is disconnected, the
memory settings will be erased.
• If the integrated memory system does
not operate normally, have the system
inspected by an authorized retailer of
Genesis Branded products.
Storing Memory Positions
1. Shift to P (Park) while the Engine
Start/Stop button is in the ON
position.
2. Adjust the driver’s seat position, side
view mirror position, steering wheel
position and head-up display height
to the desired position.
3. Press the SET button. The system
will beep once and notify you ‘Press
button to save settings’ on the cluster
LCD display.
4. Press one of the memory buttons (1
or 2) within 4 seconds. The system
will beep twice when the memory has
been successfully stored.
5. ‘Driver 1 (or 2) settings saved’ will
appear on the cluster LCD display. The
message appears only for the driver’s
seat position memory setting.
INTEGRATED MEMORY SYSTEM
Page 180 of 637

Convenience Features
5-44
Recalling Memory Positions
1. Shift to P (Park) while the Engine
Start/Stop button is in the ON
position.
2. Press the desired memory button (1
or 2). The system will beep once, and
then the driver’s seat position, side
view mirror position, steering wheel
position and head-up display height
will automatically adjust to the stored
positions.
3. ‘Driver 1 (or 2) settings applied’ will
appear on the cluster LCD display.
Information
• Note that while the memory settings
are being recalled, if you press the
SET button or the corresponding IMS
memory button (1 or 2) for which the
settings are being recalled, the IMS will
temporarily deactivate. If you select the
alternate IMS memory button (1 or 2),
the IMS will activate according to the
settings of the alternate button.
For example, if you press the SET
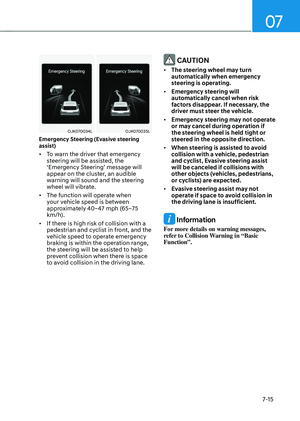
button or the number 1 button with the
number 1 setting in operation, the IMS
will temporarily deactivate.
If you press the number 2 button, then
the IMS memory settings according to
number 2 will activate.
• If you adjust the driver’s seat, side
vew mirror, steering wheel or head-up
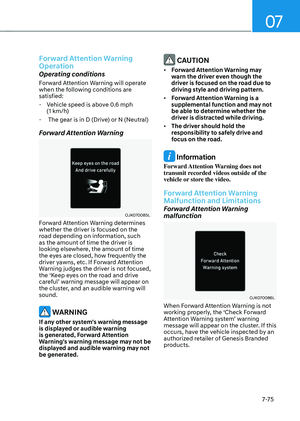
display while the IMS is recalling the
stored positions, the memory settings
will not be applied.
Resetting the System
Follow the below procedures to reset the
Integrated Memory System (IMS) if it is
not operating properly:
Resetting integrated memory
system
1. Stop the vehicle and open the driver’s
door with the vehicle shifted to P
(Park).
2. Adjust the driver’s seat and seatback
to the foremost position.
3. Press the SET button and push
forward the driver’s seat movement
switch over 2 seconds simultaneously.
While resetting integrated memory
system
1. Resetting starts with a notification
sound.
2. The driver’s seat and seatback is
adjusted to the rearward position with
the notification sound.
3. The driver’s seat and seatback is
re-adjusted to the default position
(central position) with the notification
sound.
However, in the following cases, the
resetting procedure and the notification
sound may stop.
• The memory button is pressed.
• The seat control switch is operated.
• The gear is shifted out of P (Park)
• The driving speed exceeds 2 mph
(3 km/h ).
• The driver’s door is closed.
Page 181 of 637

05
5-45
NOTICE
• While integrated memory system
is being reset, if the resetting
and notification sound stops
incompletely, restart the resetting
procedure again.
• Make sure that there are no objects
around the driver’s seat in advance
of resetting the integrated memory
system.
• After resetting the integrated
memory system, the adjustment for
the driver seat must be stored again
to recall the memory position.
Seat Easy Access
Seat easy access will move the driver’s
seat and steering wheel automatically as
follows:
• Exiting the vehicle:
The driver’s seat, steering wheel and
seat bolster will move as follows when
the Engine Start/Stop button is in the
OFF position with the gear in P (Park)
and the driver’s door open.
-Driver seat: Moves rearward
depending on the distance selected
from the Settings menu in the
infotainment system.
-Steering wheel: Moves upward
-Seat bolster (if equipped): Adjusted
to the default position.
However, the driver’s seat may not
move rearward if there is not enough
space between the driver’s seat and
the rear seats.
Also, on a regular basis, the steering
wheel will also move forward to adjust
its location by itself.
• Entering the vehicle:
The driver’s seat, steering wheel and
seat bolster will move as follows
when the Engine Start/Stop button
is pressed to the ACC, ON or START
position or while carrying the smart
key, the driver’s door is closed with
the Engine Start/Stop button in the
OFF position.
- Driver seat: Moves back to its
original position.
-Steering wheel: Moves back to its
original position.
-Seat bolster (if equipped): Adjusted
to the default position.
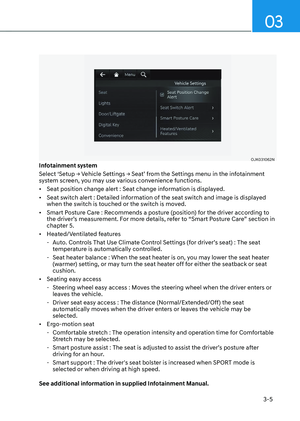
• You can set the Seat Easy Access
function from the Settings menu
in the infotainment system screen.
Select:
-Driver seat
Setup → Vehicle Settings → Seat →
Seating Easy Access → Driver Seat
Easy Access → Normal/Extended/Off
-Steering wheel
Setup → Vehicle Settings → Seat
→ Seating Easy Access → Steering
wheel easy access
See additional information in supplied
Infotainment Manual.
Page 182 of 637

Convenience Features5-46
SMART POSTURE CARE SYSTEM (IF EQUIPPED)
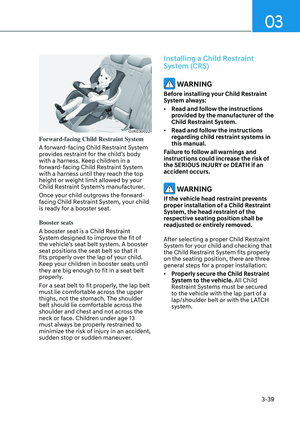
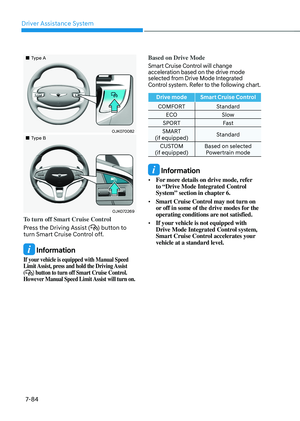
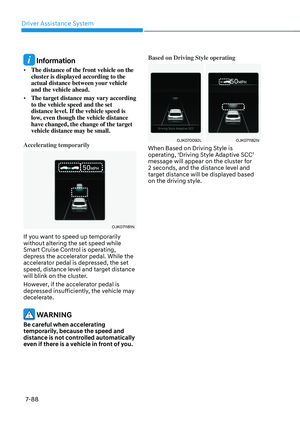
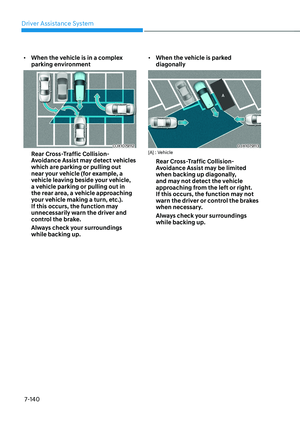
The Smart Posture Care system
automatically helps provide a healthy
posture (position) for the driver’s
back, and sets the steering wheel,
side view mirrors, head-up display
positions according to the driver’s body
measurements.
Information
If the Seat Posture Care system does
not operate normally, have the system
checked by an authorized retailer of
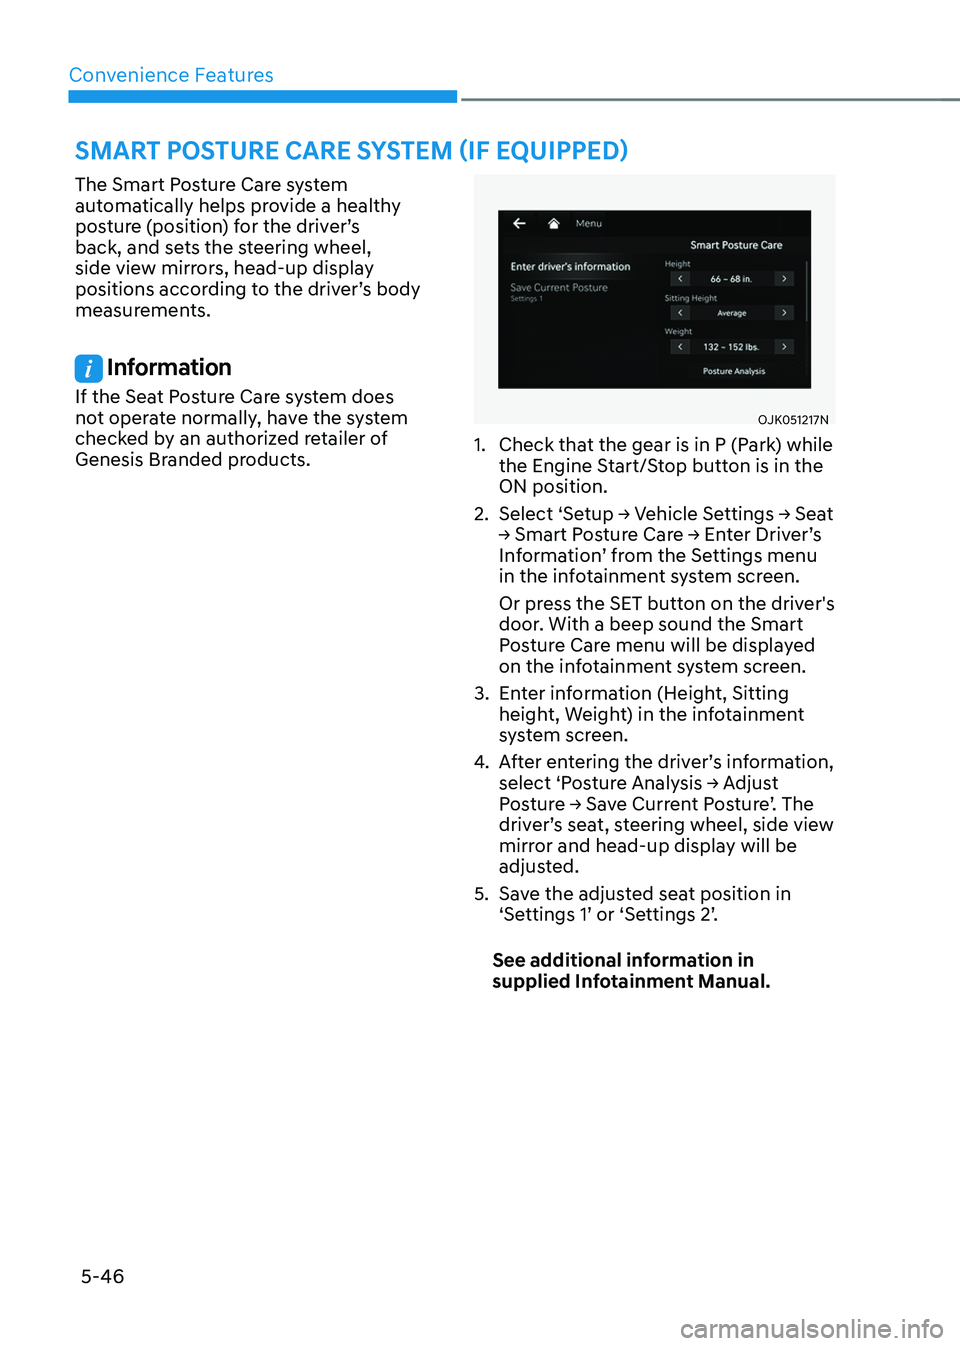
Genesis Branded products.OJK051217NOJK051217N
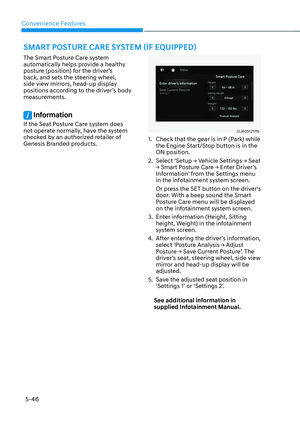
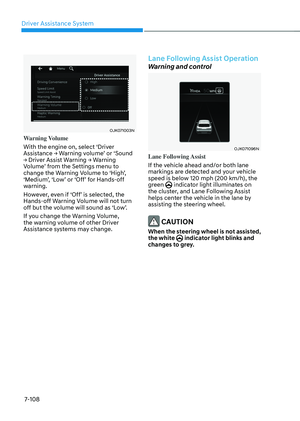
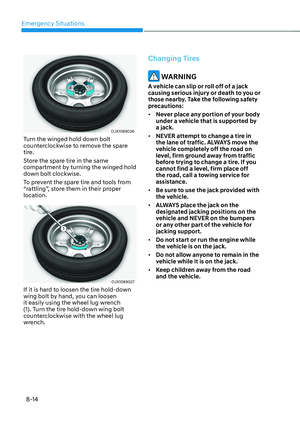
1. Check that the gear is in P (Park) while
the Engine Start/Stop button is in the
ON position.
2. Select ‘Setup → Vehicle Settings → Seat
→ Smart Posture Care → Enter Driver’s
Information’ from the Settings menu
in the infotainment system screen.
Or press the SET button on the driver's
door. With a beep sound the Smart
Posture Care menu will be displayed
on the infotainment system screen.
3. Enter information (Height, Sitting
height, Weight) in the infotainment
system screen.
4. After entering the driver’s information,
select ‘Posture Analysis → Adjust
Posture → Save Current Posture’. The
driver’s seat, steering wheel, side view
mirror and head-up display will be
adjusted.
5. Save the adjusted seat position in
‘Settings 1’ or ‘Settings 2’.
See additional information in
supplied Infotainment Manual.
Page 183 of 637

05
5-47
STEERING WHEEL
Electric Power Steering (EPS)
The system assists you with steering the
vehicle. If the vehicle is turned off or
if the power steering system becomes
inoperative, you may still steer the
vehicle, but it will require increased
steering effort.
Should you notice any change in the
effort required to steer during normal
vehicle operation, have the system
checked by an authorized retailer of
Genesis Branded products.
CAUTION
If Electric Power Steering does not
operate normally, the warning light and the message ‘Check motor driven
power steering’ will illuminate on the
instrument cluster. You may steer the
vehicle, but it will require increased
steering efforts. Take the vehicle to an
authorized retailer of Genesis Branded
products and have the system checked
as soon as possible.
Information
The following symptoms may occur during
normal vehicle operation:
• The steering effort may be high
immediately after pressing the Engine
Start/Stop button to the ON position.
This happens as the system performs
the EPS system diagnostics. When the
diagnostics are completed, the steering
wheel effort will return to its normal
condition.
• When the battery voltage is low, you
may have to put more steering effort.
However, it is a temporary condition so
that it will return to normal condition
after charging the battery.
• A click noise may be heard from the
EPS relay after the Engine Start/Stop
button is in the ON or OFF position.
• Motor noise may be heard when the
vehicle is at a stop or at a low driving
speed.
• When you operate the steering wheel
in low temperatures, abnormal noise
may occur. If the temperature rises, the
noise will disappear. This is a normal
condition.
• When an error is detected from EPS,
the steering effort assist function will
not be activated in order to prevent
accidents. Instrument cluster warning
lights may be on or the steering effort
may be high. If these symptoms occur,
drive the vehicle to a safe area as soon
as it is safe to do so. Have the system
checked by an authorized retailer of
Genesis Branded products as soon as
possible.
Page 184 of 637

Convenience Features
5-48
Tilt/Telescopic Steering
When adjusting the steering wheel to a
comfortable position, adjust the steering
wheel so that it points toward your chest,
not toward your face. Make sure you can
see the instrument cluster warning lights
and gauges. After adjusting, push the
steering wheel both up and down to be
certain it is locked in position.
Always adjust the position of the steering
wheel before driving.
WARNING
NEVER adjust the steering wheel while
driving. This may cause loss of vehicle
control resulting in an accident.
Manual adjustment
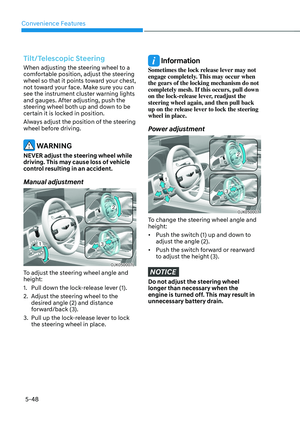
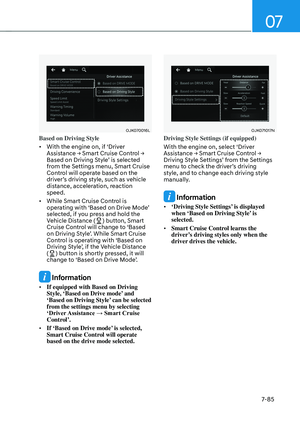
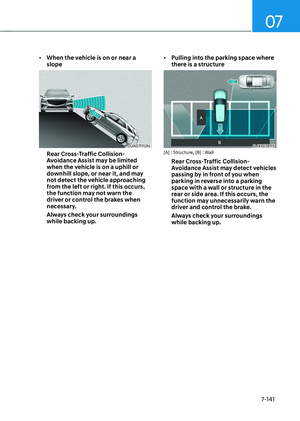
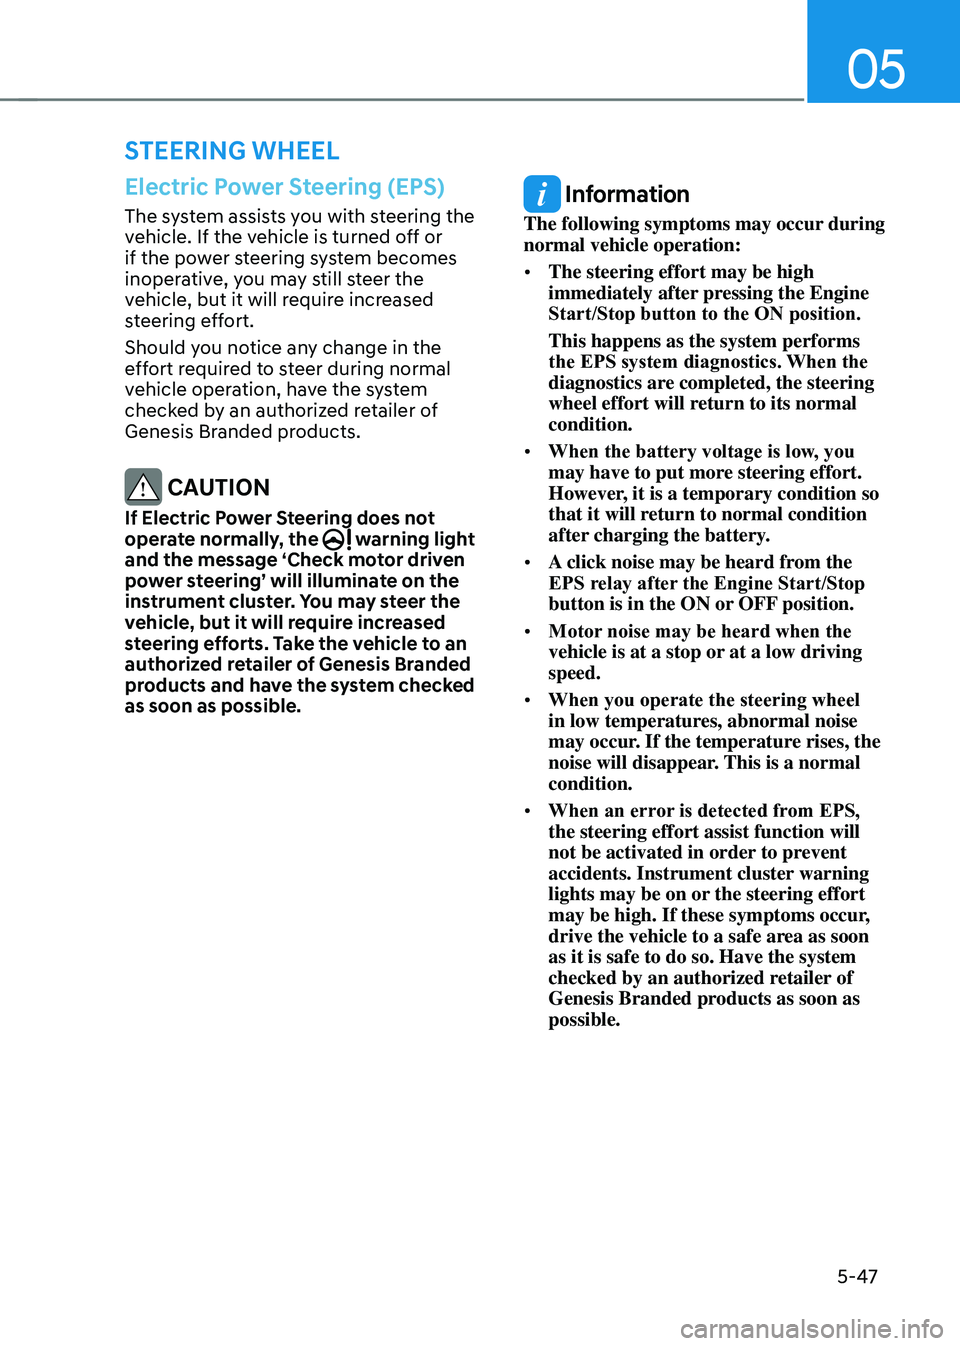
OJK050007L OJK050007L
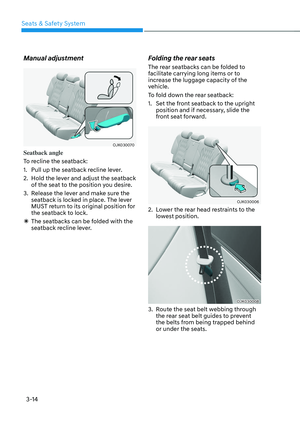
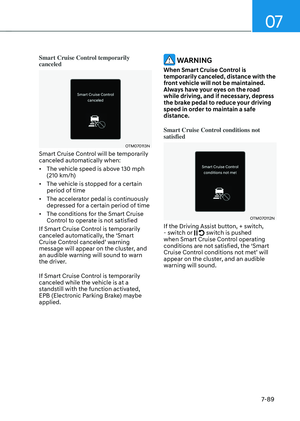
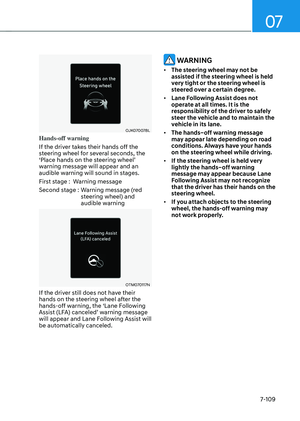
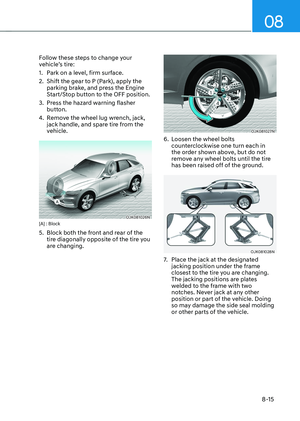
To adjust the steering wheel angle and
height:
1. Pull down the lock-release lever (1).
2. Adjust the steering wheel to the
desired angle (2) and distance
forward/back (3).
3. Pull up the lock-release lever to lock
the steering wheel in place.
Information
Sometimes the lock release lever may not
engage completely. This may occur when
the gears of the locking mechanism do not
completely mesh. If this occurs, pull down
on the lock-release lever, readjust the
steering wheel again, and then pull back
up on the release lever to lock the steering
wheel in place.
Power adjustment
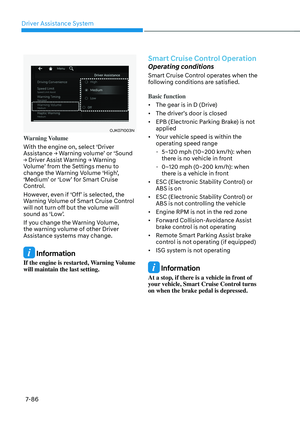
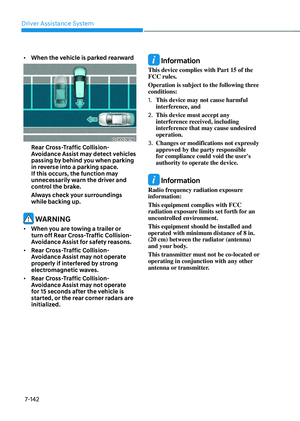
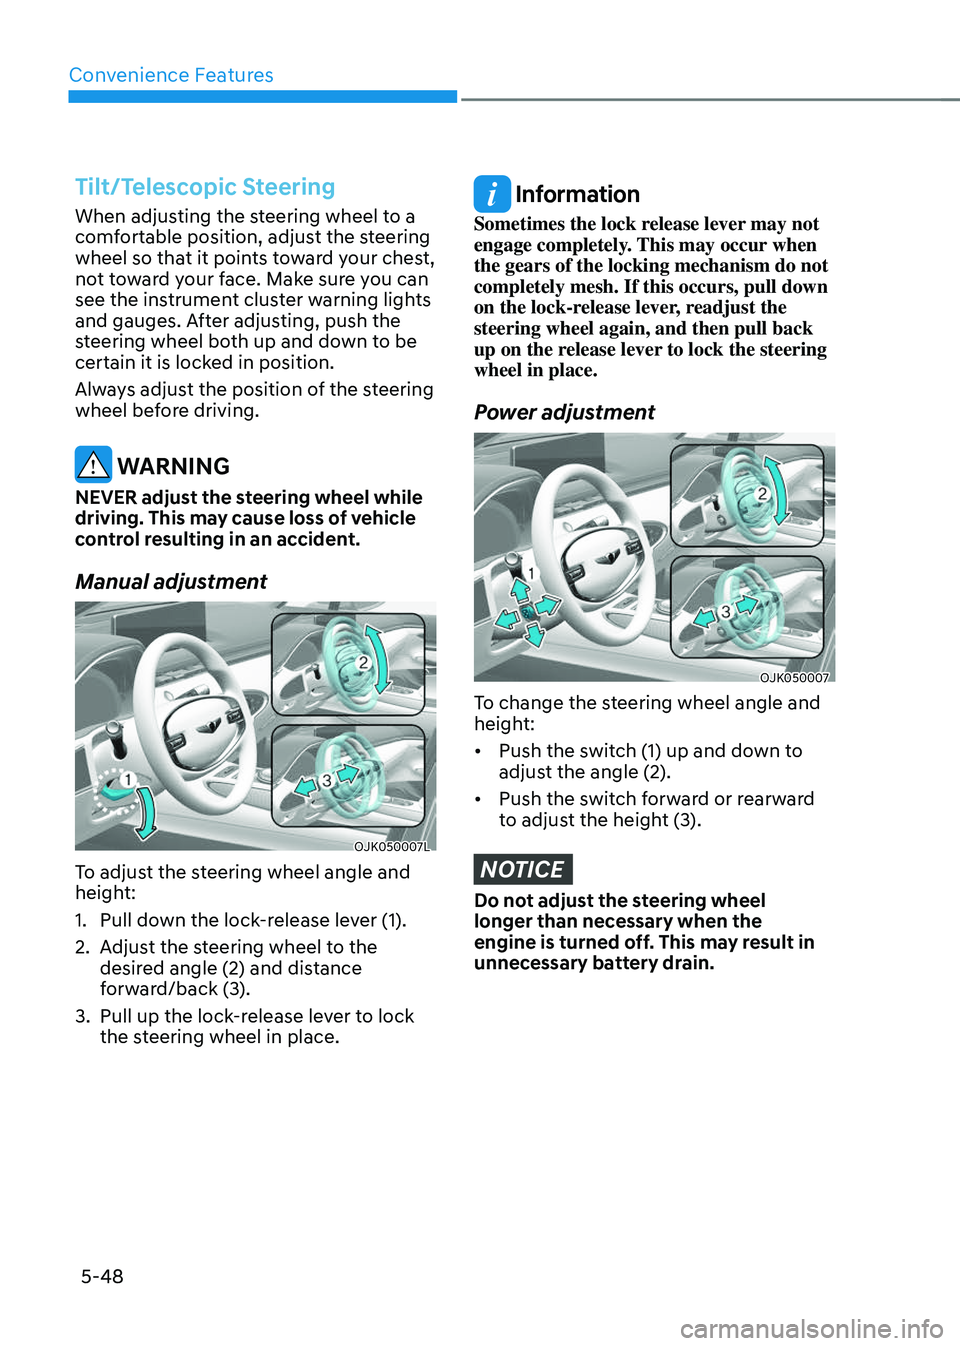
OJK050007OJK050007
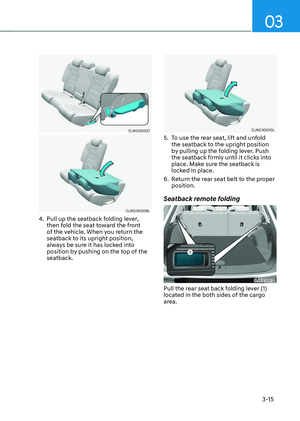
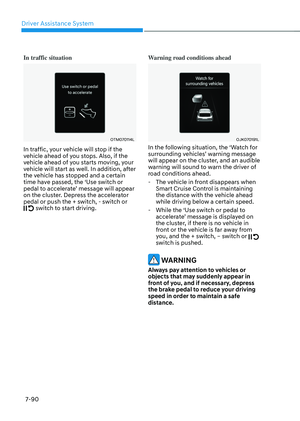
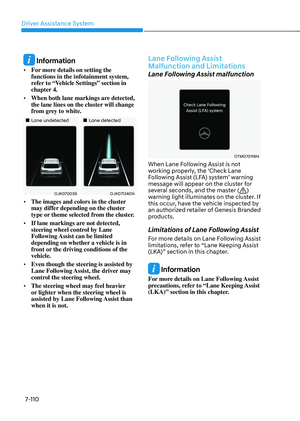
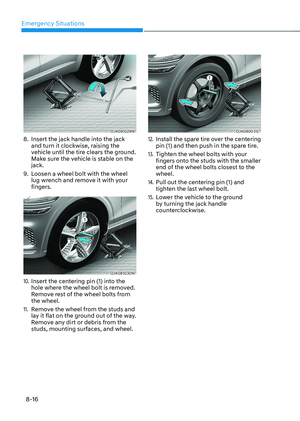
To change the steering wheel angle and
height:
• Push the switch (1) up and down to
adjust the angle (2).
• Push the switch forward or rearward
to adjust the height (3).
NOTICE
Do not adjust the steering wheel
longer than necessary when the
engine is turned off. This may result in
unnecessary battery drain.