Page 25 of 280

23
Remote Start Comfort Systems — If
Equipped
When Remote Start is activated, the heated
steering wheel and front heated seat features
will automatically activate when ambient
temperature is less than 39°F (4°C). These
features will stay on through the duration of
Remote Start.
NOTE:
This feature can be activated through the
radio system. Refer to the Information and
Entertainment System Owner’s Manual
Supplement for further information
VEHICLE SECURITY SYSTEM — IF
EQUIPPED
The Vehicle Security system monitors the
vehicle doors, hood, liftgate, and the keyless
push button ignition for unauthorized opera-
tion. It also monitors movement inside the
passenger compartment (volumetric protec -
tion — if equipped), cutting of battery cables,
and unexpected lifting/tilting of the vehicle
(anti-lift protection — if equipped).
While the Vehicle Security system is armed,
interior switches for door locks are disabled.
If something triggers the alarm, the Vehicle
Security system will provide the following
audible and visible signals:
The horn will pulse
The turn signals will flash
The vehicle security light in the instrument
cluster will flash
NOTE:
The Vehicle Security system is activated by the
Engine Immobilizer system, which is automati -
cally activated when you get out of the vehicle
with the key fob and lock the doors.
To Arm The System
Follow these steps to arm the Vehicle Security
system:
1. Make sure the vehicle’s ignition is placed in the OFF position.
2. Perform one of the following methods to lock the vehicle:
• Push the lock button on the interior
power door lock switch with the driver
and/or passenger door open.
• Push the lock button on the exterior
Passive Entry door handle with a valid
key fob available in the same exterior
zone
Ú
page 25.
• Push the lock button on the key fob.
3. If any doors (or liftgate) are open, close them.
To Disarm The System
The Vehicle Security system can be disarmed
using any of the following methods:
Push the unlock button on the key fob.
Grab the Passive Entry door handle to
unlock the door
Ú
page 25.
Cycle the ignition out of the OFF position to
disarm the system.
NOTE:
The driver's door key cylinder and liftgate
button on the key fob cannot arm or disarm
the Vehicle Security system. Use of the door
key cylinder when the system is armed will
sound the alarm when the door is opened.
When the Vehicle Security system is armed,
the interior power door lock switches will
not unlock the doors.
The Vehicle Security system is designed to
protect your vehicle. However, you can create
conditions where the system will give you a
false alarm. If one of the previously described
arming sequences has occurred, the Vehicle
Security system will arm, regardless of
whether you are in the vehicle or not. If you
remain in the vehicle and open a door, the
alarm will sound. If this occurs, disarm the
Vehicle Security system.
If the Vehicle Security system is armed and the
battery becomes disconnected, the Vehicle
Security system will remain armed when the
21_GU_OM_EN_USC_t.book Page 23
Page 26 of 280

battery is reconnected; the exterior lights will
flash, and the horn will sound. If this occurs,
disarm the Vehicle Security system.
NOTE:")
GETTING TO KNOW YOUR VEHICLE
24
(Continued)
battery is reconnected; the exterior lights will
flash, and the horn will sound. If this occurs,
disarm the Vehicle Security system.
NOTE:
The alarm does not disarm when the doors are
unlocked by inserting the blade of the emer-
gency key (found inside the key fob) into the
door handle lock cylinder.
Volumetric/Anti-Lift Protection — If
Equipped
To ensure the correct operation of the Volu -
metric/Anti-Lift Protection system, completely
close the side windows.
To disable the function, push the Volumetric/
Anti-Lift Protection button before activating
the alarm.
When the function is disabled, the light on the
Volumetric/Anti-Lift Protection button flashes
for several seconds.
Volumetric/Anti-Lift Protection Button Any disabling of the Volumetric/Anti-Lift
Protection must be repeated each time the
ignition is placed in the OFF position.
DOORS
Power Door Locks
The power door lock switches are located on
each front door panel. Push the switch to lock
or unlock the doors.
Push the interior lock button on the rear door
panel trim to lock the rear doors only.
Door Lock And Unlock Switch Panel
WARNING!
Do not leave children or animals inside
parked vehicles in hot weather. Interior
heat build-up may cause serious injury or
death.
For personal security and safety in the
event of a collision, lock the vehicle doors
as you drive as well as when you park and
leave the vehicle.
Before exiting a vehicle, always shift the
automatic transmission into PARK, apply
the parking brake, turn the engine OFF,
remove the key fob from the vehicle and
lock your vehicle.
Never leave children alone in a vehicle, or
with access to an unlocked vehicle.
Allowing children to be in a vehicle unat -
tended is dangerous for a number of
reasons. A child or others could be seri -
ously or fatally injured. Children should be
warned not to touch the parking brake,
brake pedal or the gear selector.
Do not leave the key fob in or near the
vehicle, or in a location accessible to chil -
dren. A child could operate power
windows, other controls, or move the
vehicle.
CAUTION!
An unlocked vehicle is an invitation. Always
remove the key from the ignition and lock
all of the doors when leaving the vehicle
unattended.
WARNING! (Continued)
21_GU_OM_EN_USC_t.book Page 24
Page 27 of 280

25
Locking The Doors With A Depleted Battery
Proceed as follows to lock the doors if the
vehicle battery is depleted:
1. With the doors unlocked insert the emer-
gency key from the key fob or a screwdriver
into the door lock manual release lock
cylinder.
Door Lock Manual Release Lock Cylinder
2. Turn the manual release lock cylinder clockwise for the right door locks or coun -
terclockwise for the left door locks.
3. Remove the key/screwdriver from the manual release lock.
Proceed in one of the following ways to realign
the door lock device (only when the battery
charge has been restored):
Push the lock button on the key fob
Push the unlock button on the door panel
Unlock the driver’s door lock with the emer -
gency key
Operate the internal door handle
NOTE:
For the rear doors, if the Child Safety Locks are
engaged, and the previously described locking
procedure is carried out, operating the internal
handle will not open the door. Instead, it will
only realign the lock release device. To open
the door, the outside handle must be used.
The door central locking/unlocking buttons
are not deactivated when the emergency lock
is engaged.
Passive Entry System
The Passive Entry system is an enhancement
to the vehicle’s key fob. This feature allows you
to lock and unlock the vehicle’s door(s) and
liftgate without having to push the key fob lock
or unlock buttons.
NOTE:
Passive Entry may be programmed on/off
through the radio screen. Refer to the Infor -
mation and Entertainment System Owner’s
Manual Supplement for Passive Entry
settings.
The key fob may not be able to be detected
by the vehicle Passive Entry system if it is
located next to a mobile phone, laptop, or
other electronic device; these devices may block the key fob’s wireless signal and
prevent the Passive Entry system from
locking/unlocking the vehicle.
If wearing gloves, or if it has been raining/
snowing on the Passive Entry door handle,
the unlock sensitivity can be affected,
resulting in a slower response time.
If the vehicle is unlocked by Passive Entry
and no door is opened within 60 seconds,
the vehicle will re-lock and (if equipped) will
arm the Vehicle Security system.
To Unlock From The Driver Or Passenger Side
With a valid Passive Entry key fob close to the
door handle, grab the handle to unlock the
vehicle. Grabbing the driver’s door handle will
unlock the driver door automatically. Grabbing
the passenger door handle will unlock all
doors and the liftgate automatically.
Passive Entry Door Handle Button
21_GU_OM_EN_USC_t.book Page 25
Page 28 of 280

GETTING TO KNOW YOUR VEHICLE
26
NOTE:
If “Unlock All Doors 1st Press” is
programmed all doors will unlock when you
grab hold of the front driver’s door handle.
You can select between “Unlock Driver Door
1st Press” and “Unlock All Doors 1st Press”
through the radio screen. Refer to the Infor-
mation and Entertainment System Owner’s
Manual Supplement for Passive Entry
settings.
All doors will unlock when the front
passenger door handle is grabbed regard -
less of the driver’s door unlock preference
setting.
External Liftgate Release Button (Vehicles With Passive Entry)
Frequency Operated Button Integrated Key
(FOBIK-Safe)
To minimize the possibility of unintentionally
locking a Passive Entry key fob inside your
vehicle, the Passive Entry system is equipped with an automatic door unlock feature which
will function if the ignition switch is in the OFF
position.
The vehicle will
not unlock the doors if an
unauthorized key fob has been detected close
to the outside of the vehicle.
If the Passive Entry function is disabled
through the radio screen, the protections to
avoid accidentally leaving the key fob inside
the vehicle are deactivated.
To Lock The Vehicle’s Doors And Liftgate
With one of the vehicle’s Passive Entry key
fobs close to either front door handle, pushing
the Passive Entry lock button will lock the
vehicle.
Passive Entry Door Handle Button
NOTE:
DO NOT grab the door handle when pushing
the door handle lock button. This could unlock
the door(s). Do NOT Grab The Door Handle When Locking
NOTE:
After pushing the Passive Entry lock button,
you must wait two seconds before you can
lock or unlock the doors, using either
Passive Entry door handle. This is done to
allow you to check if the vehicle is locked by
pulling the door handle without the vehicle
unlocking.
The Passive Entry system will not operate if
the key fob battery is depleted.
The vehicle doors and liftgate can also be
locked by pushing the lock button on the
key fob or on the interior door lock.
To Unlock/Enter The Liftgate
With one of the vehicle’s Passive Entry key
fobs close to the liftgate, push the liftgate
release button.
21_GU_OM_EN_USC_t.book Page 26
Page 29 of 280

27
External Liftgate Release Button
NOTE:
If the key fob is inadvertently forgotten
inside of the cargo area, and an attempt is
made to close it from outside, the liftgate
will not lock. With the doors locked, the lift -
gate unlocked, and the key fob detected
inside the vehicle, the liftgate will unlock
again and the lights flash twice.
Before driving, make sure the liftgate is
closed correctly.
To Lock The Liftgate
With a valid Passive Entry key fob close to the
vehicle, push the Passive Entry button located
as part of the liftgate release button switch. All
doors and the liftgate will lock. Door locking
will activate the alarm as well. External Liftgate Release Switch (Vehicles
With Passive Entry)
NOTE:
The liftgate may still be locked by pushing the
lock button on the key fob, pushing the door
lock button on the door handles, or pushing
the lock button on the interior door panel of
the vehicle
Ú
page 268.
Power Lock Safety Device
The Power Lock Safety Device prevents the
operation of the interior door handles and the
door lock and unlock buttons. The power lock
also prevents opening of the doors from inside
the passenger compartment.
It is recommended to lock the vehicle doors
each time the vehicle is parked.
Activating The Power Lock
The Power Lock Safety Device is enabled on all
the doors by quickly pushing the lock button
on the key fob twice. The turn signals will flash to let you know that
the power lock is active.
If one or more of the doors are not closed
correctly, the Power Lock Safety Device will not
activate, preventing a person from getting
stuck inside the passenger compartment by
entering the vehicle, and then closing the
open door.
Deactivating The Power Lock
The Power Lock Safety Device disengages
automatically:
When the doors are unlocked by pushing
the unlock button on the key fob.
When the keyless ignition is placed in the
ON position.
Automatic Door Locks — If Equipped
The auto door lock feature default condition is
enabled. When enabled, the door locks will
lock automatically when the vehicle's speed
exceeds 12 mph (20 km/h). The auto door
lock feature is enabled/disabled through the
radio screen. Refer to the Information and
Entertainment System Owner’s Manual
Supplement for further information.
Child-Protection Door Lock System — Rear
Doors
To provide a safer environment for small chil
-
dren riding in the rear seats, the rear doors are
equipped with a Child-Protection Door Lock
system.
21_GU_OM_EN_USC_t.book Page 27
Page 30 of 280
 and
rotate the dial to the lock or unlock position.Child Safety Lock Positions")
GETTING TO KNOW YOUR VEHICLE
28
To use the system, open each rear door, use a
flat blade screwdriver (or emergency key) and
rotate the dial to the lock or unlock position.Child Safety Lock Positions
NOTE:
When the Child-Protection Door Lock
system is engaged, the door can be opened
only by using the outside door handle even
though the inside door lock is in the
unlocked position.
After disengaging the Child-Protection Door
Lock system, always test the door from the
inside to make certain it is in the unlocked
position.
After engaging the Child-Protection Door
Lock system, always test the door from the
inside to make certain it is in the locked
position.
For emergency exit with the system
engaged, pull up on the door lock knob (unlocked position), roll down the window,
and open the door with the outside door
handle.
NOTE:
Always use this device when carrying children.
After engaging the child lock on both rear
doors, check for effective engagement by
trying to open a door with the internal handle.
Once the Child-Protection Door Lock system is
engaged, it is impossible to open the doors
from inside the vehicle. Before getting out of
the vehicle, be sure to check that there is no
one left inside.
STEERING WHEEL
Manual Tilt/Telescoping Steering Column
This feature allows you to tilt the steering
column upward or downward. It also allows
you to lengthen or shorten the steering
column. The tilt/telescoping lever is located
below the steering wheel at the end of the
steering column. Steering Wheel Adjustment
WARNING!
Avoid trapping anyone in a vehicle in a
collision. Remember that the rear doors
can only be opened from the outside when
the Child-Protection locks are engaged
(locked).
1 — Tilt/Telescoping Control Handle
2 — Closed
3 — Open
4 — Tilt Movement
5 — Telescoping Movement
21_GU_OM_EN_USC_t.book Page 28
Page 31 of 280

29
To unlock the steering column, push the tilt/
telescoping control handle down to the open
position. To tilt the steering column, move the
steering wheel upward or downward as
desired. To lengthen or shorten the steering
column, pull the steering wheel outward or
push it inward as desired. To lock the steering
column in position, push the tilt/telescoping
control handle to the closed position.
Heated Steering Wheel — If Equipped
The steering wheel contains a heating element
that helps warm your hands in cold weather.
The heated steering wheel has only one
temperature setting. The heated steering
wheel may not turn on when it is already warm.
The heated steering wheel button is located
on the instrument panel.
Push the heated steering wheel button
once to turn the heating element on.
Push the heated steering wheel button a
second time to turn the heating element off.
When the function is enabled, the indicator on
the button will illuminate. Heated Steering Wheel Button
NOTE:
The engine must be running for the heated
steering wheel to operate.
For information on use with the Remote Start
system, see
Ú
page 23.
WARNING!
Do not adjust the steering column while
driving. Adjusting the steering column
while driving or driving with the steering
column unlocked, could cause the driver
to lose control of the vehicle. Failure to
follow this warning may result in serious
injury or death.
Do not place any objects on the steering
wheel (e.g. permanently fixed covers)
which could interfere with the hand detec -
tion sensor on the steering wheel of the
Active Blind Spot Assist (ABSA), Lane
Keeping Assist (LKA), Traffic Jam Assist
(TJA), or Highway Assist systems (HAS) (if
equipped).
WARNING!
It is absolutely forbidden to carry out any
after-market operation involving steering
system or steering column modifications
(e.g. installation of anti-theft device) that
could adversely affect performance. Doing
so could void the New Vehicle Limited
Warrant, cause SERIOUS SAFETY
PROBLEMS INCLUDING INJURY, and also
result in the vehicle not meeting
type-approval requirements.
WARNING!
Persons who are unable to feel pain to the
skin because of advanced age, chronic
illness, diabetes, spinal cord injury, medi -
cation, alcohol use, exhaustion, or other
physical conditions must exercise care
when using the steering wheel heater. It
may cause burns even at low tempera -
tures, especially if used for long periods.
Do not place anything on the steering
wheel that insulates against heat, such as
a blanket or steering wheel covers of any
type and material. This may cause the
steering wheel heater to overheat.
21_GU_OM_EN_USC_t.book Page 29
Page 32 of 280

GETTING TO KNOW YOUR VEHICLE
30
DRIVER MEMORY SETTINGS — IF
EQUIPPED
This feature allows the driver to store up to
three different memory profiles for easy recall
through a memory switch. Each memory
profile saves desired position settings for the
following features:
Driver seat
Side mirrors
The memory setting switch is located on the
outboard side of the driver’s seat. The switch
consists of three buttons, one for each
memory profile.
Seatback Width Adjustment
Programming The Memory Feature
To create a new memory profile, perform the
following: 1. Place the vehicle’s ignition in the ACC posi
-
tion (do not start the engine), and make
sure the driver’s door is closed.
NOTE:
A memory profile can also be set for three
minutes after the driver’s door has been
opened.
2. Adjust all memory profile settings to desired preferences, driver’s seat and
mirror positions.
3. Push and hold the memory button you want to program for 1.5 seconds.
NOTE:
When a new profile as been set, the previously
set profile for that button will be overwritten.
Memory Position Recall
To recall a previously set position, push and
release the memory profile button assigned to
the desired positions.
NOTE:
Memory position recall can be done for
approximately three minutes after the doors
have been opened, and for approximately one
minute after the ignition is placed in the OFF
position.
SEATS
Seats are a part of the Occupant Restraint
System of the vehicle.
Sparco Racing Seats (Quadrifoglio
Vehicles) — If Equipped
Manual Seat Adjustment
5 — Driver Memory Settings Buttons
WARNING!
It is dangerous to ride in a cargo area,
inside or outside of a vehicle. In a colli
-
sion, people riding in these areas are
more likely to be seriously injured or killed.
Do not allow people to ride in any area of
your vehicle that is not equipped with
seats and seat belts. In a collision, people
riding in these areas are more likely to be
seriously injured or killed.
Be sure everyone in your vehicle is in a
seat and using a seat belt properly.
1 — Adjustment Lever
2 — Height Adjustment Button
3 — Recline Lever
21_GU_OM_EN_USC_t.book Page 30
 1
1 2
2 3
3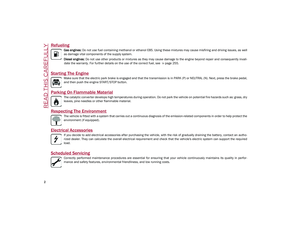 4
4 5
5 6
6 7
7 8
8 9
9 10
10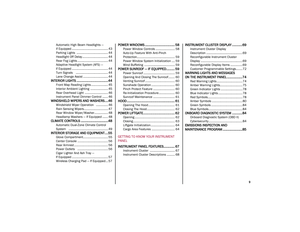 11
11 12
12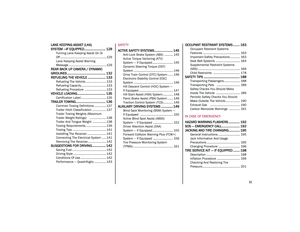 13
13 14
14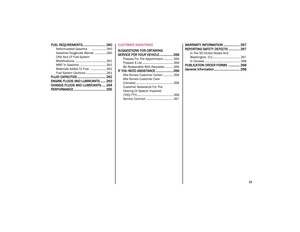 15
15 16
16 17
17 18
18 19
19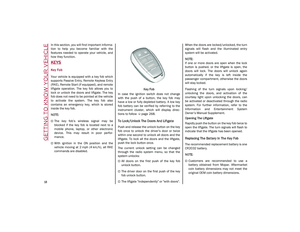 20
20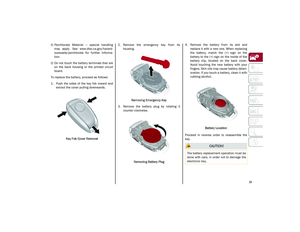 21
21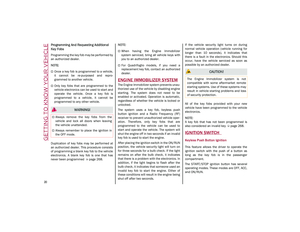 22
22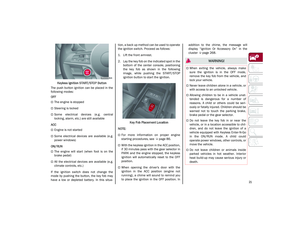 23
23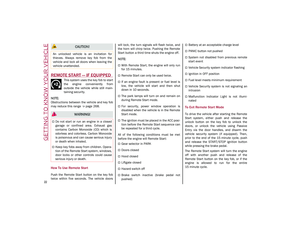 24
24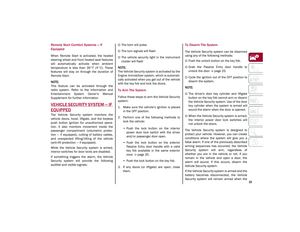 25
25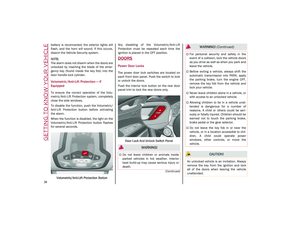 26
26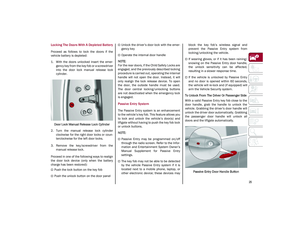 27
27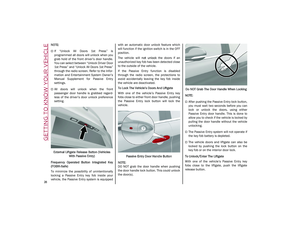 28
28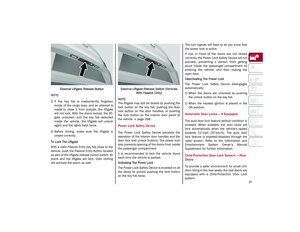 29
29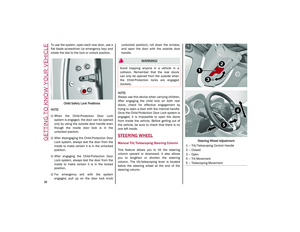 30
30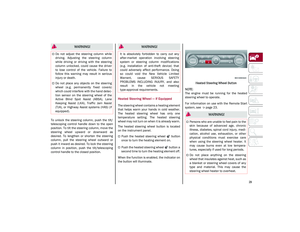 31
31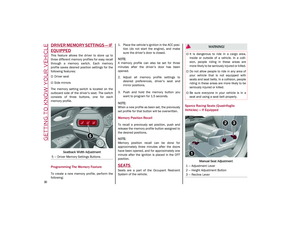 32
32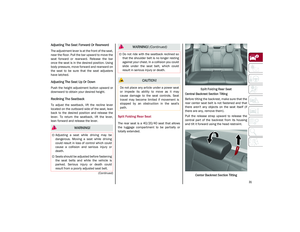 33
33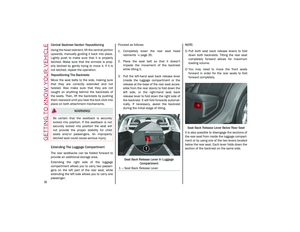 34
34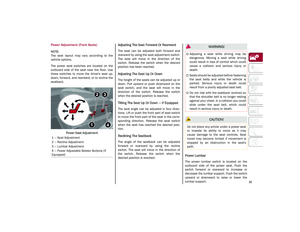 35
35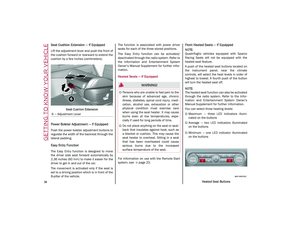 36
36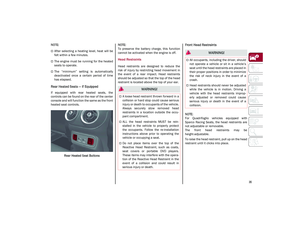 37
37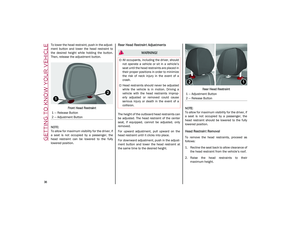 38
38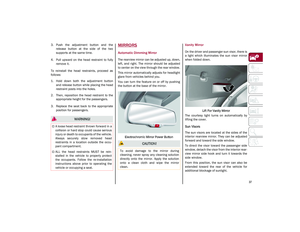 39
39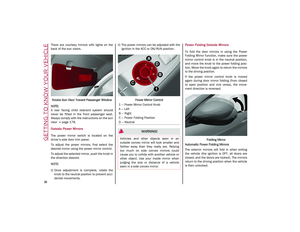 40
40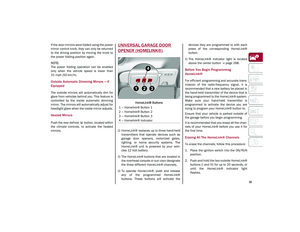 41
41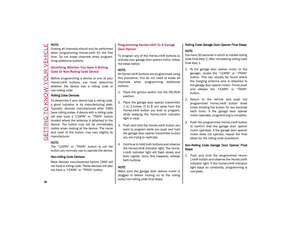 42
42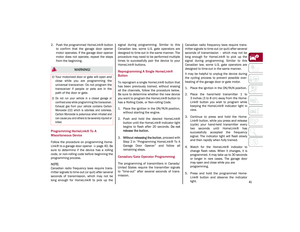 43
43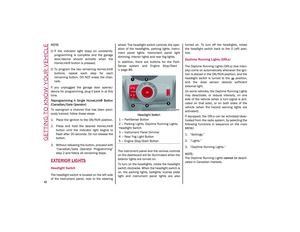 44
44 45
45 46
46 47
47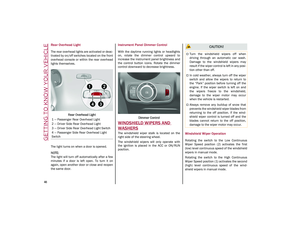 48
48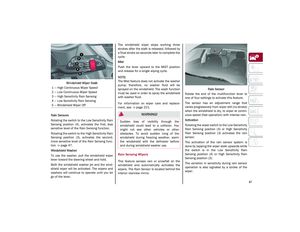 49
49 50
50 51
51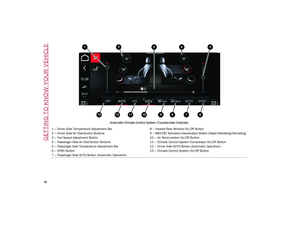 52
52 53
53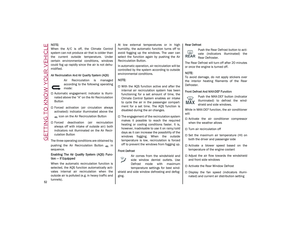 54
54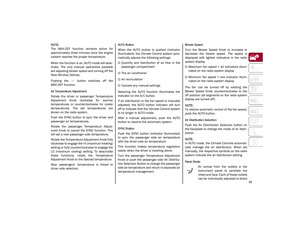 55
55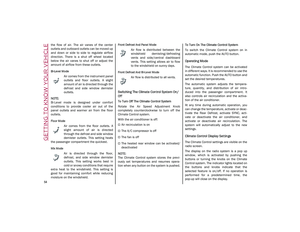 56
56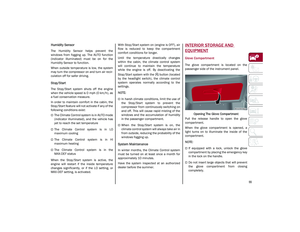 57
57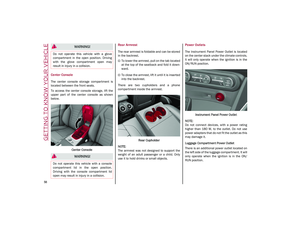 58
58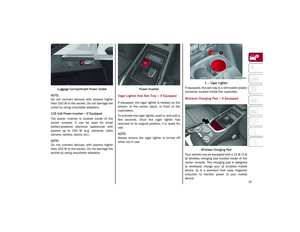 59
59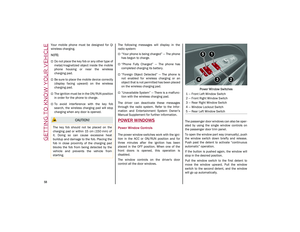 60
60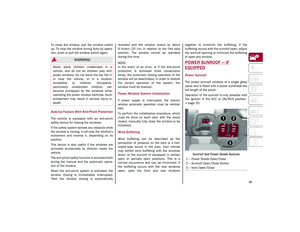 61
61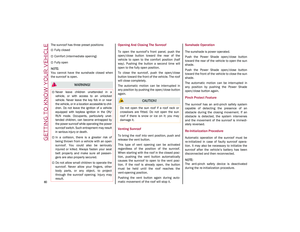 62
62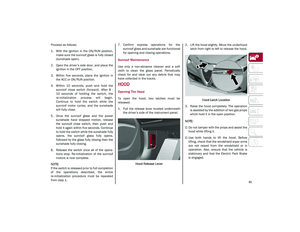 63
63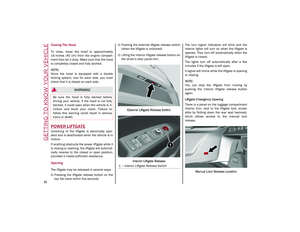 64
64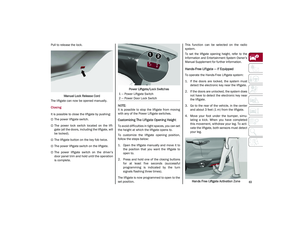 65
65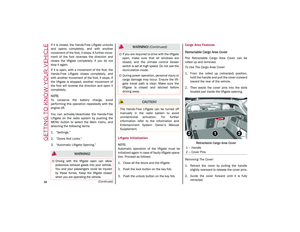 66
66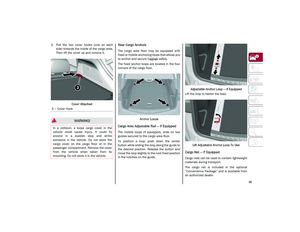 67
67 68
68 69
69 70
70 71
71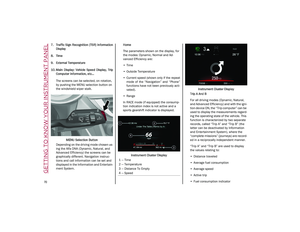 72
72 73
73 74
74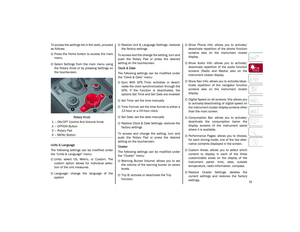 75
75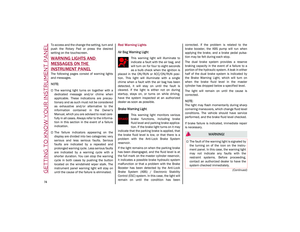 76
76 77
77 78
78 79
79 80
80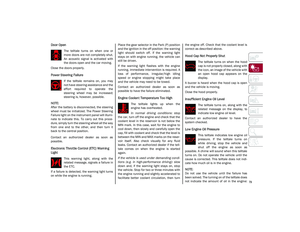 81
81 82
82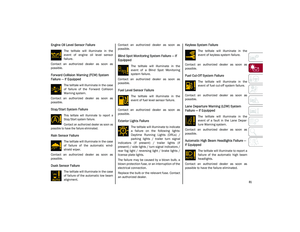 83
83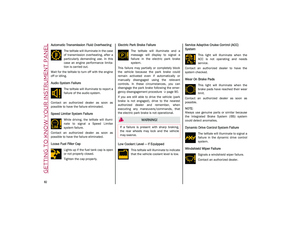 84
84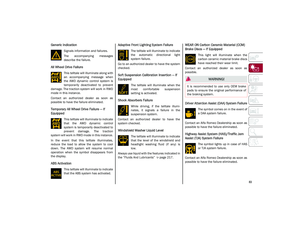 85
85 86
86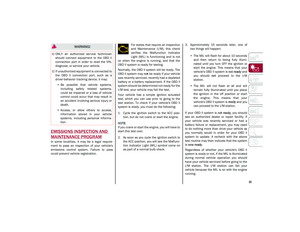 87
87 88
88 89
89 90
90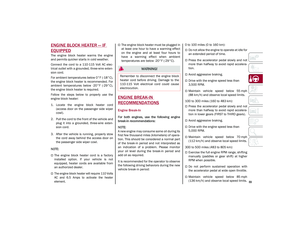 91
91 92
92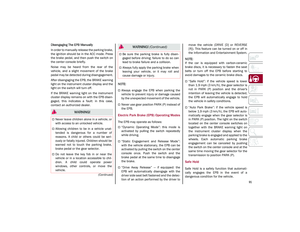 93
93 94
94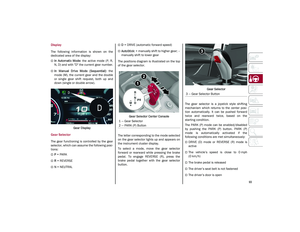 95
95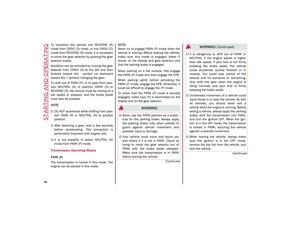 96
96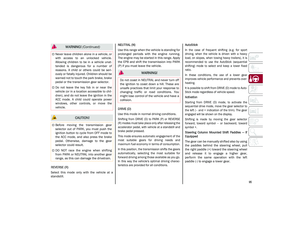 97
97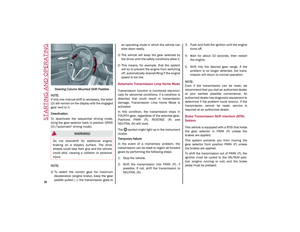 98
98 99
99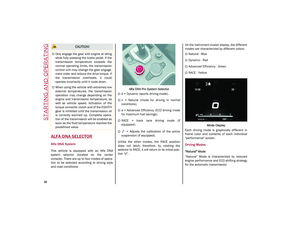 100
100 101
101 102
102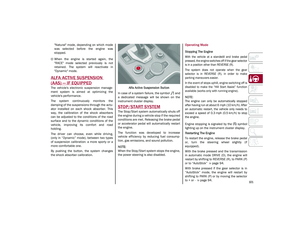 103
103 104
104 105
105 106
106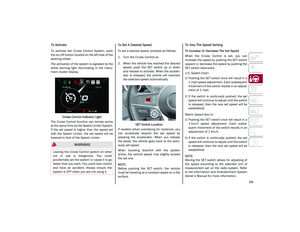 107
107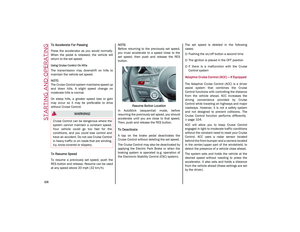 108
108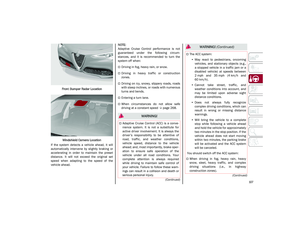 109
109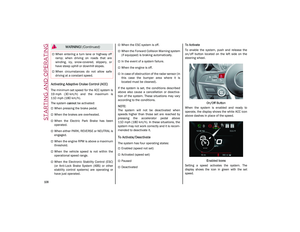 110
110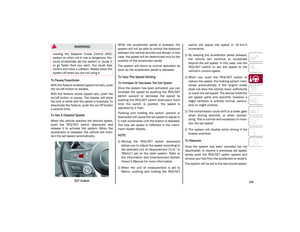 111
111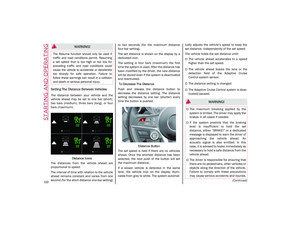 112
112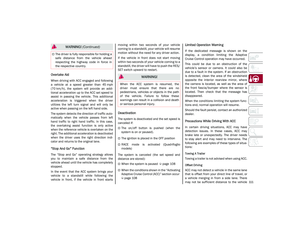 113
113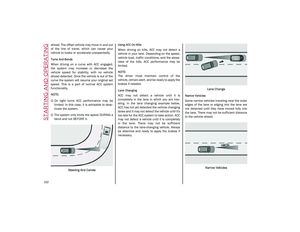 114
114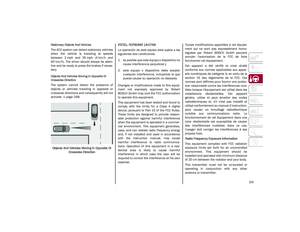 115
115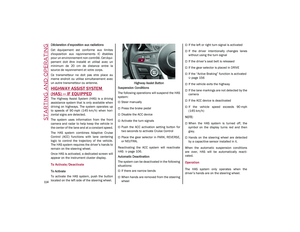 116
116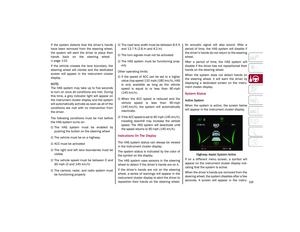 117
117 118
118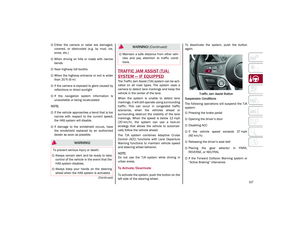 119
119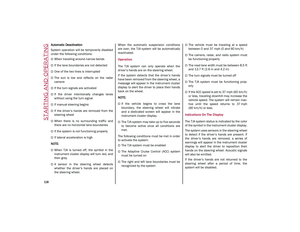 120
120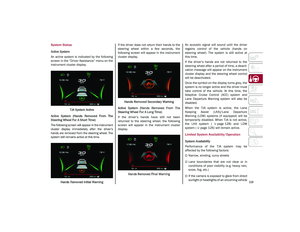 121
121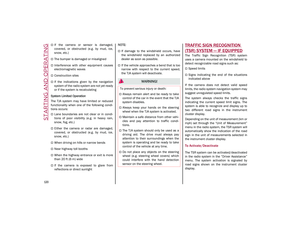 122
122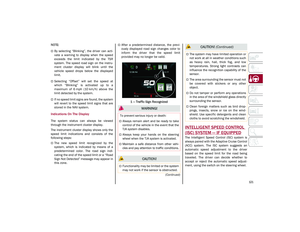 123
123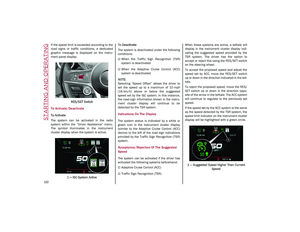 124
124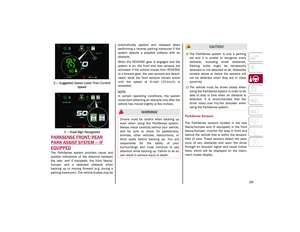 125
125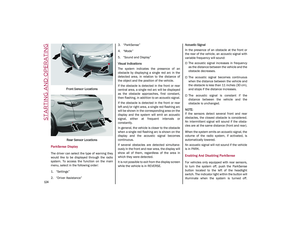 126
126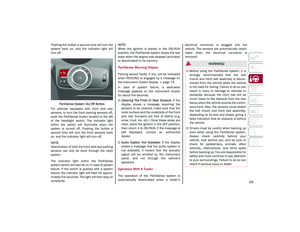 127
127 128
128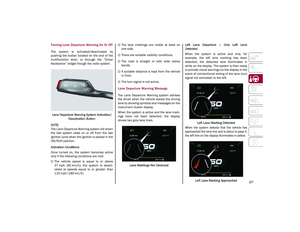 129
129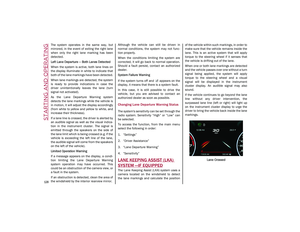 130
130 131
131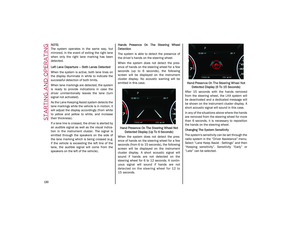 132
132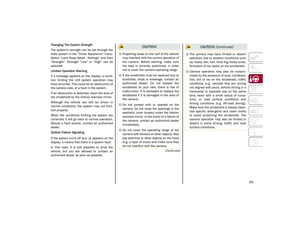 133
133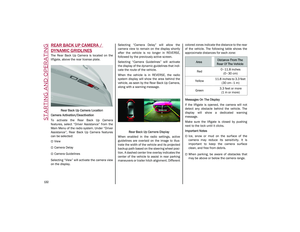 134
134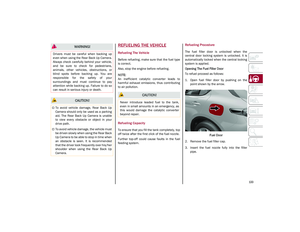 135
135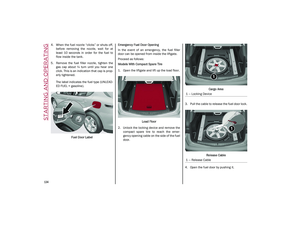 136
136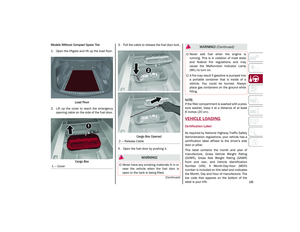 137
137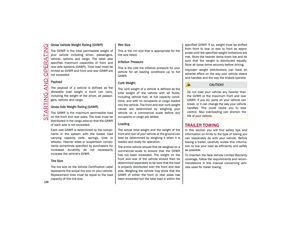 138
138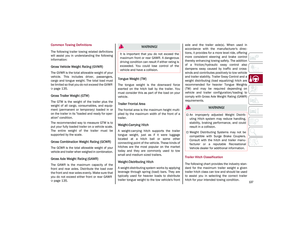 139
139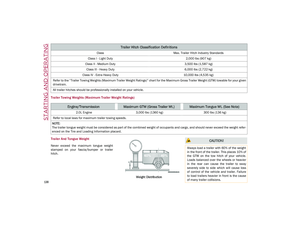 140
140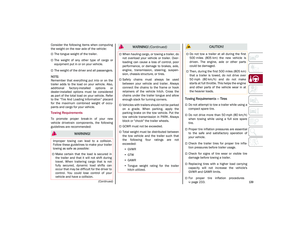 141
141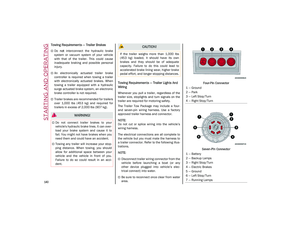 142
142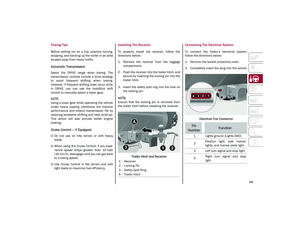 143
143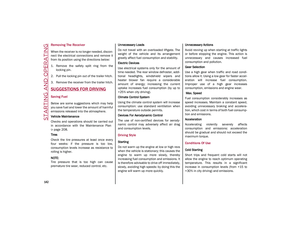 144
144 145
145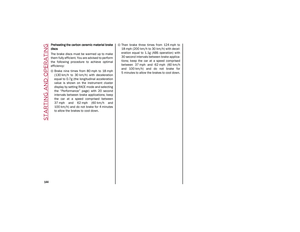 146
146 147
147 148
148 149
149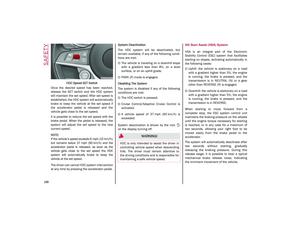 150
150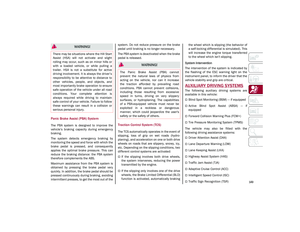 151
151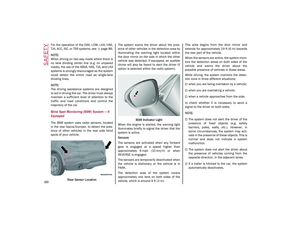 152
152 153
153 154
154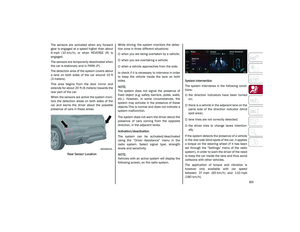 155
155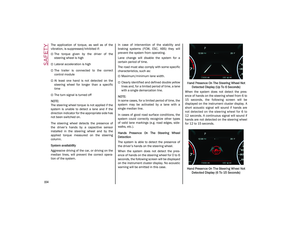 156
156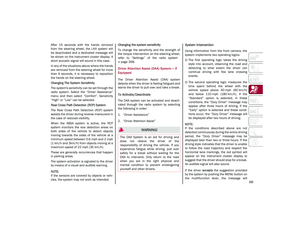 157
157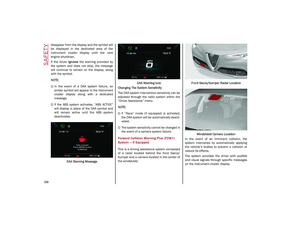 158
158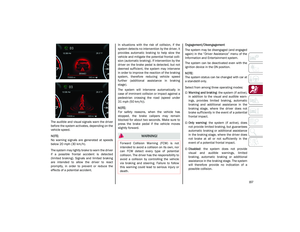 159
159 160
160 161
161 162
162 163
163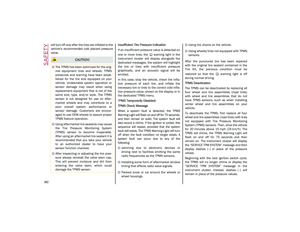 164
164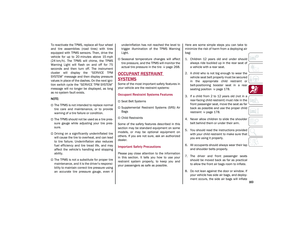 165
165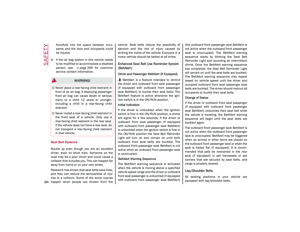 166
166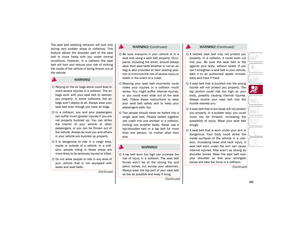 167
167 168
168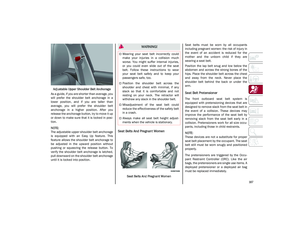 169
169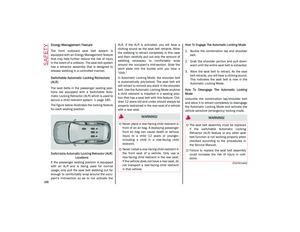 170
170 171
171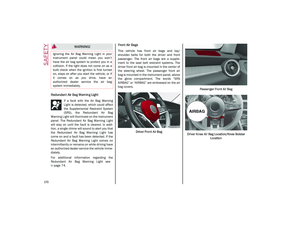 172
172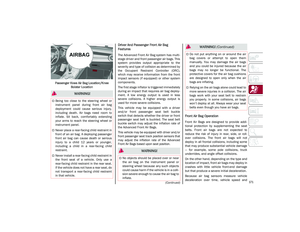 173
173 174
174 175
175 176
176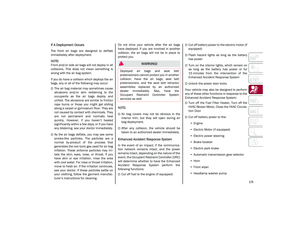 177
177 178
178 179
179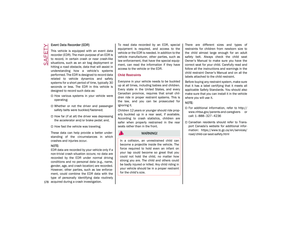 180
180 181
181 182
182 183
183 184
184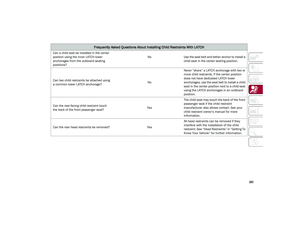 185
185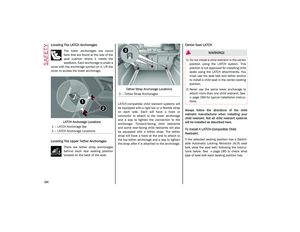 186
186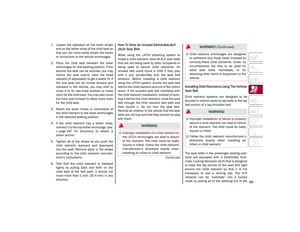 187
187 188
188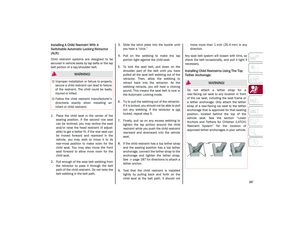 189
189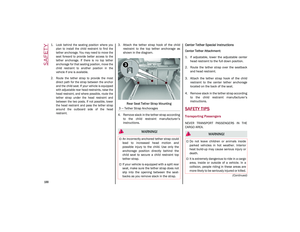 190
190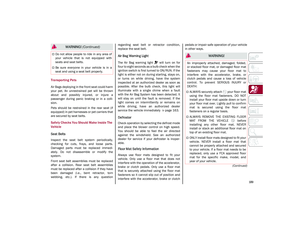 191
191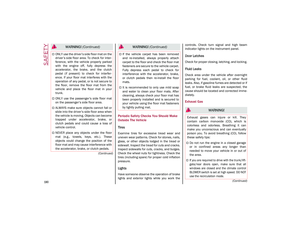 192
192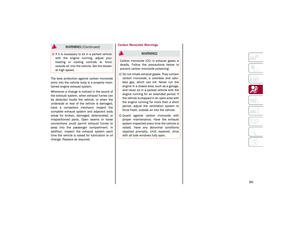 193
193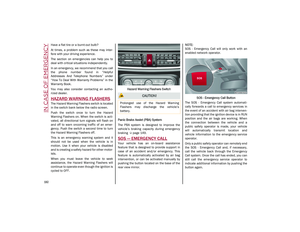 194
194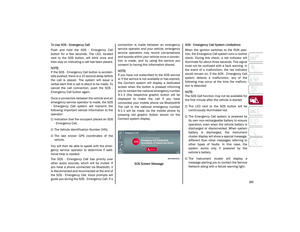 195
195 196
196 197
197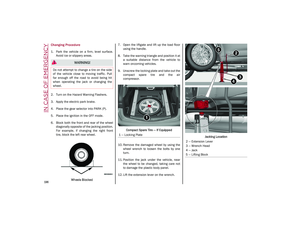 198
198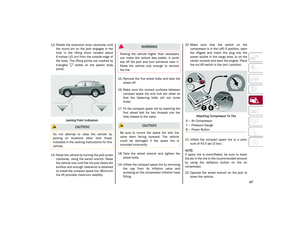 199
199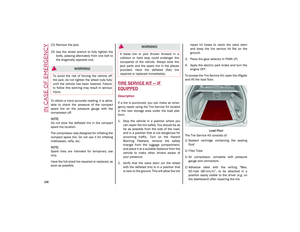 200
200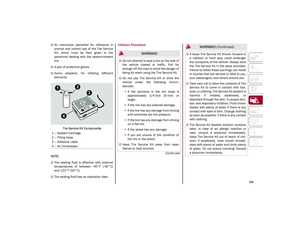 201
201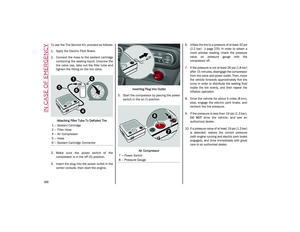 202
202 203
203 204
204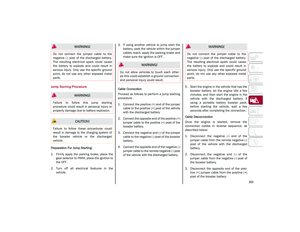 205
205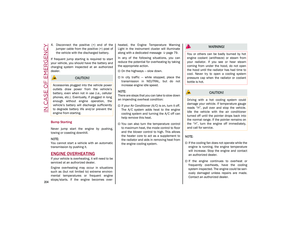 206
206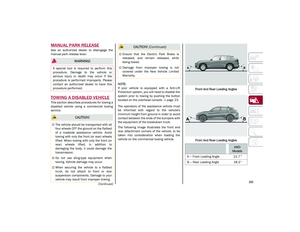 207
207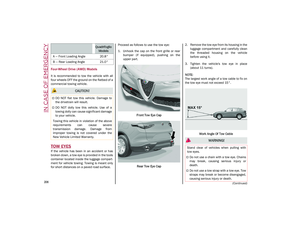 208
208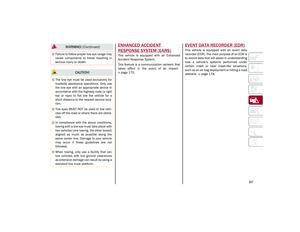 209
209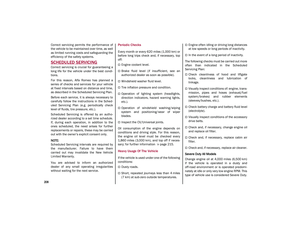 210
210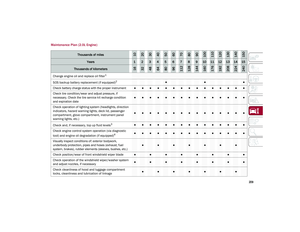 211
211 212
212 213
213 214
214 215
215 216
216 217
217 218
218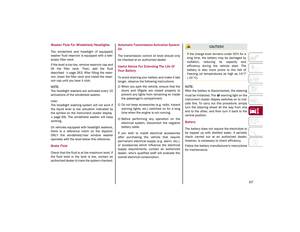 219
219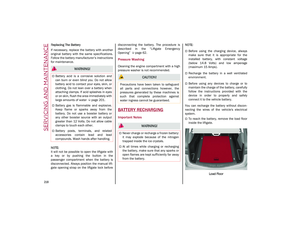 220
220 221
221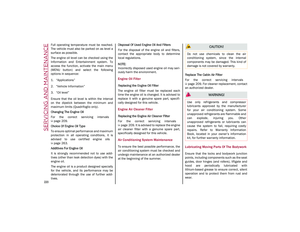 222
222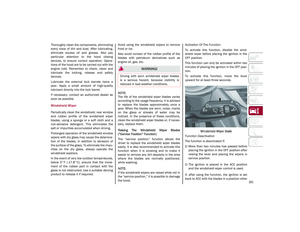 223
223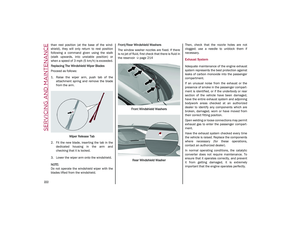 224
224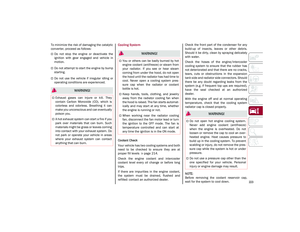 225
225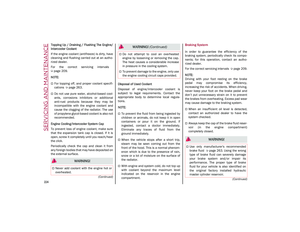 226
226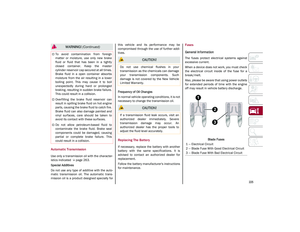 227
227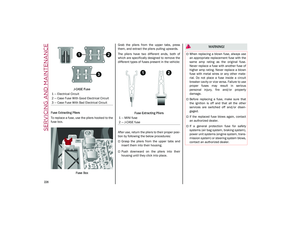 228
228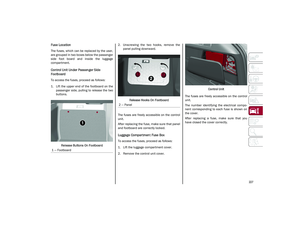 229
229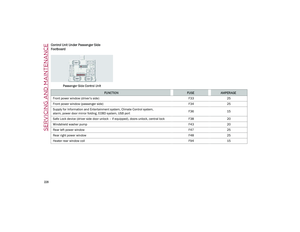 230
230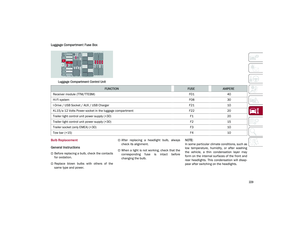 231
231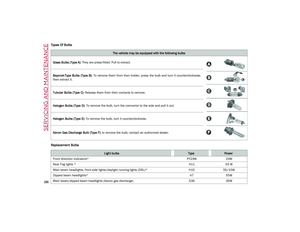 232
232 233
233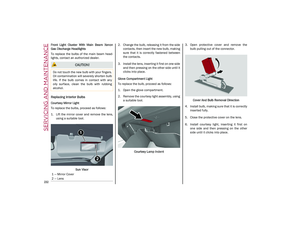 234
234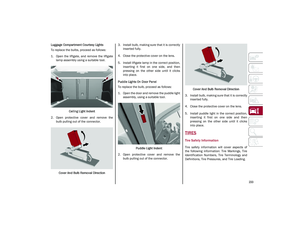 235
235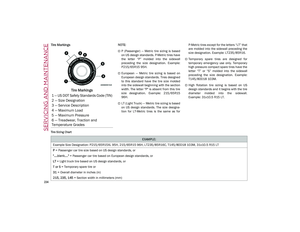 236
236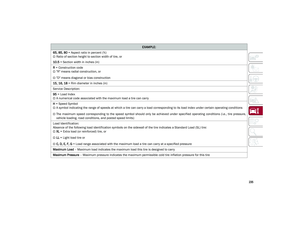 237
237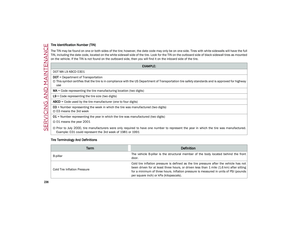 238
238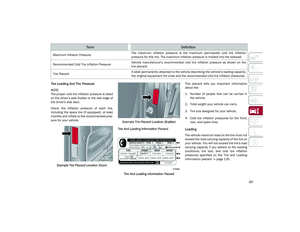 239
239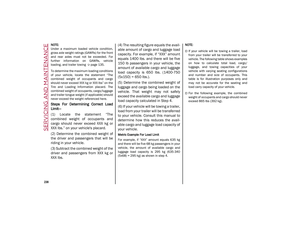 240
240 241
241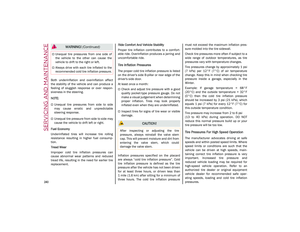 242
242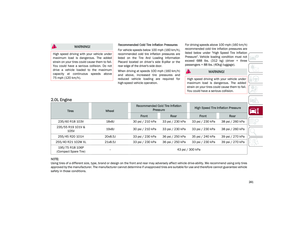 243
243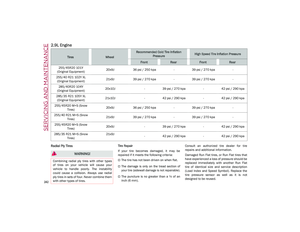 244
244 245
245 246
246 247
247 248
248 249
249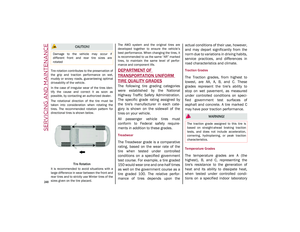 250
250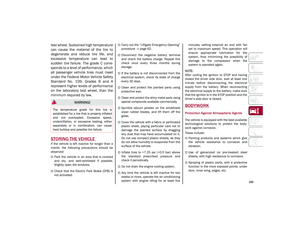 251
251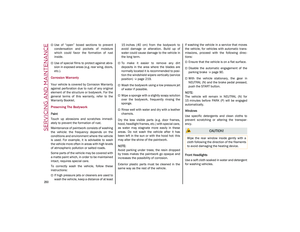 252
252 253
253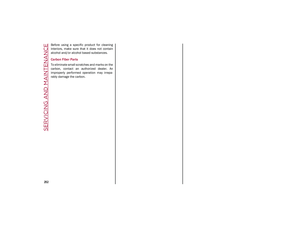 254
254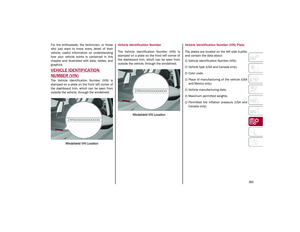 255
255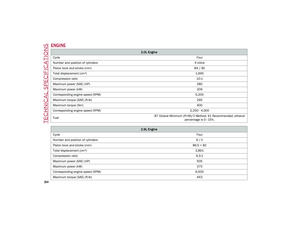 256
256 257
257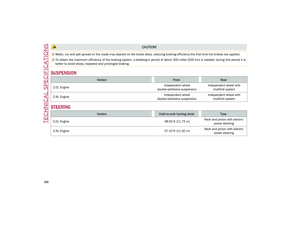 258
258 259
259 260
260 261
261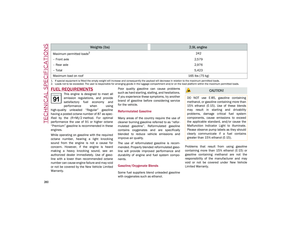 262
262 263
263 264
264 265
265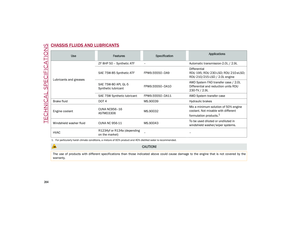 266
266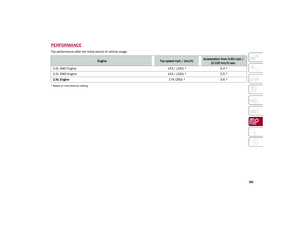 267
267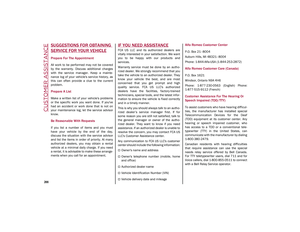 268
268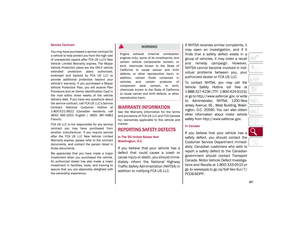 269
269 270
270 271
271 272
272 273
273 274
274 275
275 276
276 277
277 278
278 279
279