Page 27 of 399

25
uuVoice Control System uSiri ® Eyes Free
System Setup
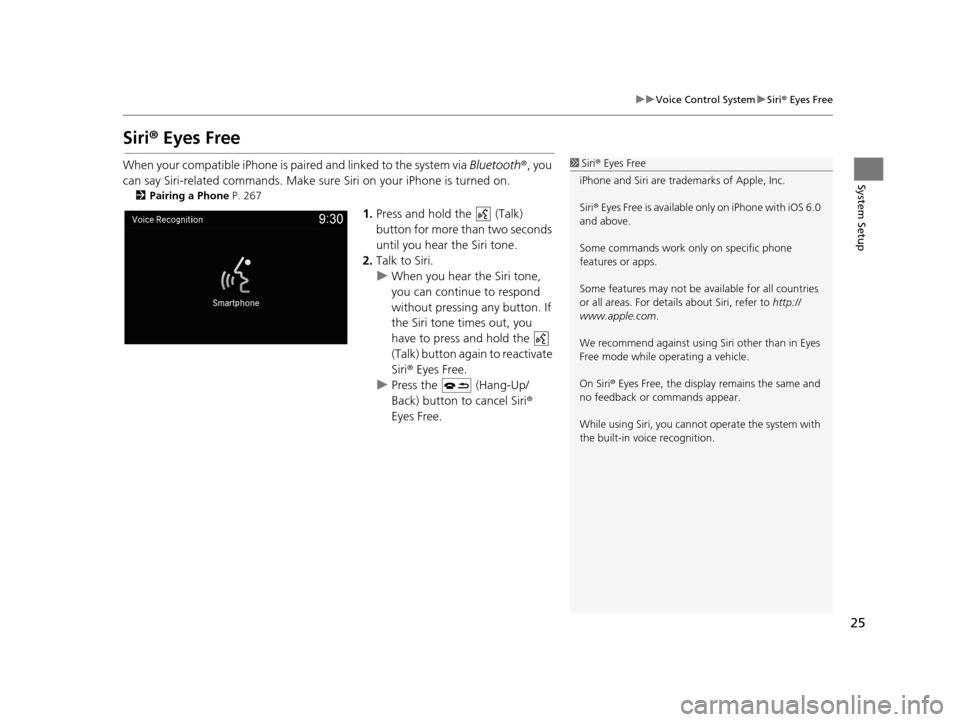
Siri® Eyes Free
When your compatible iPhone is pa ired and linked to the system via Bluetooth®, you
can say Siri-related commands. Make sure Siri on your iPhone is turned on.
2Pairing a Phone P. 267
1.Press and hold the (Talk)
button for more than two seconds
until you hear the Siri tone.
2. Talk to Siri.
u When you hear the Siri tone,
you can continue to respond
without pressing any button. If
the Siri tone times out, you
have to press and hold the
(Talk) button again to reactivate
Siri ® Eyes Free.
u Press the (Hang-Up/
Back) button to cancel Siri ®
Eyes Free.
1 Siri ® Eyes Free
iPhone and Siri are trademarks of Apple, Inc.
Siri ® Eyes Free is available only on iPhone with iOS 6.0
and above.
Some commands work only on specific phone
features or apps.
Some features may not be available for all countries
or all areas. For detail s about Siri, refer to http://
www.apple.com .
We recommend against using Si ri other than in Eyes
Free mode while operating a vehicle.
On Siri ® Eyes Free, the display remains the same and
no feedback or commands appear.
While using Siri, you cannot operate the system with
the built-in voice recognition.
19 ACURA TLX NAVI-31TZ38400.book 25 ページ 2018年3月7日 水曜日 午後4時23分
Page 28 of 399
26
System Setup
Interface Settings
Navigation Screen Settings
HSETTINGS buttonuSystem Settings uDisplay
Adjusts the screen’s preferences. 1.Rotate to select an item. Press
.
2. Rotate to make the
adjustment. Press .
The following items are available:
• Default : Restores the factory default settings.
• Sync Display Brightness: Selects whether the display brightness synchronizes
with the instrument panel brightness.
• Brightness : Adjusts the screen’s brightness.
• Contrast : Adjusts the screen’s contrast.
• Black Level : Adjusts the screen’s black level.1Navigation Screen Settings
You can set separate daytim e and nighttime settings
for Brightness, Contrast, and Black Level. Adjust
each setting when the displa y is in either daytime or
nighttime mode.
19 ACURA TLX NAVI-31TZ38400.book 26 ページ 2018年3月7日 水曜日 午後4時23分
Page 30 of 399

28
uuInterface Settings uClock Adjustment
System Setup
Clock Adjustment
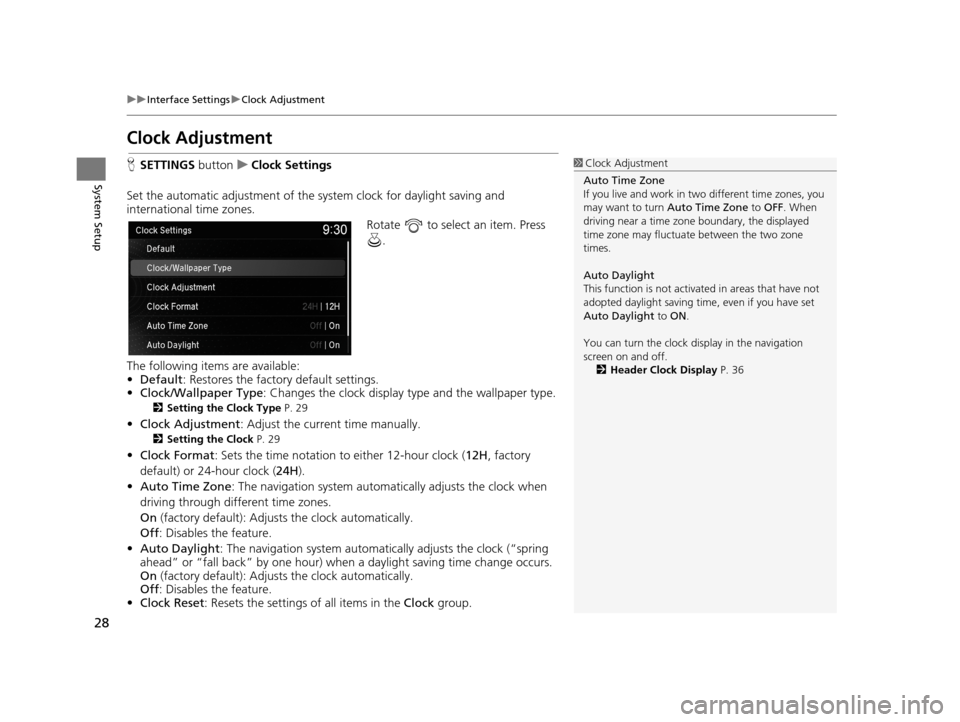
H SETTINGS buttonuClock Settings
Set the automatic adjustment of the sy stem clock for daylight saving and
international time zones.
Rotate to select an item. Press .
The following items are available:
• Default : Restores the factory default settings.
• Clock/Wallpaper Type: Changes the clock display type and the wallpaper type.
2 Setting the Clock Type P. 29
•Clock Adjustment : Adjust the current time manually.
2Setting the Clock P. 29
•Clock Format : Sets the time notation to either 12-hour clock ( 12H, factory
default) or 24-hour clock ( 24H).
• Auto Time Zone : The navigation system automa tically adjusts the clock when
driving through different time zones.
On (factory default): Adjust s the clock automatically.
Off : Disables the feature.
• Auto Daylight : The navigation system automati cally adjusts the clock (“spring
ahead” or “fall back” by one hour) when a daylight saving time change occurs.
On (factory default): Adjust s the clock automatically.
Off : Disables the feature.
• Clock Reset : Resets the settings of all items in the Clock group.
1Clock Adjustment
Auto Time Zone
If you live and work in tw o different time zones, you
may want to turn Auto Time Zone to OFF. When
driving near a time zone boundary, the displayed
time zone may fluctuat e between the two zone
times.
Auto Daylight
This function is not activated in areas that have not
adopted daylight saving time , even if you have set
Auto Daylight to ON .
You can turn the clock di splay in the navigation
screen on and off.
2 Header Clock Display P. 36
19 ACURA TLX NAVI-31TZ38400.book 28 ページ 2018年3月7日 水曜日 午後4時23分
Page 32 of 399

30
uuInterface Settings uWallpaper Settings
System Setup
Wallpaper Settings
Select, delete, and import wallpaper pictures for display on the screen.
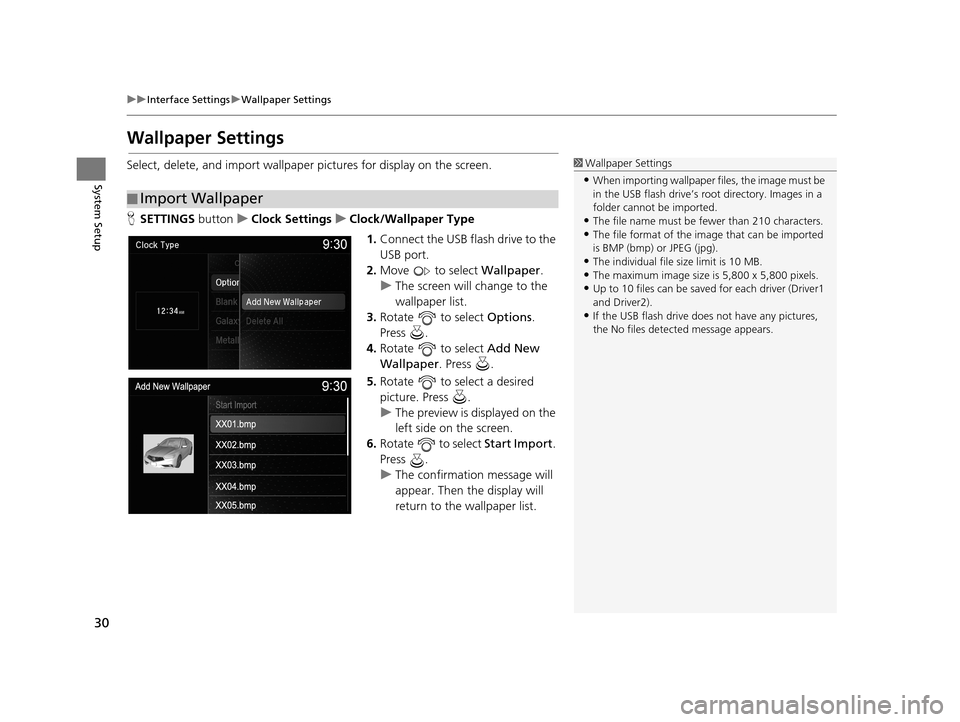
H SETTINGS buttonuClock Settings uClock/Wallpaper Type
1.Connect the USB flash drive to the
USB port.
2. Move to select Wallpaper.
u The screen will change to the
wallpaper list.
3. Rotate to select Options.
Press .
4. Rotate to select Add New
Wallpaper . Press .
5. Rotate to select a desired
picture. Press .
u The preview is displayed on the
left side on the screen.
6. Rotate to select Start Import.
Press .
u The confirmation message will
appear. Then the display will
return to the wallpaper list.
■Import Wallpaper
1
Wallpaper Settings
•When importing wallpaper files, the image must be
in the USB flash drive’s root directory. Images in a
folder cannot be imported.
•The file name must be fewer than 210 characters.•The file format of the im age that can be imported
is BMP (bmp) or JPEG (jpg).
•The individual file size limit is 10 MB.•The maximum image size is 5,800 x 5,800 pixels.
•Up to 10 files can be saved for each driver (Driver1
and Driver2).
•If the USB flash drive doe s not have any pictures,
the No files detect ed message appears.
19 ACURA TLX NAVI-31TZ38400.book 30 ページ 2018年3月7日 水曜日 午後4時23分
Page 33 of 399
31
uuInterface Settings uWallpaper Settings
Continued
System SetupH SETTINGS buttonuClock Settings uClock/Wallpaper Type uWallpaper
1. Rotate to select a desired
wallpaper. Press .
u The preview is displayed on the
left side on the screen.
u The pop-up menu appears on
the screen.
2. Rotate to select Set . Press .
u The display will return to the
Clock Settings screen.
■Select Wallpaper
19 ACURA TLX NAVI-31TZ38400.book 31 ページ 2018年3月7日 水曜日 午後4時23分
Page 34 of 399
32
uuInterface Settings uWallpaper Settings
System SetupH SETTINGS buttonuClock Settings uClock/Wallpaper Type uWallpaper
1. Rotate to select a wallpaper
that you want to delete. Press .
u The preview is displayed on the
left side on the screen.
u The pop-up menu appears on
the screen.
2. Rotate to select Delete. Press
.
u The confirmation message will
appear.
3. Rotate to select Yes . Press .
u The display will return to the
wallpaper list.
■Delete Wallpaper
19 ACURA TLX NAVI-31TZ38400.book 32 ページ 2018年3月7日 水曜日 午後4時23分
Page 36 of 399
34
uuInterface Settings uLanguage Settings
System Setup
Language Settings
H SETTINGS buttonuSystem Settings uOthers uLanguage
Set the system language used on all screens. You can choose from three languages:
English , Français (French), Español (Spanish).
Rotate to select the system
language. Press .1Language Settings
Voice confirmation of cities and streets only occurs
when English is the system language.
When Français or Español is selected, some
messages continue to be displayed in English.
19 ACURA TLX NAVI-31TZ38400.book 34 ページ 2018年3月7日 水曜日 午後4時23分
Page 37 of 399
35
uuInterface Settings uOperation Restriction Tips*
System Setup
Operation Restriction Tips*
H SETTINGS buttonuSystem Settings uOthers uOperation Restriction
Tips
Alerts you when manual control of the syst em is disabled to prevent distraction
while driving. Only voice commands are available.
Rotate to select On or Off. Press
.
The following items are available:
• On (factory default): Displays a message.
• Off : Disables the message.
* Not available on all models
19 ACURA TLX NAVI-31TZ38400.book 35 ページ 2018年3月7日 水曜日 午後4時23分