Page 153 of 188
8-40
8
EBU32501Checking the brake fluid levelBefore starting off, check that the brake fluid
is above the minimum level mark. Check the
brake fluid level with the top of the reservoir
level. Replenish the brake fluid if necessary.
WARNING
EWB02721Improper maintenance can result in loss of
braking ability. Observe these precau-
tions:
Insufficient brake fluid may allow air to
enter the brake system, reducing brak-
ing performance.
1. Brake pad wear indicator groove
1
1. Minimum level markSpecified brake fluid: DOT 4
1
UB3D7AE0.book Page 40 Tuesday, November 7, 2017 9:38 AM
Page 154 of 188

8-41
8
Clean the filler cap before removing. Use
only DOT 4 brake fluid from a sealed
container.
Use only the specified brake fluid; other-
wise, the rubber seals may deteriorate,
causing leakage.
Refill with the same type of brake fluid.
Adding a brake fluid other than DOT 4
may result in a harmful chemical reac-
tion.
Be careful that water does not enter the
brake fluid reservoir when refilling. Wa-
ter will significantly lower the boiling
point of the fluid and may result in vapor
lock. NOTICEECB01161Brake fluid may damage painted surfaces
or plastic parts. Always clean up spilled
fluid immediately.
As the brake pads wear, it is normal for the
brake fluid level to gradually go down. A low
brake fluid level may indicate worn brake
pads and/or brake system leakage; therefore,
be sure to check the brake pads for wear and
the brake system for leakage. If the brake fluid
level goes down suddenly, have a Yamaha
dealer check and repair the vehicle before
any further operation.EBU32520Brake fluid replacementComplete fluid replacement should be done
only by trained Yamaha service personnel.
Have a Yamaha dealer replace the following
components during periodic maintenance or
when they are damaged or leaking.
Replace the oil seals every two years.
Replace the brake hoses every four years.
UB3D7AE0.book Page 41 Tuesday, November 7, 2017 9:38 AM
Page 155 of 188

8-42
8
EBU32530Checking the brake pedalHave a Yamaha dealer check the brakes at
the intervals specified in the periodic mainte-
nance and lubrication chart. There should be
no free play in the brake pedal. The brakes
should operate smoothly and there should be
no brake drag. If the brakes feel soft or
spongy, this could indicate air in the brake
system. Have a Yamaha dealer check the
brake system if necessary.
EBU33710Parking brakePull the parking brake lever rearward com-
pletely. If the parking brake lever clicks eight
times or more, have a Yamaha dealer adjust
the parking brake because the braking force
of the parking brake is weak. In addition, have
a Yamaha dealer check and adjust the park-
ing brake at the intervals specified in the peri-
odic maintenance and lubrication chart.EBU32551Brake light switch adjustmentThe brake light switch, which is activated by
the brake pedal, is properly adjusted when
the brake light comes on just before braking
takes effect.
1. Brake pedal
2. No brake pedal free play
1
2
UB3D7AE0.book Page 42 Tuesday, November 7, 2017 9:38 AM
Page 156 of 188
8-43
8
If necessary, adjust the brake light switch.1. Hold the brake light switch in place.
2. Turn the adjusting nut in direction (a) to
make the brake light come on earlier.
3. Turn the adjusting nut in direction (b) to
make the brake light come on later.
EBU35930Cable inspection and lubrication
WARNING
EWB03380Damaged cables could restrict operation,
which may cause an accident or injury. In-
spect control cables frequently and re-
place damaged cables. Corrosion can
result when the outer covering of control
cables becomes damaged. Cables can
also become frayed or kinked. Lubricate the cable ends. If the cables do not
operate smoothly, ask a Yamaha dealer to re-
place them.EBU32570Brake pedal and accelerator pedal lu-
bricationLubricate the pivoting parts.
1. Brake light switch
2. Adjusting nut
(a)
(b)
1
2
Recommended lubricant:Yamalube LubezAll (synthetic lubricant
spray with PTFE)
UB3D7AE0.book Page 43 Tuesday, November 7, 2017 9:38 AM
Page 157 of 188
8-44
8
EBU32582Checking the stabilizer bushesThe stabilizer bushes must be checked for
cracks or damage at the intervals specified in
the periodic maintenance and lubrication
chart.
Have a Yamaha dealer replace the stabilizer
bushes if necessary.Front
RearRecommended lubricant:
Lithium-soap-based grease
UB3D7AE0.book Page 44 Tuesday, November 7, 2017 9:38 AM
Page 158 of 188
8-45
8
EBU32590Rear knuckle upper and lower pivot lu-
brication (left and right)Lubricate the knuckle upper and lower pivots
with a grease gun.EBU32600Steering shaft lubricationLubricate the pivot points.
EBU32610Wheel removal1. Loosen the wheel nuts.
2. Elevate the vehicle and place a suitablestand under the frame.
3. Remove the nuts from the wheel.
4. Remove the wheel.
Recommended lubricant: Lithium-soap-based grease
UB3D7AE0.book Page 45 Tuesday, November 7, 2017 9:38 AM
Page 159 of 188
8-46
8
EBU32620Tire replacementAlways use the same size and type of tires
recommended in this owner’s manual. The
tires that came with your Yamaha Wolverine
were designed to match the performance ca-
pabilities and to provide the best combination
of handling, braking, and comfort. It is best to
replace all four tires at the same time. If that is
not possible, you must replace the tires inpairs (front or rear) with tires of the same size
and type as the origin
als. Never replace just
one tire.
WARNING
EWB03390Installing improper tires on your Yamaha
Wolverine can affect handling and stabili-
ty. This can cause a loss of control. The tires listed below have been approved by
Yamaha Motor Manufacturing Corporation of
America for this model.
1. Wheel nut
1
1
Front tire: Size:26 x 8-12NHS
Manufacturer/model: MAXXIS/MU09
Rear tire: Size:26 x 10-12NHS
Manufacturer/model: MAXXIS/MU10
UB3D7AE0.book Page 46 Tuesday, November 7, 2017 9:38 AM
Page 160 of 188

8-47
8
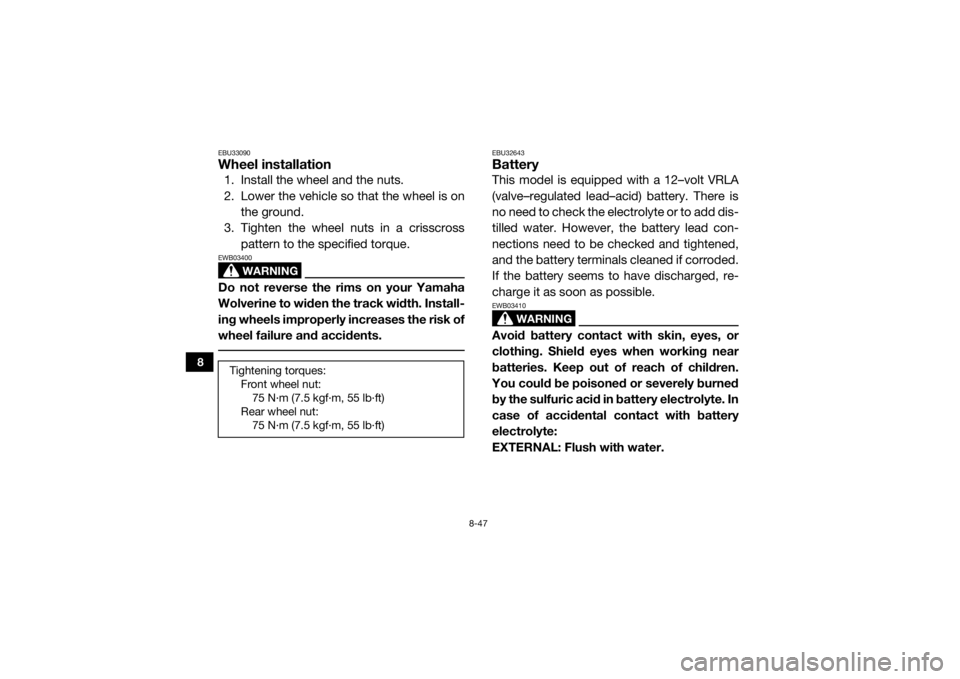
EBU33090Wheel installation1. Install the wheel and the nuts.
2. Lower the vehicle so that the wheel is onthe ground.
3. Tighten the wheel nuts in a crisscross pattern to the specified torque.
WARNING
EWB03400Do not reverse the rims on your Yamaha
Wolverine to widen the track width. Install-
ing wheels improperly increases the risk of
wheel failure and accidents.
EBU32643BatteryThis model is equipped with a 12–volt VRLA
(valve–regulated lead–acid) battery. There is
no need to check the electrolyte or to add dis-
tilled water. However, the battery lead con-
nections need to be checked and tightened,
and the battery terminals cleaned if corroded.
If the battery seems to have discharged, re-
charge it as soon as possible.
WARNING
EWB03410Avoid battery contact with skin, eyes, or
clothing. Shield eyes when working near
batteries. Keep out of reach of children.
You could be poisoned or severely burned
by the sulfuric acid in battery electrolyte. In
case of accidental contact with battery
electrolyte:
EXTERNAL: Flush with water.
Tightening torques:Front wheel nut:75 N·m (7.5 kgf·m, 55 lb·ft)
Rear wheel nut: 75 N·m (7.5 kgf·m, 55 lb·ft)
UB3D7AE0.book Page 47 Tuesday, November 7, 2017 9:38 AM