2018 MERCEDES-BENZ CLA COUPE fuse
[x] Cancel search: fusePage 5 of 326

Features.............................................. 242
Maintenancea nd care...................... 257
Engine compartment ........................... 257
ASSYST PLUS ...................................... 261
Care ..................................................... 262
Breakdown assistance .....................269
Where will Ifind...? .............................. 269
Fla ttire ................................................ 271
Battery (vehicle) .................................. 276
Jump-starting ....................................... 278
Towing and tow-starting ...................... 281
Fuses ................................................... 284
Wheels and tires ............................... 287
Important safety notes ........................ 287
Operation ............................................ 287
Winte roperation .................................. 289
Tir ep ressure ....................................... 290
Loading the vehicle .............................. 298
All aboutw heelsand tires................... 301
Changing awheel ................................ 307
Wheel and tire combinations ............... 312
Technical data ................................... 313
Information regarding technical data ... 313
Vehicl eelectronics .............................. 313
Identification plates ............................. 314
Service products and filling capaci-
ties ...................................................... 315
Vehicl edata. ........................................ 320
Contents3
Page 13 of 326
Grade (gasoline) ............................ 316
Importantsafety note s................. .316
Problem (malfunction) .................. .140
Refueling ........................................ 138
Tank content/reserve fuel ............. 316
Fue lfiller flap
Opening ......................................... 139
Fue llevel
Calling up the range (on-board
computer) ...................................... 180
Fue ltank
Capacity ........................................ 316
Problem (malfunction) ................... 140
Fuses
Allocation chart .............................2 85
Before changing .............................2 84
Fuse box in the engine compart-
ment .............................................. 285
Fuse box in the front-passenger
footwell .......................................... 285
Important safety notes .................. 284
G
Garage door opener
Clearing the memory ..................... 254
General notes ................................ 252
Important safety notes .................. 252
Opening/closing the garage door .. 254
Problems whe nprogramming ........2 54
Programming (button in the rear-
view mirror) ................................... 252
Synchronizing the rolling code ....... 253
Gasoline ............................................. 316
Gear indicator (on-board com-
puter, Mercedes-AMG vehicles) ....... 188
Genuine parts ...................................... 24
Glove box ...........................................2 38
Google™L ocal Search
see also Digita lOperator's Man-
ua l..................................................2 29
H
Handbrake
see Parking brake
HANDS-FRE EACCES S.......................... 79 Hazard warning lamps
Display message ............................ 216
Switching on/off ........................... 102
Head restraints
Adjusting ......................................... 92
Adjusting (manually). ....................... 93
Adjusting (rear) ................................ 93
Headlamps
Fogging up ..................................... 103
see Automatic headlamp mode
Heating
see Climate control
High beam flasher .............................1 01
High-beam headlamps
Adaptive Highbeam Assist ............. 102
Display message ............................ 203
Replacing bulbs .............................1 06
Switching on/off ........................... 101
Hill start assist .................................. 125
HOLD function
Activating ....................................... 157
Activatio nconditions ..................... 157
Deactivating ................................... 157
Display message ............................ 207
Function/notes .............................1 57
Home address
see also Digita lOperator's Man-
ua l..................................................2 29
Hood
Closing ...........................................2 58
Display message ............................ 215
Important safety notes .................. 257
Opening ......................................... 257
Horn ...................................................... 32
Hydroplaning ..................................... 148
I
Ignitionlock
see Key positions
Immobilizer .......................................... 68
Indicator lamp
Replacing bulbs (rear) .................... 106
Indicator lamps
see Warning and indicator lamps
Indicators
see Turn signals
Index11
Page 159 of 326
HOLD function
General notes
The HOLD function can assist the driverint he
following situations:
Rwhen pulling away, especially on steep slopes
Rwhen maneuvering on steep slopes
Rwhen waiting in traffic
The vehicleisk ept stationary without the driver
having to depress the brake pedal.
The braking effect is cancele dand the HOLD
function deactivated when you depress the
accelerator pedaltop ulla way.
Important safety notes
GWARNING
When leaving the vehicle, it can still roll away despite being braked by the HOLD function if:
Rthere is amalfunction in the system or in
the voltag esupply.
Rthe HOLD function has been deactivated by
pressing the accelerator pedalort he brake
pedal, e.g. by avehicleo ccupant.
Rthe electrical system in the engine com-
partment, the battery or the fuse shave
been tampere dwith.
Rthe battery is disconnected
There is arisk of an accident.
If you wis htoexit the vehicle, alway sturn off
the HOLD function and secure the vehicle
against rolling away.
!When Distance Pilot DISTRONIC or the
HOLD function is activated, the vehicle
brakes automatically in certain situations.
To avoi ddamage to the vehicle, deactivate
Distance Pilot DISTRONIC and the HOLD
function in the following or similar situations:
Rwhen towing the vehicle
Rin the car wash
Deactivating the HOLD function (
Ypage1 57).
Activation conditions
You can activate the HOLD function if:
Rthe vehicleiss tationary
Rthe engine is running or if it has been auto-
matically switched off by the ECO start/stop
function
Rthe driver's door is closed or you rseat belti s
fastened
Rthe electric parking brake is released
RDistance Pilot DISTRONIC is deactivated
Rthe transmission is in position h,kori
on vehicles with automatic transmission
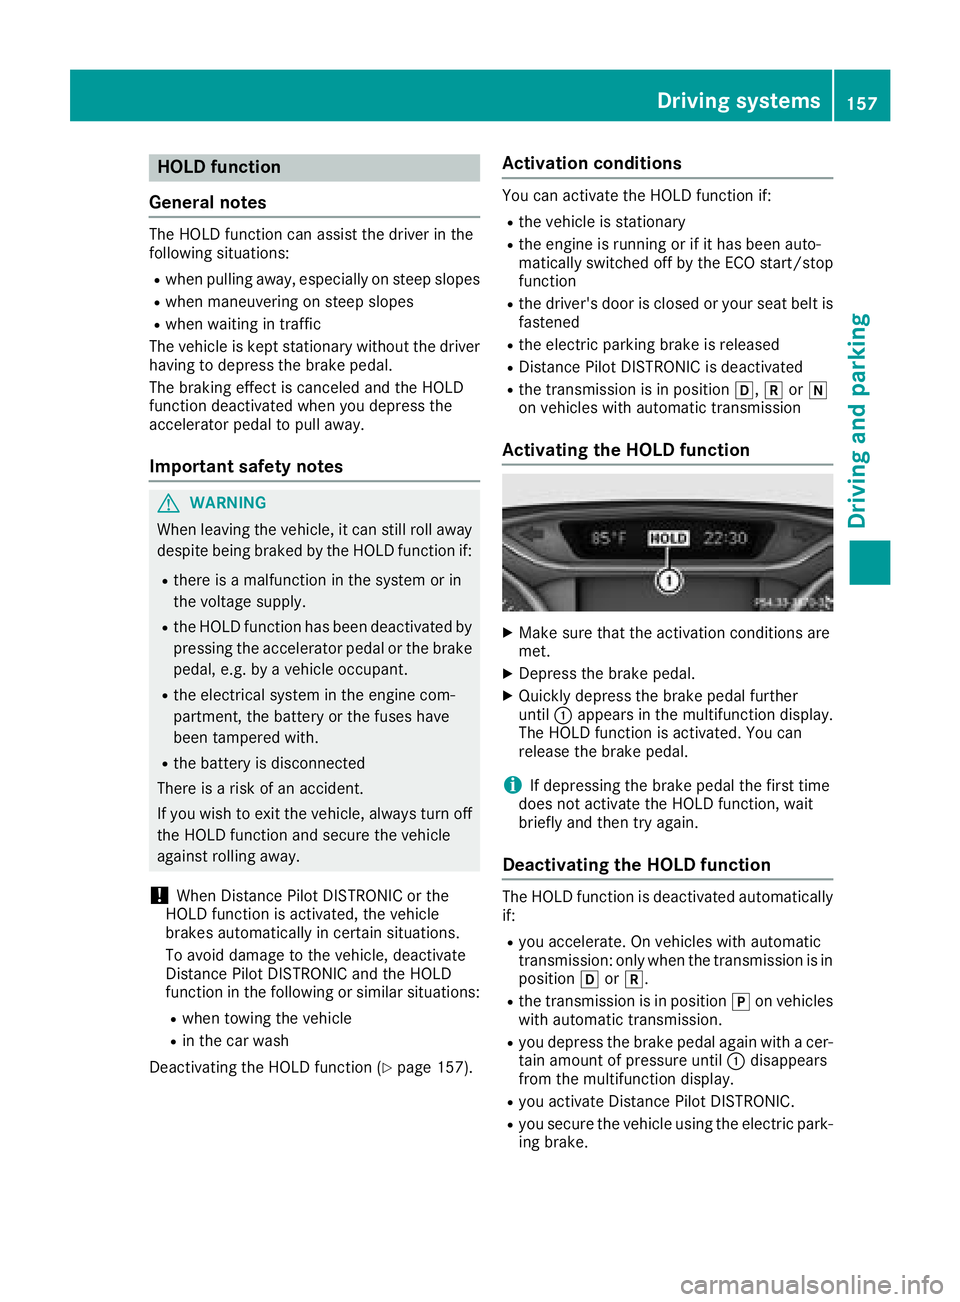
Activating the HOLD function
XMake sure that the activation conditions are
met.
XDepress the brake pedal.
XQuickly depress the brake pedalf urther
until :appears in the multifunction display.
The HOLD function is activated. You can
release the brake pedal.
iIf depressing the brake pedalt he first time
does not activate the HOLD function, wait
briefly and then try again.
Deactivatin gthe HOLD function
The HOLD function is deactivated automatically
if:
Ryou accelerate. On vehicles with automatic
transmission: only when the transmission is in
position hork.
Rthe transmission is in position jon vehicles
with automatic transmission.
Ryou depress the brake pedala gain withacer-
tain amount of pressure until :disappears
from the multifunction display.
Ryou activate Distance Pilot DISTRONIC.
Ryou secure the vehicleu sing the electric park-
ing brake.
Driving systems157
Driving and parking
Z
Page 167 of 326
GWARNING
If there are objects above the detection range:
RParking Pilot may steer in too early
Rthe vehiclem ay not stop in front of these
objects
You may caus eacollision as aresult. There is
ar isk of an accident.
If objects are located above the detection
range, stop and deactivate Parking Pilot.
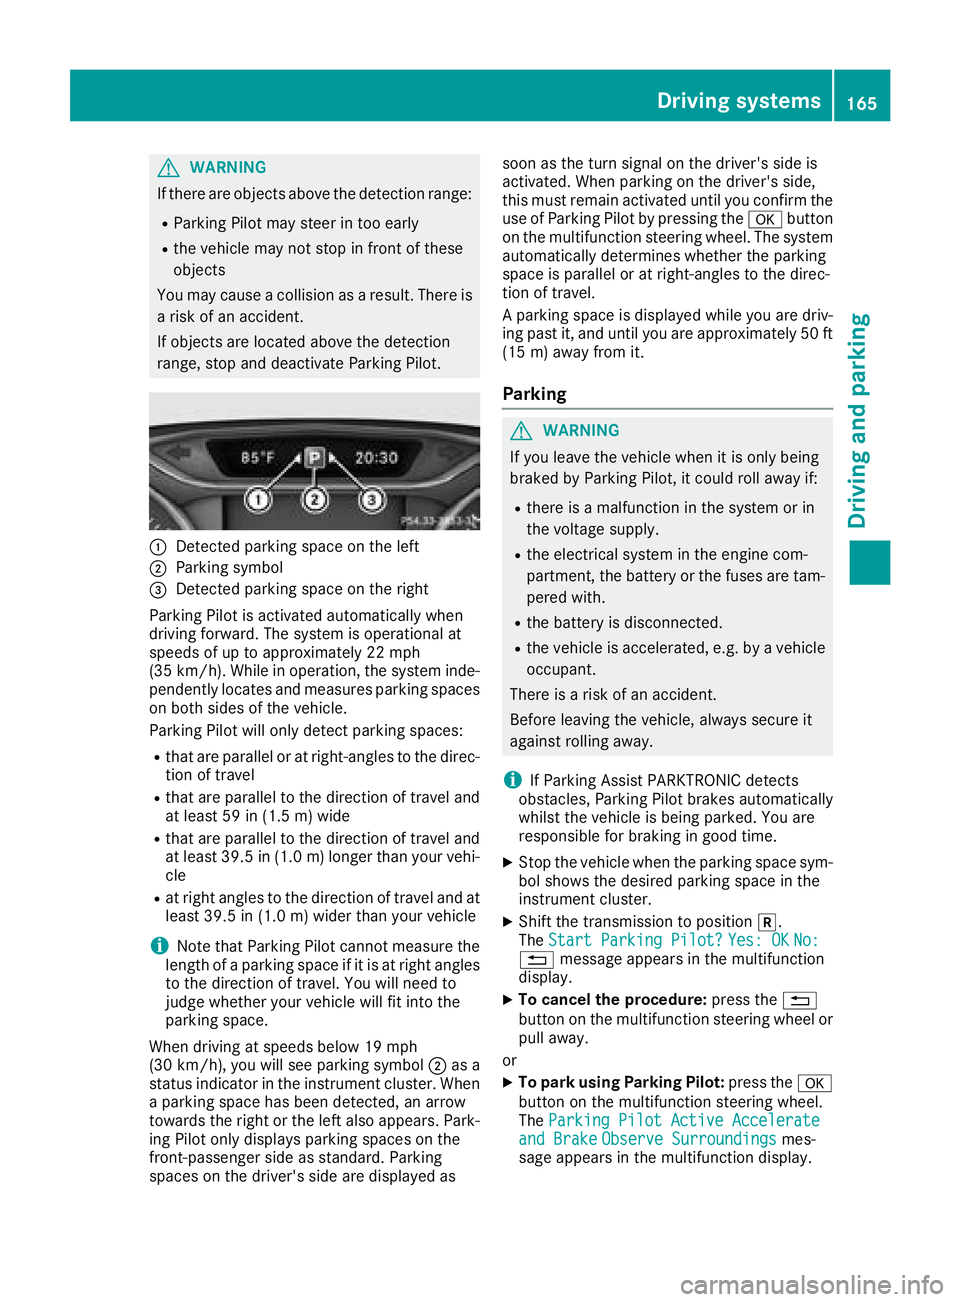
:Detected parking space on the left
;Parking symbol
=Detected parking space on the right
Parking Pilot is activated automatically when
driving forward. The system is operational at
speeds of up to approximately 22 mph
(35 km/h) .Whileino peration, the system inde-
pendently locates and measures parking spaces on both sidesoft he vehicle.
Parking Pilot wil lonly detect parking spaces:
Rthat are paralleloratr ight-angles to the direc-
tion of travel
Rthat are paralleltot he direction of travel and
at least 59 in (1.5 m) wide
Rthat are paralleltot he direction of travel and
at least 39.5 in (1.0 m)longer than your vehi-
cle
Rat right angles to the direction of travel and at
least 39.5i n(1.0m )wider than your vehicle
iNotet hat Parking Pilot cannot measure the
lengt hofap arking space if it is at right angles
to the direction of travel. You will need to
judge whether your vehicle will fit int othe
parking space.
When drivingats peeds below 19 mph
(30 km/h), you will see parking symbol ;as a
status indicator in the instrumentc luster. When
ap arking space has been detected, an arrow
towards the right or the left also appears. Park-
ing Pilot only displays parking spaces on the
front-passenge rside as standard. Parking
spaces on the driver's side are displayed as soon as the turn signal on the driver's side is
activated. When parking on the driver's side,
this must remain activated until you confirm the
use of Parking Pilot by pressing the
abutton
on the multifunction steeringw heel. The system
automatically determines whether the parking
space is parallel or at right-angles to the direc-
tion of travel.
Ap arking spac
e is displayed while you are driv-
ing past it, and until you are approximately 50 ft
(15 m) away fromi t.
Parking
GWARNING
If you leave the vehicle when it is only being
braked by Parking Pilot,itc ould roll away if:
Rthere isamalfunction in the system or in
the voltage supply.
Rthe electrical system in the engin ecom-
partment, the battery or the fuses are tam-
pered with.
Rthe battery is disconnected.
Rthe vehicle is accelerated, e.g. by avehicle
occupant.
There is arisk of an accident.
Before leavingt he vehicle, always secur eit
against rollinga way.
iIf Parking Assist PARKTRONIC detects
obstacles, Parking Pilot brakes automatically
whilst the vehicle is being parked. You are
responsible for braking in good time.
XStop the vehicle when the parking space sym- bol shows the desiredp arking space in the
instrumentc luster.
XShiftthe transmission to position k.
The StartP arking Pilot?Yes: OKNo:%message appears in the multifunction
display.
XTo cancel th eprocedure: press the %
button on the multifunction steeringw heel or
pull away.
or
XTo park using Parking Pilot: press thea
button on the multifunction steeringw heel.
The Parking PilotA ctive Accelerate
and BrakeObserve Surroundingsmes-
sage appears in the multifunction display.
Driving systems165
Driving and parking
Z
Page 286 of 326
Noteson4 MATIC vehicles
!
Vehicle swith4 MATIC must not be towed
with eithe rthe front or the rea raxler aised, as
doing so will damage the transmission.
Vehicle swith4 MATIC mayo nlye ithe rbet owed
away with both axles on the ground or be loaded
up and transported.
If the vehicle' stransmission, front, or rea raxlei s
damaged, have the vehicl etransporte dona
truck or trailer.
In the even tofdamagetot he electrical sys-
tem:
If the battery is defective, the automatic trans-
mission will be locked in position j.Tos hift the
automatic transmission to position i,you
must provide powe rtothe vehicle' son-board
electrica lsys temint he same wa yaswhenjump-
starting (
Ypage 278).
Have the vehicl etransporte donatransporte ror
trailer.
Tow-startin g(em ergency engine
starting)
!
Vehicle switha utomatic transmission must
not be tow-started .You could otherwis edam -
ag et he automatic transmission.
iYouc an find information on "Jump-starting"
under (Ypage 278).
Fuses
Important safety notes
GWARNING
If yo umanipulate or bridg eafaulty fuse or if
yo ur eplace it with afusew ithah igheramper -
age, the electric cable scould be overloaded.
This could resul tinafire. There is ariskofa n
accident and injury.
Alway sreplace faulty fusesw itht he specified
new fusesh avingthe correc tamperage.
!Onlyu sefusest hath aveb eena pproved for
Mercedes-Benz vehicles and which have the
correc tfus er ating for the systemc oncerned.
Onlyu sefusesm arked with an "S" .Other- wise,c
omponents or systems could be dam-
aged.
!Make sure tha tnomoisture can ente rthe
fuse bo xwhent he cover is open.
!When closing the cover, make sure tha titis
lying correctly on the fuse box. Moistur eseep-
ing in or dirt could otherwis eimpair the oper-
ation of the fuses.
Th ef uses in your vehicl eserve to close down
faulty circuits .Ifafuse blows, al lthe compo-
nents on the circuit and their functions stop
operating.
Blown fusesm ustber eplaced with fusesoft he
same rating ,which yo ucan recognize by the
color and value. Th efuser ating sarelistedint he
fuse allocation chart.
Th efusea lloc atio
nc h
art is in the fuse bo xinthe
front-passenge rfootwell (Ypage 285).
If an ewly inserte dfusea lsob lows ,havet he
cause traced and rectifie dataqualified special-
is tw orkshop ,e.g.ana uthorized Mercedes-Benz
Center.
Before changin gafuse
XSecure the vehicl eagain st rolling away
(Ypage 141).
XSwitch off al lelectrica lconsumers.
XVehicle swithout KEYLESS-GO: remove the
SmartKeyf romthe ignition lock.
XVehicle swithK EYLESS -GOs tart-function
or KEYLESS-GO: open the driver's door.
Th ev ehicl eelectronics ar enow in position
g .Thisc orresponds to the SmartKeyb eing
remove dfromt he ignition.
Th ef uses arel oc ated in variou sfuseb oxes:
RFuse bo xinthe engine compartment on the
left-hand side of the vehicle, when viewed in
the directio noftravel
RFuse bo xinthe front-passenge rfootwell
Th efus ea lloc atio nchart is on the fuse bo xinthe
front-passenge rfootwell (
Ypage 285).
284Fuses
Breakdow nassistance
Page 287 of 326
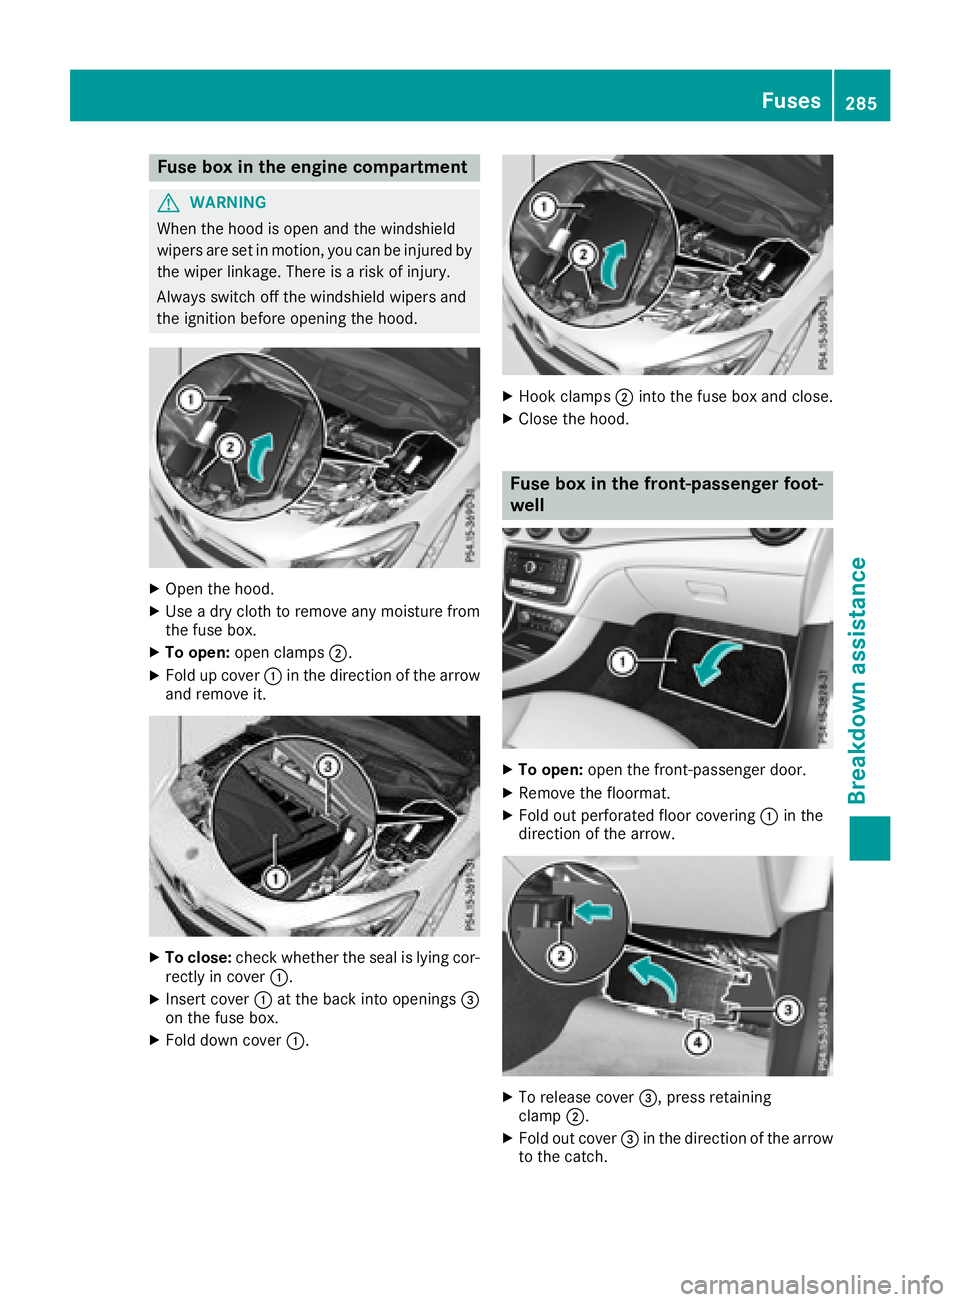
Fuse box in theengine compartment
GWARNIN G
When th ehoodiso pen and th ewindshield
wiper sare set in motion ,you can be injured by
th ew iper linkage. Ther eisariskofi njury.
Always switch off th ewindshield wiper sand
th ei gnition before opening th ehood.
XOpen th ehood.
XUse adry cloth to remove any moisture from
th ef useb ox.
XTo open :open clamps ;.
XFold up cover :in th edirection of th earrow
and remove it .
XTo close:check whether th eseal is lyin gcor-
rectl yinc over :.
XInser tcover : at th ebacki ntoo pening s=
on th efuseb ox.
XFold down cover :.
XHook clamps;intot he fuseb ox and close.
XClose th ehood.
Fuse box in th efront-passenger foot-
well
XTo open :open th efront-pa ssenger door .
XRemove thefloormat.
XFold out perforate dfloor covering :in th e
direction of th earrow.
XTo release cover =,press retaining
clam p;.
XFold out cover =in th edirection of th earrow
to th ecatch .
Fuses285
Breakdown assistance
Z
Page 288 of 326
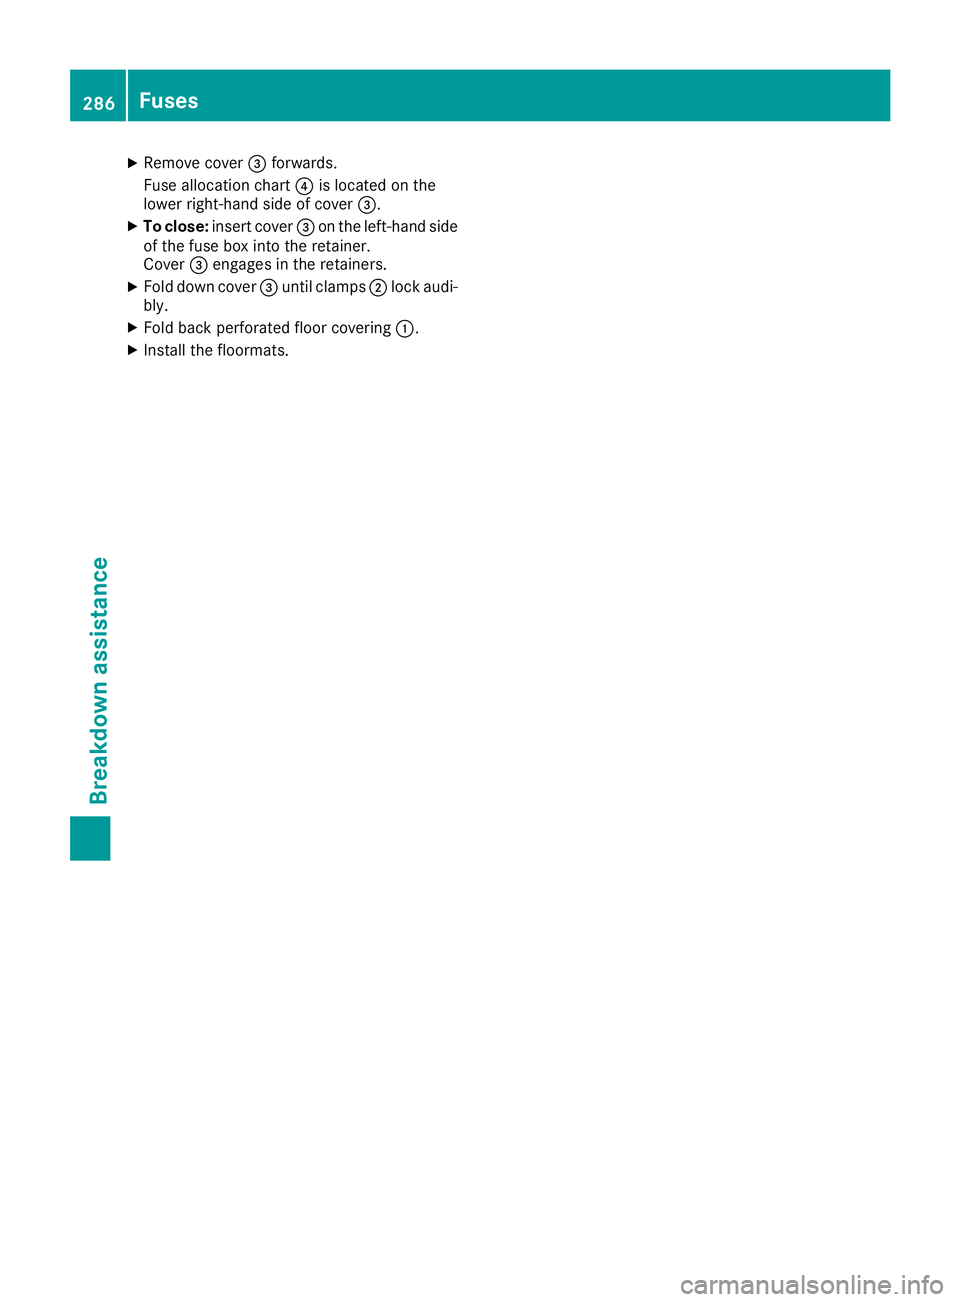
XRemove cover=forwards .
Fus eallocation chart ?is locate donthe
lower right-hand side of cover =.
XTo close:insert cover =on th eleft-han dside
of th efuseb ox int othe retainer.
Cove r= engage sintheretainers .
XFold down cover =until clamps ;lockaudi-
bly.
XFold bac kperforate dfloor covering :.
XInstall thefloormats .
286Fuses
Breakdown assistance