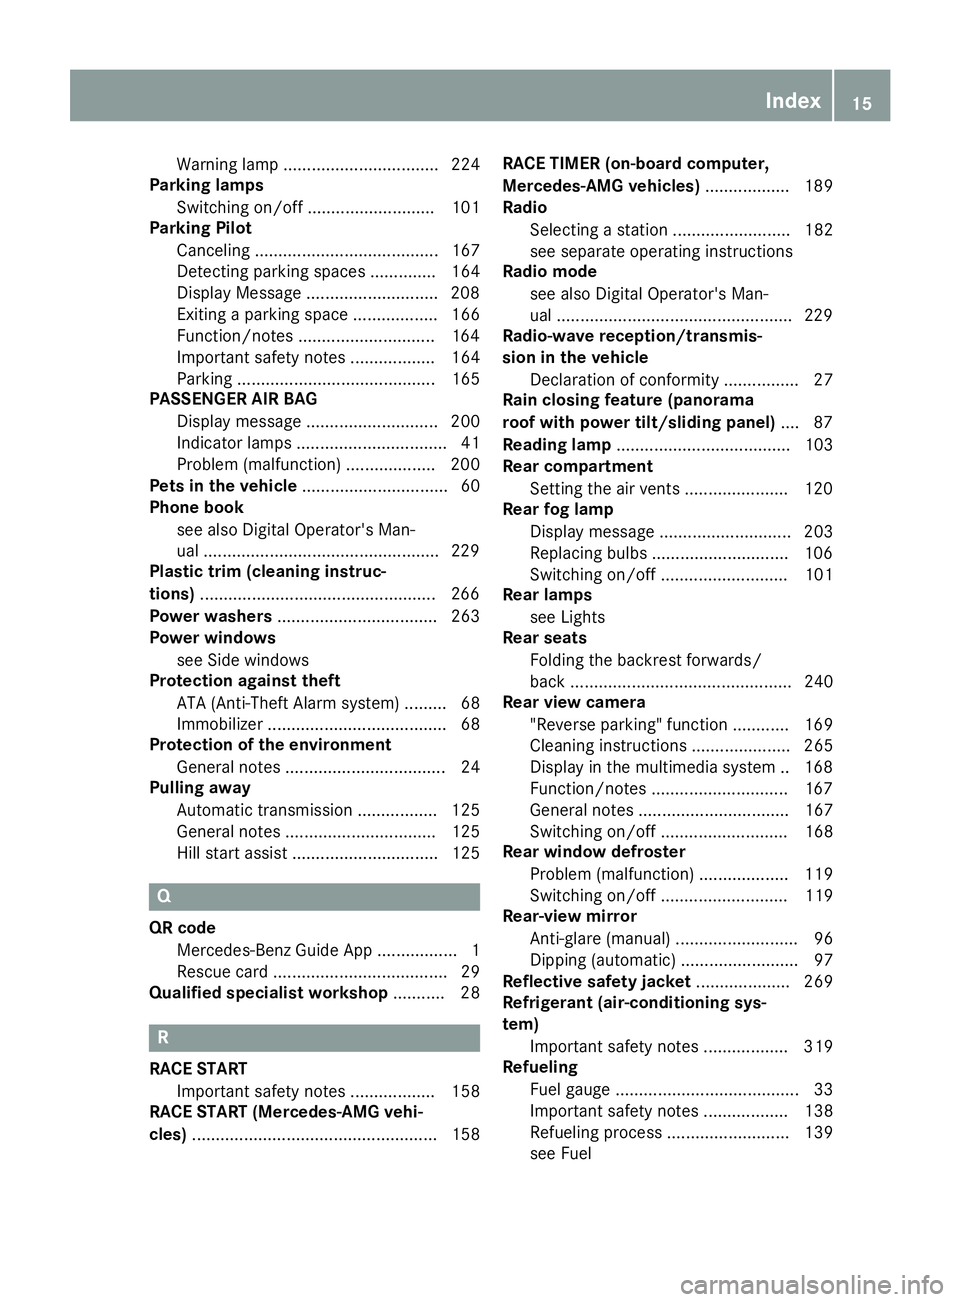
2018 MERCEDES-BENZ CLA COUPE fog light bulb
[x] Cancel search: fog light bulbPage 14 of 326

Instrumentcluster
Overview .......................................... 33
Setting s......................................... 18 6
Warn inga nd indicator lamps ........... 33
Instrument cluster lighting .............. 176
Interior lighting
Control ...........................................1 04
Overview ........................................ 103
Reading lamp ................................. 103
iPod
®
see also Digita lOperator's Man-
ua l..................................................2 29
J
Jack
Storage location ............................ 270
Using ............................................. 309
Jump starting (engine) ......................278
K
Keyp ositions
Start/Stop button .......................... 122
KEYLESS-GO
Convenience closing feature ............ 83
Deactivation ..................................... 71
Locking ............................................ 71
Unlocking ......................................... 71
Kickdown
Driving tips ....................................1 34
Manual gearshifting ....................... 138
Kne ebag.............................................. 46
L
Lamps
see Warning and indicator lamps
Lane Keepin gAssist
Activating/deactivating (on-
board computer) ............................ 186
Display message ............................ 208
Function/informatio n.................... 174
Lan eTracking package ..................... 172
Lap time (RACETIMER) ...................... 189
LATCH-type (ISOFIX )child seat
anchors ................................................ 57
License plate lamp (display mes-
sage) ................................................... 203 Light senso
r(display message) ....... 204
Lights
Adaptive Highbeam Assist ............. 102
Automati cheadlamp mode. ........... 100
Fogged up headlamp s.................... 103
Hazard warning lamps ................... 102
Hig hbeamf lasher. ......................... 101
High-beam headlamp s................... 101
Light switch ................................... 100
Low-bea mheadlamp s.................... 101
Parking lamps ................................ 101
Rear fog lamp ................................ 101
Setting exterio rlighting ................. 100
Standing lamps .............................. 101
Switching the daytime running
lamps on/off( on-board com-
puter) ............................................. 187
Turn signal s................................... 101
Loadin gguidelines ............................ 237
Locking
see Central locking
Locking (doors)
Automati c........................................ 77
Emergency locking ........................... 77
From inside (central locking but-
ton) .................................................. 76
Locking centrally
see Central locking
Locking verification signal (on-
board computer) ............................... 187
Low-beam headlamps
Displa ymessage ............................ 202
Replacing bulb s............................. 105
Switching on/off. .......................... 101
Lumbar support
Adjusting the 4-wa ylum bars up-
por t.................................................. 93
M
M+S tires ............................................ 289
Malfunctio nmessage
see Displa ymessages
Matte finis h(clea ning instruc-
tions) .................................................. 264
mbrace
Call priority .................................... 248
Displa ymessage ............................ 197
12Index
Page 17 of 326

Warning lamp ................................. 224
Parking lamps
Switching on/off ........................... 101
Parking Pilot
Canceling ....................................... 167
Detecting parking spaces .............. 164
Display Message ............................2 08
Exiting aparking space .................. 166
Function/notes .............................1 64
Important safety notes .................. 164
Parking .......................................... 165
PASSENGERA IRBAG
Display message ............................ 200
Indicator lamps ................................ 41
Problem (malfunction) ................... 200
Pets in the vehicle ............................... 60
Phoneb ook
see also Digita lOperator's Man-
ua l..................................................2 29
Plastic trim (cleaning instruc-
tions) ..................................................2 66
Power washers .................................. 263
Power windows
see Side windows
Protection against theft
ATA (Anti-Theft Alarm system) ......... 68
Immobilize r...................................... 68
Protection of the environment
General notes .................................. 24
Pulling away
Automatic transmission ................. 125
General notes ................................ 125
Hill start assist ............................... 125
Q
QR codeMercedes-Benz Guide App ................. 1
Rescue card ..................................... 29
Qualifieds pecialist workshop ........... 28
R
RACESTART
Important safety notes .................. 158
RACES TART (Mercedes-AMG vehi-
cles) .................................................... 158 RACET
IMER (on-board computer,
Mercedes-AMG vehicles) .................. 189
Radio
Selecting astatio n......................... 182
see separate operating instructions
Radio mode
see also Digita lOperator's Man-
ua l..................................................2 29
Radio-wave reception/transmis-
sionint he vehicle
Declaratio nofconformity ................ 27
Rain closing feature (panorama
roof with power tilt/sliding panel) .... 87
Readingl amp..................................... 103
Rear compartment
Setting the ai rvents ......................1 20
Rear fog lamp
Display message ............................ 203
Replacing bulbs .............................1 06
Switching on/off ........................... 101
Rear lamps
see Lights
Rear seats
Folding the backres tforwards/
back ............................................... 240
Rear viewc amera
"Reverse parking" function ............ 169
Cleaning instructions ..................... 265
Display in the multimedias ystem .. 168
Function/notes .............................1 67
General notes ................................ 167
Switching on/off ........................... 168
Rear window defroster
Problem (malfunction) ................... 119
Switching on/off ........................... 119
Rear-vie wmirror
Anti-glare (manual ).......................... 96
Dipping (automatic) ......................... 97
Reflectiv esafety jacket .................... 269
Refrigerant (air-conditioning sys-
tem)
Important safety notes .................. 319
Refueling
Fuel gauge ....................................... 33
Important safety notes .................. 138
Refueling process. ......................... 139
see Fuel
Index15
Page 109 of 326

XPress retainingclips :at the same time in
the direction of the arrows.
XCarefully remove the bulb holder together
with the connected plug and the bulbs.
Bulb holder
;
Brake lamp
=Brake lamp
?Rear fog lamp
ABackup lamp
BTurn signals
XBrake lamp and backup lamp: remove the
corresponding bulb from the bulb holder.
XInsert the new bulb into the bulb holder.
XRear fog lamp and turns ignal:press the
bulb gently into the bulb holder, turn it coun-
ter-clockwise and remove it from the bulb
holder.
XInsert the new bulb into the bulb holder and
turn it clockwise.
XReinsert the bulb holder and engage on
retainin gclips :.
XClose the side trim panel (Ypage 106).
Windshield wipers
Switching the windshield wipers
on/off
!
Do not operate the windshield wipers when
the windshield is dry, as this could damage
the wiper blades. Moreover, dust that has col-
lected on the windshield can scratch the glass
if wiping takes place when the windshield is
dry.
If it is necessary to switch on the windshield
wipers in dry weather conditions, alwaysu se
washer fluid when operating the windshield
wipers.
!If the windshield wipers leave smears on the
windshield after the vehicle has been washed
in an automatic car wash, wax or other resi-
dues may be the reason for this. Clean the
windshield using washer fluid after washing
the vehicle in an automatic car wash.
Combination switch
1
$ Windshield wiper off
2ÄIntermittent wipe, low (rain sensor set
to low sensitivity)
3Å Intermittent wipe, high (rain sensor
set to high sensitivity)
4° Continuous wipe, slow
5¯Continuous wipe, fast
BíSingle wipe/î Wipes the wind-
shield using washer fluid
XSwitc hont he ignition.
XTurn the combination switch to the corre-
sponding position.
!Vehicles with arain sensor: if the windshield
becomes dirty in dry weather conditions, the
windshield wipers may be activated inadver-
tently. This could then damage the windshield
wiper blades or scratch the windshield.
For this reason, you should alwayss witch off
the windshield wipers in dry weather.
Vehicles with arain sensor: in the ÄorÅ
position, the appropriate wiping frequency is
automatically set accordingtot he intensity of
the rain. In the Åposition, the rain sensor is
more sensitive than in the Äposition, caus-
ing the windshield wiper to wipe more fre-
quently.
If the wiper blades are worn, the windshield will
no longer be wiped properly. This could prevent
you from observing the traffic conditions.
Windshield wipers107
Lights and windshield wipers
Z
Page 170 of 326

for safe maneuvering and parking. Make sure
that there are no persons, animals or objects in
the maneuvering area while maneuvering and
parking in parking spaces.
Under the following circumstances, the rear
view camera willnot function, or wil lfunction in
al imited manner:
Rif the trunk lid is open
Rin heavy rain, snow or fog
Rat night or in very dark places
Rif the camera is exposedtov ery bright light
Rif the area is lit by fluorescent bulbs or LED
lighting (the display may flicker)
Rif there isasudden change in temperature,
e.g. when driving into aheated garage in win-
ter
Rif the camera lens is dirty or obstructed.
Observe the notes on cleaning
(
Ypag e265)
Rif the rear of you rvehicleisd amaged. In this
case, have the camera position and setting
checked at aqualified specialist workshop
The fieldofv ision and other functions of the rear
view camera may be restricted due to additional
accessories on the rear of the vehicle( e.g.
license plate holder, rear bicycle rack).
Activating/deactivating the rear view
camera
XTo activate: make sure that the SmartKey is
in position 2in the ignition lock.
XMake sure that the Activation byRgearfunction is selected in the multimedias ystem;
see the Digita lOperator's Manual.
XEngage reverse gear.
The area behind the vehicleiss hownwith
guide lines in the multimedias ystem display.
The image from the rear view camera is avail-
abl ethroughoutt he maneuvering process.
To deactivate: the rear view camera deacti-
vates if you shift the transmission to jor after
driving forwards ashort distance.
Messages in the multimedia system dis-
play
The rear view camera may show adistorted view
of obstacles, show them incorrectly or not at all.
The rear view camera does not show objects in
the following positions:
Rvery close to the rear bumper
Runder the rear bumper
Rin close range above the handl eonthe trunk
lid
!Objects not at ground levelm ay appear to
be further away than they actually are, e.g.:
Rthe bumper of aparked vehicle
Rthe drawbar of atrailer
Rthe bal lcoupling of atrailer tow hitch
Rthe rear section of an HGV
Ras lanted post
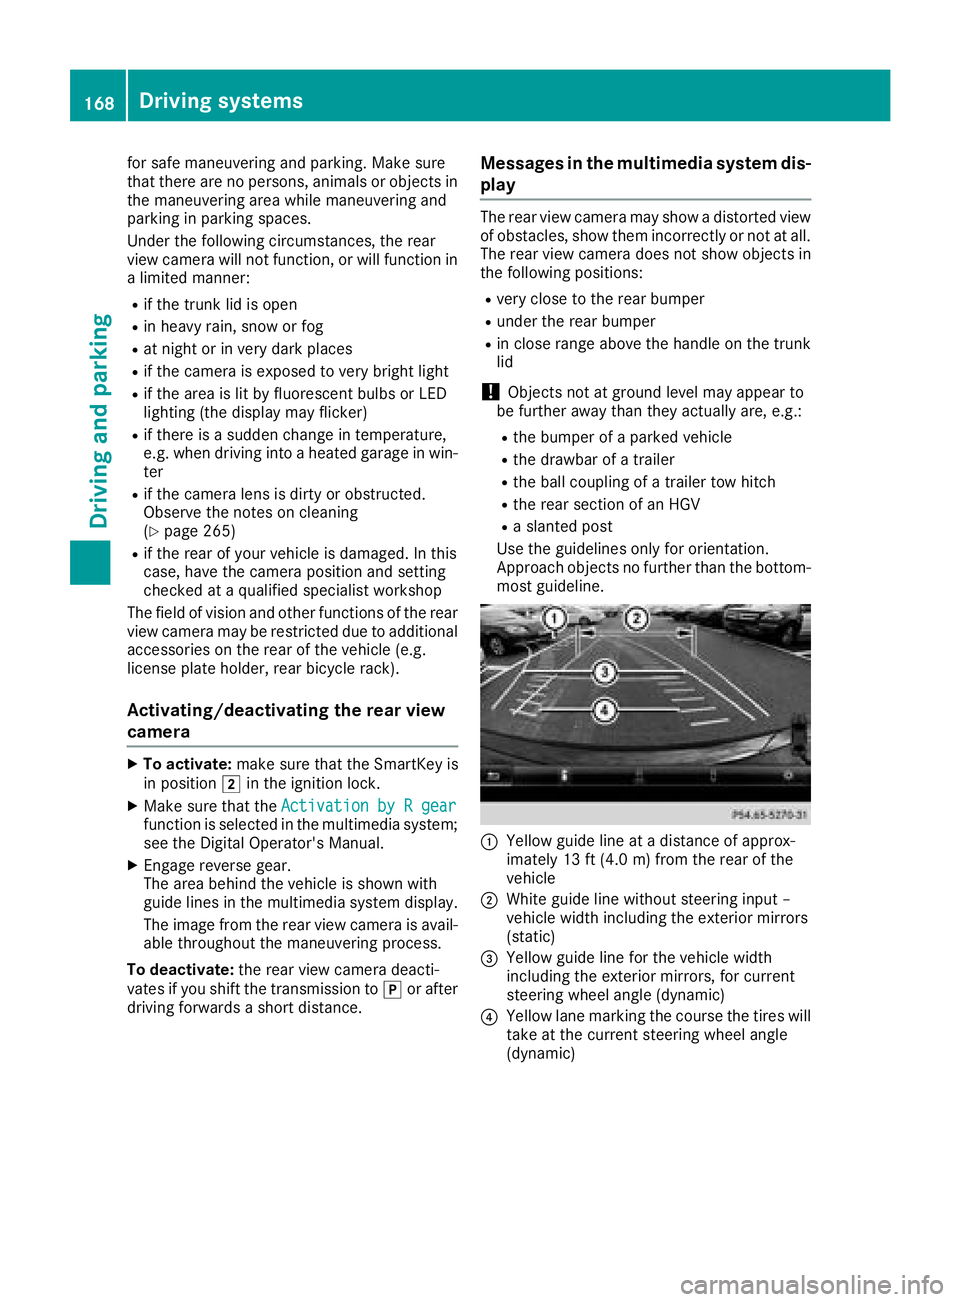
Use the guidelines only for orientation.
Approach objects no further than the bottom-
most guideline.
:Yellow guide line at adistance of approx-
imately 13 ft (4.0 m) from the rear of the
vehicle
;White guide line without steering input–
vehiclew idth including the exterior mirrors
(static)
=Yellow guide line for the vehiclew idth
including the exterior mirrors, for current
steering wheela ngle (dynamic)
?Yellow lane marking the course the tires will
take at the current steering wheela ngle
(dynamic)
168Driving systems
Driving and parking
Page 205 of 326

Display messagesPossible causes/consequences andMSolutions
b
Check LeftBrakeLamporCheck RightBrake Lam p
The leftorright-hand brak elamp is defective.
XChec kwhether you are permitte dtoreplace th ebulb yourself
(Ypage 104).
or
XVisit aqualified specialist workshop .
b
CheckLeftTailandBrake Lampsor
Check Right Tai l
and Brake Lamps
The leftorright-hand tai llamp/brake lamp is defective.
XChec kwhether you are permitte dtoreplace th ebulb yourself
(Ypage 104).
or
XVisit aqualified specialist workshop .
b
CheckLeftHighBeamor Check RightHighBeam
The lef torright-hand high beam is defective.
XChec kwhether you are permitte dtoreplace th ebulb yourself
(Ypage 104).
or
XVisit aqualified specialist workshop .
b
LicensePlate Lam p
The leftorright-hand license plat elamp is faulty.
XVisit aqualified specialist workshop .
b
RearFog Lam p
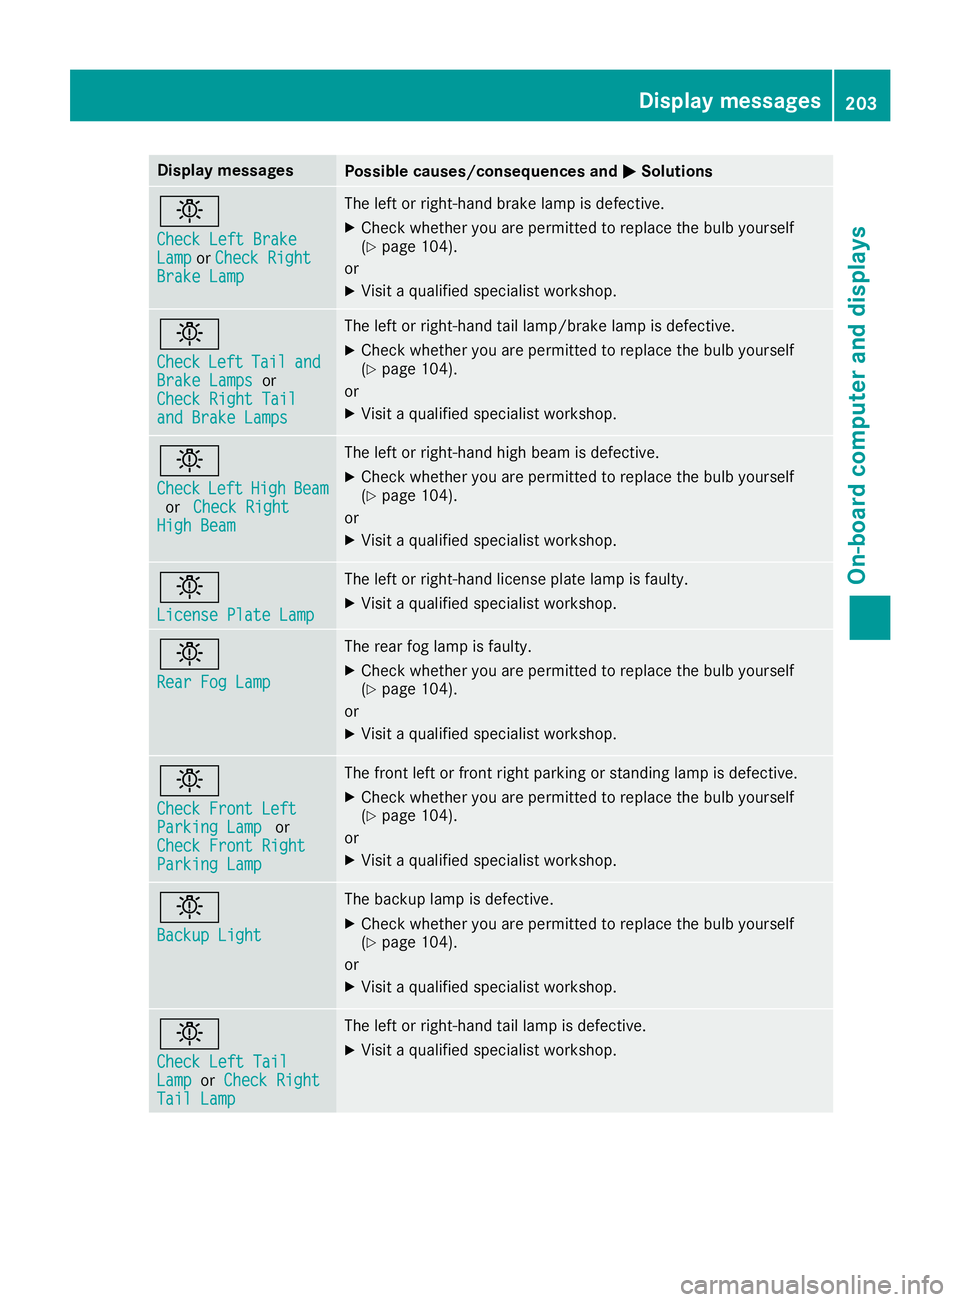
The rear fog lamp is faulty.
XCheckwhether you are permitte dtoreplace th ebulb yourself
(Ypage 104).
or
XVisit aqualified specialist workshop .
b
Check Front LeftParkingLampor
Check Front Right
Parkin gLamp
The fron tleftorf rontright parking or standing lamp is defective.
XChec kwhether you are permitte dtoreplace th ebulb yourself
(Ypage 104).
or
XVisit aqualified specialist workshop .
b
Backup Light
The backup lamp is defective.
XCheckwhether you are permitte dtoreplace th ebulb yourself
(Ypage 104).
or
XVisit aqualified specialist workshop .
b
Check LeftTailLam porCheck RightTai lLamp
The lef torright-hand tai llamp is defective.
XVisit aqualified specialist workshop .
Display messages203
On-boardc omputer andd isplays
Z