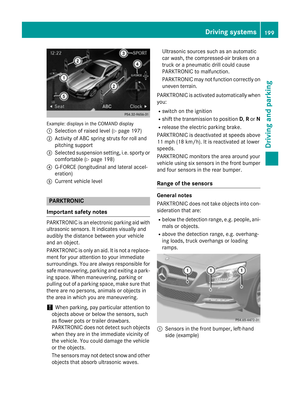
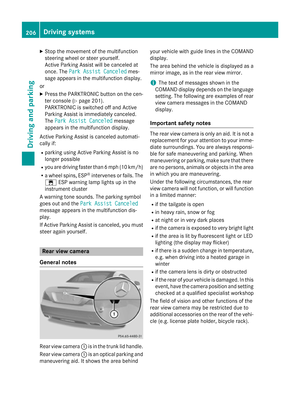
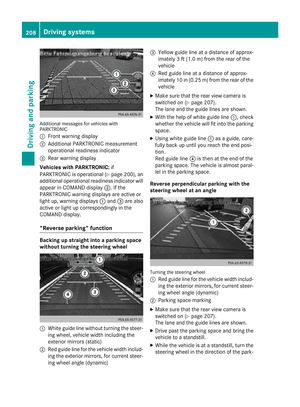
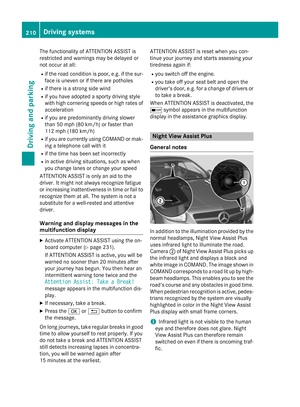
Page 457 of 614

assigned. The other available categories are
filled by the music search.
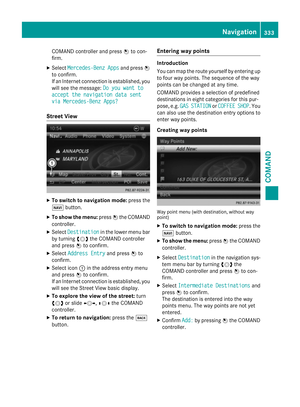
Selecting a category
Starting a music search
Select music via categories (e.g. album,
artist) with the music search function.
If you select a category, COMAND starts a
music search under the following conditions:
Rthe data carriers are inserted or connected.
Rthe music tracks on these data carriers are
not yet in the COMAND music database.
COMAND reads music tracks from the fol-
lowing data carriers:
RDisc (CD/MP3)
RMemory card
RMUSIC REGISTER
RUSB storage device
XSelect a category in the category list by
turning cVdthe COMAND controller and
press Wto confirm.
The Reading Data...
message appears.
The search may take some time, depending
on the number of tracks available.
The Track information is complete
message appears once the search is comple-
ted. Playback then starts with the previously
active audio source.
XTo cancel the music search: confirm
Cancel
by pressing W. Selecting artists
XSelect
Artistsin the category list by turn-
ing cVd the COMAND controller and press
W to confirm.
The available artists are displayed alpha-
betically.
Selecting an album
XSelect Albumsin the category list by turn-
ing cVd the COMAND controller and press
W to confirm.
The available albums are displayed alpha-
betically. If there is a cover available for an
album, it is displayed in front of the album
name.
Selecting a track
XSelect Tracksin the category list
(
Ypage 454) by turning cVdthe COMAND
controller and press Wto confirm.
The available tracks are displayed.
Audio455
COMAND
Z
Page 458 of 614

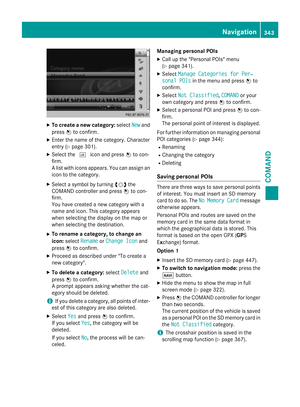
Selecting a year of publication
XSelectYearin the category list
(
Ypage 454) by turning cVdthe COMAND
controller and press Wto confirm.
XSelect an entry and press Wto confirm.
The genre list is displayed.
XSelect a genre, e.g. pop, and press Wto
confirm.
The track list is displayed.
XSelect a track and press Wto confirm.
Playback starts.
Selecting composers
XSelect Composersin the category list by
turning cVdthe COMAND controller and
press Wto confirm.
The available composers are displayed
alphabetically.
Selecting music genres
XSelect Genresin the category list by turn-
ing cVd the COMAND controller and press
W to confirm.
The available music genres are displayed
alphabetically.
Selecting a cover
XSelect Select By Coverin the category
list (
Ypage 454) by turning cVdthe
COMAND controller and press Wto con-
firm.
The available covers are displayed in alpha- betical order of the artists.
XSelect the desired cover by turning cVd
the COMAND controller and press Wto
confirm.
The corresponding album is played.
Selecting via keyword search
XSelect KeywordSearchin the category list
by turning cVdthe COMAND controller
and press Wto confirm.
An input menu appears.
XTo change the character set used in the
character bar: highlightSelect
by sliding
VÆ and turning cVdthe COMAND con-
troller and press Wto confirm.
A list of available character sets is shown.
XSelect the desired character set and press
W to confirm.
XEnter characters and confirm the entry.
Character entry (
Ypage 301).
Depending on the entry, the hits are shown
in a list.
456Audio
COMAND
Page 459 of 614
XSelect an entry by turningcVdthe
COMAND controller and press Wto con-
firm.
XSelect an entry, e.g. Artists, and pressW
to confirm.
The album and cover (if available) are dis-
played.
XConfirm the album with W.
The tracks on the album are displayed.
XSelect a track and press Wto confirm.
Playback starts and the basic display
appears.
MUSIC REGISTER
General notes
!Retain the original music files in a secure
location. An error in COMAND might result
in the loss of the music files stored in the
MUSIC REGISTER. Mercedes-Benz is not
liable for any loss of data.
You can store music files in a compressed
format in the MUSIC REGISTER (
Ypage 458).
The memory has a capacity of 10 GB.
Switching to the MUSIC REGISTER
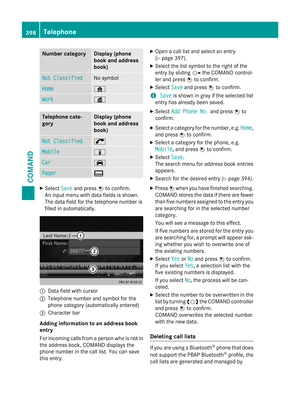
MUSIC REGISTER basic display
Example: MUSIC REGISTER
:
Cover (if available)
;Track time
=Track number and name
Audio457
COMAND
Z
Page 460 of 614

?Graphic time and track display
APosition of the medium in the media list
and name of the medium, followed by the
current playback option (no display for
Normal Track Sequence
)
BArtist
CMUSIC REGISTER menu bar
Switching on using the DISC button
XPress the hbutton repeatedly until the
MUSIC REGISTER is switched on.
By pressing the hbutton repeatedly, you
can switch modes in the following order:
RCD/MP3 (disc)
RMemory card mode
RMUSIC REGISTER
RUSB storage device
RMedia Interface or audio AUX mode
RBluetooth®audio mode
If music files are available, playback begins at
the point last listened to.
If there are no music files, you will see a mes-
sage to this effect.
XConfirm the message by pressing Wand
store the music data (
Ypage 458).
Switching modes via the audio menu
XSelect Audioin the main function bar by
sliding ZVand turning cVdthe COMAND
controller and press Wto confirm.
If MUSIC REGISTER was the last mode
selected, it is now switched on.
If another audio source is switched on, you
can now switch on the MUSIC REGISTER in
the audio menu.
XSelect Audioby sliding ZVand turning
cVd the COMAND controller and press W
to confirm.
The audio menu appears.
XSelect Music Registerand press Wto
confirm. Switching on with the number buttons
XMake sure that neither radio nor disc is
activated.
XPress the
mnumber key.
The MUSIC REGISTER is switched on.
Importing music files
Introduction
You can import music files from a CD in the
following file formats:
RMP3
RWMA
RAAC (with file extensions .m4p, .m4a, .m4b and .aac)
XSwitch on CD mode (Ypage 448).
XWith an audio CD inserted, select RECin the
basic CD display by sliding VÆand turning
cVd the COMAND controller and press W
to confirm.
iCD information such as album name, disc
name, artist and track is provided by the
Gracenote Media Database (
Ypage 450).
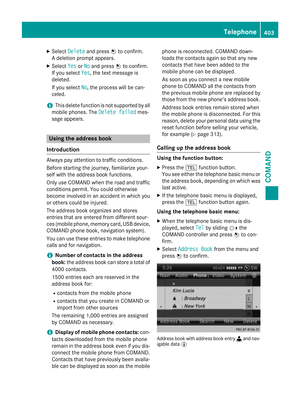
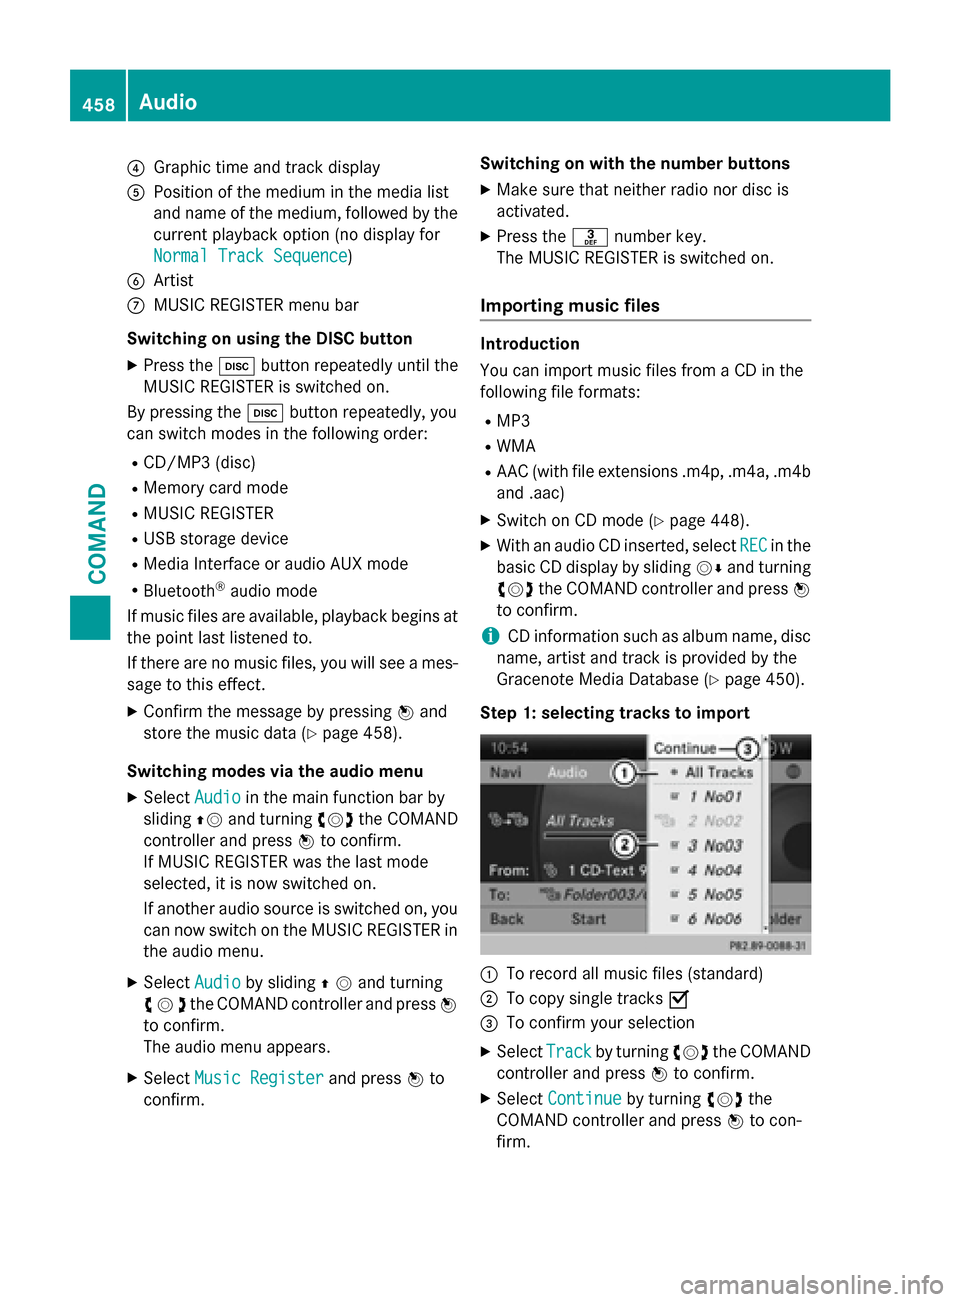
Step 1: selecting tracks to import
:To record all music files (standard)
;To copy single tracks O
=To confirm your selection
XSelectTrackby turning cVdthe COMAND
controller and press Wto confirm.
XSelect Continueby turning cVdthe
COMAND controller and press Wto con-
firm.
458Audio
COMAND
Page 461 of 614

If you do not select any tracks, every track on
the CD will be imported.
Step 2: selecting the target folder
XSelectFolderby turning cVdthe
COMAND controller and press Wto con-
firm.
:To create a new folder (standard)
;Existing folders
=Currently selected folder
XSelect a folder by turning cVdthe
COMAND controller and press Wto con-
firm.
If you do not select a target folder, a new one
will be created.
Step 3: beginning the import
XSelect Startby turning cVdthe COMAND
controller and press Wto confirm.
Information about the import source and
target as well as the progress is displayed.
The Audio CD basic display automatically
appears after successful import.
XTo cancel importing: during importing,
confirm Cancel
by pressing Wthe
COMAND controller.
The Audio CD basic display appears.
Deleting all music files
!In order to prevent malfunctions, do not
use COMAND during this time.
This function deletes all music files from the
MUSIC REGISTER.
XSwitch to the MUSIC REGISTER
(
Ypage 457).
XSelect MusicRegisterby sliding VÆand
turning cVdthe COMAND controller and
press Wto confirm.
XSelect Delete All Music Filesand
press Wto confirm.
A prompt appears. No
is highlighted.
If you select Yes
, all music files are deleted.
You see the Please Wait...
message.
You will then see the Data deleted
mes-
sage.
If you select No
, the process will be can-
celed.
Calling up memory space info
XSwitch to the MUSIC REGISTER
(
Ypage 457).
XSelect MusicRegisterby sliding VÆand
turning cVdthe COMAND controller and
press Wto confirm.
XSelect Memory Infoand press Wto con-
firm.
The following is displayed:
Rstorage capacity
Ravailable memory
Roccupied memory
Rcontent (folders, tracks)
Audio459
COMAND
Z
Page 462 of 614

Music search
Introduction
The music search finds tracks via all available
media. The search begins with the audio
source that is currently active.
The following media are included for the
music search:
RDisc (CD/MP3)
RMemory card
RMUSIC REGISTER
RUSB storage device
XSwitch to the MUSIC REGISTER
(
Ypage 457).
XSelectSearchby sliding VÆand turning
cVd the COMAND controller and press W
to confirm.
The category list appears.
XSelect a track in a category (Ypage 454).
Example: opening a folder
XSelect Folderin the category list by turn-
ing cVd the COMAND controller and press
W to confirm.
You see the content of the current folder.
The name of the current folder is at the top
and the track currently playing is indicated by
a # dot.
XTo switch to the next folder up: press the
% back button or slide XVthe
COMAND controller. Changing the folder/track name
XSwitch to the MUSIC REGISTER
(
Ypage 457).
XSelect
MusicRegisterby sliding VÆand
turning cVdthe COMAND controller and
press Wto confirm.
XSelect Rename/DeleteFilesand press
W to confirm.
XSelect a folder/track by turning cVd.
XSelectOptionsby sliding VYand press W
to confirm.
XSelect Changeand press Wto confirm.
XEnter a name for the folder/track
(
Ypage 301).
XTo save the changes: select¬and
press Wto confirm.
Deleting folders/tracks
XSwitch to the MUSIC REGISTER
(
Ypage 457).
XSelect MusicRegisterby sliding VÆand
turning cVdthe COMAND controller and
press Wto confirm.
XSelect Rename/DeleteFilesand press
W to confirm.
XSelect a folder/track by turning cVd.
XSelectOptionsby sliding VYand press W
to confirm.
XSelect Deleteand press Wto confirm.
A prompt appears. No
is highlighted.
If you select Yes
, the folders/tracks are
deleted. You see the Please Wait...
message. You will then see the Data
deletedmessage.
If you select No
, the process will be can-
celed.
Playback options
The following options are available:
RNormal Track Sequence
The tracks are played in the normal order
(e.g. track 1, 2, 3, etc.).
RRandom Medium
460Audio
COMAND
Page 463 of 614

All the tracks on the medium are played in
random order.
RRandom Track List(MP3 mode only)
The tracks in the currently active folder or
the current track list are played in a random
order.
XTo select options: switch to the MUSIC
REGISTER (
Ypage 457).
XSelect MusicRegisterby sliding VÆand
turning cVdthe COMAND controller and
press Wto confirm.
The options list appears. The #dot indi-
cates the option selected.
XSelect an option and press Wto confirm.
The option is switched on. For all options
except Normal Track Sequence
, you will
see a corresponding display in the display/
selection window.
iThe Normal Track Sequenceoption is
automatically selected when you change
the disc you are currently listening to or
when you select a different medium. If an
option is selected, it remains selected after
COMAND is switched on or off.
Bluetooth®audio mode
Preconditions for the Bluetooth
®audio
device
Bluetooth®audio mode requires a Blue-
tooth®-capable audio device. Observe the
information in the Bluetooth®audio device's
operating instructions.
Before using Bluetooth
®audio mode, you
should check your Bluetooth®audio device
for the following:
RBluetooth®audio profile
The Bluetooth
®audio device must support
the A2DP and AVRCP Bluetooth®audio
profiles.
RBluetooth®visibility
Certain Bluetooth
®audio devices do not
just require activation of the Bluetooth®
function. In addition, your device must be
made "visible" to other devices.
RBluetooth®device name
This device name is predetermined but can
usually be changed. To make a clear selec-
tion of the Bluetooth
®device possible,
Mercedes-Benz recommends that you cus-
tomize the device name.
iA2DP ( Advanced Audio Distribution
Profile): Bluetooth®audio profile for audio
data transmission
AVRCP ( Audio Video Remote Control
Profile): Bluetooth
®audio profile for audio
data playback.
iNot all Bluetooth®audio devices available
on the market are equally suitable. To
obtain more informati
on about suitable
Bluetooth®audio devices and about con-
necting Bluetooth®audio devices to
COMAND, visit
http://www.mbusa-mobile.com (USA).
Or call the Mercedes-Benz Customer Assis-
tance center at 1-800-FOR-MERCedes
(1-800-367-6372) (USA) or Customer Rela-
tions at 1-800-387-0100 (Canada).
XActivate Bluetooth®and Bluetooth®visibil-
ity on the Bluetooth®audio device.
Preconditions in COMAND
XActivate the Bluetooth®function in
COMAND (
Ypage 310).
Connecting Bluetooth®audio devices
General information
Before using your Bluetooth
®audio device
with COMAN Dfor the first time, you will need
to authorize it.
When you authorize a new Bluetooth
®audio
device, it is connected automatically. Con-
nection involves first searching for a Blue-
tooth
®audio device and then authorizing it.
Audio461
COMAND
Z
Page 464 of 614

You can authorize up to fifteen Bluetooth®
devices.
iIf you authorize a mobile phone that sup-
ports Bluetooth®audio, the A2DP and
AVRCP Bluetooth®audio profiles are con-
nected automatically.
The mobile phone is then entered:
Rin the Bluetooth®telephone list
(
Ypage 385)
Rin the Bluetooth®device list
(
Ypage 462).
Mercedes-Benz recommends authorizing a
mobile phone in Bluetooth
®telephony
(
Ypage 385).
Searching for and authorizing a Blue-
tooth
®audio device
Example: Bluetooth®device list
:
Newly detected mobile phone with Blue-
tooth®audio function in range
;Bluetooth®audio player not within range
but previously authorized (symbol
appears in gray)
The Bluetooth®device list displays all author-
ized devices, whether they are within range or
not. After a device search, devices which are
within range but not authorized are also dis-
played.
XSwitch on Bluetooth®audio mode
(
Ypage 465).
If you see the No Bluetooth Audio
Device Authorizedmessage, you will
need to authorize the Bluetooth®audio
device first.
XSelect BTAudioby sliding VÆand turning
cVd the COMAND controller and press W
to confirm.
XConfirm Bluetooth Audio Device List
by pressing Wthe COMAND controller.
XTo search: confirmSearch for BT
Audio Devicesby pressing the COMAND
controller W.
COMAND searches for Bluetooth
®audio
devices within range and adds them to the
Bluetooth
®device list. If Bluetooth®audio
devices support the Bluetooth®audio pro-
files (A2DP, AVRCP), the devices are detec-
ted.
The duration of the search depends on the
number of Bluetooth
®audio devices within
range and their characteristics.
XTo authorize: select a Bluetooth®audio
device that has not yet been authorized
from the list (: in the example) by turning
cVd the COMAND controller.
XSelect the symbol to the right of the Blue-
tooth®audio device by sliding VYthe
COMAND controller and press Wto con-
firm.
XSelect Authorizeand press Wto confirm.
Depending on the Bluetooth®audio device
used, you now have two options for con-
tinuing with authorization.
462Audio
COMAND