Page 201 of 222

iiPod®, iPhone®and iPad®are registered
trademarks of Apple Inc., Cupertino, Cali-
fornia, USA.
iAudio files, photos and video files can be
played back.
For details and a list of supported devices,
visit our website at http://www.mercedes-
benz-mobile.com/ . Then follow the instruc-
tions in the "Media Interface" section.
Or call the Mercedes-Benz Customer Assis-
tance Center at 1-800-FOR-MERCedes
(1-800-367-6372) (for the USA) or Customer
Relations at 1-800-387-0100 (for Canada).
Supported data formats
Musicmp3, wma, aac
Videompeg, wmv, mov,
avi, mp4
Imagesjpg, jpeg, bmp, png
Selecting a music file
Selecting with the controller
XTo display the current track list: press
the controller in the basic display.
The track list for the active data medium
appears.
XTo select a track: turn the controller and
press to confirm.
XTo skip forwards or backwards to a
track: turn the controller in the basic dis-
play.
The selected track is played.
Fast forward/rewind
XWith the media source active in the basic
display, slide 8or9 the controller
and hold it until the desired position has
been reached.
Search function
Selecting Search using media menu bar
XSlide 6the controller.
The media menu bar is shown.
XTo select Search: turn and press the con-
troller.
The category list appears.
Overview
The following categories are listed:
RCurrent Tracklist
RFolder
RSelect By Cover
RKeyword Search
RPlaylists
RArtists
RAlbums
RTrack
RGenres
RYear
RComposers
RVideos
RPhotos
RPodcasts
RAudiobooks
iThe functions are available as soon as the
entire media content has been read and
analyzed.
If the same device is reconnected with
unchanged media content, these functions
are available more quickly.
The audio books and podcasts categories
are only available for Apple
®devices.
When connecting Apple
®devices, the cat-
egories “Folder”, “Year” and “Photos” are
not available.
Operation with the Media Interface199
Media
Z
Page 202 of 222

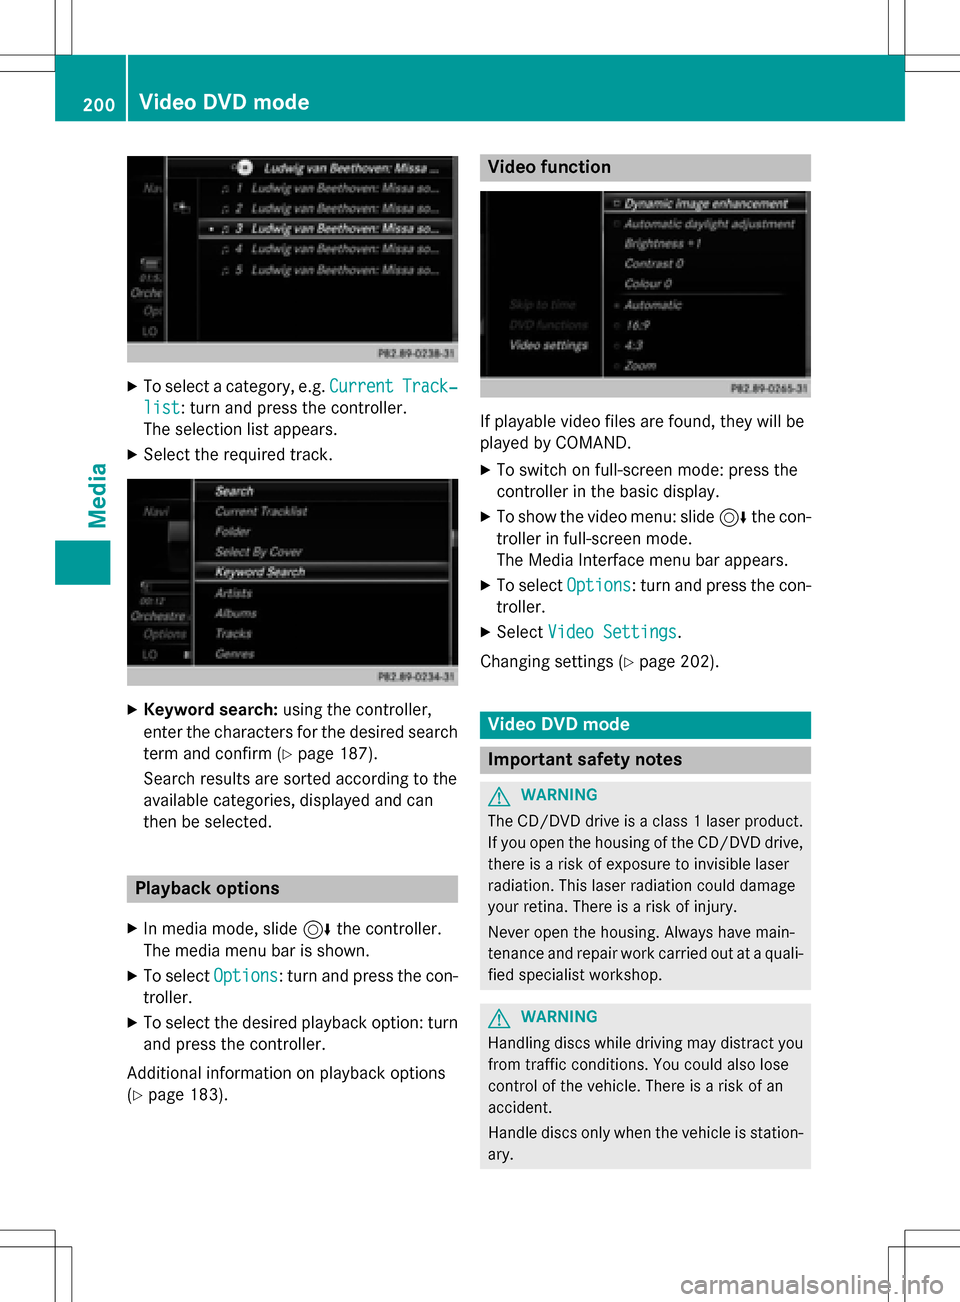
XTo select a category, e.g.CurrentTrack‐
list: turn and press the controller.
The selection list appears.
XSelect the required track.
XKeyword search: using the controller,
enter the characters for the desired search
term and confirm (
Ypage 187).
Search results are sorted according to the
available categories, displayed and can
then be selected.
Playback options
XIn media mode, slide 6the controller.
The media menu bar is shown.
XTo select Options: turn and press the con-
troller.
XTo select the desired playback option: turn and press the controller.
Additional information on playback options
(
Ypage 183).
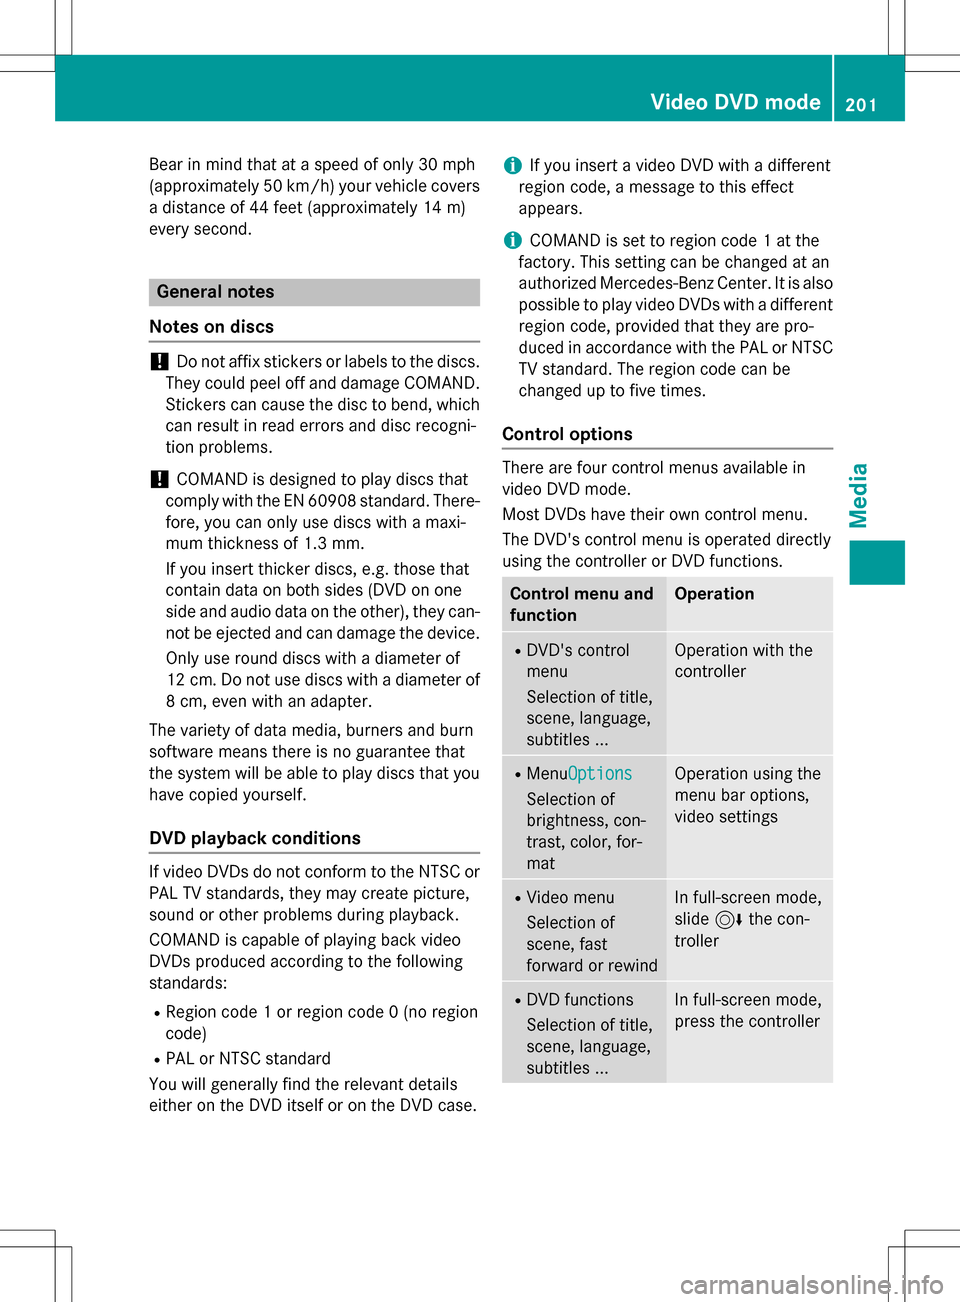
Video function
If playable video files are found, they will be
played by COMAND.
XTo switch on full-screen mode: press the
controller in the basic display.
XTo show the video menu: slide 6the con-
troller in full-screen mode.
The Media Interface menu bar appears.
XTo select Options: turn and press the con-
troller.
XSelect Video Settings.
Changing settings (
Ypage 202).
Video DVD mode
Important safety notes
GWARNING
The CD/DVD drive is a class 1 laser product.
If you open the housing of the CD/DVD drive,
there is a risk of exposure to invisible laser
radiation. This laser radiation could damage
your retina. There is a risk of injury.
Never open the housing. Always have main-
tenance and repair work carried out at a quali- fied specialist workshop.
GWARNING
Handling discs while driving may distract you from traffic conditions. You could also lose
control of the vehicle. There is a risk of an
accident.
Handle discs only when the vehicle is station-
ary.
200Video DVD mode
Media
Page 203 of 222

Bear in mind that at a speed of only 30 mph
(approximately 50 km/h) your vehicle covers
a distance of 44 feet (approximately 14m)
ever yse cond.
General notes
Notes on discs
!Do not affix stickers or labels to the discs.
They could peel off and damage COMAND.
Stickers can cause the disc to bend, which
can result in read errors and disc recogni-
tion problems.
!COMAND is designed to play discs that
comply with the EN 60908 standard. There- fore, you can only use discs with a maxi-
mum thickness of 1.3 mm.
If you insert thicker discs, e.g. those that
contain data on both sides (DVD on one
side and audio data on the other), they can-
not be ejected and can damage the device.
Only use round discs with a diameter of
12 cm. Do not use discs with a diameter of
8 cm, even with an adapter.
The variety of data media, burners and burn
software means there is no guarantee that
the system will be able to play discs that you
have copied yourself.
DVD playback conditions
If video DVDs do not conform to the NTSC or
PAL TV standards, they may create picture,
sound or other problems during playback.
COMAND is capable of playing back video
DVDs produced according to the following
standards:
RRegion code 1 or region code 0 (no region
code)
RPAL or NTSC standard
You will generally find the relevant details
either on the DVD itself or on the DVD case.
iIf you insert a video DVD with a different
region code, a message to this effect
appears.
iCOMAND is set to region code 1 at the
factory. This setting can be changed at an
authorized Mercedes-Benz Center. It is also
possible to play video DVDs with a different
region code, provided that they are pro-
duced in accordance with the PAL or NTSC
TV standard. The region code can be
changed up to five times.
Control options
There are four control menus available in
video DVD mode.
Most DVDs have their own control menu.
The DVD's control menu is operated directly
using the controller or DVD functions.
Control menu and
functionOperation
RDVD's control
menu
Selection of title,
scene, language,
subtitles ...Operation with the
controller
RMenu Options
Selection of
brightness, con-
trast, color, for-
mat
Operation using the
menu bar options,
video settings
RVideo menu
Selection of
scene, fast
forward or rewindIn full-screen mode,
slide6the con-
troller
RDVD functions
Selection of title,
scene, language,
subtitles ...In full-screen mode,
press the controller
Video DVD mode201
Media
Z
Page 204 of 222

Function restrictions
Depending on the DVD, certain functions or
actions may not function at all.The symbol K
appears inthe disp lay.
Switching on video DVD mode
RInsert and eject a disc from the single drive
(
Ypage 181)
Further options for switching on:
RUsing the main function bar (Ypage 178)
RUsing the device list (Ypage 179)
RUsing the Õbutton (Ypage 178)
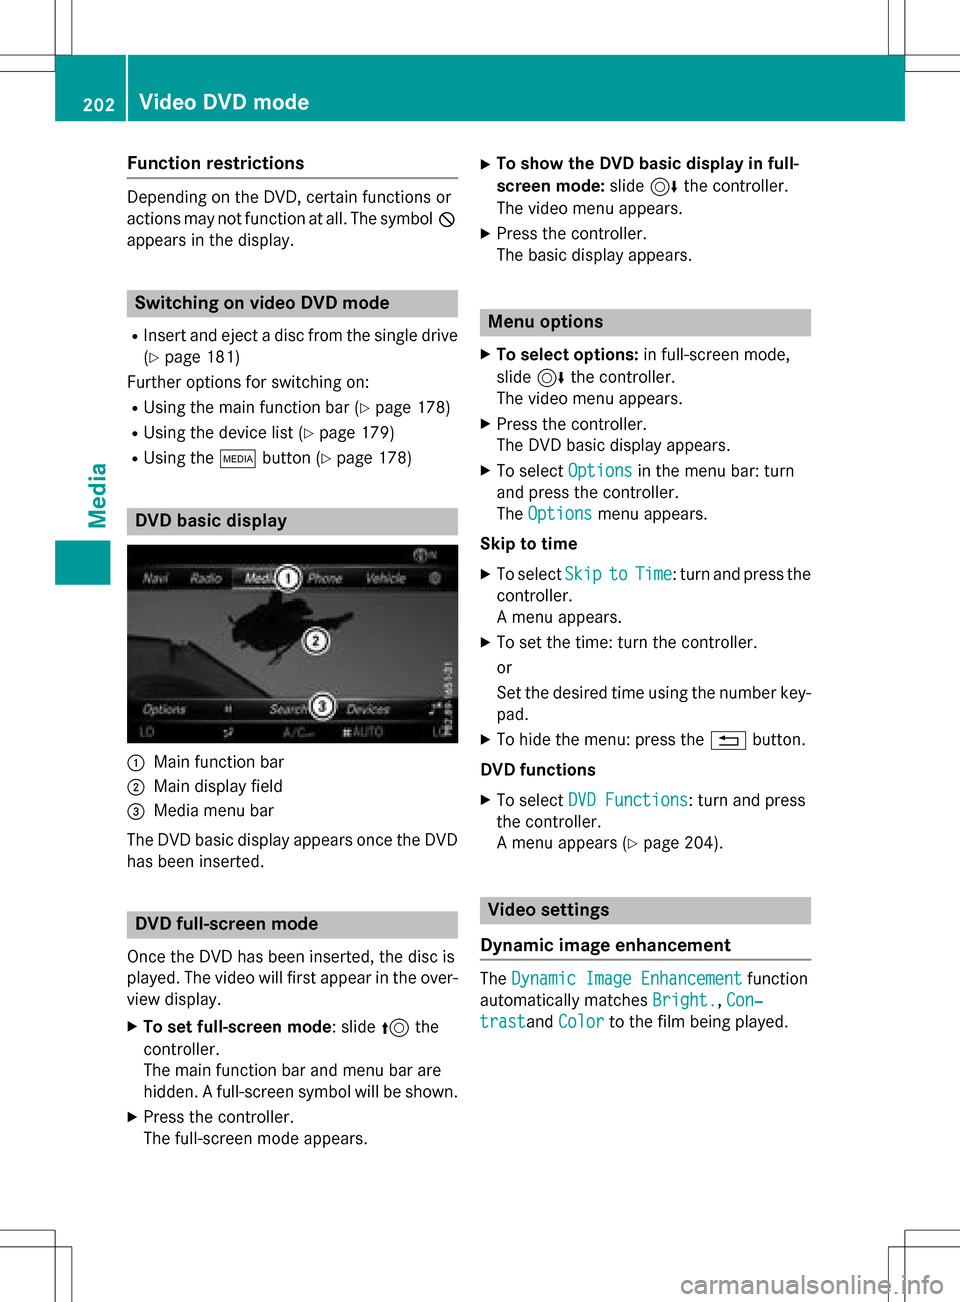
DVD basic display
:Main function bar
;Maindisplay field
=Media menu bar
The DVD basic display appears once the DVD
has been inserted.
DVD full-screen mode
Once the DVD has been inserted, the disc is
played. The videowill first appear inthe over-
view display.
XTo set full-screen mode: slide 5the
controller.
The main function bar and menu bar are
hidd en. A full-screen symbol will beshown.
XPress the controller.
The full-screen mode appears.
XTo show the DVD basic display in full-
screen mode: slide6the controller.
The video menu appears.
XPress the controller.
The basic display appears.
Menu options
XTo select options: infull-screen mode,
slide 6the controller.
The video menu appears.
XPress the controller.
The DVD basic display appears.
XTo select Optionsinthe menu bar: turn
and press the controller.
The Options
menu appears.
Skip totime
XTo select SkiptoTime: turn and press the
controller.
A menu appears.
XTo set the time: turn the controller.
or
Se t the desired time using the number key-
pad.
XTo hide the menu: press the %button.
DVD functions
XTo select DVD Functions: turn and press
the controller.
A menu appears (
Ypage 204).
Video settings
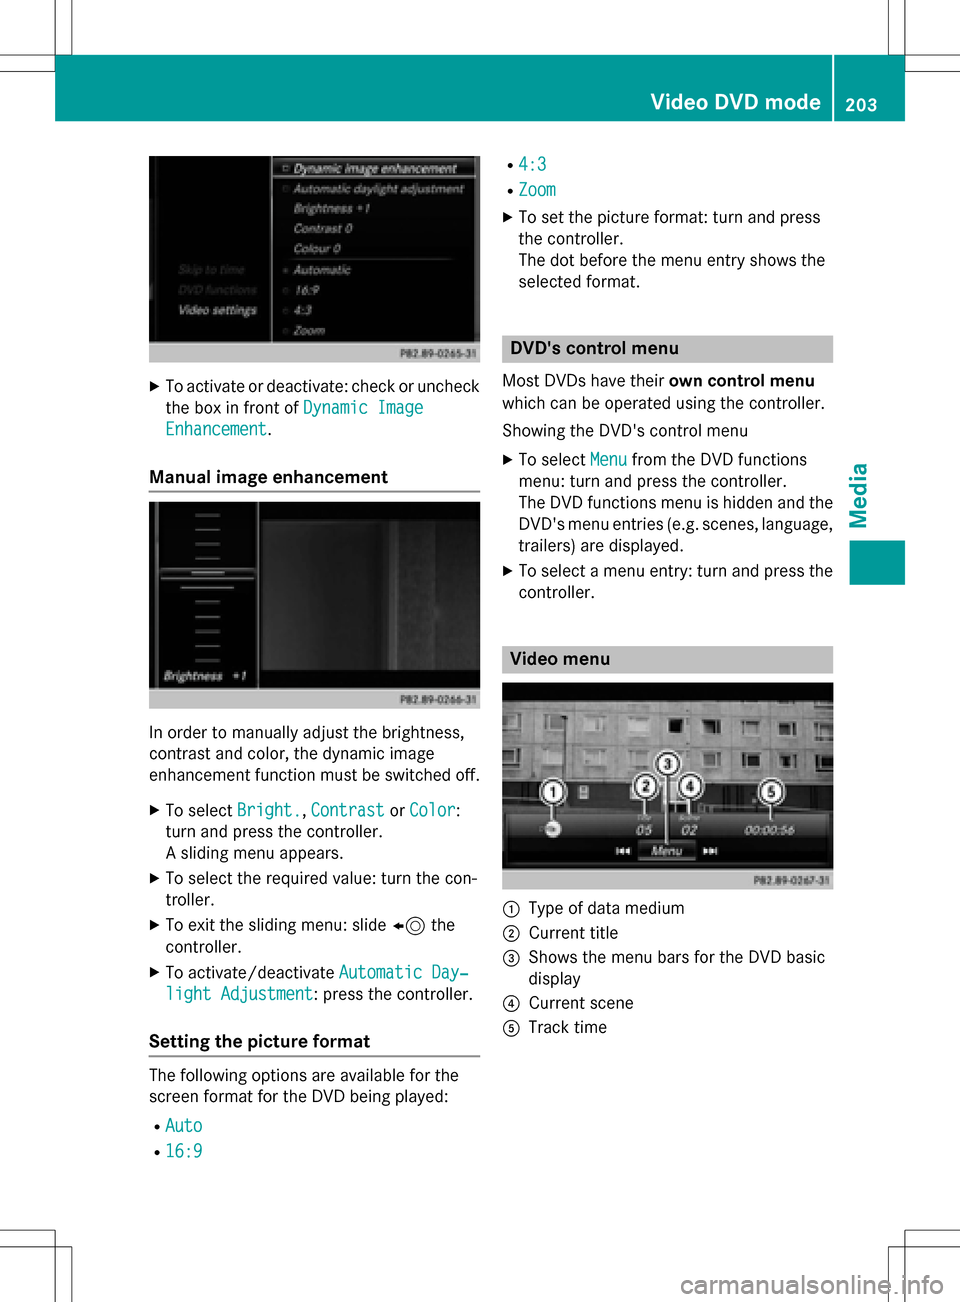
Dynamic image enhancement
The Dynamic Image Enhancementfunction
automatical lymatches Bright.
,Con‐
trastand Colorto the film being played.
202Video DVD mode
Media
Page 205 of 222

XTo activate or deactivate: check or uncheckthe box in front of Dynamic Image
Enhancement.
Manual image enhancement
In order to manually adjust the brightness,
contrast and color, the dynamic image
enhancement function must be switched off.
XTo selectBright.,Contrastor Color:
turn and press the controller.
A sliding menu appears.
XTo select the required value: turn the con-
troller.
XTo exit the sliding menu: slide 8the
controller.
XTo activate/deactivate Automatic Day‐
light Adjustment: press the controller.
Setting the picture format
The following options are available for the
screen format for the DVD being played:
RAuto
R16:9
R4:3
RZoom
XTo set the picture format: turn and press
the controller.
The dot before the menu entry shows the
selected format.
DVD's control menu
Most DVDs have theirown control menu
which can be operated using the controller.
Showing the DVD's control menu
XTo select Menufrom the DVD functions
menu: turn and press the controller.
The DVD functions menu is hidden and the
DVD's menu entries (e.g. scenes, language,
trailers) are displayed.
XTo select a menu entry: turn and press the
controller.
Video menu
:Type of data medium
;Current title
=Shows the menu bars for the DVD basic
display
?Current scene
ATrack time
Video DVD mode203
Media
Z
Page 206 of 222

Operating the video menu
XTo show: in full-screen video mode, slide
6the controller.
XTo hide: slide 5the controller.
XTo select the next or previous scene: turn
the controller clockwise/counter-clock-
wise.
XTo fast forward or rewind: slide 9or
8 and hold the controller until the
desired position has been reached.
XTo hide the video menu: slide 5the con-
troller.
XTo show the menu bars for the DVD basic
display: press the controller.
The video menu is hidden and the DVD
basic menu appears.
DVD functions
Showing/hiding the DVD functions
XTo show DVD functions: in full-screen
video mode, press the controller.
The DVD functions menu is shown.
XTo hide: in DVD functions select %: turn
and press the controller
XTo show the DVD basic display: select
ò from the DVD functions: turn and
press the controller.
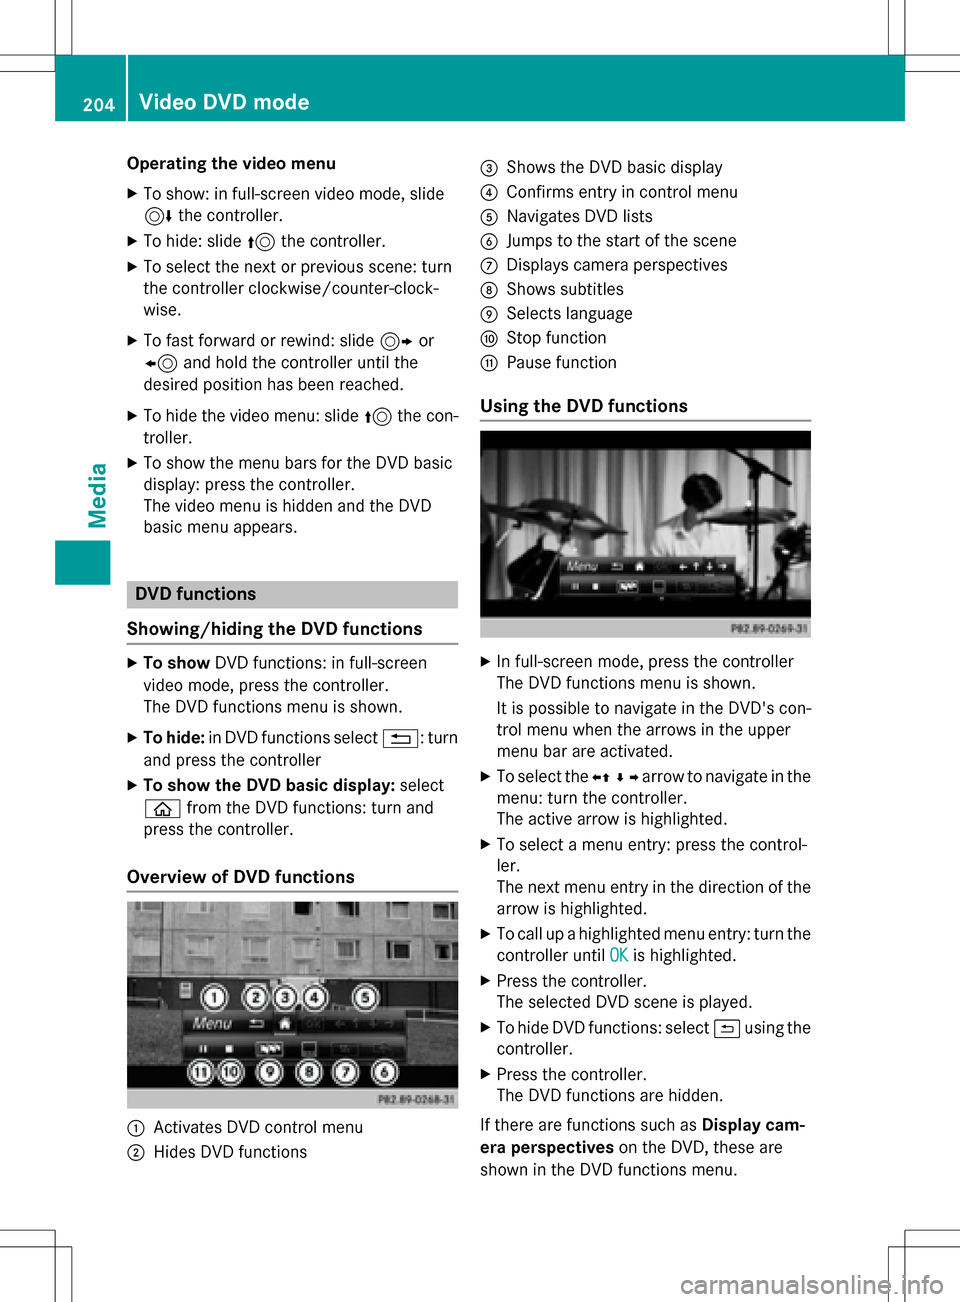
Overview of DVD functions
:Activates DVD control menu
;Hides DVD functions
=Shows the DVD basic display
?Confirms entry in control menu
ANavigates DVD lists
BJumps to the start of the scene
CDisplays camera perspectives
DShows subtitles
ESelects language
FStop function
GPause function
Using the DVD functions
XIn full-screen mode, press the controller
The DVD functions menu is shown.
It is possible to navigate in the DVD's con-
trol menu when the arrows in the upper
menu bar are activated.
XTo select the XZ¬Yarrow to navigate in the
menu: turn the controller.
The active arrow is highlighted.
XTo select a menu entry: press the control-
ler.
The next menu entry in the direction of the arrow is highlighted.
XTo call up a highlighted menu entry: turn the
controller until OK
is highlighted.
XPress the controller.
The selected DVD scene is played.
XTo hide DVD functions: select &using the
controller.
XPress the controller.
The DVD functions are hidden.
If there are functions such as Display cam-
era perspectives on the DVD, these are
shown in the DVD functions menu.
204Video DVD mode
Media
Page 207 of 222

XTo call up Display camera perspectives:
turn and press the controller
Stop function
XShow the DVD functions (Ypage 204).
XInterrupting playback
To selectÉfrom the DVD functions
menu: turn and press the controller.
The Ë display changes to Ì. The
video image is hidden.
XTo continue playback: selectÌ.
Playback continues from the point where it was interrupted.
XTo stop playback: selectÉagain while
playback is interrupted.
XTo start playback again: selectÌ.
Playback restarts from the beginning.
Pause function
XShow the DVD functions (Ypage 204).
XPausing playback
To select Ë: turn and press the control-
ler.
The Ë display changes to Ì.
XTo continue playback: selectÌ.
Selecting a scene/chapter
If the film is divided into scenes and chapters,
you can select these directly while the film is
running or you can skip progressively through
them. This is not possible at certain points for
some DVDs (e.g. during the opening credits).
It may also be possible to select the scene
and chapter from the functions stored on the
DVD.
XTo skip forwards or back: in the video
menu, turn the controller.
The next or previous scene in the film is
skipped to.
iThe DVD functions can also be used to
make selections (
Ypage 204).
Picture viewer
General notes
If there are pictures on the active data
medium, you can view them on the COMAND
display.
The following data media and picture formats
are supported:
RData media: MEDIA REGISTER, CD, DVD,
USB devices, SD memory cards
RPicture formats: jpeg, jpg, bmp, png
The maximum image resolution is 20 mega-
pixels
It is not possible to view a picture from the
driver's side while the vehicle is in motion.
Displaying pictures
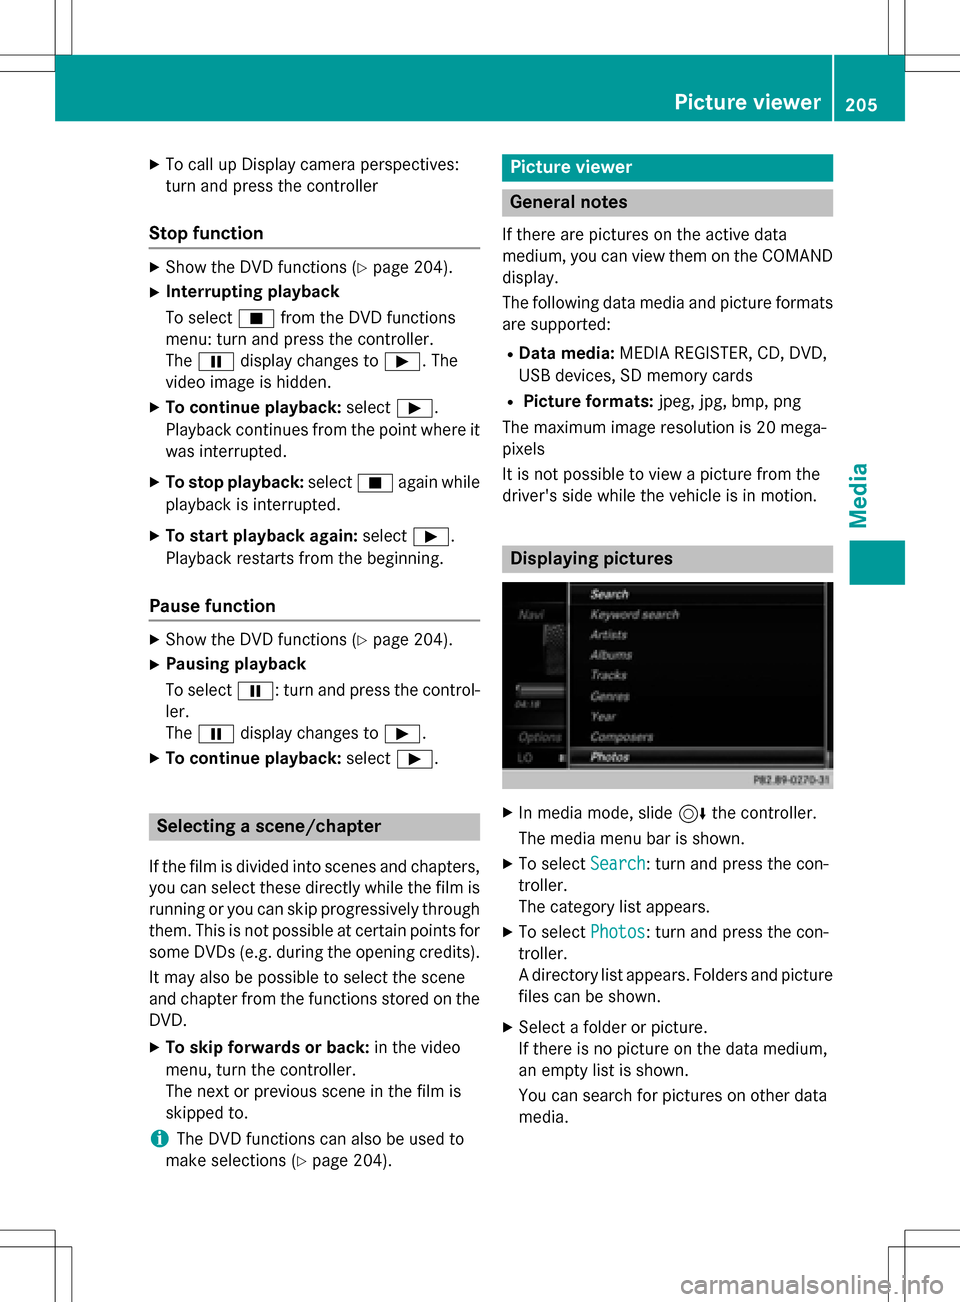
XIn media mode, slide 6the controller.
The media menu bar is shown.
XTo select Search: turn and press the con-
troller.
The category list appears.
XTo select Photos: turn and press the con-
troller.
A directory list appears. Folders and picture
files can be shown.
XSelect a folder or picture.
If there is no picture on the data medium,
an empty list is shown.
You can search for pictures on other data
media.
Picture viewer205
Media
Z
Page 208 of 222

Searching for pictures on other data
media
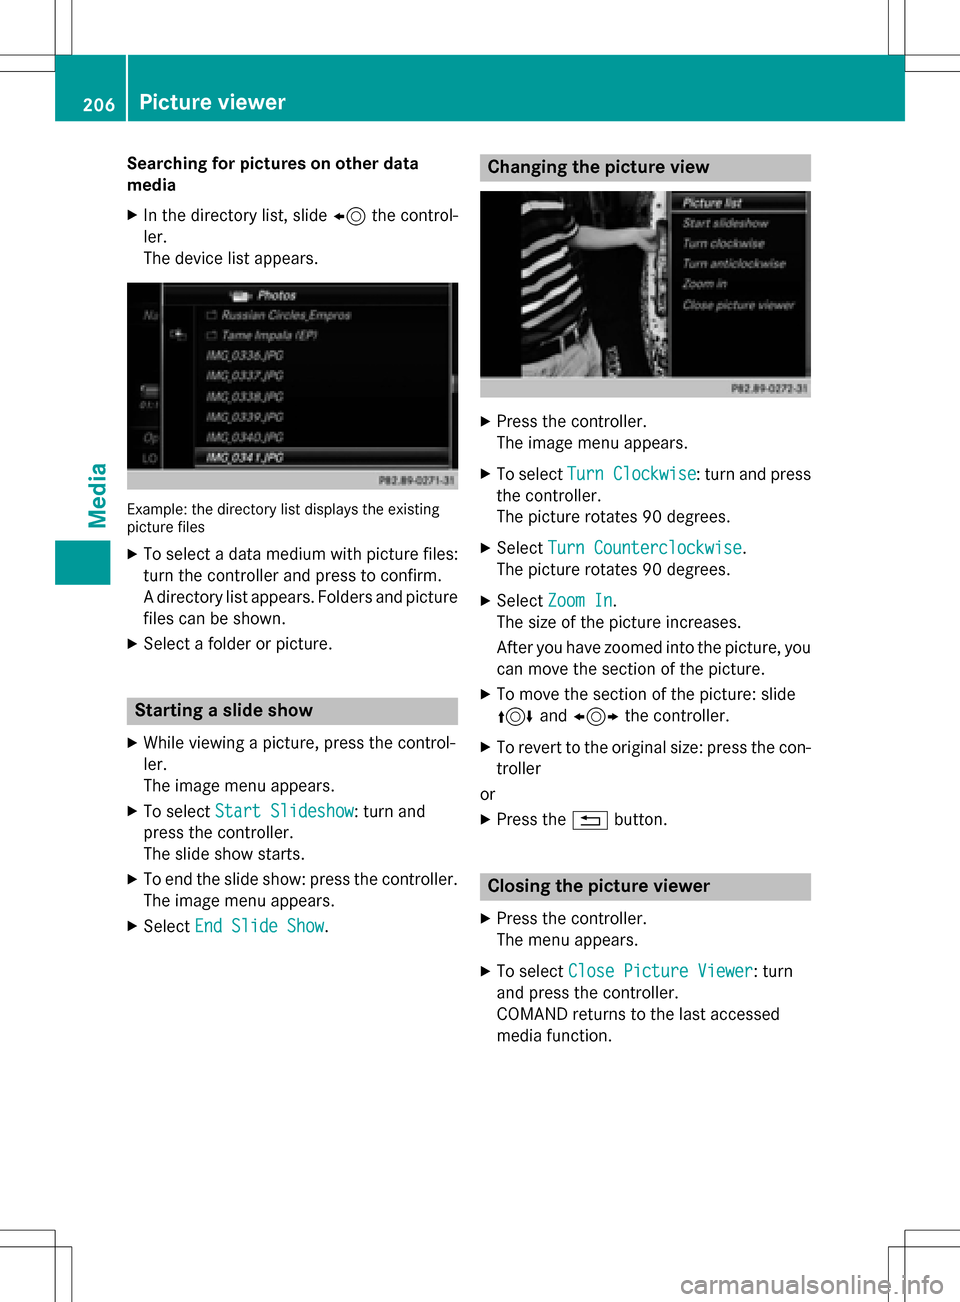
XIn the directory list, slide8the control-
ler.
The device list appears.
Example: the directory list displays the existing
picture files
XTo select a data medium with picture files:
turn the controller and press to confirm.
A directory list appears. Folders and picture
files can be shown.
XSelect a folder or picture.
Starting a slide show
XWhile viewing a picture, press the control-
ler.
The image menu appears.
XTo select Start Slideshow: turn and
press the controller.
The slide show starts.
XTo end the slide show: press the controller.
The image menu appears.
XSelect End Slide Show.
Changing the picture view
XPress the controller.
The image menu appears.
XTo select Turn Clockwise: turn and press
the controller.
The picture rotates 90 degrees.
XSelect Turn Counterclockwise.
The picture rotates 90 degrees.
XSelect Zoom In.
The size of the picture increases.
After you have zoomed into the picture, you
can move the section of the picture.
XTo move the section of the picture: slide
4 and1 the controller.
XTo revert to the original size: press the con-
troller
or
XPress the %button.
Closing the picture viewer
XPress the controller.
The menu appears.
XTo select Close Picture Viewer: turn
and press the controller.
COMAND returns to the last accessed
media function.
206Picture viewer
Media