2015 MERCEDES-BENZ C-Class key
[x] Cancel search: keyPage 53 of 214
Switching the automatic locking fea-
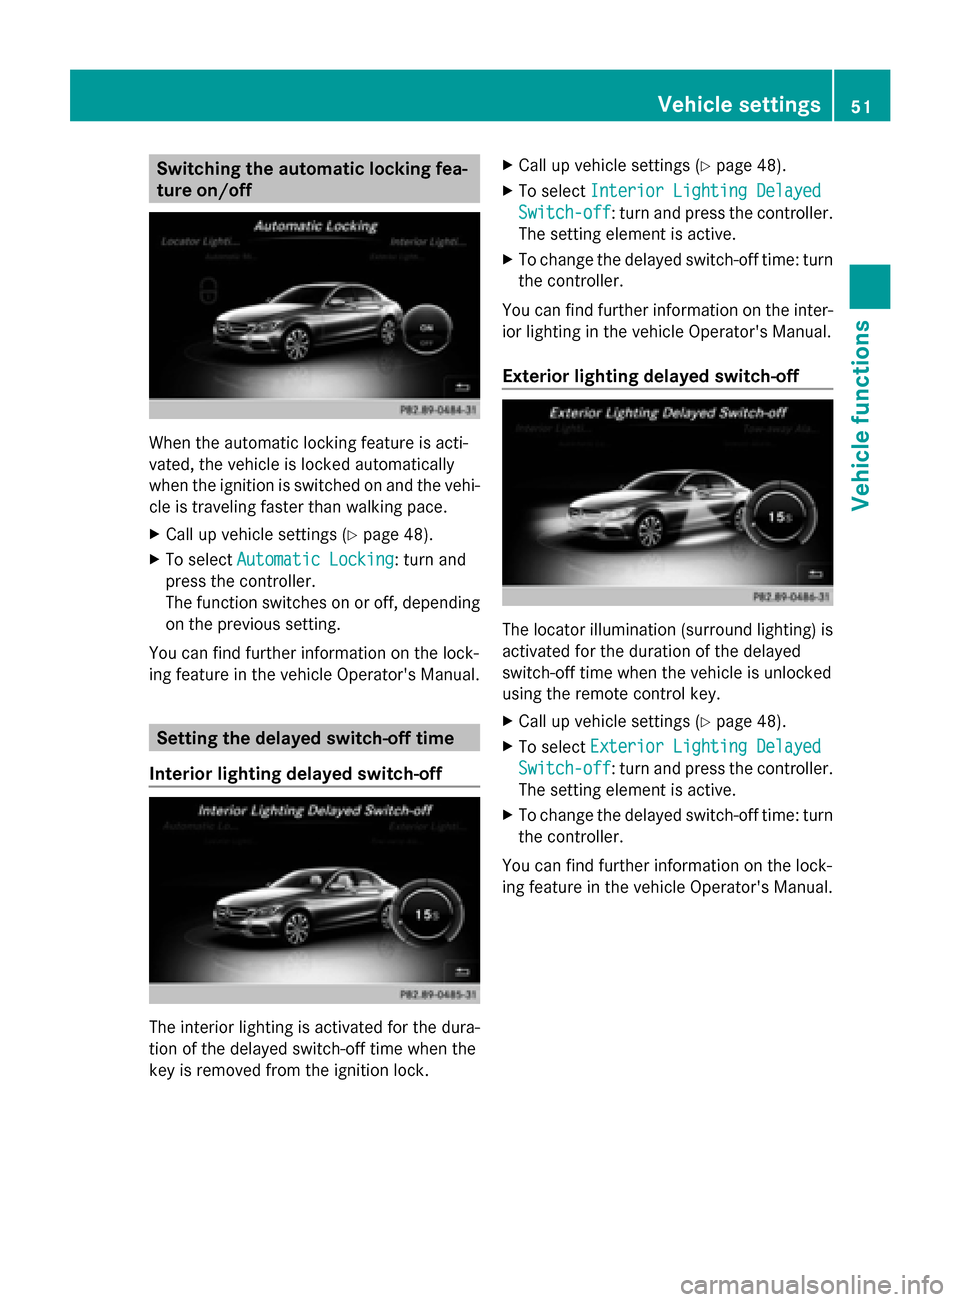
ture on/off When the automatic locking feature is acti-
vated, the vehicle is locked automatically
when the ignition is switched on and the vehi-
cle is traveling faster than walking pace.
X Call up vehicle settings (Y page 48).
X To select Automatic Locking
Automatic Locking: turn and
press the controller.
The function switches on or off, depending
on the previous setting.
You can find further information on the lock-
ing feature in the vehicle Operator's Manual. Setting the delayed switch-off time
Interior lighting delayed switch-off The interior lighting is activated for the dura-
tion of the delayed switch-off time when the
key is removed from the ignition lock. X
Call up vehicle settings (Y page 48).
X To select Interior Lighting Delayed
Interior Lighting Delayed
Switch-off Switch-off: turn and press the controller.
The setting element is active.
X To change the delayed switch-off time: turn
the controller.
You can find further information on the inter-
ior lighting in the vehicle Operator's Manual.
Exterior lighting delayed switch-off The locator illumination (surround lighting) is
activated for the duration of the delayed
switch-off time when the vehicle is unlocked
using the remote control key.
X
Call up vehicle settings (Y page 48).
X To select Exterior Lighting Delayed Exterior Lighting Delayed
Switch-off
Switch-off: turn and press the controller.
The setting element is active.
X To change the delayed switch-off time: turn
the controller.
You can find further information on the lock-
ing feature in the vehicle Operator's Manual. Vehicle settings
51Vehicle functions
Page 69 of 214
provide guidance into and out of carpool
lanes.
X
To switch to navigation mode: press the
00CB button.
X To show the menu: press the controller.
X To select Settings Settings: turn and press the
controller.
X Select Route Settings
Route Settings.
X Select Avoid Options Avoid Options.
X Select Use Carpool Lanes
Use Carpool Lanes.
Carpool lanes will either be used 0073or
avoided 0053when calculating the route. Destination input
Important safety notes
G
WARNING
If you operate information systems and com-
munication equipment integrated in the vehi-
cle while driving, you will be distracted from
traffic conditions. You could also lose control
of the vehicle. There is a risk of an accident.
Only operate the equipment when the traffic
situation permits. If you are not sure that this
is possible, park the vehicle paying attention
to traffic conditions and operate the equip-
ment when the vehicle is stationary.
You must observe the legal requirements for
the country in which you are currently driving
when operating COMAND.
Destination entry may be blocked while driv-
ing, depending on the country specifications. General notes
The various character entry options are
described for the controller. Alternatively you
can use the touchpad to enter characters and
select menus (Y page 21). As an address
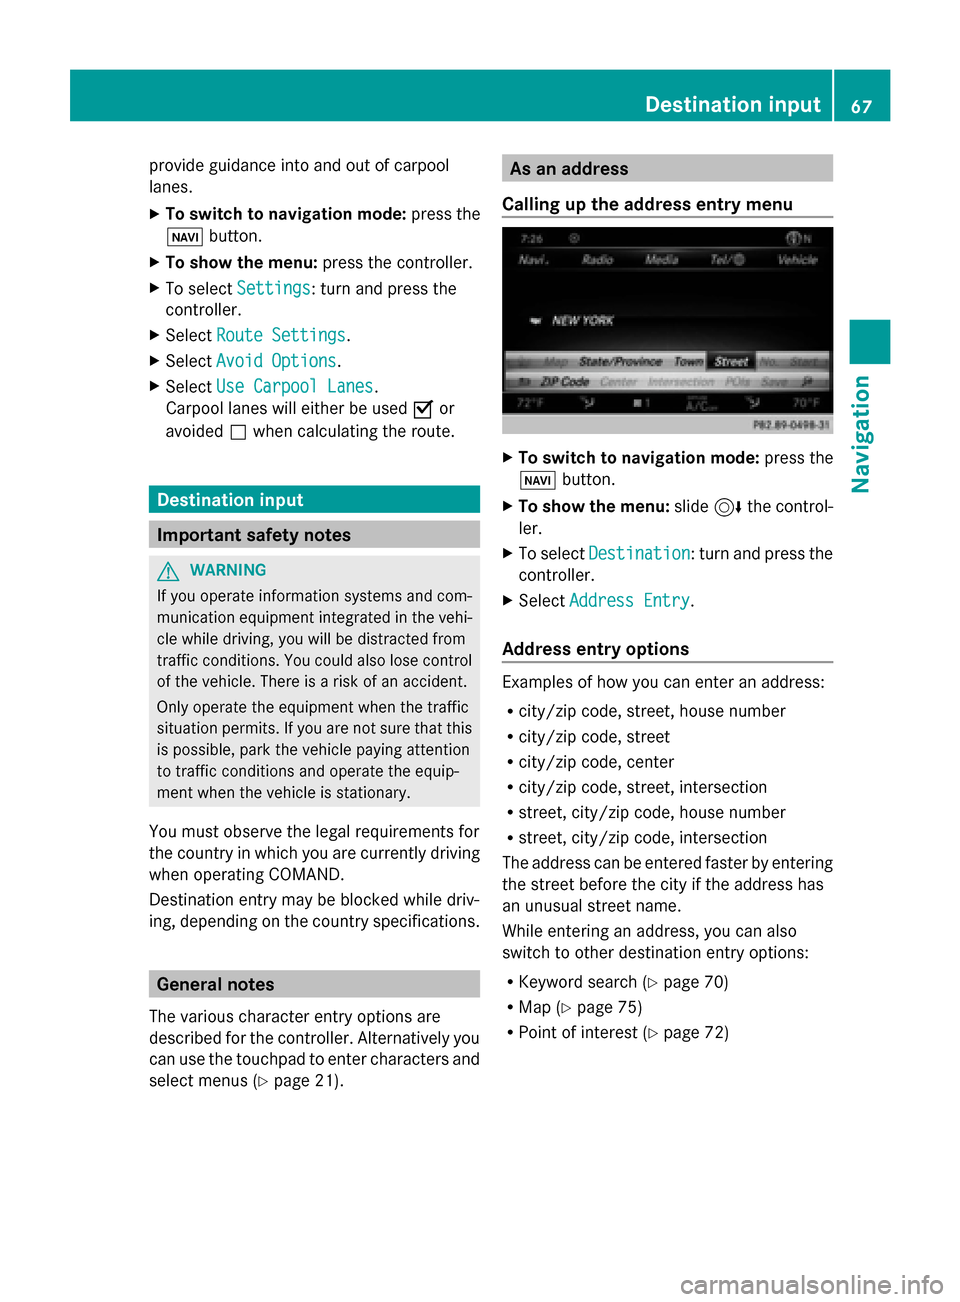
Calling up the address entry menu X
To switch to navigation mode: press the
00BE button.
X To show the menu: slide6the control-
ler.
X To select Destination Destination: turn and press the
controller.
X Select Address Entry
Address Entry.
Address entry options Examples of how you can enter an address:
R
city/zip code, street, house number
R city/zip code, street
R city/zip code, center
R city/zip code, street, intersection
R street, city/zip code, house number
R street, city/zip code, intersection
The address can be entered faster by entering
the street before the city if the address has
an unusual street name.
While entering an address, you can also
switch to other destination entry options:
R Keyword search (Y page 70)
R Map (Y page 75)
R Point of interest (Y page 72) Destination input
67Navigation Z
Page 72 of 214
Set as Intermediate Destination
Set as Intermediate Destination
adds the new destination in addition to the
existing destination and opens the inter-
mediate destinations list.
i The route is calculated using the digital
map data. The calculation time depends on
the distance from the destination, for
example.
The calculated route may differ from the
ideal route, e.g. due to road works or
incomplete map data. Please also refer to
the notes about the digital map
(Y page 96).
Calling up the keyword search
X To select the magnifying glass symbol:
while in the address entry menu, slide
6, turn and then press the controller.
Viewing the vicinity of the destination
X To select symbol 0043: turn the controller and
press to confirm.
You can explore the destination area.
Requirement for exploring a destination:
mbrace must be activated for Internet
access (Y page 136). Keyword search
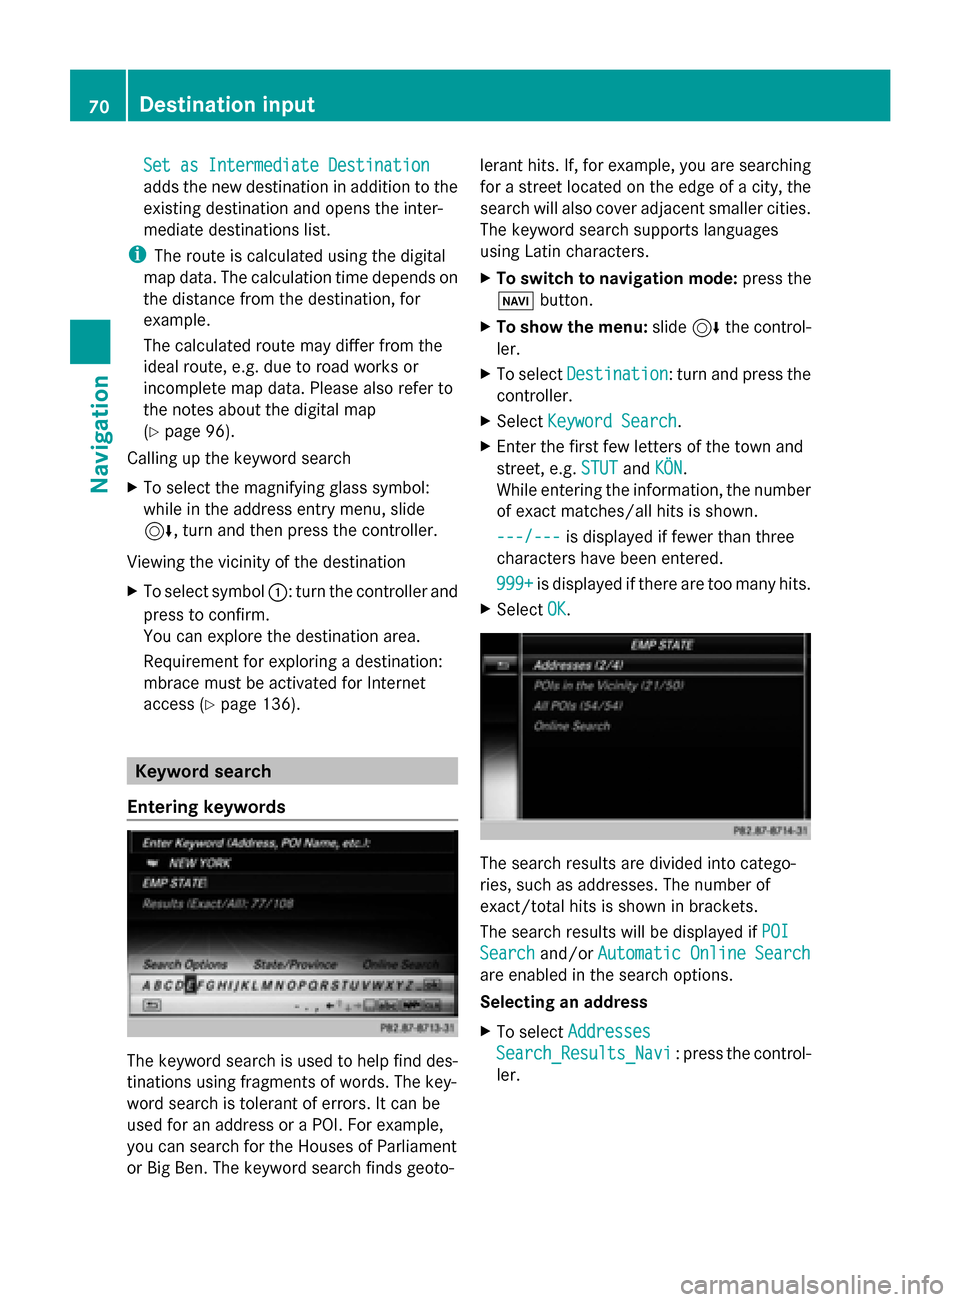
Entering keywords The keyword search is used to help find des-
tinations using fragments of words. The key-
word search is tolerant of errors. It can be
used for an address or a POI. For example,
you can search for the Houses of Parliament
or Big Ben. The keyword search finds geoto- lerant hits. If, for example, you are searching
for a street located on the edge of a city, the
search will also cover adjacent smaller cities.
The keyword search supports languages
using Latin characters.
X
To switch to navigation mode: press the
00BE button.
X To show the menu: slide6the control-
ler.
X To select Destination Destination: turn and press the
controller.
X Select Keyword Search
Keyword Search.
X Enter the first few letters of the town and
street, e.g. STUT STUTandKÖN
KÖN.
While entering the information, the number
of exact matches/all hits is shown.
---/--- ---/--- is displayed if fewer than three
characters have been entered.
999+ 999+ is displayed if there are too many hits.
X Select OK
OK. The search results are divided into catego-
ries, such as addresses. The number of
exact/total hits is shown in brackets.
The search results will be displayed if
POI POI
Search
Search and/orAutomatic Online Search
Automatic Online Search
are enabled in the search options.
Selecting an address
X To select Addresses Addresses
Search_Results_Navi Search_Results_Navi : press the control-
ler. 70
Destination inputNavigation
Page 73 of 214

Exact hits are shown at the very top of the list.
Hits are listed alphabetically. The search term
that you entered is highlighted in orange in
the entries.
X To select an entry: turn and press the con-
troller.
The address entry menu appears, showing
the destination address.
X To start route calculation: selectStart
Start.
Selecting a point of interest
X To select POIs POIsin
inthe
the Vicinity
Vicinity orAll
All
POIs Search_Results_Navi
POIs Search_Results_Navi: turn and
press the controller.
A list appears.
X Select a point of interest.
The POI is shown.
X To start route calculation: select Start Start.
Using online search
X To select Automatic Online Search
Automatic Online Search :
turn and press the controller.
The search switches to the online func-
tions.
Online search requirement: mbrace must
be activated for Internet access
(Y page 136).
Selecting search options X
To switch to navigation mode: press the
00BE button.
X To show the menu: slide6the control-
ler.
X To select Destination Destination: turn and press the
controller. X
Select Keyword Search
Keyword Search .
X To select Search Options
Search Options: slide 5the
controller, turn and press to confirm.
X Select Fuzzy Search
Fuzzy Search ,POI Search
POI Search or
Automatic Online Search
Automatic Online Search .
Switch the setting on 0073or off 0053.
Error-tolerant search: useful if parts of the
address are incomplete or the spelling is
unclear.
POI search: points of interest are taken into
account in the search.
Online search: the search is performed via
the online functions.
Selecting the country X
To switch to navigation mode: press the
00BE button.
X To show the menu: slide6the control-
ler.
X To select Destination Destination: turn and press the
controller.
X Select Keyword Search
Keyword Search .
X To select Country
Country: slide 5the controller,
turn and press to confirm.
The alphabetical list of countries is dis-
played.
X Select a country: turn and press the con-
troller.
Searching via COMAND Requirement: mbrace must be activated for
Internet access (
Ypage 136).
X To switch to navigation mode: press the
00BE button.
X To show the menu: slide6the control-
ler.
X To select Destination Destination: turn and press the
controller.
X Select Keyword Search
Keyword Search .
X To select Online Search Online Search : slide5the
controller, turn and press to confirm.
The search switches to the online func-
tions. Destina
tion input
71Navigation Z
Page 79 of 214

Selection Action
Address
Address
Entry Entry X
Enter a destination by
address (Y page 68). Keyword Keyword
Search Search X
Select a destination by
means of a keyword
search (Y page 70). From Previ‐ From Previ‐
ous Destina‐ ous Destina‐
tions tions X
Select a destination
from the list of last des-
tinations (Y page 72). From POIs From POIs X
Select a point of inter-
est (Y page 72). Using Map
Using Map X
Enter a destination
using the map
(Y page 75). From From
Mercedes- Mercedes-
Benz Apps Benz Apps X
Enter a destination
from Mercedes-Benz
Apps (Y page 78). Using Geo- Using Geo-
Coordinates Coordinates X
Enter a destination
using the geo-coordi-
nates (Y page 79). X
To select a POI: turn the controller and
press to confirm.
After selecting a POI or entering a destina-
tion, the address of the way point is dis-
played.
After entering a destination using the map,
the address entry menu is displayed.
Start
Start is highlighted. Accepting a way point
X
To select Start Start: press the controller.
The way point is entered into the way point
menu.
X To select details: turn and press the con-
troller.
X To connect a call: selectCall
Call.
If the way point has a telephone number
and a mobile phone is connected to
COMAND (Y page 104), the call is con-
nected.
X To call up the map: selectMap Map.
X You can move the map and select the des-
tination.
X To store a way point in the destination
memory: selectSave Save(Ypage 89).
Editing way points Way points can be:
R
changed
R changed in sequence in the way point menu
R deleted
i You cannot edit POIs. Destination input
77Navigation Z
Page 107 of 214
Procedure and general information
Searching for and authorizing (connect-
ing) a mobile phone
Before using your mobile phone with
COMAND for the first time, you will need to
search for the phone (Y page 105) and then
authorize it (Y page 106). Depending on the
mobile phone, authorization either takes
place by means of Secure Simple Pairing or
by entering a passkey. COMAND automati-
cally makes the system suitable for your
mobile phone available. You can recognize
Secure Simple Pairing by a code which is dis-
played in COMAND and on the mobile phone.
You can recognize the passkey system by the
fact that you have to enter a code on the
mobile phone and in COMAND. The mobile
phone is always connected automatically
after authorization.
If COMAND does not detect your mobile
phone, this may be due to particular security
settings on your mobile phone. You can also
start the search procedure and authorization
on the mobile phone (Y page 107).
Device-specific information on authorizing
and connecting Bluetooth ®
-capable mobile
phones can be found on the Internet at
http://www.mercedes-benz.com/
connect .
You can authorize up to 15 mobile phones.
Only one mobile phone can be connected to
COMAND at any one time.
De-authorizing (disconnecting) a mobile
phone
The connection is terminated automatically if
you leave the receiver range of COMAND or
deactivate Bluetooth ®
on your mobile phone.
If you no longer want the Bluetooth ®
connec-
tion to be established automatically, the
mobile phone must be de-authorized (discon-
nected) (Y page 108). Searching for a mobile phone
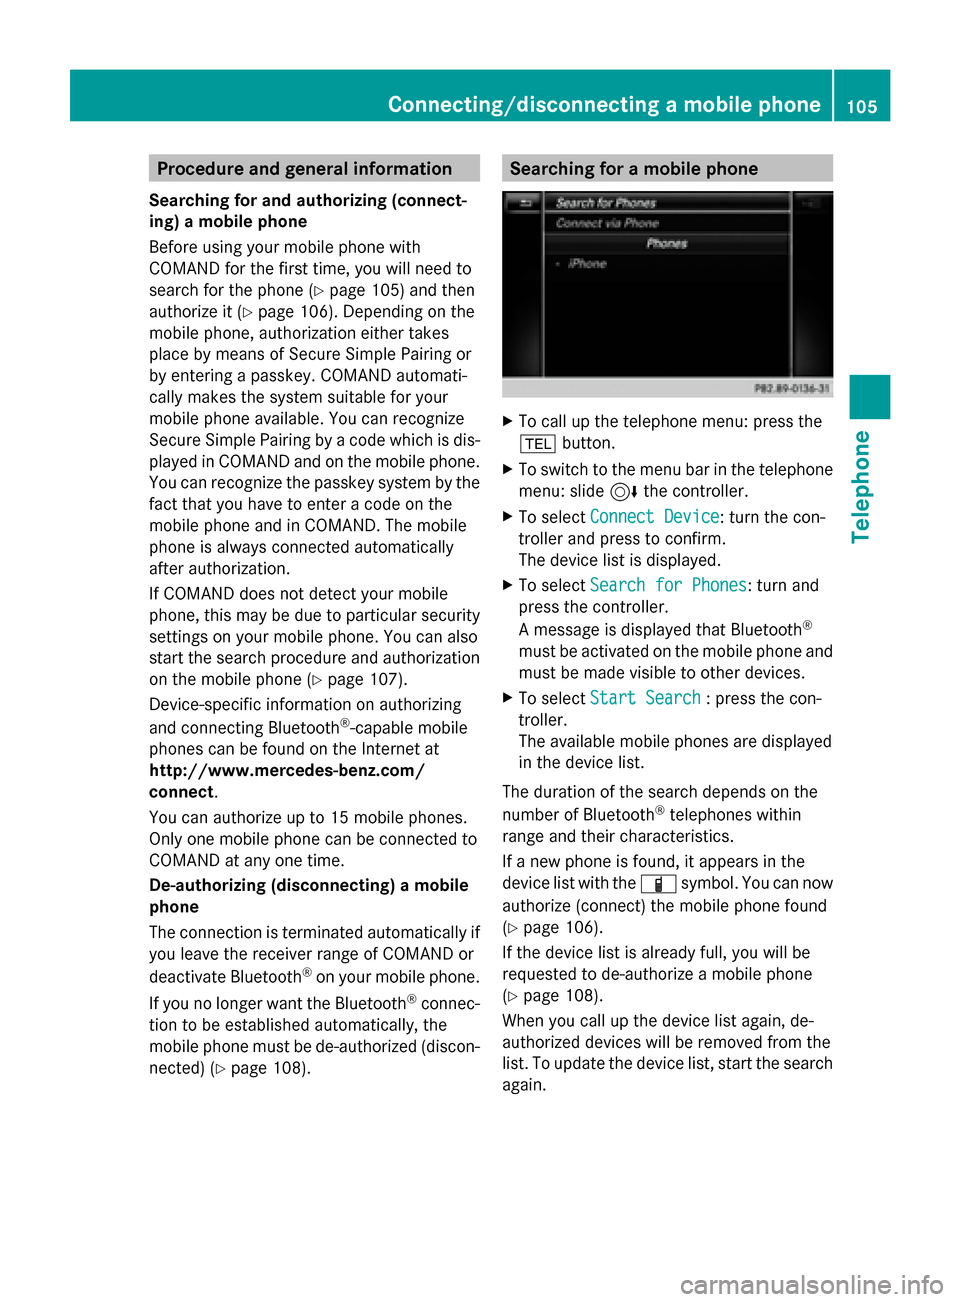
X
To call up the telephone menu: press the
002B button.
X To switch to the menu bar in the telephone
menu: slide 6the controller.
X To select Connect Device
Connect Device: turn the con-
troller and press to confirm.
The device list is displayed.
X To select Search for Phones Search for Phones: turn and
press the controller.
A message is displayed that Bluetooth ®
must be activated on the mobile phone and
must be made visible to other devices.
X To select Start Search Start Search : press the con-
troller.
The available mobile phones are displayed
in the device list.
The duration of the search depends on the
number of Bluetooth ®
telephones within
range and their characteristics.
If a new phone is found, it appears in the
device list with the 00D3symbol. You can now
authorize (connect) the mobile phone found
(Y page 106).
If the device list is already full, you will be
requested to de-authorize a mobile phone
(Y page 108).
When you call up the device list again, de-
authorized devices will be removed from the
list. To update the device list, start the search
again. Connecting/disconnecting a mobile phone
105Telephone Z
Page 108 of 214
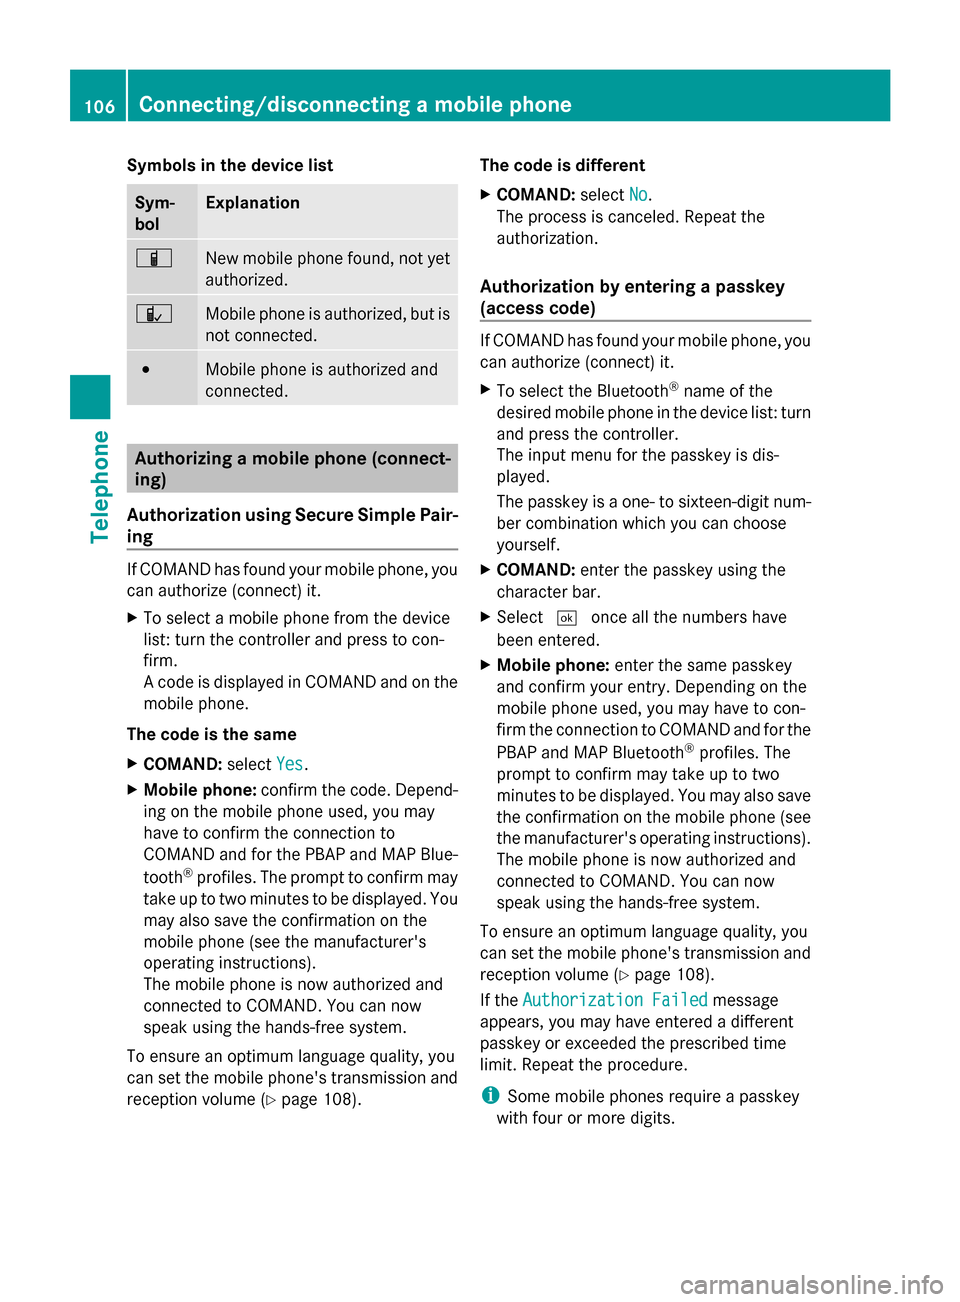
Symbols in the device list
Sym-
bol Explanation
00D3
New mobile phone found, not yet
authorized.
00DC
Mobile phone is authorized, but is
not connected.
0036
Mobile phone is authorized and
connected.
Authorizing a mobile phone (connect-
ing)
Authorization using Secure Simple Pair-
ing If COMAND has found your mobile phone, you
can authorize (connect) it.
X To select a mobile phone from the device
list: turn the controller and press to con-
firm.
A code is displayed in COMAND and on the
mobile phone.
The code is the same
X COMAND: selectYes Yes.
X Mobile phone: confirm the code. Depend-
ing on the mobile phone used, you may
have to confirm the connection to
COMAND and for the PBAP and MAP Blue-
tooth ®
profiles. The prompt to confirm may
take up to two minutes to be displayed. You
may also save the confirmation on the
mobile phone (see the manufacturer's
operating instructions).
The mobile phone is now authorized and
connected to COMAND. You can now
speak using the hands-free system.
To ensure an optimum language quality, you
can set the mobile phone's transmission and
reception volume (Y page 108). The code is different
X
COMAND: selectNo
No.
The process is canceled. Repeat the
authorization.
Authorization by entering a passkey
(access code) If COMAND has found your mobile phone, you
can authorize (connect) it.
X
To select the Bluetooth ®
name of the
desired mobile phone in the device list: turn
and press the controller.
The input menu for the passkey is dis-
played.
The passkey is a one- to sixteen-digit num-
ber combination which you can choose
yourself.
X COMAND: enter the passkey using the
character bar.
X Select 0054once all the numbers have
been entered.
X Mobile phone: enter the same passkey
and confirm your entry. Depending on the
mobile phone used, you may have to con-
firm the connection to COMAND and for the
PBAP and MAP Bluetooth ®
profiles. The
prompt to confirm may take up to two
minutes to be displayed. You may also save
the confirmation on the mobile phone (see
the manufacturer's operating instructions).
The mobile phone is now authorized and
connected to COMAND. You can now
speak using the hands-free system.
To ensure an optimum language quality, you
can set the mobile phone's transmission and
reception volume (Y page 108).
If the Authorization Failed
Authorization Failed message
appears, you may have entered a different
passkey or exceeded the prescribed time
limit. Repeat the procedure.
i Some mobile phones require a passkey
with four or more digits. 106
Connecting/disconnecting a mobile phoneTelephone
Page 109 of 214
i
If you wish to re-authorize the mobile
phone after de-authorizing it, you can
choose another passkey for it. Establishing the connection from the
mobile phone
The Bluetooth ®
device name of COMAND is
"MB Bluetooth".
X COMAND: call up the telephone menu.
X To switch to the menu bar: slide 6the
controller.
X To select Connect Device Connect Device: turn the con-
troller and press to confirm.
The device list is displayed.
X To select Connect via Phone
Connect via Phone: turn and
press the controller.
A message is displayed, stating that you
can start the search on your mobile phone.
X Mobile phone: start the search for a Blue-
tooth ®
device (see manufacturer's operat-
ing instructions).
COMAND is displayed with the name "MB
Bluetooth" in the mobile phone's device
list.
X Select "MB Bluetooth".
A prompt appears in the COMAND display
asking whether the mobile phone should be
authorized.
X COMAND: selectYes
Yes.
If No No is selected, the procedure is canceled.
If your mobile phone supports Secure Sim-
ple Pairing, a code is now displayed on both
devices.
The code is the same
X COMAND: selectYes
Yes.
X Mobile phone: confirm the code. Depend-
ing on the mobile phone used, you may
have to confirm the connection to
COMAND and for the PBAP and MAP Blue-
tooth ®
profiles. The prompt to confirm may
take up to two minutes to be displayed. You
may also save the confirmation on the mobile phone (see the manufacturer's
operating instructions).
The mobile phone is now authorized and
connected to COMAND. You can now
speak using the hands-free system.
To ensure an optimum language quality, you
can set the mobile phone's transmission and
reception volume (Y page 108).
The code is different
X COMAND: selectNo
No.
The process is canceled. Repeat the pro-
cedure.
If your mobile phone does not support Secure
Simple Pairing, an input menu is displayed for
the passkey. The passkey is a one- to sixteen-
digit number combination which you can
choose yourself. Enter the same passkey on
both COMAND and the mobile phone and
confirm. Depending on the mobile phone
used, you may have to confirm the connection
to COMAND and for the PBAP and MAP Blue-
tooth ®
profiles. Reconnecting automatically
COMAND always searches for the last con-
nected mobile phone.
If no connection can be made to the most
recently connected mobile phone, the system
searches for the mobile phone that was con-
nected before that one. Switching between mobile phones
If you have authorized more than one mobile
phone, you can switch between the individual
phones.
X To call up the telephone menu: press the
002B button.
X To show the menu bar: slide 6the con-
troller. Connecting/disconnecting a mobile phone
107Telephone Z