2015 MERCEDES-BENZ C-Class key
[x] Cancel search: keyPage 140 of 214
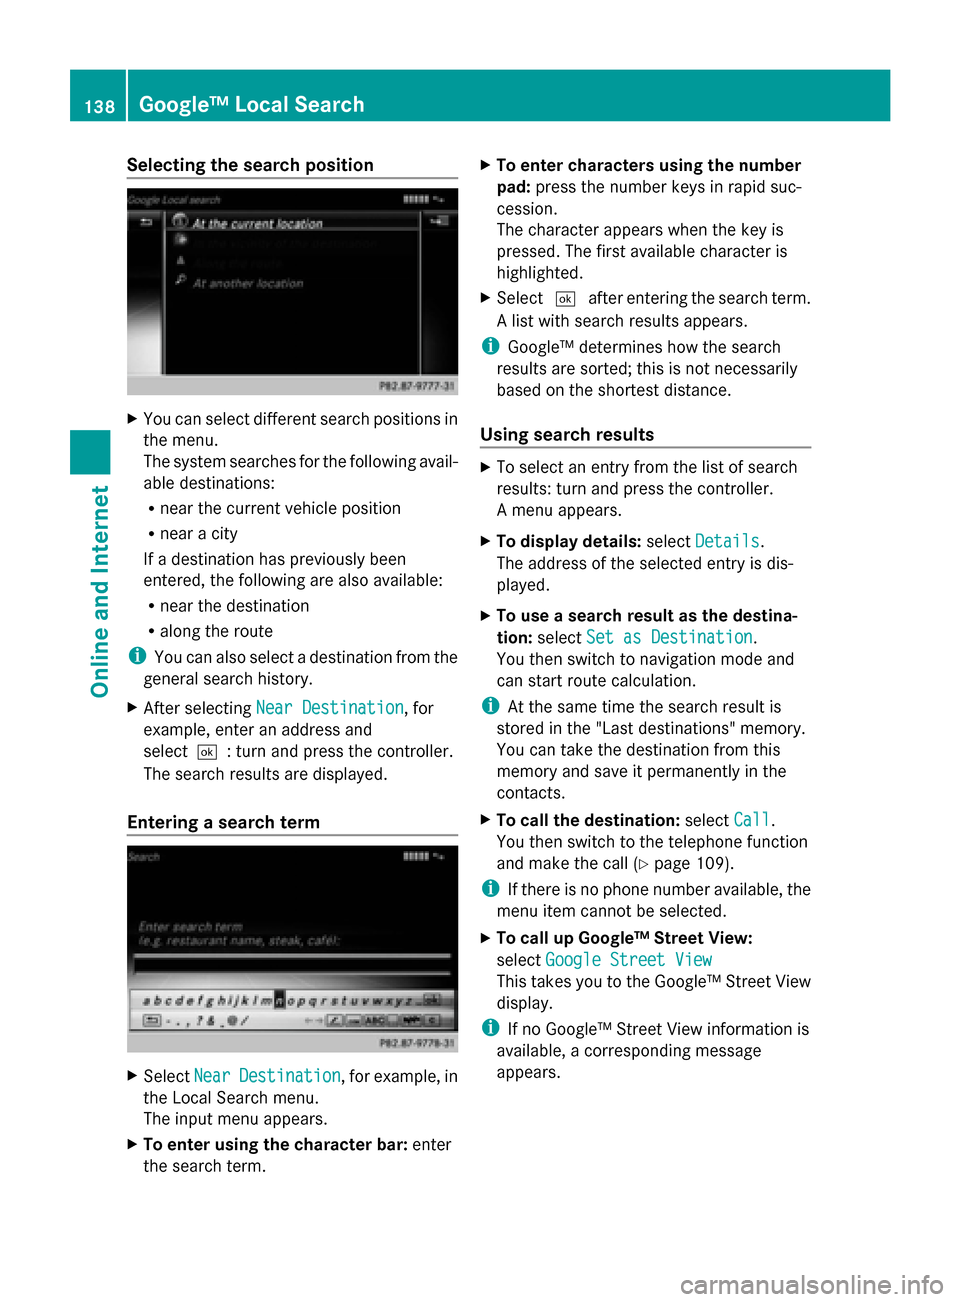
Selecting the search position
X
You can select different search positions in
the menu.
The system searches for the following avail-
able destinations:
R near the current vehicle position
R near a city
If a destination has previously been
entered, the following are also available:
R near the destination
R along the route
i You can also select a destination from the
general search history.
X After selecting Near Destination
Near Destination, for
example, enter an address and
select0054: turn and press the controller.
The search results are displayed.
Entering a search term X
Select Near NearDestination
Destination , for example, in
the Local Search menu.
The input menu appears.
X To enter using the character bar: enter
the search term. X
To enter characters using the number
pad: press the number keys in rapid suc-
cession.
The character appears when the key is
pressed. The first available character is
highlighted.
X Select 0054after entering the search term.
A list with search results appears.
i Google™ determines how the search
results are sorted; this is not necessarily
based on the shortest distance.
Using search results X
To select an entry from the list of search
results: turn and press the controller.
A menu appears.
X To display details: selectDetails Details.
The address of the selected entry is dis-
played.
X To use a search result as the destina-
tion: select Set as Destination Set as Destination.
You then switch to navigation mode and
can start route calculation.
i At the same time the search result is
stored in the "Last destinations" memory.
You can take the destination from this
memory and save it permanently in the
contacts.
X To call the destination: selectCall
Call.
You then switch to the telephone function
and make the call (Y page 109).
i If there is no phone number available, the
menu item cannot be selected.
X To call up Google™ Street View:
select Google Street View Google Street View
This takes you to the Google™ Street View
display.
i If no Google™ Street View information is
available, a corresponding message
appears. 138
Google™ Local SearchOnline and Internet
Page 150 of 214
X
Press the 002Bbutton.
The last function called up appears.
X Select TEL/
TEL/00A7 in the main function bar by
sliding 5, turning and pressing the con-
troller.
A menu appears.
X To select Internet
Internet: turn and press the
controller.
The menu for the Internet functions
appears.
X To select www
www: turn the controller and press
to confirm.
An input menu appears.
You can enter the web address using either
the character bar or the number keypad.
X To select a web address from the list:
when the character bar is displayed, slide
5 the controller.
The list is activated.
X Select the desired web address.
The web address can still be changed as
desired.
X Select 0054.
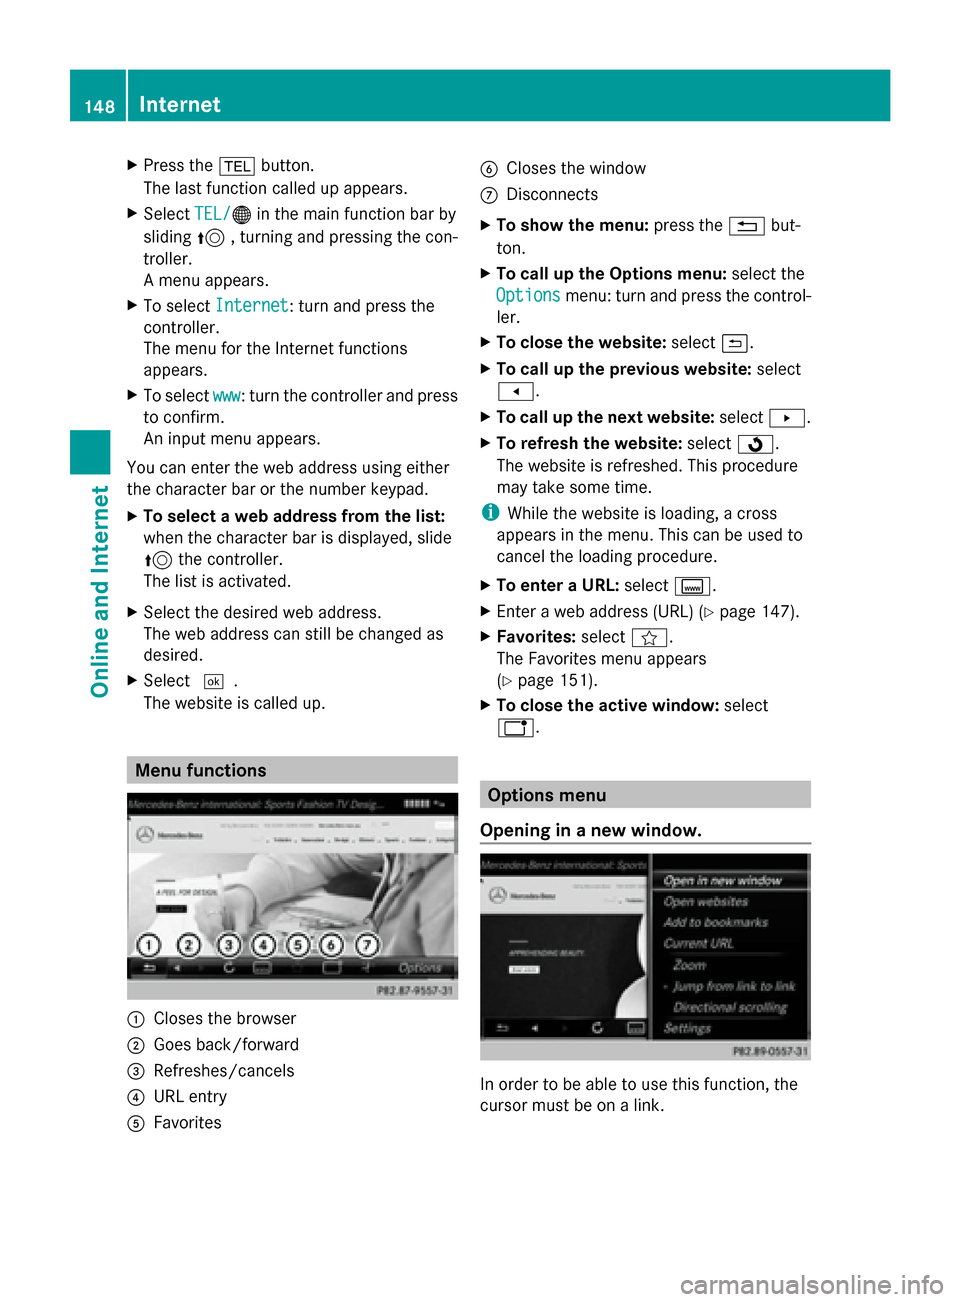
The website is called up. Menu functions
0043
Closes the browser
0044 Goes back/forward
0087 Refreshes/cancels
0085 URL entry
0083 Favorites 0084
Closes the window
006B Disconnects
X To show the menu: press the0038but-
ton.
X To call up the Options menu: select the
Options
Options menu: turn and press the control-
ler.
X To close the website: select0039.
X To call up the previous website: select
007F.
X To call up the next website: select0080.
X To refresh the website: select0080.
The website is refreshed. This procedure
may take some time.
i While the website is loading, a cross
appears in the menu. This can be used to
cancel the loading procedure.
X To enter a URL: selectg.
X Enter a web address (URL) (Y page 147).
X Favorites: selectf.
The Favorites menu appears
(Y page 151).
X To close the active window: select
h. Options menu
Opening in a new window. In order to be able to use this function, the
cursor must be on a link.148
InternetOnline and Internet
Page 157 of 214
Using the main function bar
X
In radio mode: slide 00970052the controller.
The radio main function bar and menu bar
appear. Radio Radiois active.
X Press the controller.
A menu appears with a selection of HD HDFM
FM
Radio
Radio, HD AM Radio
HD AM Radio, Radio Station
Radio Station
Presets
Presets, Info on Radio
Info on Radio andInternet
Internet
Radio
Radio.
X Turn the controller until the required wave-
band is in the center. Press the controller.
Using the radio menu bar X
In radio mode: slide 00520064the controller.
The radio main function bar and menu bar
appear.
X To select Waveband Waveband: turn and press the
controller.
A menu appears with a selection of HD
HD FM FM
Radio
Radio, HD AM Radio
HD AM Radio, Radio Station
Radio Station
Presets
Presets, Info on Radio
Info on Radio andInternet
Internet
Radio
Radio.
X Turn the controller until the required wave-
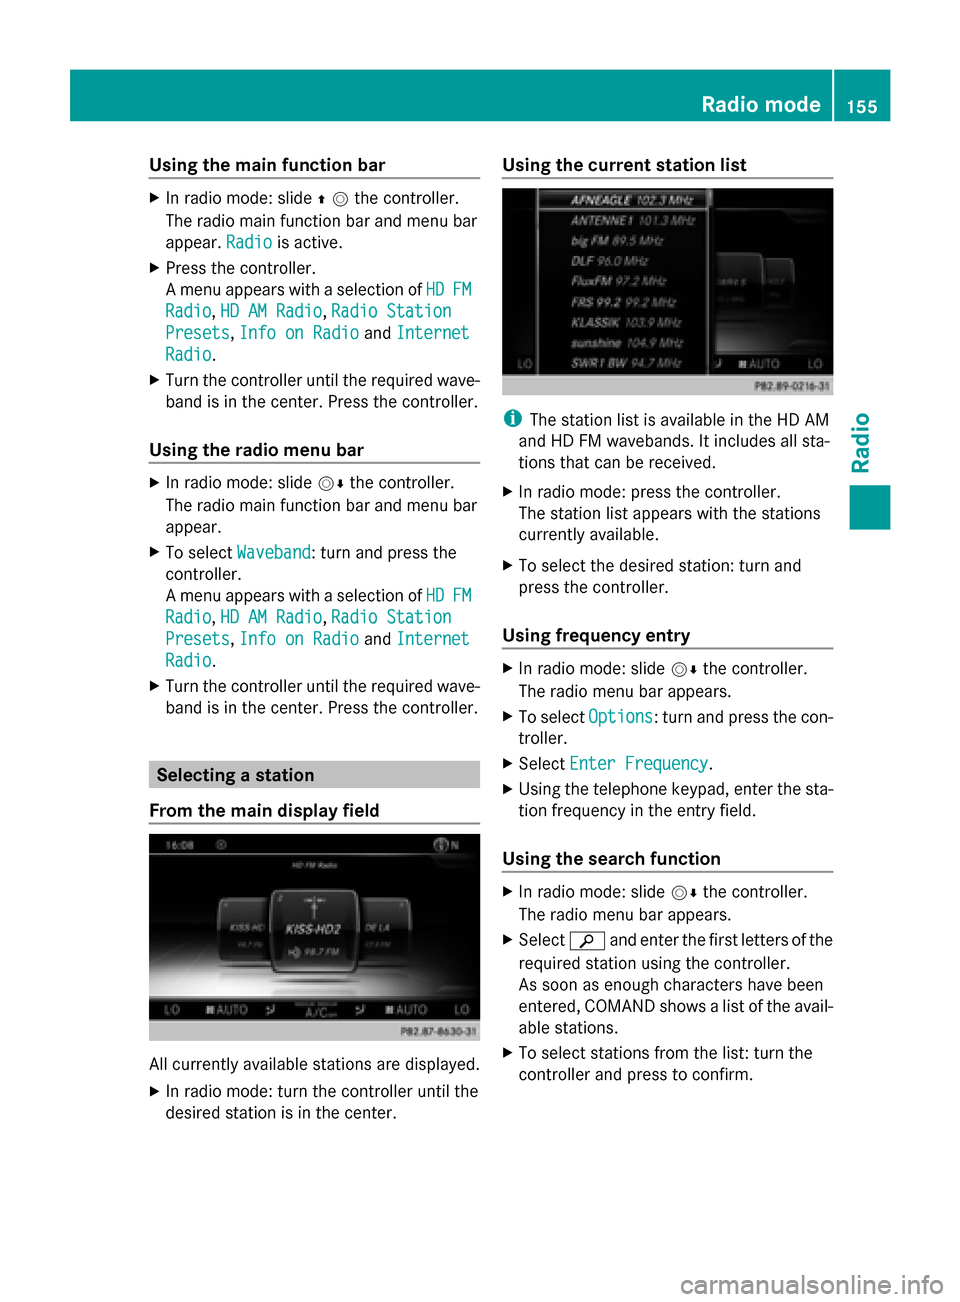
band is in the center. Press the controller. Selecting a station
From the main display field All currently available stations are displayed.
X In radio mode: turn the controller until the
desired station is in the center. Using the current station list
i
The station list is available in the HD AM
and HD FM wavebands. It includes all sta-
tions that can be received.
X In radio mode: press the controller.
The station list appears with the stations
currently available.
X To select the desired station: turn and
press the controller.
Using frequency entry X
In radio mode: slide 00520064the controller.
The radio menu bar appears.
X To select Options Options: turn and press the con-
troller.
X Select Enter Frequency
Enter Frequency .
X Using the telephone keypad, enter the sta-
tion frequency in the entry field.
Using the search function X
In radio mode: slide 00520064the controller.
The radio menu bar appears.
X Select 00D3and enter the first letters of the
required station using the controller.
As soon as enough characters have been
entered, COMAND shows a list of the avail-
able stations.
X To select stations from the list: turn the
controller and press to confirm. Radio mode
155Radio
Page 161 of 214

0085
Channel information
0083 Category list
0084 Keyword search
006B Options menu
Channel information 0085can be viewed in
detail ( Ypage 161).
X To select Radio
Radio in the main function bar:
turn the controller and press to confirm.
If satellite radio mode was the last mode
selected, it will now be active.
If another radio mode is switched on, you
can now switch to satellite radio mode in
the carousel menu.
X To select Options Options: slide 00520064and press the
controller.
The message No Service
No Serviceappears if there is
no signal.
If the satellite receiver is not installed or is not
installed correctly, the Device Not Avail‐
Device Not Avail‐
able
able message will appear (Y page 158).Selecting a category
Satellite radio channels are sorted into vari-
ous categories. You can choose between var-
ious categories such as News/Discussions,
Sports and Country (if available). The cate-
gory list is sorted alphabetically. The content
of the categories is sorted by channel num-
bers.
X To call up the category list: selectCat‐
Cat‐
egory
egory in the menu bar: slide 00520064and press
the controller.
The category list appears.
X To select a category: turn the controller
and press to confirm.
The category selected is shown in the dis-
play. You hear the station last selected for
this category.
The 0036dot indicates the current setting.
The All Channels
All Channels category is at the top
of the category list. This category enables
you to browse all available channels. Selecting a channel
Channel search X
When the display/section window is
selected, slide 009500520096the controller.
COMAND searches in both directions
(ascending and descending) and stops at
the next channel found in the selected cat-
egory.
Entering channel numbers directly X
To select Options Optionsin the menu bar: slide
00520064 and press the controller.
The satellite radio menu appears.
X To select Enter Channel
Enter Channel: turn and press
the controller.
An input menu appears.
X For the channel number, press the corre-
sponding number keys on the control panel
one after the other.
COMAND sets the selected channel.
i You can only select currently permitted
digits.
Selecting a channel via the satellite
radio station list You can select the channel using the satellite
station list or using the current station list
displaying the artists and tracks that are cur-
rently playing. Satellite radio
159Radio
Page 162 of 214

X
To select Options
Optionsin the menu bar: slide
00520064 and press the controller.
X To select Current Station List with
Current Station List with
Artist & Title
Artist & Title: turn and press the con-
troller.
The channel list appears.
X Select the desired channel
Keyword search X
To select the keyword search 00D3in the
menu bar: slide 00520064and turn the controller.
X To enter the required search term: turn and
press the controller.
Direct and indirect results are shown.
X Select the required result.
The relevant channel is played. Memory functions
i There are 99 presets available.
X To store a channel using the edit func-
tion: select Options
Options in the menu bar: slide
00520064 and press the controller.
X To select Edit/Organize Edit/Organize: turn and press
the controller.
The list of saved channels appears.
X To select the preset: turn the controller and
press for about 2 seconds.
The newly saved station overwrites the
existing preset. Music and sport alerts
General notes This function makes it possible to store a pro-
gram alert for your favorite artists, tracks or
sporting events.
You can store up to 30 music and sports
alerts (favorites).
Music alerts can only be saved whilst a track
is being played. You can also specify sport
alerts via the menu option. The system then
continuously scans all channels and notifies
you if it finds a match with a stored alert. A
window appears with the respective informa-
tion.
Setting a music alert
X
To select Options Optionsin the menu bar: slide
00520064 and press the controller.
X To select Alert for Artist, Track & Alert for Artist, Track &
Sports
Sports Event
Event: turn and press the control-
ler.
A menu appears.
X Select Add New Alert
Add New Alert.
A window with a prompt appears.
X Select Artist Artist orTrack
Track.
The alert is set for the current artist or
track.
The music alert window appears X
To select Change to Change to orIgnore
Ignore: turn and
press the controller.
If you select Change to
Change to, the channel is
changed and the favorite artist or track is
played. 160
Satellite radioRadio
Page 167 of 214

Using the main function bar
X
To select Media
Media: turn and press the con-
troller.
The menu appears with the available media
sources.
X Select the media source.
If the media source contains music or video
files, these will be played. The correspond-
ing basic menu will be shown. Using the number keypad
i If you touch a key in the touch-sensitive
number keypad, the number field is dis-
played in the additional display area.
X Touch any number key when in media
mode.
The number field is shown. The active
media source is highlighted.
X To select a media source: press the corre-
sponding number key.
If the media source contains music or video
files, these will be played. The correspond-
ing basic menu will be shown.
X To enter a track number: use the number
keypad to enter the desired numbers.
The track is played. Using the device list
X
In media mode, slide 00520064the controller.
The media menu bar appears.
X To select Devices Devices: turn the controller and
press to confirm.
The available media sources will be shown.
The 003Bdot indicates the current setting.
X Select the media source.
If the media source contains music or video
files, these will be played. The correspond-
ing basic menu will be shown. Audio/video mode
Important safety notes
G
WARNING
The CD/DVD drive is a class 1 laser product.
If you open the CD/DVD drive housing, you
could be exposed to invisible laser radiation.
This laser radiation could damage your retina.
There is a risk of injury.
Never open the housing. Always have main-
tenance and repair work carried out at a quali-
fied specialist workshop. G
WARNING
Only when the vehicle is stationary should
you:
R insert a data carrier
R eject a disc
There is a risk of being distracted from the
road and traffic conditions if you insert or
eject a disc while the vehicle is in motion. Audio/video mode
165Media Z
Page 170 of 214
poses an increased risk of injury or even fatal
injury.
Keep SD memory cards out of the reach of
children. If an SD memory card is swallowed,
seek immediate medical attention.
! If you are no longer using the SD memory
card, you should remove it. High tempera-
tures can damage the card.
COMAND supports SD memory cards
(Secure Digital), SDHC memory cards
(Secure DigitalHighCapacity), and SDXC
memory cards (Secure Digital eXtended
Capacity.
Inserting an SD memory card X
Insert the SD memory card into the SD card
slot in the stowage space under the arm-
rest until the SD memory card engages into
place. The side with the contacts must face
downwards.
The music is played while the files are
loaded in the background. If there are no
supported audio/video files, you will see a
message to this effect.
Ejecting an SD memory card X
Press the memory card.
The memory card is ejected.
X Remove the memory card. Connecting USB devices
There are two USB ports in the stowage space
under the armrest.
X Connect the USB device to the USB port.
The data medium will only be played and
the files will only be loaded in the back-
ground if the corresponding media display
is visible. Otherwise, the system does not
automatically switch to USB. If there are no
supported audio/video files, you will see a
message to this effect. i
MP3 players must support Media Transfer
Protocol (MTP). Activating media mode
Switching on automatically After an external media source has been con-
nected, COMAND will only activate the cor-
responding media mode automatically and
show the basic display in the case of CDs and
SD cards. If the CD/DVD is started using
another application (e.g. navigation), the dis-
play will not change.
When using USB devices, depending on the
vehicle's equipment, the relevant Media
Interface 1, 2 or USB 1, 2 basic display must
already be activated.
X Insert the CDs/DVDs (Y page 166)
or
X Insert a SD memory card: (Y page 168)
or
X Connect a USB device: (Y page 168)
COMAND loads the medium inserted and
starts to play it automatically.
Further options for switching on R
Using the number keypad: (Y page 165)
R Using the main function bar: (Y page 165)
R Using the device list: (Y page 165)
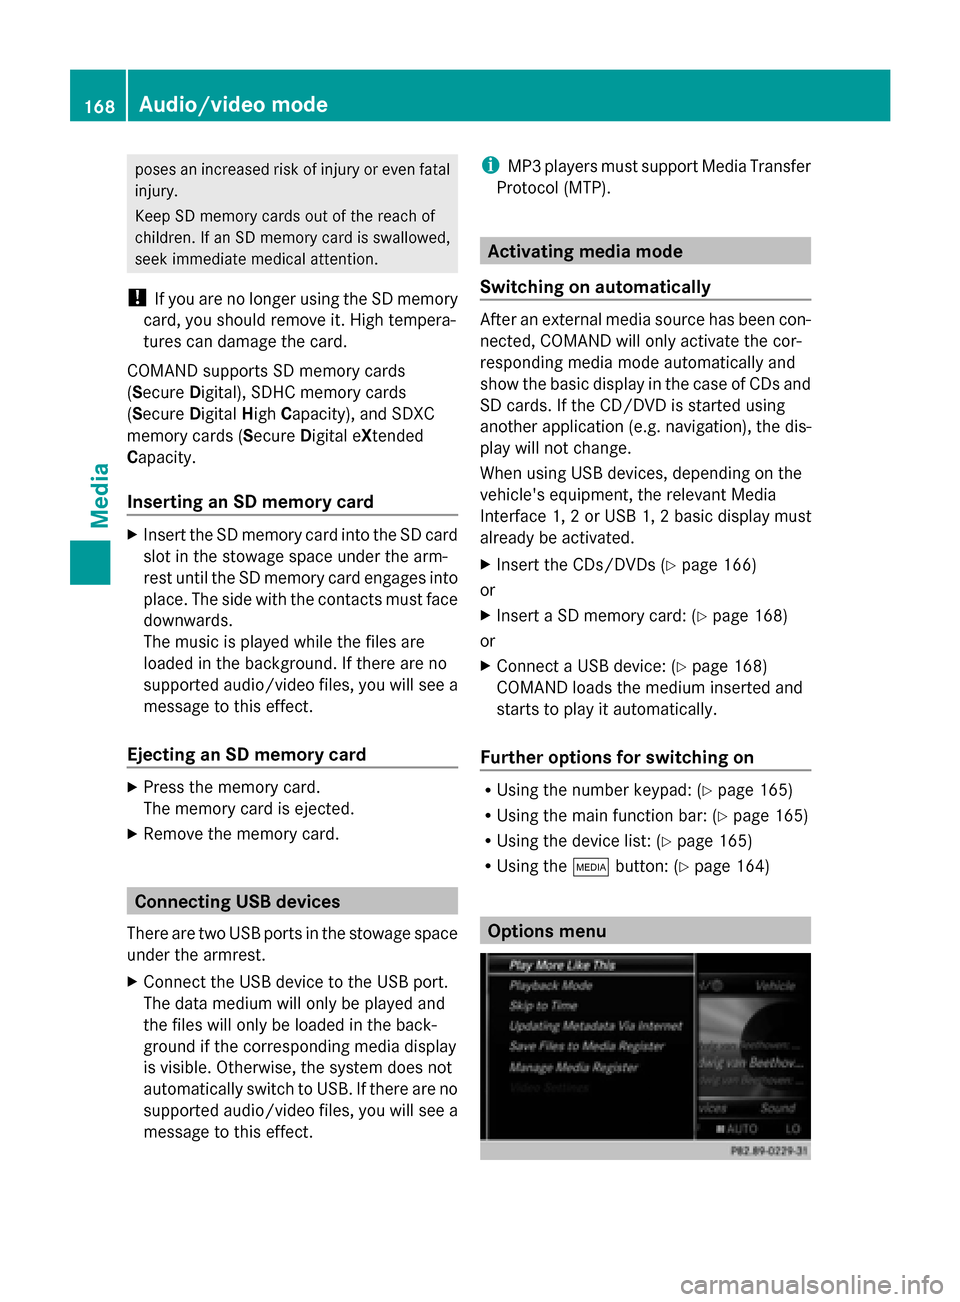
R Using the 00FDbutton: (Y page 164) Options menu168
Audio/video modeMedia
Page 171 of 214
X
In Media mode, slide 00520064the controller.
The media menu bar is shown.
X To select Options
Options: turn and press the con-
troller.
Playing similar tracks
X To select Play PlayMore
More Like
LikeThis
This: turn and
press the controller.
COMAND automatically creates and plays
a track list with similar tracks. If there are
no comparable tracks on the data carrier,
you will see a message to this effect.
X Select the required track. Play mode
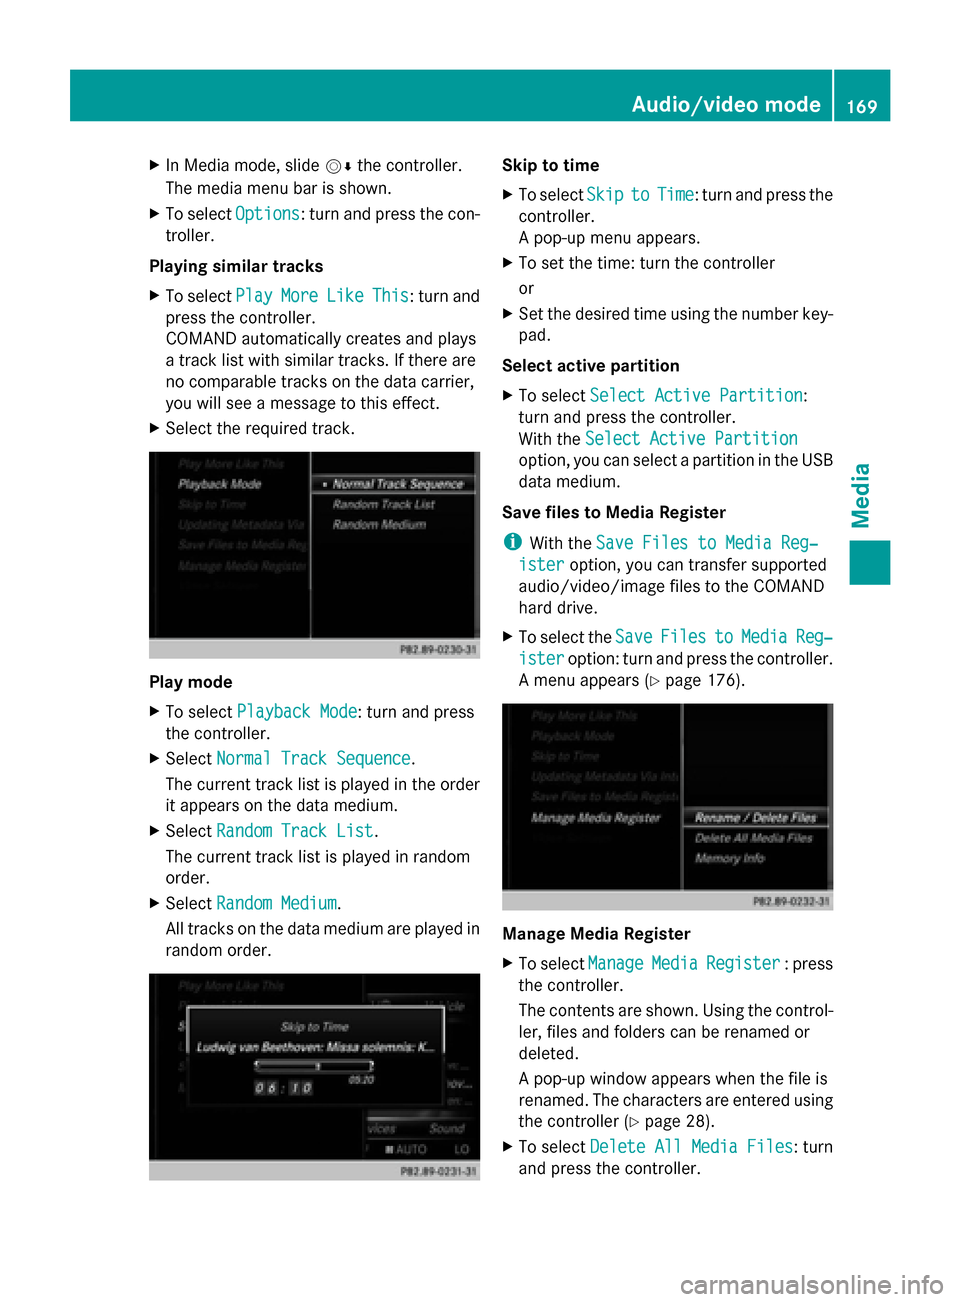
X
To select Playback Mode Playback Mode: turn and press
the controller.
X Select Normal Track Sequence
Normal Track Sequence.
The current track list is played in the order
it appears on the data medium.
X Select Random Track List
Random Track List.
The current track list is played in random
order.
X Select Random Medium
Random Medium.
All tracks on the data medium are played in
random order. Skip to time
X
To select Skip
Skip to toTime
Time : turn and press the
controller.
A pop-up menu appears.
X To set the time: turn the controller
or
X Set the desired time using the number key-
pad.
Select active partition
X To select Select Active Partition Select Active Partition:
turn and press the controller.
With the Select Active Partition Select Active Partition
option, you can select a partition in the USB
data medium.
Save files to Media Register
i With the Save Files to Media Reg‐ Save Files to Media Reg‐
ister
ister option, you can transfer supported
audio/video/image files to the COMAND
hard drive.
X To select the Save SaveFiles
Files to
toMedia
Media Reg‐
Reg‐
ister
ister option: turn and press the controller.
A menu appears (Y page 176). Manage Media Register
X
To select Manage ManageMedia
MediaRegister
Register : press
the controller.
The contents are shown. Using the control-
ler, files and folders can be renamed or
deleted.
A pop-up window appears when the file is
renamed. The characters are entered using
the controller (Y page 28).
X To select Delete All Media Files
Delete All Media Files : turn
and press the controller. Audio/video mode
169Media Z