2015 MERCEDES-BENZ C-Class key
[x] Cancel search: keyPage 176 of 214
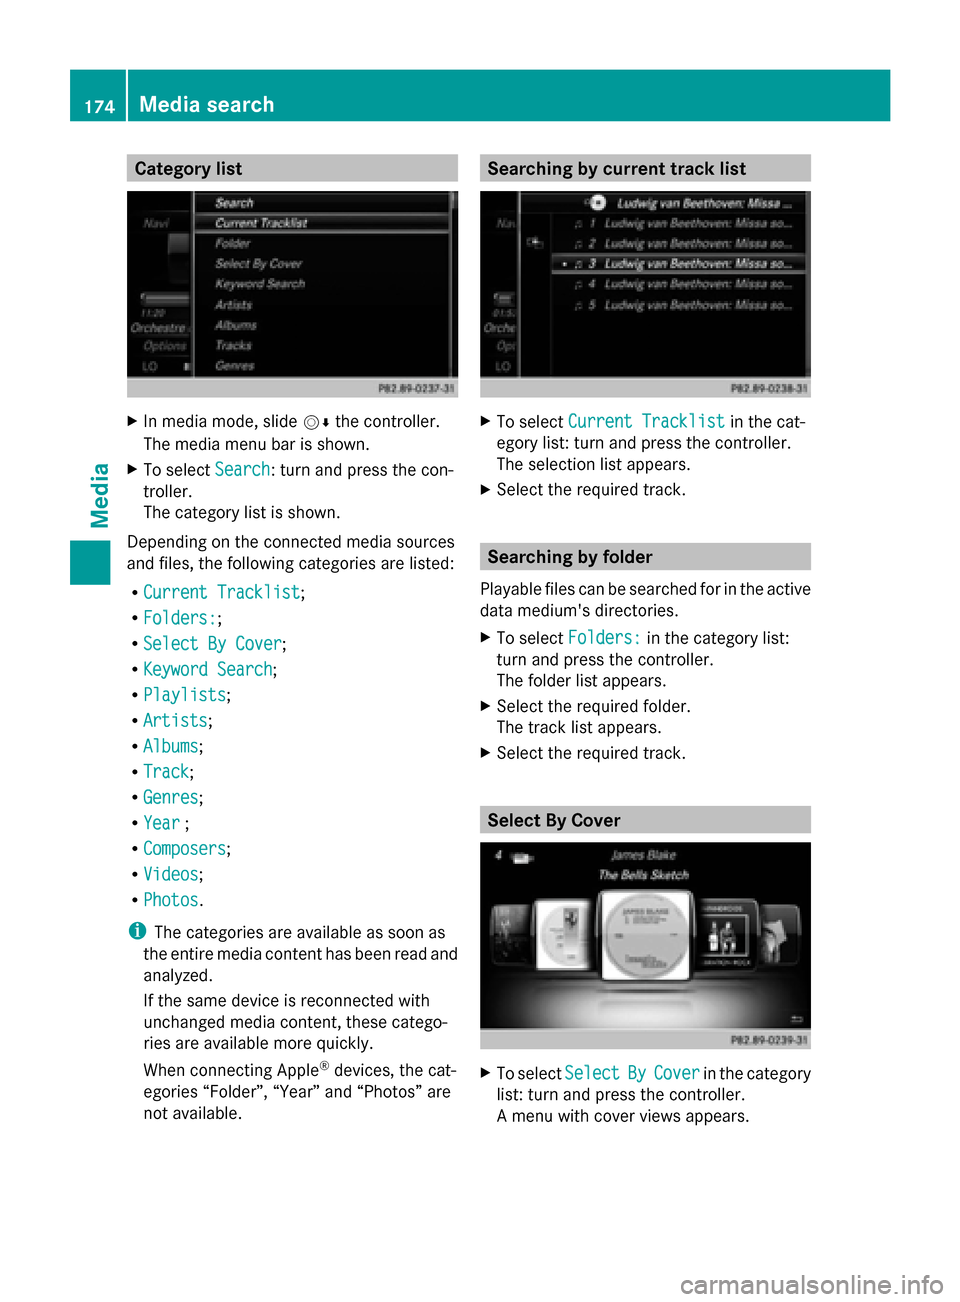
Category list
X
In media mode, slide 00520064the controller.
The media menu bar is shown.
X To select Search
Search: turn and press the con-
troller.
The category list is shown.
Depending on the connected media sources
and files, the following categories are listed:
R Current Tracklist
Current Tracklist ;
R Folders: Folders:;
R Select By Cover
Select By Cover;
R Keyword Search
Keyword Search ;
R Playlists
Playlists ;
R Artists
Artists;
R Albums
Albums ;
R Track
Track;
R Genres
Genres ;
R Year
Year ;
R Composers
Composers ;
R Videos
Videos ;
R Photos
Photos .
i The categories are available as soon as
the entire media content has been read and
analyzed.
If the same device is reconnected with
unchanged media content, these catego-
ries are available more quickly.
When connecting Apple ®
devices, the cat-
egories “Folder”, “Year” and “Photos” are
not available. Searching by current track list
X
To select Current Tracklist Current Tracklist in the cat-
egory list: turn and press the controller.
The selection list appears.
X Select the required track. Searching by folder
Playable files can be searched for in the active
data medium's directories.
X To select Folders: Folders: in the category list:
turn and press the controller.
The folder list appears.
X Select the required folder.
The track list appears.
X Select the required track. Select By Cover
X
To select Select SelectBy
ByCover
Cover in the category
list: turn and press the controller.
A menu with cover views appears. 174
Media searchMedia
Page 177 of 214
COMAND searches all media sources.
X To move the desired folder to the front: turn
the controller.
The track list appears.
X To select the desired track: turn and press
the controller. Searching by genre
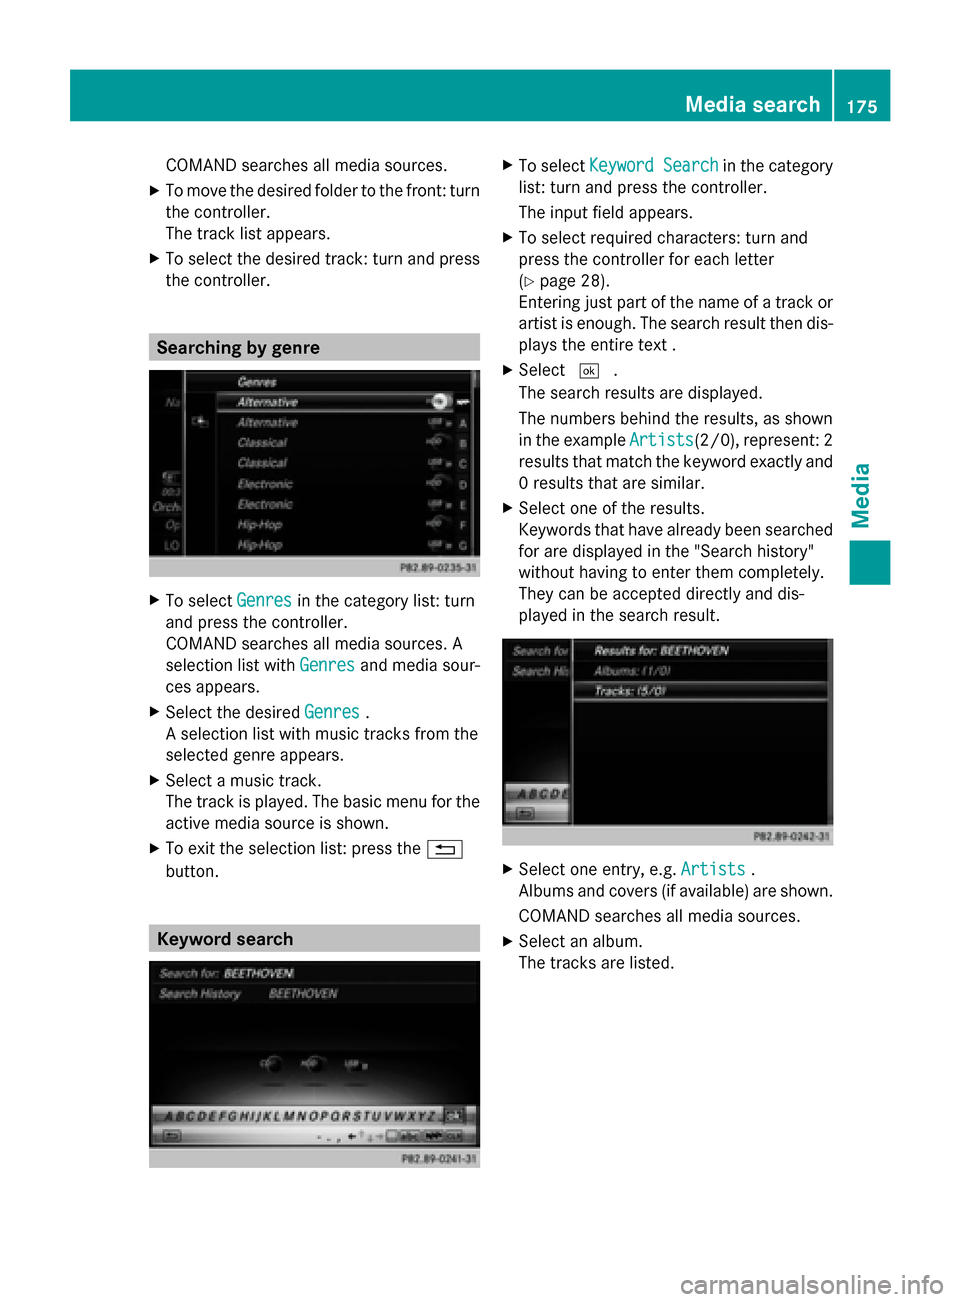
X
To select Genres Genresin the category list: turn
and press the controller.
COMAND searches all media sources. A
selection list with Genres Genresand media sour-
ces appears.
X Select the desired Genres
Genres.
A selection list with music tracks from the
selected genre appears.
X Select a music track.
The track is played. The basic menu for the
active media source is shown.
X To exit the selection list: press the 0038
button. Keyword search X
To select Keyword Search Keyword Search in the category
list: turn and press the controller.
The input field appears.
X To select required characters: turn and
press the controller for each letter
(Y page 28).
Entering just part of the name of a track or
artist is enough. The search result then dis-
plays the entire text .
X Select 0054.
The search results are displayed.
The numbers behind the results, as shown
in the example Artists Artists(2/0), represent: 2
results that match the keyword exactly and
0 results that are similar.
X Select one of the results.
Keywords that have already been searched
for are displayed in the "Search history"
without having to enter them completely.
They can be accepted directly and dis-
played in the search result. X
Select one entry, e.g. Artists Artists.
Albums and covers (if available) are shown.
COMAND searches all media sources.
X Select an album.
The tracks are listed. Media search
175Media Z
Page 178 of 214
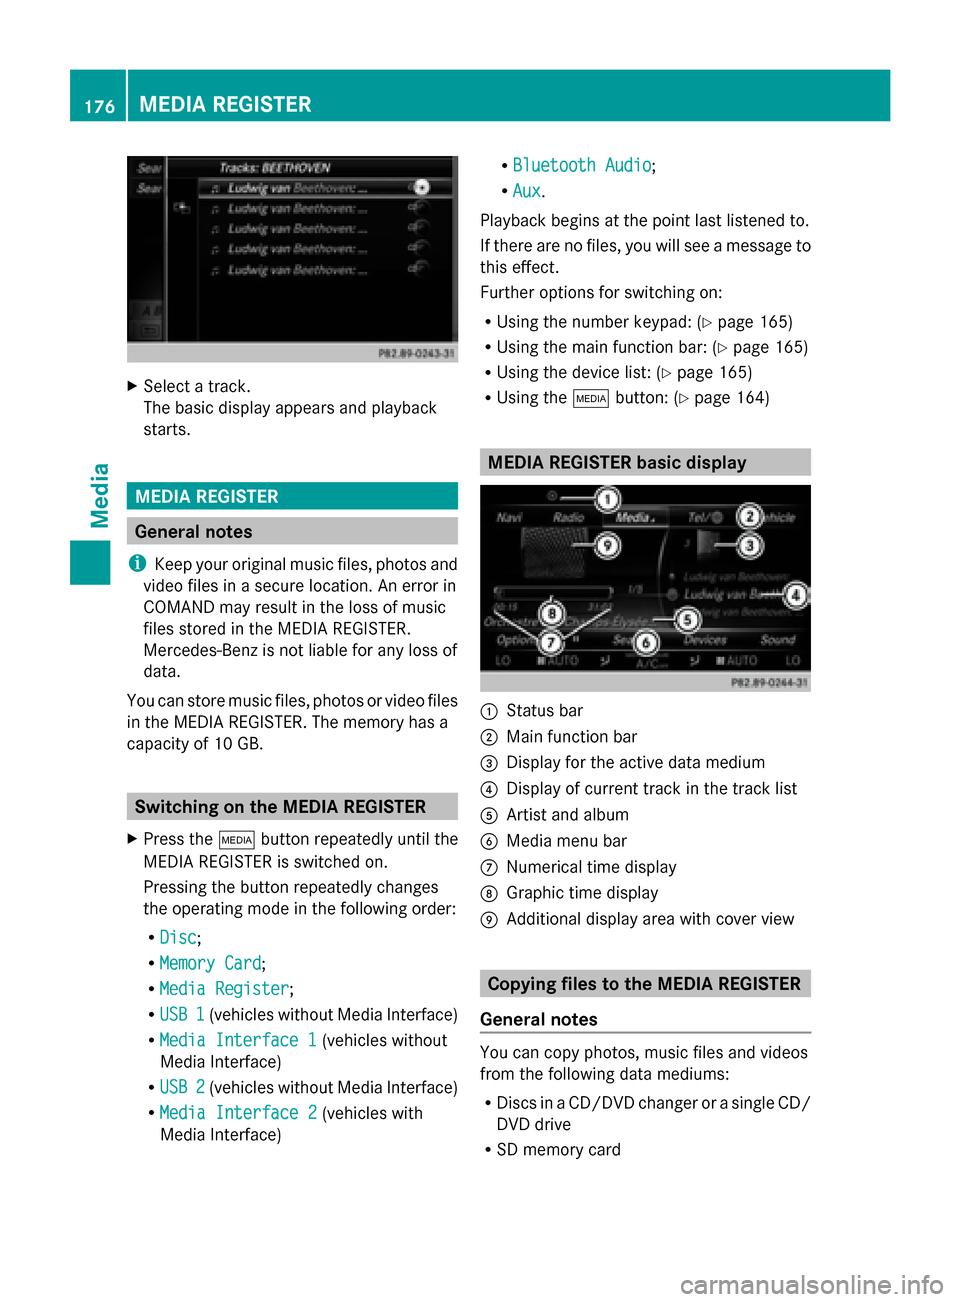
X
Select a track.
The basic display appears and playback
starts. MEDIA REGISTER
General notes
i Keep your original music files, photos and
video files in a secure location. An error in
COMAND may result in the loss of music
files stored in the MEDIA REGISTER.
Mercedes-Benz is not liable for any loss of
data.
You can store music files, photos or video files
in the MEDIA REGISTER. The memory has a
capacity of 10 GB. Switching on the MEDIA REGISTER
X Press the 00FDbutton repeatedly until the
MEDIA REGISTER is switched on.
Pressing the button repeatedly changes
the operating mode in the following order:
R Disc
Disc;
R Memory Card Memory Card;
R Media Register
Media Register;
R USB 1
USB 1 (vehicles without Media Interface)
R Media Interface 1
Media Interface 1 (vehicles without
Media Interface)
R USB 2
USB 2 (vehicles without Media Interface)
R Media Interface 2
Media Interface 2 (vehicles with
Media Interface) R
Bluetooth Audio Bluetooth Audio;
R Aux Aux .
Playback begins at the point last listened to.
If there are no files, you will see a message to
this effect.
Further options for switching on:
R Using the number keypad: (Y page 165)
R Using the main function bar: (Y page 165)
R Using the device list: (Y page 165)
R Using the 00FDbutton: (Y page 164) MEDIA REGISTER basic display
0043
Status bar
0044 Main function bar
0087 Display for the active data medium
0085 Display of current track in the track list
0083 Artist and album
0084 Media menu bar
006B Numerical time display
006C Graphic time display
006D Additional display area with cover view Copying files to the MEDIA REGISTER
General notes You can copy photos, music files and videos
from the following data mediums:
R
Discs in a CD/DVD changer or a single CD/
DVD drive
R SD memory card 176
MEDIA REGISTERMedia
Page 184 of 214
X
Select Start Search
Start Search .
COMAND searches for Bluetooth ®
audio
devices within range and adds them to the
Bluetooth ®
device list.
The duration of the search depends on the
number of Bluetooth ®
audio devices within
range and their characteristics.
i With some Bluetooth ®
audio devices,
playback must first be started on the device
itself so that COMAND can play the audio
files. Bluetooth ®
must also be given as a
media output location for the audio device
used.
Authorizing Bluetooth ®
audio
X Select a Bluetooth ®
audio device that has
not yet been authorized from the list: turn
and press the controller.
Authorization starts.
Depending on the Bluetooth ®
audio device
used, you now have two options for con-
tinuing with authorization.
Option 1: entering the passkey
X You can find information on this in the
"Authorizing (registering) a mobile phone"
section (Y page 106).
After successful authorization, the Blue-
tooth ®
audio device is connected and
starts playing.
Option 2: Secure Simple Pairing
i The Bluetooth ®
audio device must sup-
port Bluetooth ®
version 2.1 for connection
via Secure Simple Pairing. COMAND cre-
ates a six-digit code, which is displayed on
both devices that are to be connected
For some Bluetooth ®
audio devices, the
pairing must be confirmed within 10 sec-
onds.
X If the number code displayed on
COMAND and on the Bluetooth ®
audio device is the same, select
Yes
Yes : press the
controller.
If you select Yes
Yes , authorization continues
and the Bluetooth ®
audio device is con-
nected. Playback starts.
If you select No
No, authorization will be can-
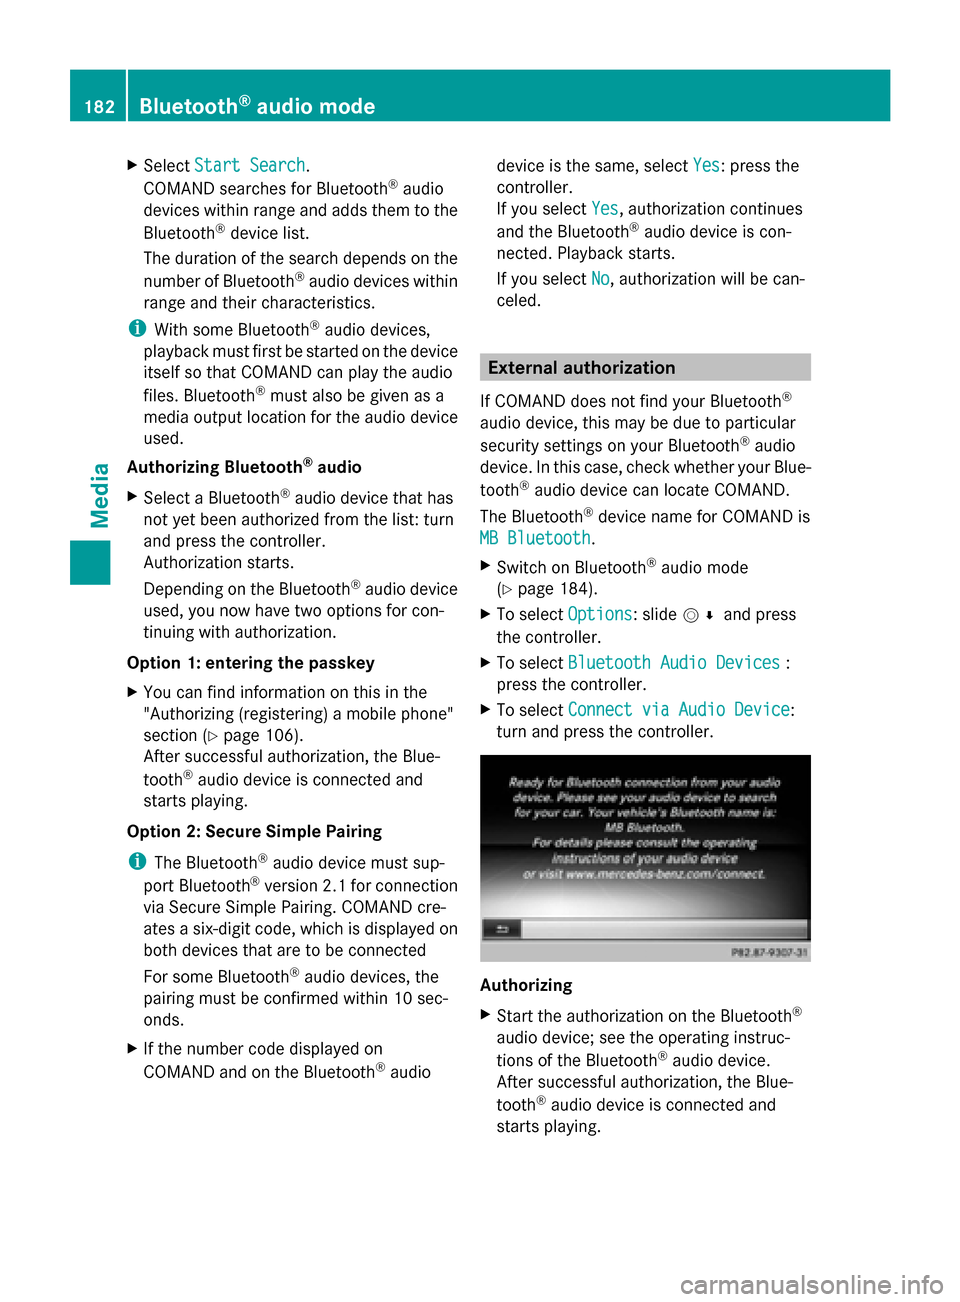
celed. External authorization
If COMAND does not find your Bluetooth ®
audio device, this may be due to particular
security settings on your Bluetooth ®
audio
device. In this case, check whether your Blue-
tooth ®
audio device can locate COMAND.
The Bluetooth ®
device name for COMAND is
MB Bluetooth MB Bluetooth .
X Switch on Bluetooth ®
audio mode
(Y page 184).
X To select Options
Options: slide 005200C5and press
the controller.
X To select Bluetooth Audio Devices
Bluetooth Audio Devices :
press the controller.
X To select Connect via Audio Device
Connect via Audio Device :
turn and press the controller. Authorizing
X
Start the authorization on the Bluetooth ®
audio device; see the operating instruc-
tions of the Bluetooth ®
audio device.
After successful authorization, the Blue-
tooth ®
audio device is connected and
starts playing. 182
Bluetooth ®
audio modeMedia
Page 189 of 214
Switching to Media Interface
Switching on automatically X
Connect a data medium to USB port 1 or
USB port 2.
X Make sure that the Media Interface 1 or
Media Interface 2 basic menu is activated.
If playable media files are found, they will
be played by COMAND.
If you remove a device, the No Device
No Device
Connected Connected message appears.
Further options for switching on R
Using the number keypad: (Y page 165)
R Using the main function bar: (Y page 165)
R Using the device list: (Y page 165)
R Using the 00FDbutton: (Y page 164) Supported devices
The following data media can be connected
to COMAND via the Media Interface:
R iPod ®
R iPhone ®
R iPad ®
R MP3
R USB devices
i It is not possible to run two Apple devices
simultaneously. Therefore the device last
connected is loaded.
i iPod ®
, iPhone ®
and iPad ®
are registered
trademarks of Apple Inc., Cupertino, Cali-
fornia, USA.
i Audio files, photos and video files can be
played back.
For details and a list of supported devices,
visit http://www.mbusa-mobile.com. Or
call the Mercedes-Benz Customer Assistance
Center at 1-800-FOR-MERCedes
(1-800-367-6372) (for the USA) or Customer
Relations at 1-800-387-0100 (for Canada). Supported data formats
Music mp3, wma, aac
Video mpeg, wmv, mov,
avi, mp4
Images jpg, jpeg, bmp, png
Selecting a music file
Selecting with the controller X
To display the current track list: press
the controller in the basic display.
The track list for the active data medium
appears.
X To select a track: turn the controller and
press to confirm.
X To skip forwards or backwards to a
track: turn the controller in the basic dis-
play.
The selected track is played.
Fast forward/rewind X
With the media source active in the basic
display, slide 009500520096the controller and hold
it until the desired position has been
reached. Search function
Selecting Search using media menu bar X
Slide 00520064the controller.
The media menu bar appears.
X To select Search Search: turn and press the con-
troller.
The category list appears.
Overview The following categories are listed:
R
Current Tracklist Current Tracklist;
R Folders:
Folders:;
R Select By Cover
Select By Cover; Operation with the Media Interface
187Media Z
Page 190 of 214
R
Keyword Search
Keyword Search;
R Playlists
Playlists;
R Artists
Artists;
R Albums
Albums;
R Track
Track;
R Genres
Genres;
R Year
Year ;
R Composers
Composers;
R Videos
Videos;
R Photos
Photos;
R Podcasts
Podcasts;
R Audio books
Audio books
R iTunes U
iTunes U;
R Genius Mixes
Genius Mixes.
i The functions are available as soon as the
entire media content has been read and
analyzed.
If the same device is reconnected with
unchanged media content, these functions
are available more quickly.
The audio books, podcasts, iTunes U and
Genius Mixes categories are only available
for Apple ®
devices.
When connecting Apple ®
devices, the cat-
egories “Folder”, “Year” and “Photos” are
not available. X
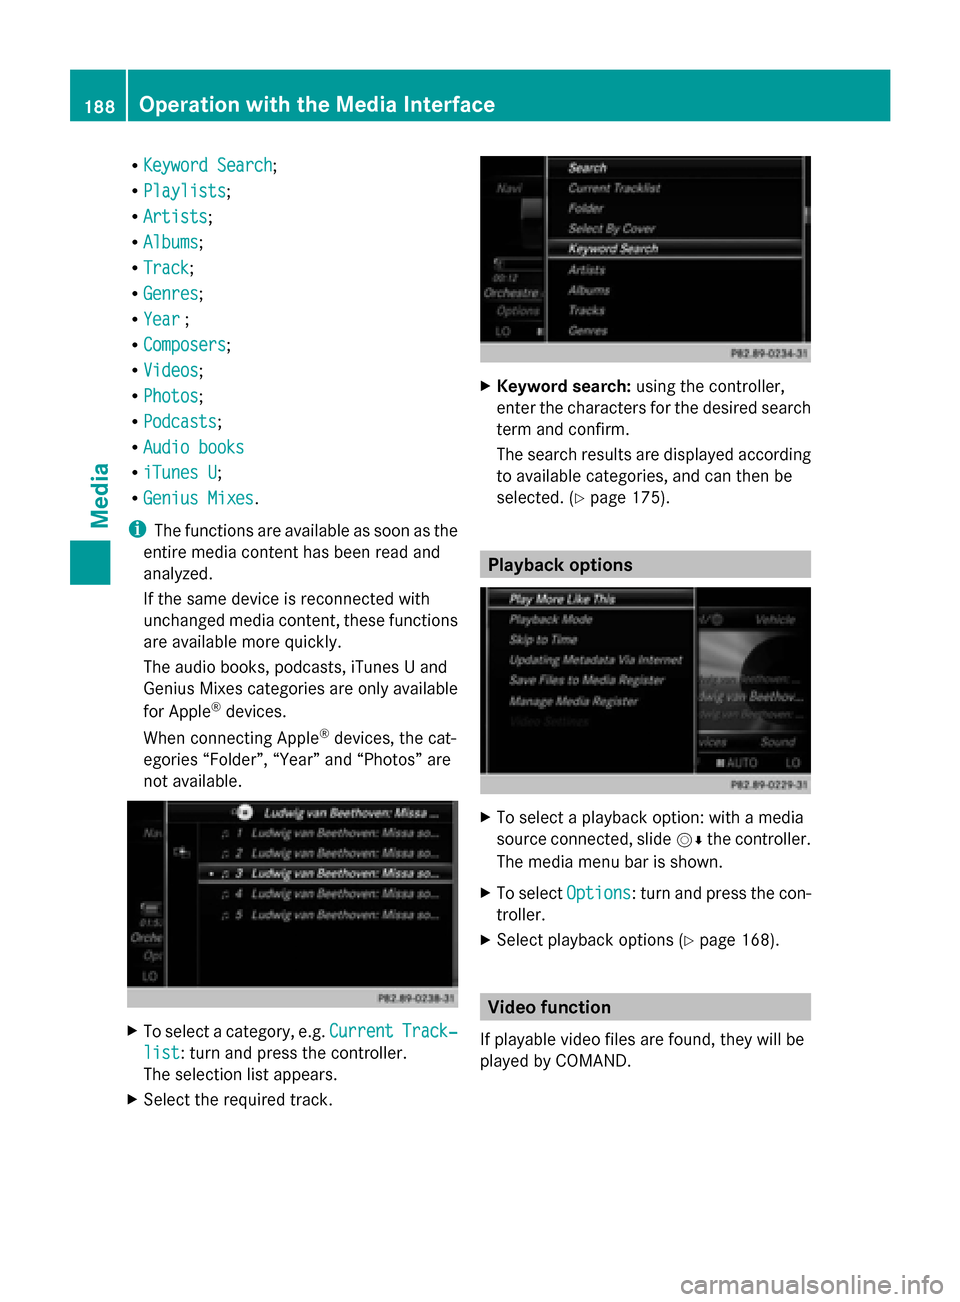
To select a category, e.g. Current
Current Track‐ Track‐
list
list: turn and press the controller.
The selection list appears.
X Select the required track. X
Keyword search: using the controller,
enter the characters for the desired search
term and confirm.
The search results are displayed according
to available categories, and can then be
selected. (Y page 175). Playback options
X
To select a playback option: with a media
source connected, slide 00520064the controller.
The media menu bar is shown.
X To select Options Options: turn and press the con-
troller.
X Select playback options (Y page 168). Video function
If playable video files are found, they will be
played by COMAND. 188
Operation with the Media InterfaceMedia
Page 195 of 214

Switching to video DVD mode
R Insert and eject a disc from the single drive
(Y page 166)
R Insert a disc into the DVD changer
(Y page 166)
R Eject a disc from the DVD changer
(Y page 167)
Further options for switching on:
R Use the number keypad ( Ypage 165)
R Use the main function bar (Y page 165)
R Use the device list (Y page 165)
R Use the 00FDbutton (Y page 164) DVD basic display
0043
Status bar
0044 Main function bar
0087 Main display field
0085 Media menu bar
0083 Climate control status bar
The DVD basic display appears once the DVD
has been inserted. DVD full-screen mode
Once the DVD has been inserted, the disc is
played. The video will first appear in the over-
view display. X
To set full-screen mode : slide00520097the
controller.
The main function bar and menu bar are
hidden. A full-screen symbol will be shown.
X Press the controller.
The full-screen mode appears.
X To show the DVD basic display in full-
screen mode: slide005200C5 the controller.
The video menu appears.
X Press the controller.
The basic display appears. Menu options
X
To select options: in full-screen mode,
slide 005200C5 the controller.
The video menu appears.
X Press the controller.
The DVD basic display appears.
X To select Options Optionsin the menu bar: turn
and press the controller.
The Options Options menu appears.
Skip to time
X To select Skip
Skip to toTime
Time : turn and press the
controller.
A menu appears.
X To set the time: turn the controller.
or
Set the desired time using the number key-
pad.
X To hide the menu: press the 0038button. Video DVD mode
193Media Z