2014 SUBARU TRIBECA ESP
[x] Cancel search: ESPPage 158 of 426
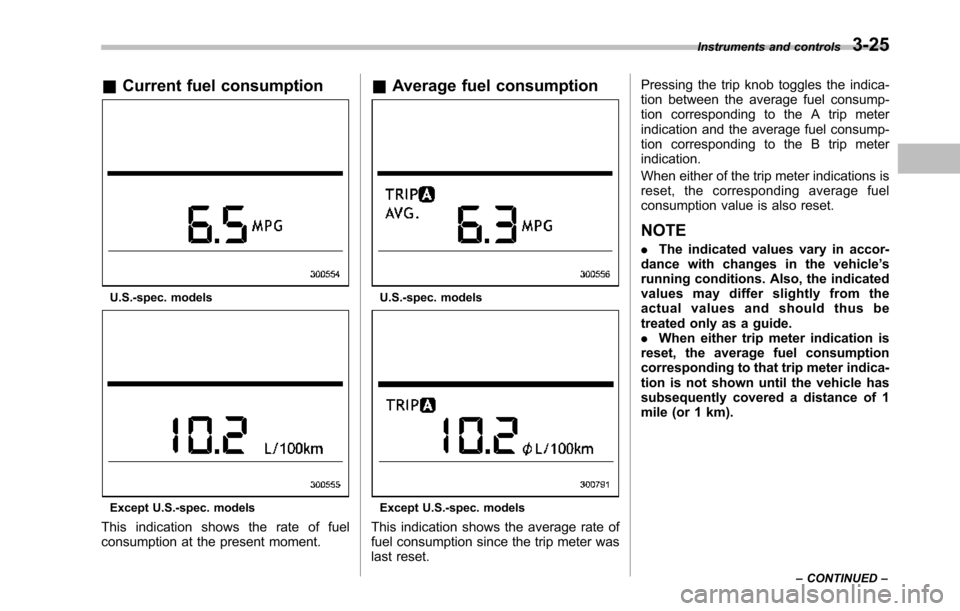
&Current fuel consumption
U.S.-spec. models
Except U.S.-spec. models
This indication shows the rate of fuelconsumption at the present moment.
&Average fuel consumption
U.S.-spec. models
Except U.S.-spec. models
This indication shows the average rate offuel consumption since the trip meter waslast reset.
Pressing the trip knob toggles the indica-tion between the average fuel consump-tion corresponding to the A trip meterindication and the average fuel consump-tion corresponding to the B trip meterindication.
When either of the trip meter indications isreset, the corresponding average fuelconsumption value is also reset.
NOTE
.The indicated values vary in accor-dance with changes in the vehicle’srunning conditions. Also, the indicatedvalues may differ slightly from theactual values and should thus betreated only as a guide..When either trip meter indication isreset, the average fuel consumptioncorresponding to that trip meter indica-tion is not shown until the vehicle hassubsequently covered a distance of 1mile(or 1 km).
Instruments and controls3-25
–CONTINUED–
Page 168 of 426
When the wiper switch is in the“”position, turn the dial to adjust the operat-ing interval of the wiper.
The operating interval can be adjusted innine steps.
The intermittent operation interval variesdepending on the vehicle speed in any ofthe adjustment steps (longer when thevehicle speed is low; shorter when thevehicle speed is high).
!Washer
To wash the windshield, push the washerbutton at the end of the wiper control lever.The washer fluid sprays until you releasethe washer button. The wipers operatewhile you push the button.
NOTE
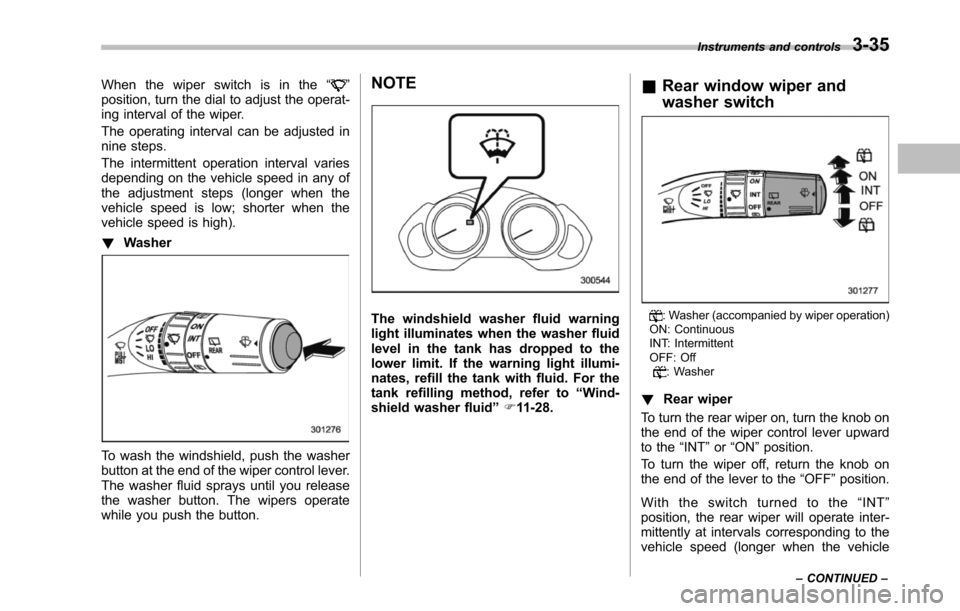
The windshield washer fluid warninglightilluminates when the washer fluidlevel in the tank has dropped to thelower limit. If the warning light illumi-nates, refill the tank with fluid. For thetank refilling method, refer to“Wind-shield washerfluid”F11-28.
&Rear window wiper and
washer switch
: Washer (accompanied by wiper operation)ON: ContinuousINT: IntermittentOFF: Off: Washer
!Rear wiper
To turn the rear wiper on, turn the knob onthe end of the wiper control lever upwardto the“INT”or“ON”position.
To turn the wiper off, return the knob onthe end of the lever to the“OFF”position.
With the switch turned to the“INT”position, the rear wiper will operate inter-mittently at intervals corresponding to thevehicle speed (longer when the vehicle
Instruments and controls3-35
–CONTINUED–
Page 169 of 426
3-36Instruments and controls
speed is low; shorter when the vehiclespeed is high).
When you subsequently move the selectlever of the automatic transmission to the“R”position, the rear wiper will switch tocontinuous operation. When you move theselect lever from the“R”position to someother position, the rear wiper will return tointermittent operation.
!Washer
To wash the rear window while the rearwiperis operating, turn the knob on theend of the wiper control lever upward tothe“”position. The washer fluid spraysuntil you release the knob.
To wash the rear window when the rearwiper is not in use, turn the knob on theend of the wiper control lever downward tothe“”position. The washer fluid spraysand the wiper operates until you releasetheknob.
Windshield wiper deicer
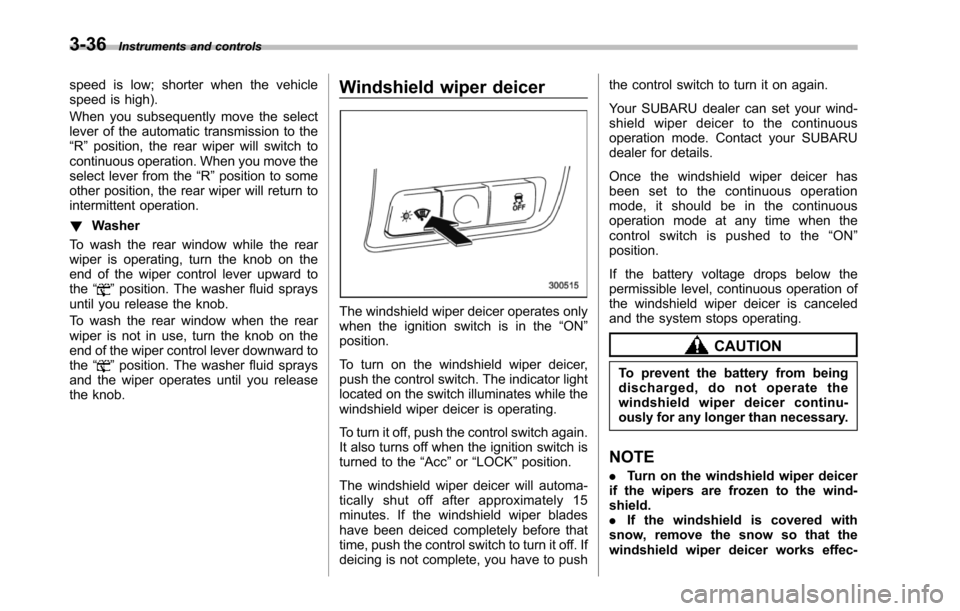
The windshield wiper deicer operates onlywhen the ignition switch is in the“ON”position.
To turn on the windshield wiper deicer,push the control switch. The indicator lightlocated on the switch illuminates while thewindshield wiper deicer is operating.
To turn it off, push the control switch again.It also turns off when the ignition switch isturned to the“Acc”or“LOCK”position.
The windshield wiper deicer will automa-tically shut off after approximately 15minutes. If the windshield wiper bladeshave been deiced completely before thattime, push the control switch to turn it off. Ifdeicing is not complete, you have to push
the control switch to turn it on again.
Your SUBARU dealer can set your wind-shield wiper deicer to the continuousoperation mode. Contact your SUBARUdealer for details.
Once the windshield wiper deicer hasbeen set to the continuous operationmode, it should be in the continuousoperation mode at any time when thecontrol switch is pushed to the“ON”position.
If the battery voltage drops below thepermissible level, continuous operation ofthe windshield wiper deicer is canceledand the system stops operating.
CAUTION
To prevent the battery from beingdischarged, do not operate thewindshield wiper deicer continu-ously for any longer than necessary.
NOTE
.Turn on the windshield wiper deicerif the wipers are frozen to the wind-shield..If the windshield is covered withsnow, remove the snow so that thewindshield wiper deicer works effec-
Page 184 of 426
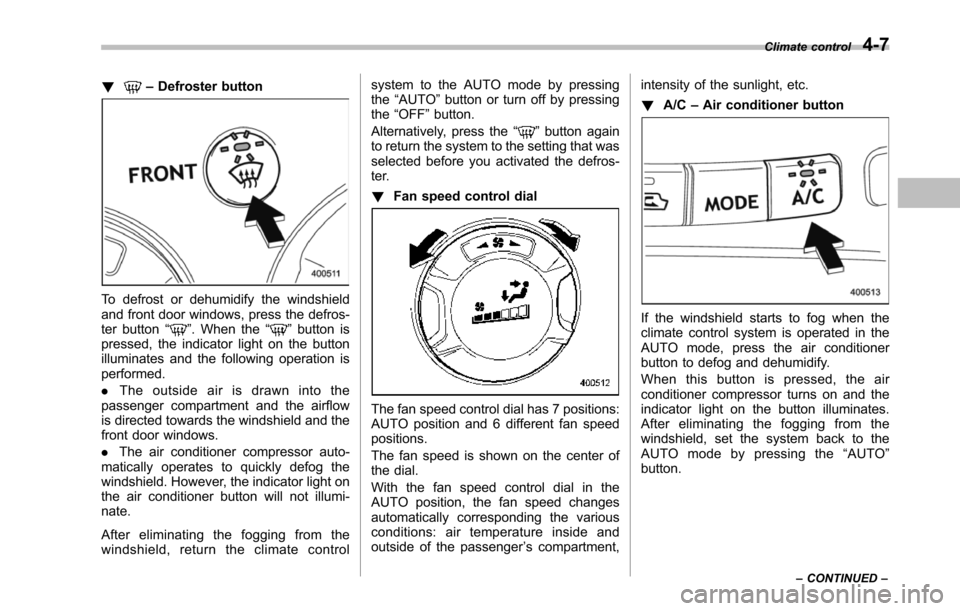
!–Defroster button
To defrost or dehumidify the windshieldand front door windows, press the defros-ter button“”. When the“”button ispressed, the indicator light on the buttonilluminates and the following operation isperformed.
.The outside air is drawn into thepassenger compartment and the airflowis directed towards the windshield and thefront door windows.
.The air conditioner compressor auto-matically operates to quickly defog thewindshield. However, the indicator light onthe air conditioner button will not illumi-nate.
After eliminating the fogging from thewindshield, return the climate control
system to the AUTO mode by pressingthe“AUTO”button or turn off by pressingthe“OFF”button.
Alternatively, press the“”button againto return the system to the setting that wasselected before you activated the defros-ter.
!Fan speed control dial
The fan speed control dial has 7 positions:AUTO positionand 6 different fan speedpositions.
The fan speed is shown on the center ofthe dial.
With the fan speed control dial in theAUTO position, the fan speed changesautomatically corresponding the variousconditions: air temperature inside andoutside of the passenger’s compartment,
intensity of the sunlight, etc.
!A/C–Air conditioner button
If the windshield starts to fog when theclimate control system is operated in theAUTO mode, press the air conditionerbutton to defog and dehumidify.
When this button is pressed, the airconditioner compressor turns on and theindicator light on the button illuminates.After eliminating the fogging from thewindshield, set the system back to theAUTO mode by pressing the“AUTO”button.
Climate control4-7
–CONTINUED–
Page 213 of 426
5-22Audio
!How to insert a CD(s)
!Inserting a CD
1. Briefly press the“LOAD”button (10). Ifthe magazine in the player has an idleposition where you can insert a disc, thedisc number indicator associated with theidle position will blink.
If no indicator blinks, it means that there isno idle position in the magazine.
2. After the disc number indicator hasstarted to flash, insert the disc when“LOAD”flashes on the display. The discwill then be automatically drawn in, andthe player will begin to play back the firsttrack of the disc.
.To insert more discs in succession,repeatSteps 1 and 2. The magazine willbe loaded with discs in the ascendingorder of position number.
If you do not insert any disc in 15 secondsafter you have pressed the“LOAD”button,the player willbegin to play back the firsttrack of the last disc you have inserted.
.The disc indicator steadily lights up if adisc is already inserted in the correspond-ing position of the magazine.
.While the player is in the loading mode,if you press“FM AM”button, the player willenter the standby mode. Press the“CD”button (1) to start playback.
!Inserting a disc in a desiredposition
1. Briefly press the“LOAD”button (10). Ifthe magazine in the player has an idleposition where you can insert a disc, thedisc number indicator associated with theidle position will blink.
The positions in the magazine the indica-tor of which steadily lights up are alreadyloaded with discs.
2. Press the disc select button (9) at theposition where you want to insert a disc.
3. Insert the disc when“LOAD”flasheson the display. The disc will then beautomatically drawn in, and the player willbegin to play the first track on the disc.
.If you wish to insert another disc,repeat the procedure beginning with step1.
If you do not insert any disc in 15 secondsafter you have pressed the“LOAD”button,the player will begin to play back the firsttrack of the last disc you have inserted.
.While the player is in the loading mode,if you press“FM AM”button, the player willenter standby mode. Press the“CD”button (1) to start playback.
!Loading all the magazine (fulldisc loading mode)
1. If you press and hold the“LOAD”button (10), the player will produce a beepsound and will enter the full disc loadingmode.
2. A“disc number”indicator will blink,and“ALL LOAD”will be on display for aperiod of 15 seconds. If a disc is success-fully loaded during this period, the discnumber indicator will stop blinking and willsteadily light.
3. When the loading of a disc is com-plete, the next disc number indicator willblink. Then repeat Step 2.
4. When the magazine is filled with discsby repeating Steps 2 and 3, the player willstart playback of the discs, beginning withthe one inserted first.
If you fail to insert any disc during each 15seconds interval, the full disc loadingmode will be canceled, and the player willstart playback of the disc inserted first.
!How to play back a CD or make apause
!When there is no CD inserted:
Properly insert a CD. Refer to“How toinsert a CD(s)”F5-22.
When a CD is loaded, the player will startplayback of the CD, beginning with the
Page 220 of 426
Rear Seat Entertainment
(RSE) system operation (if
equipped)
If your vehicle is equipped with the RearSeat Entertainment (RSE) system, youcan listen to the audio via the vehiclespeakers. Push the“RSE AUX”button toplay a DVD using the Rear Seat Entertain-ment system.
For detailed operating procedures, refer tothe Owner’s Manual supplement for theRear Seat Entertainment (RSE) system.
NOTE
.To watch a DVD in the front seatsusing the monitor of the navigationsystem, park the vehicle in a safelocation and apply the parking brake.Images of the DVD will not be displayedon the front monitor unless the parkingbrake is applied..The harman/kardon®audio systemis a stereo system with 2 channels. If aharman/kardon®audio system isequipped, the Rear Seat Entertainment(RSE) system may not generate asatisfying realistic sound when playing5.1 channel audio sources.
Precautions to observe when
handling a compact disc
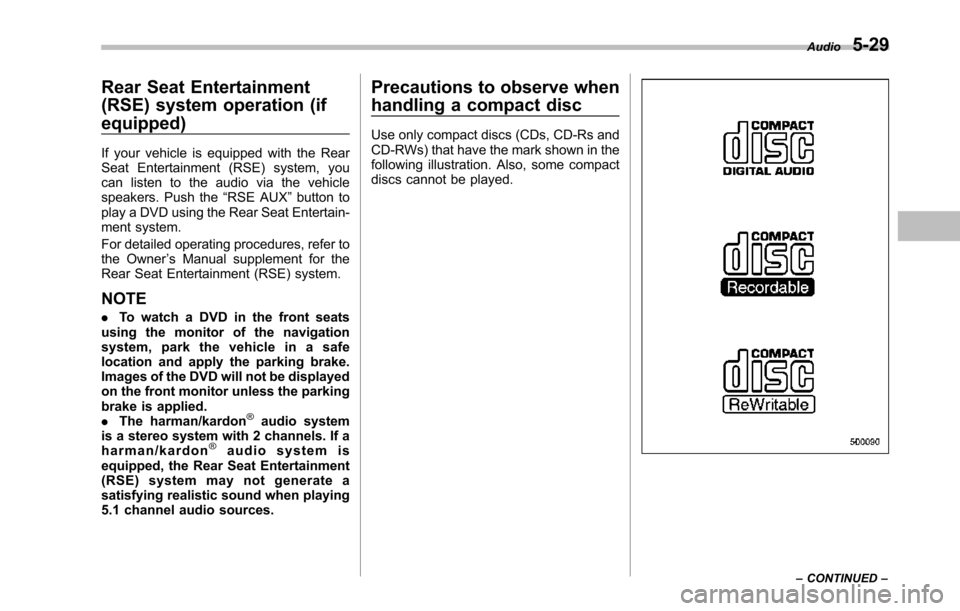
Use only compact discs (CDs, CD-Rs andCD-RWs) that have the mark shown in thefollowing illustration. Also, some compactdiscs cannot be played.
Audio5-29
–CONTINUED–
Page 221 of 426
5-30Audio
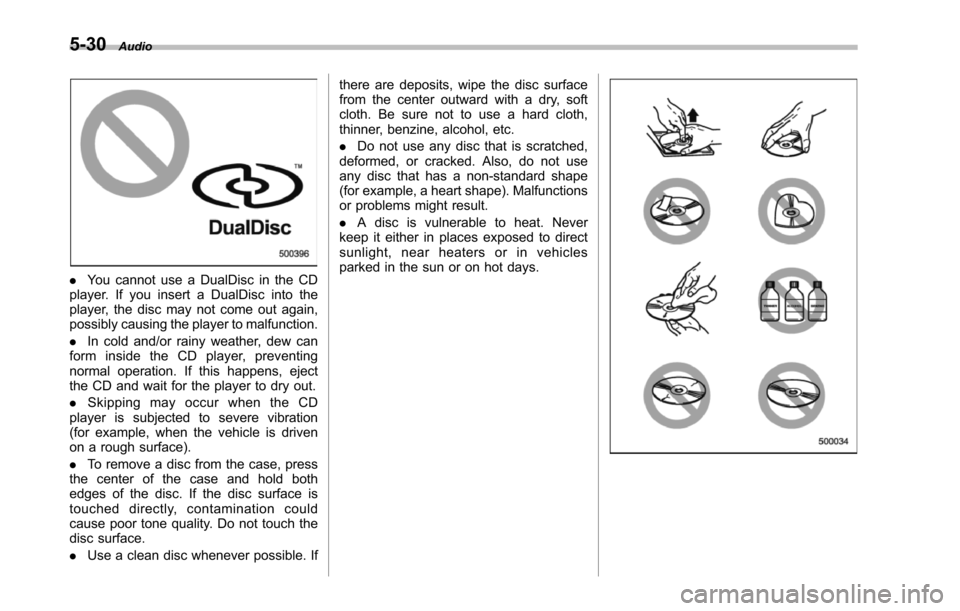
.You cannot use a DualDisc in the CDplayer. If you insert a DualDisc into theplayer, the disc may not come out again,possibly causing the player to malfunction.
.In cold and/or rainy weather, dew canform inside the CD player, preventingnormal operation. If this happens, ejectthe CD and wait for the player to dry out.
.Skipping may occur when the CDplayer is subjected to severe vibration(for example, when the vehicle is drivenon a rough surface).
.To remove a disc from the case, pressthe center of the case and hold bothedges of the disc. If the disc surface istouched directly, contamination couldcause poor tone quality. Do not touch thedisc surface.
.Use a clean disc whenever possible. If
there are deposits, wipe the disc surfacefrom the center outward with a dry, softcloth. Be sure not to use a hard cloth,thinner, benzine, alcohol, etc.
.Do not use any disc that is scratched,deformed, or cracked. Also, do not useany disc that has a non-standard shape(for example, a heart shape). Malfunctionsor problems might result.
.A disc is vulnerable to heat. Neverkeep it either in places exposed to directsunlight, near heaters or in vehiclesparked in the sun or on hot days.
Page 232 of 426
especially metal ones such ascoins or aluminum foil, into theaccessory power outlet. Thatcould cause a short circuit. Al-ways put the cap on the acces-sory power outlet when it is notin use.
.Use only electrical applianceswhich are designed for 12V DC.
The maximum power rating of anappliance that can be connectedis shown in the following list. Donot usean appliance which ex-ceeds the indicated wattage foreach outlet.
–The two outlets in the centerconsole: 120W or less (Whenusing appliances connectedto two outlets simultaneously,the total power consumed bythem must not exceed 120W.)
–The two outlets in the rearcabin: 120W or less (Whenusing appliances connectedto two outlets simultaneously,the total power consumed bythem must not exceed 120W.)
Overloading the accessorypower outlet cancause a shortcircuit. Do not use dual adaptersor more than one electrical appli-
ance.
.If the plug on your electric appli-ance is either too loose or tootight for the accessory poweroutlet, this can result in a poorcontact or cause the plug to getstuck. Only use plugs that fitproperly.
.Use of an electric appliance in theaccessory power outlet for a longperiod of time while the engine isnot running can cause batterydischarge.
.Before driving your vehicle, makesure that the plug and the cordon your electrical appliance willnot interfere with your shiftinggears and operating the accel-erator and brake pedals. If theydo, do not use the electricalappliance while driving.
NOTE
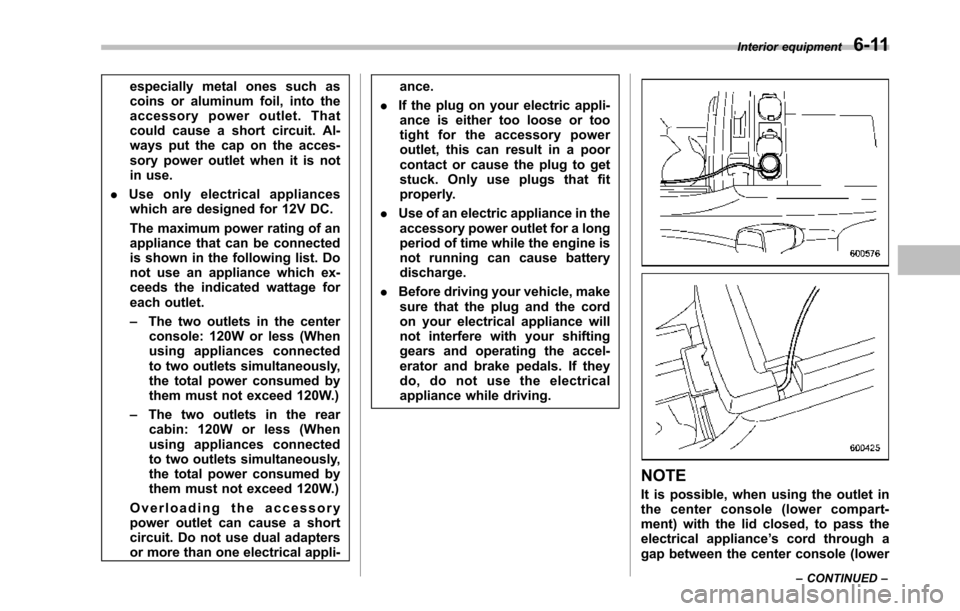
It is possible, when using the outlet inthe center console (lower compart-ment) with the lid closed, to pass theelectrical appliance’s cord through agap between the center console (lower
Interior equipment6-11
–CONTINUED–