Page 25 of 157

Unlocking
›
Open the door by pulling the door opening lever once against the direction of
the arrow » Fig. 12. ÐVehicle locking/unlocking from the inside
Fig. 13
Central locking button
If the vehicle was not locked from the outside, you can also unlock and lock it
with the button » Fig. 13 without the ignition switched on.
Locking all doors and the luggage compartment lid › Press the button
» Fig. 13.
Unlocking all doors and the luggage compartment lid
› Press the button
.
The following applies if your vehicle has been locked using the central locking
button.
› It is not possible to open the doors or the luggage compartment lid from the
outside (safety feature, e.g. when stopping at traffic lights etc.).
› The doors can be unlocked and opened from the inside by a single pull on the
opening lever of the respective door.
› If at least one door has been opened, the vehicle cannot be locked.
› In the event of an accident in which the airbags are deployed, the locked doors
are automatically unlocked from the inside in order to enable rescuers to gain
access to the vehicle. WARNING
The central locking system also operates if the ignition is switched off. Chil-
dren should never be left unattended in the vehicle since it is difficult to pro-
vide assistance from the outside when the doors are locked. Locked doors
make it difficult for rescuers to get into the vehicle in an emergency – hazard! Note
If the safe securing system is activated » page 22, the door opening lever and the
central locking buttons do not operate. Ð Remote control
Introductory information
You can use the remote control key to:
› unlock and lock the vehicle,
› unlock the luggage compartment lid.
The transmitter with the battery is housed in the handle of the remote control
key. The receiver is located in the interior of the vehicle. The operating range of
the remote control key is approx. 30 m. But this range of the remote control can
be reduced if the batteries are weak.
The key has a fold-open key bit which can be used for unlocking and locking the
car manually and also for starting the engine.
If a lost key is replaced or if the receiver unit has been repaired or replaced, the
system must be initialised by a ŠKODA
Service Partner. Only then can the remote
control key be used again. Note
■ The remote control is automatically deactivated when the ignition is switched
on. ■ The operation of the remote control may temporarily be affected by interfer-
ence from transmitters close to the car and which operate in the same frequency
range (e.g. mobile phone, TV transmitter). £
23
Unlocking and locking
Page 26 of 157

■
The battery must be replaced if the central locking or anti-theft alarm system
does react to the remote control at less than 3
metres away » page 20.
■ If the driver door is open, the vehicle cannot be locked using the remote control
key. ÐUnlocking/locking
Fig. 14
Remote control key
Unlocking the vehicle
› Press the button 1
» Fig. 14.
Locking the vehicle
› Press the button 3
» Fig. 14.
Deactivating the safe securing system
› Press the button 3
» Fig. 14 twice within 2
seconds. Further informa-
tion » page 22.
Unlocking the luggage compartment lid
› Press the button 2
» Fig. 14. Further information
» page 25.
Folding out the key bit
› Press the button 4
» Fig. 14.
Folding in the key bit
› Press the button 4
» Fig. 14 and fold in the key bit.
Unlocking
The turn signal lights flash twice as confirmation that the vehicle has been un-
locked. If the vehicle is unlocked using button 1
and none of the doors or the
luggage compartment lid are opened within the next 30 seconds, the vehicle is
automatically locked again and the safe securing system is reactivated. This func-
tion is intended to prevent the car being unlocked unintentionally. Locking
The turn signal lights flash once to confirm that the vehicle has been correctly
locked.
If the doors or the luggage compartment lid remain open after the vehicle has
been locked, the turn signal lights do not flash until they have been closed.
WARNING
If the car is locked from the outside and the safe securing system is activated,
there must not be any person in the car as it is then not possible to open ei-
ther a door or a window from the inside. The locked doors make it more diffi-
cult for rescuers to get into the vehicle in an emergency – hazard! Note
■ Only operate the remote control when the doors and luggage compartment lid
are closed and the vehicle is in your line of sight. ■ To avoid the car being locked inadvertently once in the car, the lock button of the remote control must not be pressed before the key is inserted into the ig-
nition lock. Should this happen, press the unlock button
of the remote control.
Ð Synchronization
If the vehicle cannot be unlocked by actuating the remote control system then it
is possible that the code in the key and the control unit in the vehicle are no lon-
ger synchronised. This can occur when the buttons on the radio-operated key are
actuated a number of times outside of the operative range of the equipment or
the battery on the remote control was replaced.
This means it is necessary to synchronise the code as follows:
› press any button on the remote control key;
› pressing of the button means that the door will unlock with the key within 1 mi-
nute. Ð
24 Using the system
Page 27 of 157

Emergency locking of the doors
Fig. 15
Emergency locking of the door
An emergency locking mechanism is located on the face side of the doors which
have no locking cylinder » Fig. 15 - it is only visible after opening the door.
Locking › Insert the key into the slot
» Fig. 15 - and turn it clockwise into the vertical
position on the right-hand door » Fig. 15 - and anti-clockwise on the left-hand
door.
After closing the door, it no longer be opened from the outside. The door can be
unlocked from the inside by pulling on the door handle again, and then opened
from the outside. ÐLuggage compartment lid
ä
Introduction
This chapter contains information on the following subjects:
Unlocking/Opening and closing 25
Emergency unlocking 26 WARNING
■ Ensure that the lock is properly engaged after closing the luggage compart-
ment lid. Otherwise, the luggage compartment lid might open suddenly when
driving even if the luggage compartment lid lock was closed – risk of accident!
■ Never drive with the luggage compartment lid fully opened or slightly ajar
otherwise exhaust gases may get into the interior of the vehicle – risk of poi-
soning! ■ Do not press on the rear window when closing the luggage compartment lid,
it could crack – risk of injury! Note
A closed, but not locked luggage compartment lid is locked automatically when
driving off, or when travelling at speeds greater than about 9 km/h. It is unlocked
again after the vehicle stops and the door is opened. Ð Unlocking/Opening and closing
Fig. 16
Luggage compartment lid
First read and observe the introductory information and safety warn-
ings on page 25.
Unlocking in vehicles without remote control
›
Unlock the driver's door with the vehicle key
» page 22.
Unlocking in vehicles with remote control
› Press the
button in the vehicle key.
£
ä
25
Unlocking and locking
Page 28 of 157

Unlocking with the remote control key
›
Press the
button in the vehicle key until the luggage compartment lid un-
locks.
Opening
› Open the luggage compartment lid by pressing the
» Fig. 16 - button.
Closing
› Reach into the recesses
» Fig. 16 - and pull the luggage compartment lid
down.
› Close the lid with a slight swing. ÐEmergency unlocking
Fig. 17
Emergency unlocking of the lug-
gage compartment lid
First read and observe the introductory information and safety warn-
ings on page 25.
The luggage compartment lid can be unlocked manually if there is a fault in the
central locking system.
Unlocking
›
Fold the rear seat backrest forward
» page 40, Folding the rear seat backrest
forwards.
› Insert the vehicle key or a similar tool into the opening A
»
Fig. 17 in the lid
trim up to the stop.
› Unlock the lock in the direction of arrow.
› Open the luggage compartment lid. Ð
ä Electrical power windows
ä
Introduction
This chapter contains information on the following subjects:
Window open/close 27
WARNING
■ If the vehicle is locked from the outside, do not leave anybody in the vehicle
as it is not possible to open the windows from the inside in the event of an
emergency.
■ When closing the windows proceed with caution to avoid causing crushing
injuries - risk of injury! CAUTION
■ Keep the windows clean to ensure the correct functionality of the electric win-
dows. ■ If the windows are frozen, remove the ice » page 100, De-icing windows and
exterior mirrors before operating the power windows to prevent damage to the
power window mechanism.
■ When leaving the locked vehicle make sure that the windows are closed at all
times. Note
When driving always use the existing heating, air conditioning and ventilation
system for ventilating the interior of the vehicle. If the windows are opened, dust
as well as other dirt can get into the vehicle and in addition the wind noise is
more at certain speeds. Ð
26 Using the system
Page 29 of 157

Window open/close
Fig. 18
Button on the driver's door
First read and observe the introductory information and safety warn-
ings on page 26.
The electrical power windows can only be operated when the ignition is switched
on.
Opening
›
A window is opened by pressing lightly on the respective button in the door.
The opening process stops when one releases the button.
Closing
› A window is closed through pulling lightly on the respective button in the door.
The closing process stops when one releases the button. ÐRear windows
Fig. 19
Rear windows
ä
Opening
› Take hold of the safety in the recess
» Fig. 19 - and open the window in the
direction of the arrow.
› Lock the window in the opened position by pressing the safety in the direction
of arrow » Fig. 19 - .
Closing
› Take hold of the safety in the recess and pull it in the opposite direction of the
arrow » Fig. 19 - .
› Close the window in the initial position in the opposite direction of the ar-
row » Fig. 19 - until the safety audibly latches. WARNING
When closing the windows proceed with caution to avoid causing crushing in-
juries - risk of injury! CAUTION
When leaving the locked vehicle make sure that the windows are closed and
locked at all times. Note
When driving always use the existing heating, air conditioning and ventilation
system for ventilating the interior of the vehicle. If the windows are opened, dust
as well as other dirt can get into the vehicle and in addition the wind noise is
more at certain speeds. Ð Power panoramic sliding/sliding tilting roof
Introductory information
The power sliding/tilting roof (abbreviated in the following as 'sliding/tilting roof'),
can only be operated with the rotary dial when the ignition is turned on »
Fig. 20
on page 28. The control dial has several positions.
The sliding/tilting roof can still be operated for approx. 10 minutes after switching
the ignition off. However, as soon as one of the front doors is opened it is no lon-
ger possible to operate the sliding/tilting roof. £
27
Unlocking and locking
Page 30 of 157

Note
■ Always close the sliding/tilting roof before unhooking the battery.
■ If the battery has been disconnected and reconnected, it is possible that the
sliding/tilting roof does not operate correctly. Next, move the rotary switch into
position A
» Fig. 20 on page 28, pull it, and hold onto the recess downwards
and forwards tightly. The sliding/tilting roof opens and closes again after around
10 seconds. Do not release the control dial until it has done so. ÐUsing the system
Fig. 20
Control dial for the sliding/tilting
roof
Comfort position
› Turn the switch to position C
» Fig. 20.
Open partially
› Turn the switch to a position in area D
» Fig. 20.
Open fully
› Turn the switch to position B
» Fig. 20 and hold it in this position (spring-ten-
sioned position).
Tilting roof
› Turn the switch to position A
» Fig. 20.
› In order to tilt, press the switch in the region of the lug E
towards the roof.
Closing
› Turn the switch to position A
» Fig. 20.
› To close, press the switch on the recess E
down and then push it forwards.Force limiter
The sliding/tilting roof is fitted with a force limiter. The sliding/tilting roof stops
and moves back several centimetres when it cannot be closed because there is
something in the way (e.g. ice). The sliding/tilting roof can be fully closed without
a force limiter by pressing the switch on the recess down and then pushing it for-
ward until the sliding/tilting roof is fully closed » .
WARNING
When closing the sliding/tilting roof proceed with caution to avoid causing
crushing injuries - risk of injury! CAUTION
During the winter it may be necessary to remove any ice and snow in the vicinity
of the sliding/tilting roof before opening it to prevent any damage to the opening
mechanism. Note
When the sliding/tilting roof is in the comfort position, the intensity of the wind
noise is reduced. Ð28
Using the system
Page 31 of 157
 30
Fog lights 30
Rea")
Lights and visibility
Lights
ä
Introduction
This chapter contains information on the following subjects:
Switching lights on and off 29
DAY LIGHT function (Daytime running light) 30
Fog lights 30
Rear fog light 30
Parking light 30
Headlight beam adjustment 30
Switches for the hazard warning light system 31
Turn signal and main beam lever 31
On models fitted with right-hand steering the position of certain switches differs
from that shown in » Fig. 21 on page
29. The symbols which mark the switch po-
sitions are identical, however. WARNING
Never drive with only the side lights on! The side lights are not bright enough
to light up the road sufficiently in front of you or to be seen by other oncom-
ing traffic. Therefore always switch on the low beam when it is dark or if visi-
bility is poor. CAUTION
■ The activation of the lights should only be undertaken in accordance with na-
tional legal requirements.
■ The driver is always responsible for the correct settings and use of the lights. Note
■ If the light switch is in the position , the ignition key is removed and the driv-
er's door is open, an audible warning signal will sound. The audible warning signal
is switched off by means of the door contact when the driver's door is closed (ig-
nition off), however, the side lights remain on to illuminate the parked vehicle if
necessary. ■ The instruments are also illuminated when the side light or low beam light is
switched on. ■ In the event of cool or humid weather conditions, the headlights can be misted
up from inside. The temperature difference between interior and external area of
the headlight lenses is decisive. When the driving lights are switched on, the light
outlet surfaces are free from mist after a short period, although the headlight
lenses may still be misted up in the peripheral areas. It also concerns reverse light
and turn signal lights. This mist has no influence on the life of the lighting system. Ð Switching lights on and off
Fig. 21
Dash panel: Light switch
First read and observe the introductory information and safety warn-
ings on page 29.
Switching on the parking light
›
Turn the light switch
» Fig. 21 to position .
Switching on the low beam and main beam
› Turn the light switch
» Fig. 21 to position .
› Press the main beam lever forward in order to switch on the main
beam » Fig. 25 on page 31
.
Switching off lights (except daytime running lights)
› Turn the light switch
» Fig. 21 to position 0. Ð
ä
29
Lights and visibility
Page 32 of 157

First read and observe the introductory information and safety warn-
ings on page 29.
Switching on daytime running lights
›
Turn the ignition on and turn")
DAY LIGHT function (Daytime running light)
First read and observe the introductory information and safety warn-
ings on page 29.
Switching on daytime running lights
›
Turn the ignition on and turn the light switch
» Fig. 21 on page 29 to position 0.
Activating/deactivating the daytime running lights function
› Deactivate and activate the daytime running lights by removing/applying the
fuse » page 138, Fuses on the underside of the dash panel .
On vehicles with lamps for daytime running lights, the parking light and the li-
cence plate light do not come on when activating the daytime running lights
function (neither front nor rear).
When the daytime running lights are switched on, the lighting of the instrument
cluster is switched on. ÐFog lights
Fig. 22
Dash panel: Light switch
First read and observe the introductory information and safety warn-
ings on page 29.
Switching on
›
First of all, turn the light switch
» Fig. 22 to position or .
› Pull the light switch into position 1
, the symbol
in the light switch lights up. Ð
ä
ä Rear fog light
First read and observe the introductory information and safety warn-
ings on page 29.
Switching on
›
First of all, turn the light switch
» Fig. 22 on page 30 to position or .
› Pull the light switch to position 2
.
If the vehicle is not fitted with fog lights » page 30, the rear fog light is switched
on by turning the light switch to the position and is pulled out directly to the
position 2
. This switch does not have two positions, but only one position.
The warning light
lights up in the instrument cluster when the rear fog light is
switched on » page 17, The rear fog light . Ð Parking light
First read and observe the introductory information and safety warn-
ings on page 29.
Parking light on both sides
›
Turn the light switch
» Fig. 22 on page 30 to position and lock the vehicle. Ð Headlight beam adjustment
Fig. 23
Dash panel: Lights and visibility
First read and observe the introductory information and safety warn-
ings on page 29.
›
Turn the control dial
» Fig. 23 to the desired width of illumination. £
ä
ä
ä
30 Using the system
 1
1 2
2 3
3 4
4 5
5 6
6 7
7 8
8 9
9 10
10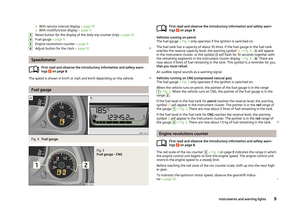 11
11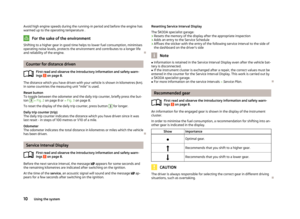 12
12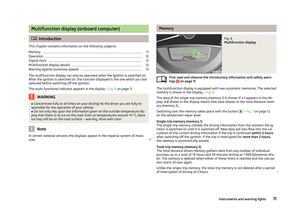 13
13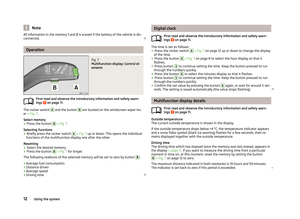 14
14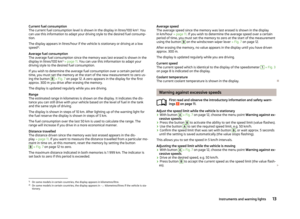 15
15 16
16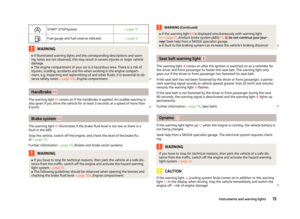 17
17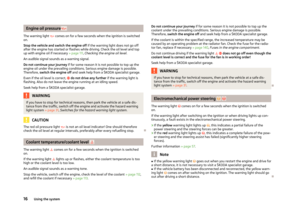 18
18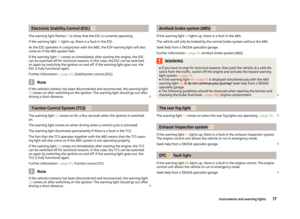 19
19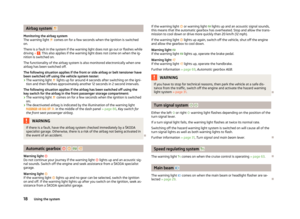 20
20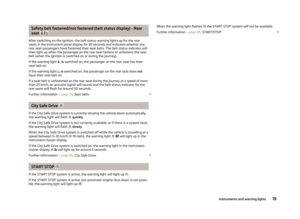 21
21 22
22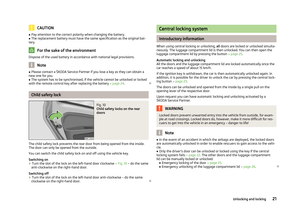 23
23 24
24 25
25 26
26 27
27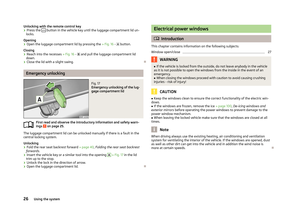 28
28 29
29 30
30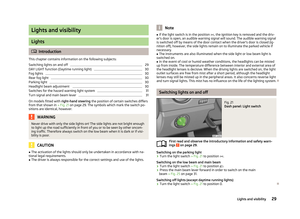 31
31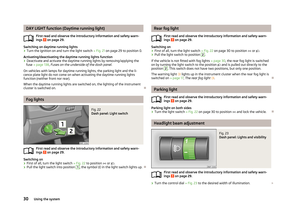 32
32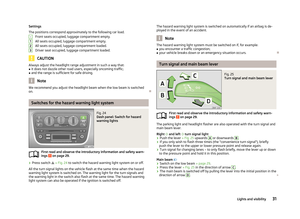 33
33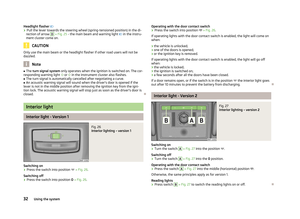 34
34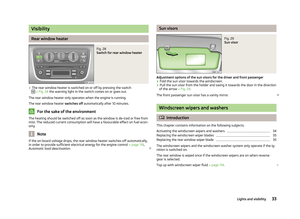 35
35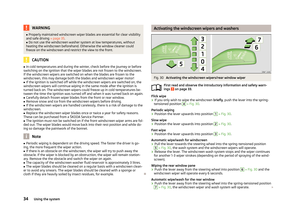 36
36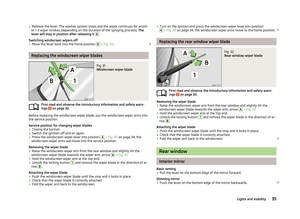 37
37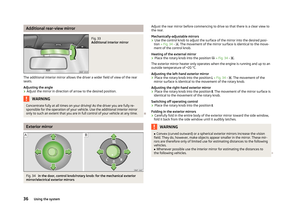 38
38 39
39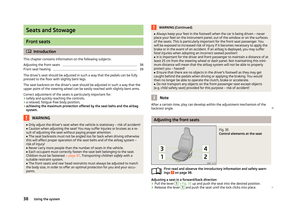 40
40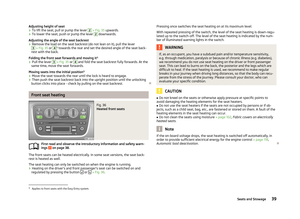 41
41 42
42 43
43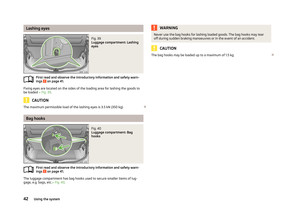 44
44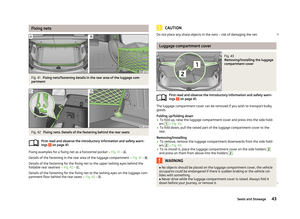 45
45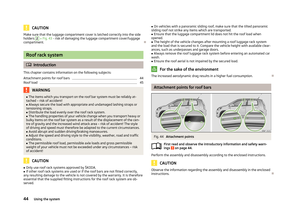 46
46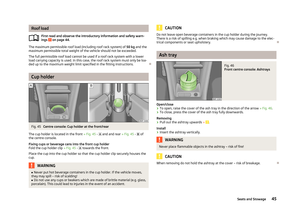 47
47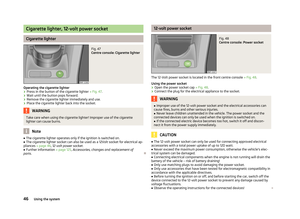 48
48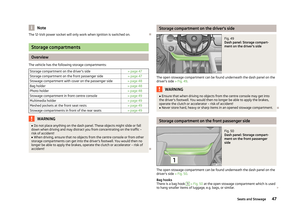 49
49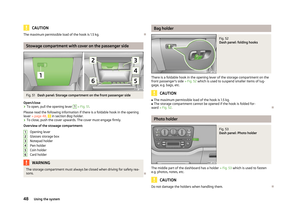 50
50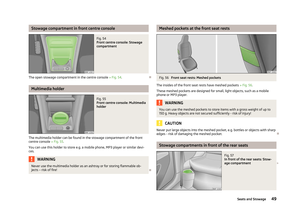 51
51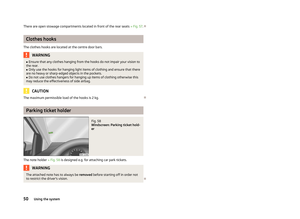 52
52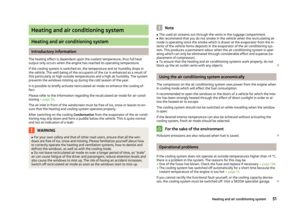 53
53 54
54 55
55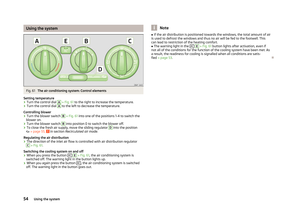 56
56 57
57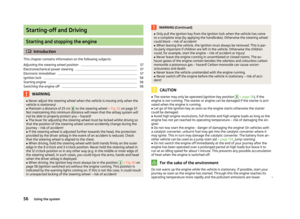 58
58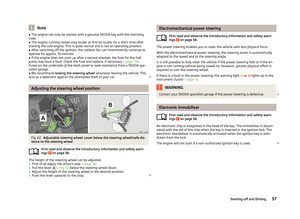 59
59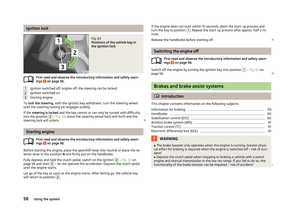 60
60 61
61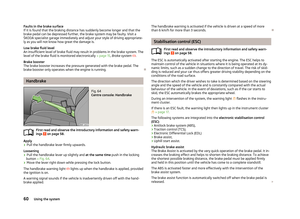 62
62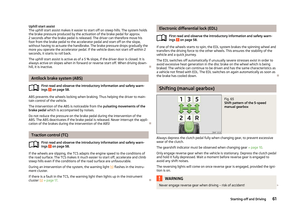 63
63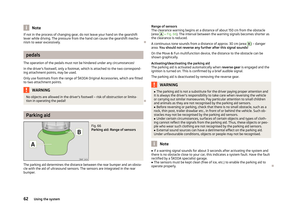 64
64 65
65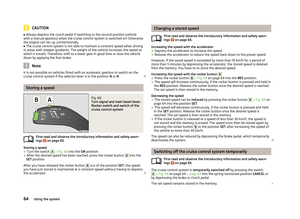 66
66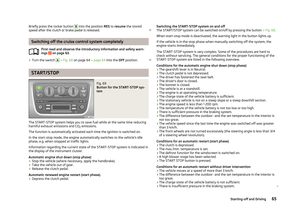 67
67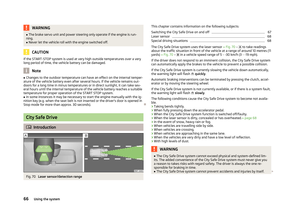 68
68 69
69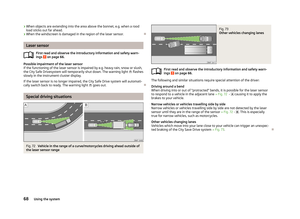 70
70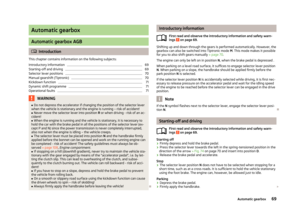 71
71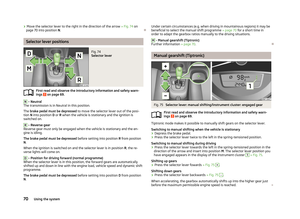 72
72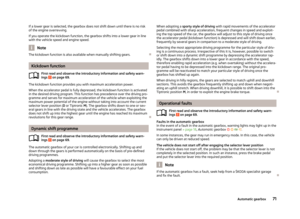 73
73 74
74 75
75 76
76 77
77 78
78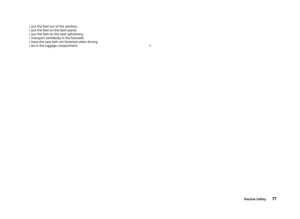 79
79 80
80 81
81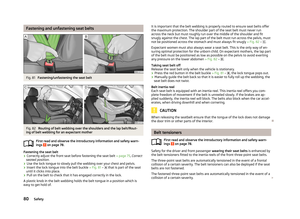 82
82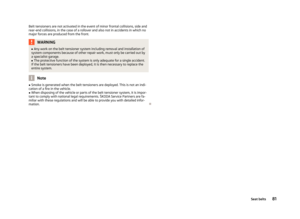 83
83 84
84 85
85 86
86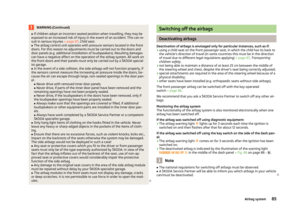 87
87 88
88 89
89 90
90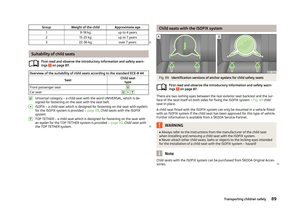 91
91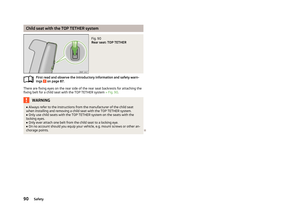 92
92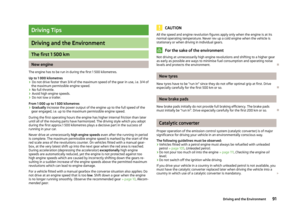 93
93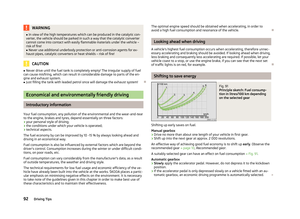 94
94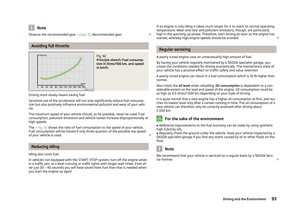 95
95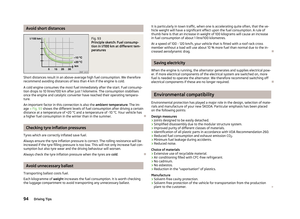 96
96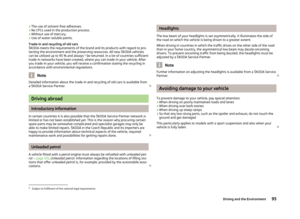 97
97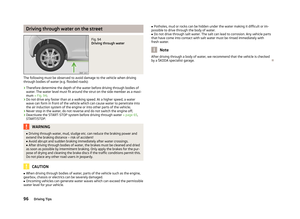 98
98 99
99 100
100 101
101 102
102 103
103 104
104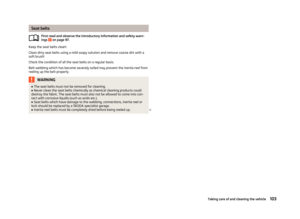 105
105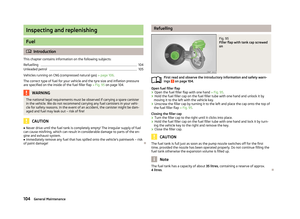 106
106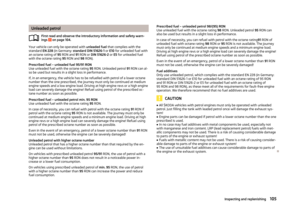 107
107 108
108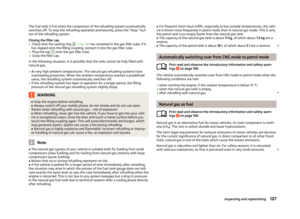 109
109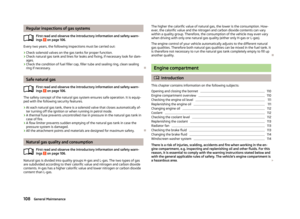 110
110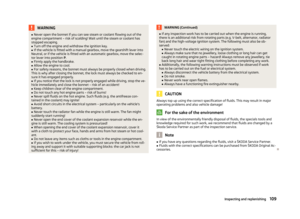 111
111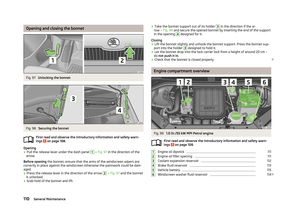 112
112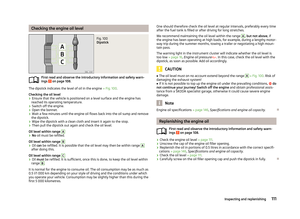 113
113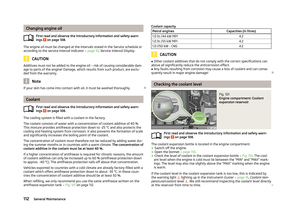 114
114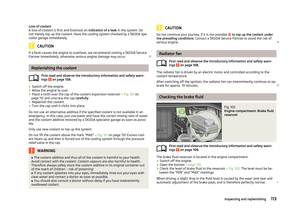 115
115 116
116 117
117 118
118 119
119 120
120 121
121 122
122 123
123 124
124 125
125 126
126 127
127 128
128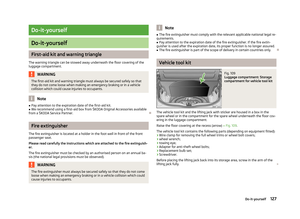 129
129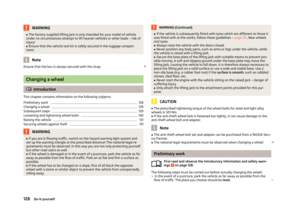 130
130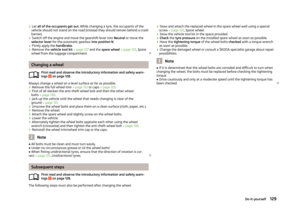 131
131 132
132 133
133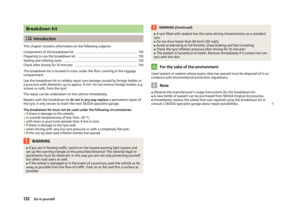 134
134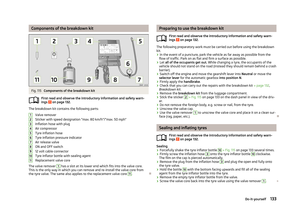 135
135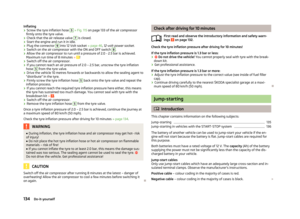 136
136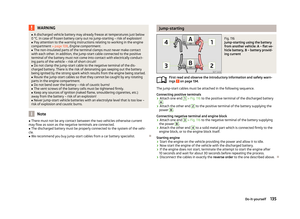 137
137 138
138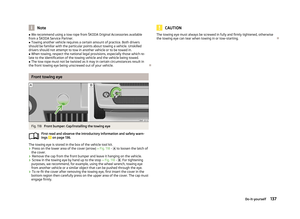 139
139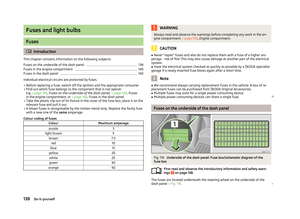 140
140 141
141 142
142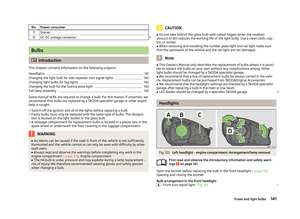 143
143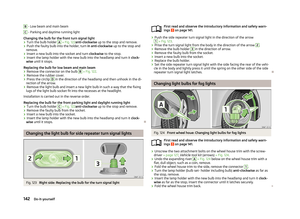 144
144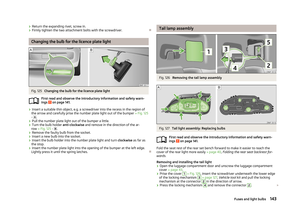 145
145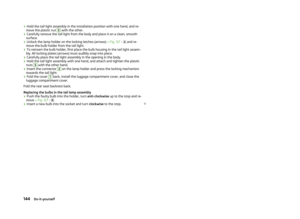 146
146 147
147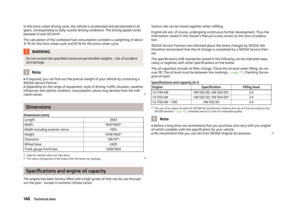 148
148 149
149 150
150 151
151 152
152 153
153 154
154 155
155 156
156