Page 65 of 212

Rear cup holder
Fig. 58 Centre console: Cup holder
You can place one cup or beverage can into the recess ⇒ fig. 58 . WARNING
● Do not place any hot beverages into the cup holder. If the vehicle moves,
they may spill - risk of scalding!
● Do not use any cups or beakers which are made of brittle material (e.g.
glass, porcelain). This could lead to injuries in the event of an accident. CAUTION
Do not open the beverages in the cup holder while driving. There is a risk of spill-
ing e.g. when braking and therefore the electrical components or the seat uphols-
tery can be damaged.
Parking ticket holder Fig. 59 Windshield: Parking ticket hold-
erThe parking ticket holder is designed e.g. for attaching a car park ticket in parking
areas.
The parking ticket must be
removed before starting off in order not to restrict the
driver's vision.
Ashtray Fig. 60 Centre console: Ashtray at the front/rear
Removing ashtray
–
Remove the ashtray ⇒ fig. 60 upwards. When removing do not hold the ash-
tray at the cover - risk of breakage.
Replacing ashtray
– Insert the ashtray vertically. WARNING
Never lay flammable objects in the ashtray basin - risk of fire! 63
Seats and Stowage Using the system Safety Driving Tips General Maintenance Breakdown assis-
tance Praktik Technical data
Page 66 of 212

Cigarette lighters and power sockets
Cigarette lighter You can also use the socket on the cigarette lighter for other elec-
trical appliances. Fig. 61 Centre console: Cigarette lighter
Using the cigarette lighter
– Press in the button of the cigarette lighter ⇒ fig. 61 .
– Wait until the button jumps forward.
– Remove the cigarette lighter immediately and use it.
– Insert the cigarette lighter again into the socket.
Using the socket
– Remove the cigarette lighter or the cover of the power socket.
– Connect the plug of the electrical appliance to the socket.
The 12 volt power socket can also be used to supply power to additional electrical
accessories with a power uptake up to 120 watts. WARNING
● Take care when using the cigarette lighter! Not paying proper attention or
incorrect use the cigarette lighter in an uncontrolled manner may result in
burns.
● The cigarette lighter and the power socket also operates when the ignition
is switched off or the ignition key withdrawn. This is why you should never
leave children unattended in the vehicle! CAUTION
Always use matching plugs to avoid damaging the power socket. Note
● Connecting electrical components when the engine is not running will drain
the battery of the vehicle - risk of battery draining!
● Further information ⇒ page 166 , Accessories, changes and replacement of
parts.
Power socket in the luggage compartment Fig. 62 Luggage compartment: Power
socket
– Open the cover of the power socket ⇒
fig. 62.
– Connect the plug of the electrical appliance to the socket.
You can only use the power socket for the connection of approved electrical ac-
cessories with a power uptake up to 120 watts. The vehicle battery will be dis-
charged in the process if the engine is stationary.
The same remarks apply here as for ⇒ page 64
, Cigarette lighter.
Further information ⇒ page 166, Accessories, changes and replacement of parts.
Storage compartments Overview You will find the following storage facilities in your vehicle:
£64
Seats and Stowage
Page 67 of 212

Storage compartments on the front passenger side ⇒ page 65
Storage compartment on the driver's side ⇒ page 66
Stowage compartment for spectacles ⇒ page 66
Stowage compartment in centre console ⇒ page 66
Storage compartment in the front seat ⇒ page 66
Front seat armrest with storage compartment ⇒ page 67
Storage compartment in the front doors ⇒ page 67
Storage compartments in the luggage compartment ⇒ page 67
Flexible storage compartment ⇒ page 68
Clothes hooks ⇒ page 68
WARNING
● Please do not place anything on top of the dash panel. Such objects might
slide or fall down when driving (when accelerating or cornering) and may dis-
tract you from concentrating on the traffic situation - risk of accident!
● Ensure that when driving no objects from the centre console of from other
storage possibilities may get into the footwell of the driver. You would then
no longer be able to apply the brakes, operate the clutch or accelerator - risk
of accident!
Storage compartments on the front passenger side Fig. 63 Dash panel: Storage compart-
ments on the front passenger side
On some vehicles, the storage compartments are not equipped with lids.
Opening and closing the storage compartments on the front passenger side
– Pull the handle of the lid in direction of arrow ⇒ fig. 63 and fold it open. –
Swivel the flap until it is heard to lock.
A pin holder is located inside the lower flap. WARNING
The storage compartments must always be closed when driving for safety rea-
sons.
Cooling of storage compartment on front passenger side Fig. 64 Storage compartment: Using
cooling system
– You can switch the cooling system on or off using the control dial ⇒ fig. 64 .
Opening the air inlet when the air conditioning system is on causes fresh or interi-
or air to flow into the storage compartment.
We recommend that you switch off the cooling if it is operating in the heating
mode or if you are not using the cooling system for the storage compartment. 65
Seats and Stowage Using the system Safety Driving Tips General Maintenance Breakdown assis-
tance Praktik Technical data
Page 68 of 212

Storage compartment on the driver's side
Fig. 65 Dash panel: Storage compart-
ment on the driver's side
Unlockable compartment below the steering wheel on the left.
Stowage compartment for spectacles Fig. 66 Detail of the headliner: Stowage
compartment for spectacles
– Press on the lid of the storage compartment, the storage compartment opens
downwards ⇒ fig. 66 . CAUTION
● The compartment must only be opened when removing or inserting the spec-
tacles and otherwise must be kept closed.
● Do not put any heat-sensitive objects in the storage compartment - they may
be damaged. Stowage compartment in centre console
Fig. 67 Centre console: Stowage com-
partment
Unlockable compartment in the centre console.
Storage compartment in the front seat Fig. 68 Front seat: Stowage compart-
ment
– Tilt the lock to open the flap and pull out the flap ⇒ fig. 68.
– Tilt the lock to close the flap and press flap close. CAUTION
The storage compartment is foreseen for storing small objects of up to 1 kg. in
weight. 66
Seats and Stowage
Page 69 of 212

Front seat armrest with storage compartment
Fig. 69 Armrest: Storage compartment/open storage compartment
Fold the armrest
– Press the bottom button on the face end of the armrest ⇒ fig. 69 on the left.
Fold the armrest forwards and release the button.
Opening storage compartment
– Press the top button and fold up the cover of the storage compartment
⇒ fig. 69 on the right. Note
The moving space of the arms can be restricted if the armrest is folded down. In
city traffic the armrest should not be folded down.
Storage compartment in the front doors Fig. 70 Stowage compartment in door
panelA bottle holder is located in the area
B of the storage compartment for the front
doors. WARNING
Use the area A ⇒ fig. 70
of the storage compartment only for storing objects
which do not project so that the effectiveness of the side airbag is not im-
paired.
Storage compartments in the luggage compartment Fig. 71 Storage compartments in the
side trim panel
Storage compartments are located on both sides of the luggage compartment
⇒ fig. 71. CAUTION
The storage compartments are intended for storing small objects of up to 1.5 kg in
weight. 67
Seats and Stowage Using the system Safety Driving Tips General Maintenance Breakdown assis-
tance Praktik Technical data
Page 70 of 212

Flexible storage compartment
Fig. 72 Flexible storage compartment
A flexible storage compartment is located on the right side of the luggage com-
partment.
Removing
– Take hold of the flexible storage compartment at both upper corners.
– Press the upper corners to the inside and release the storage compartment by
pulling upwards.
– Take it out by pulling towards the middle of the vehicle.
Install
– Insert both ends of the flexible storage compartment into the openings of the
right side trim panel of the luggage compartment and push it downwards until
it locks. CAUTION
The flexible storage compartment is foreseen for storing small objects of up to 8
kg. in weight.
Clothes hooks The clothes hooks are located on the handle of the headliner above each of the
rear doors. WARNING
● Ensure that any clothes hanging from the hooks do not impair your vision
to the rear.
● Use the hooks for hanging only light items of clothing and ensure that
there are no heavy or sharp-edged objects in the pockets.
● The maximum permissible load of the hooks is 2 kg.
● Do not use clothes hangers for hanging up items of clothing otherwise this
will interfere with the protection offered by the head airbag. 68
Seats and Stowage
Page 71 of 212

Heating and air conditioning system
Introduction
Description and information The heating effect is dependent upon the coolant temperature, thus full heat out-
put only occurs when the engine has reached its operating temperature.
If the cooling system is switched on, the temperature and air humidity drops in
the vehicle. The well-being of the occupants of the car is enhanced as a result of
this particularly at high outside temperatures and a high air humidity. The system
prevents the windows misting up during the cold season of the year.
It is possible to briefly activate recirculated air mode in order to enhance the cool-
ing effect - air-conditioning system ⇒
page 74, Climatronic ⇒ page 77.
The air inlet in front of the windshield must be free of ice, snow or leaves in order
to ensure that the heating and cooling systems operate properly.
After switching on the cooling Condensation from the evaporator of the air condi-
tioning may drip down and form a puddle below the vehicle. This is quite normal
and not an indication of a leak! WARNING
● For your own safety and that of other road users, ensure that all the win-
dows are free of ice, snow and misting. Please familiarize yourself about how
to correctly operate the heating and ventilation systems, how to demist and
defrost the windows, as well as with the cooling mode.
● You should not leave recirculated air mode on over a longer period of time,
as
“stale” air may result in fatigue in the driver and occupants, divert your at-
tention and also cause the windows to mist up. The risk of having an accident
increases. Switch recirculated air mode off as soon as the windows begin
misting up. Note
● The used air streams out through the air removal openings in the luggage
compartment.
● We recommend that you do not smoke in the vehicle when the recirculating air
mode is operating since the smoke which is drawn at the evaporator from the in-
terior of the vehicle forms deposits in the evaporator of the air conditioning sys- tem. This produces a permanent odour when the air conditioning system is oper-
ating which can only be eliminated through considerable effort and expense (re-
placement of compressor).
● Please refer to the information regarding the recirculated air mode for heating
⇒
page 71 and/or for air-conditioning system ⇒ page 74 or Climatronic
⇒ page 77.
● To ensure that the heating and air conditioning systems work properly, do not
block up the air outlet vents with any objects.
Using the air conditioning system economically The compressor on the air conditioning system uses power from the engine when
in cooling mode which will effect the fuel consumption.
It recommended to open the windows or the doors of a vehicle for which the inte-
rior has been strongly heated through the effect of direct sunlight in order to al-
low the heated air to escape.
The cooling system should not be switched on while travelling when the window
is open.
The desired interior temperature can also be achieved without switching in the
cooling system just by switching to fresh air mode. For the sake of the environment
When you economize on fuel, you also reduce pollutant emissions.
Operational problems If the cooling system does not operate at outside temperatures higher than +5 °C,
there is a problem in the system. The reasons for this may be:
●
The fuse on the air conditioning system has blown. Check the fuse, replace it if
necessary ⇒ page 179.
● The cooling system has switched off automatically for a short time because
the coolant temperature of the engine is too hot ⇒ page 11.
If you are not able to rectify the operational problem yourself, or if the cooling ca-
pacity decreases, switch the cooling system off. Contact a specialist garage. 69
Heating and air conditioning system Using the system Safety Driving Tips General Maintenance Breakdown assis-
tance Praktik Technical data
Page 72 of 212
 or the horizontal")
Air outlet vents
The information provided is valid for all vehicles.
Fig. 73 Air outlet vents
Open the air outlet vents 3 and 4
–
Turn the vertical thumbwheel (air outlet vents 3) or the horizontal wheel (air
outlet vents 4) to the position .
Close air outlet vents 3 and 4
– Turn the vertical thumbwheel (air outlet vents 3) or the horizontal wheel (air
outlet vents 4) to the position 0.
Change air flow of air outlet vents 3 and 4
– In order to change the strength of the air flow, swivel the horizontal lamellas
with the aid of the moveable adjuster.
– In order to change the lateral direction of the air flow, turn the vertical lamel-
las with the aid of the moveable adjuster.
You can set the air supply to the individual vents with the air distribution control C
⇒ fig. 74. Air outlet vents 3 and 4 can also be opened or closed individually.
Warmed, unwarmed or cooled air will flow out of the air outlet vents according to
the setting of the regulator of the heating or the air conditioning system and the
atmospheric conditions. Heating
Using the system The heating system delivers air into the interior of the vehicle and
warms it as required.
Fig. 74 Heating: Control elements
Setting temperature
– Turn the control dial A
⇒ fig. 74 to the right in order to increase the tempera-
ture.
– Turn the control dial A to the left in order to increase the temperature.
Controlling blower
– Turn the blower switch B into one of the positions, 1 to 4, in order to switch
the blower on.
– Turn the blower switch B into position 0 in order to switch the blower off.
– If you wish to shut off the fresh air supply, use the button 1 - recirculated air
mode ⇒ page 71.
Control for air distribution
– You can adjust the direction of the inlet air flow ⇒
page 70 using air distribu-
tion regulator C .
Rear window heater
– Press button 2 . Further information
⇒ page 45, Rear window heater.
All controls apart from the control dial B can be set to any desired intermediate
position. £70
Heating and air conditioning system
 1
1 2
2 3
3 4
4 5
5 6
6 7
7 8
8 9
9 10
10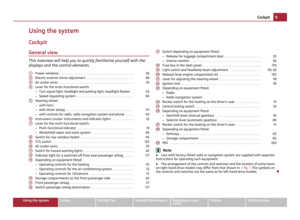 11
11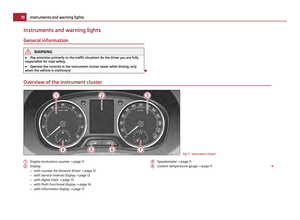 12
12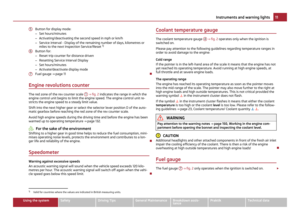 13
13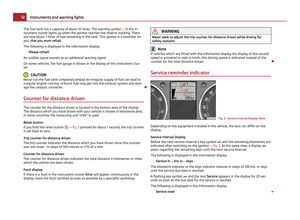 14
14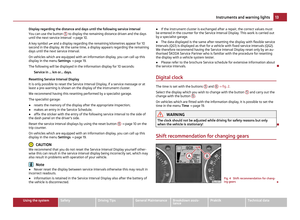 15
15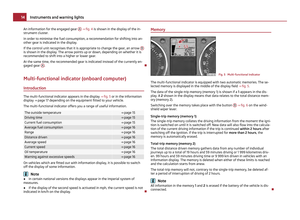 16
16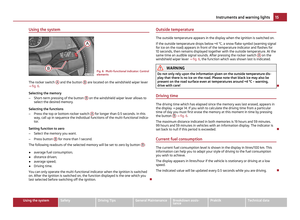 17
17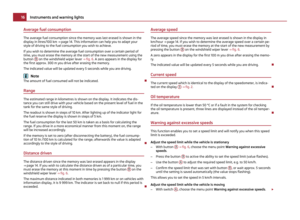 18
18 19
19 20
20 21
21 22
22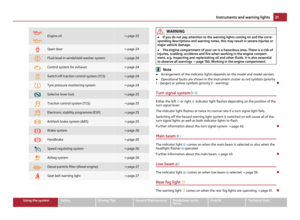 23
23 24
24 25
25 26
26 27
27 28
28 29
29 30
30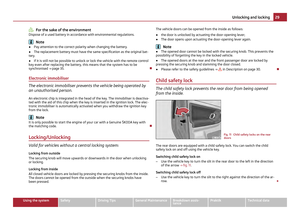 31
31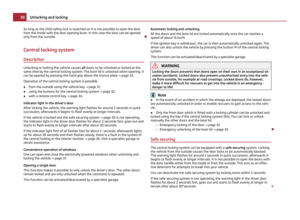 32
32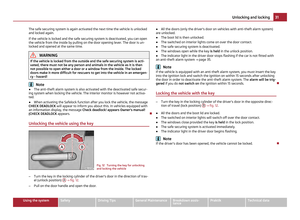 33
33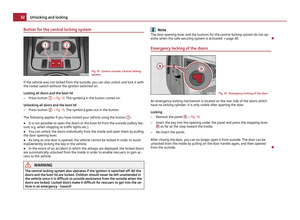 34
34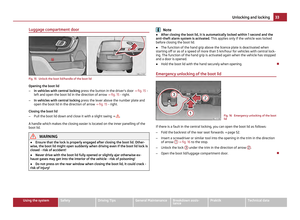 35
35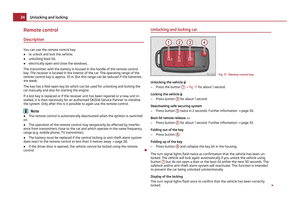 36
36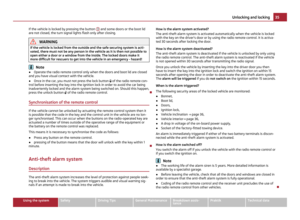 37
37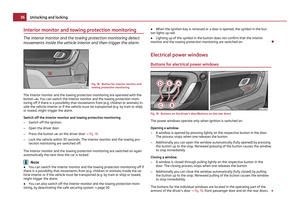 38
38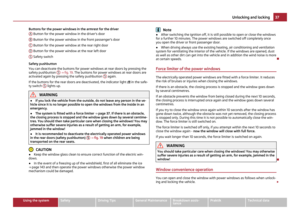 39
39 40
40 41
41 42
42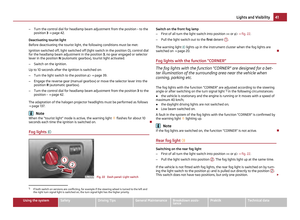 43
43 44
44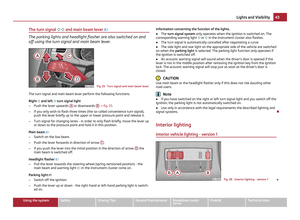 45
45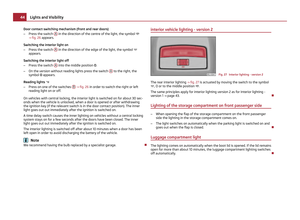 46
46 47
47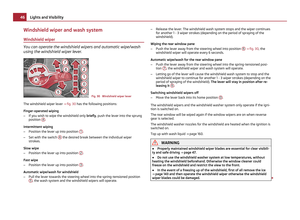 48
48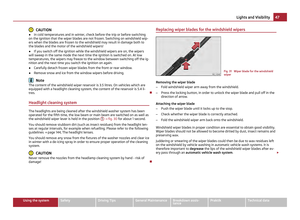 49
49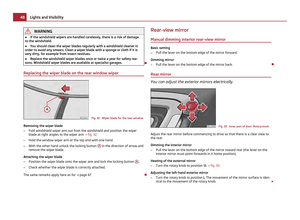 50
50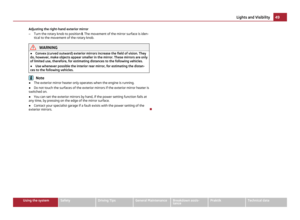 51
51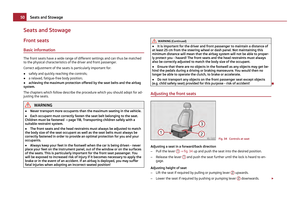 52
52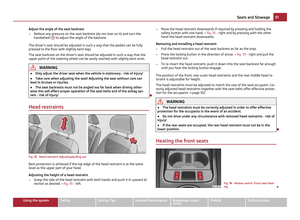 53
53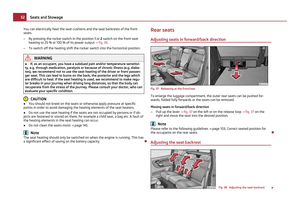 54
54 55
55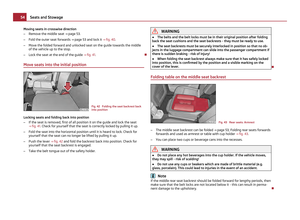 56
56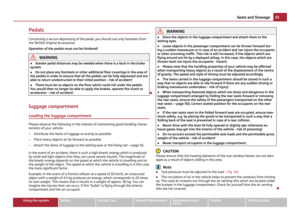 57
57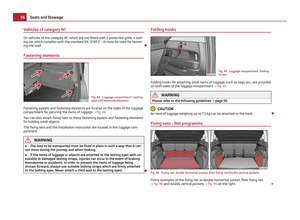 58
58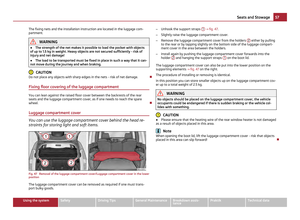 59
59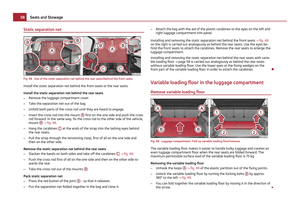 60
60 61
61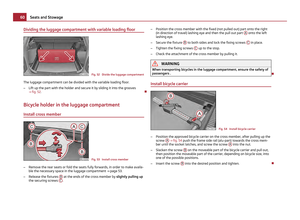 62
62 63
63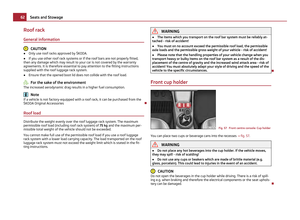 64
64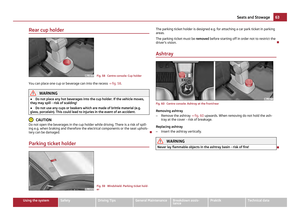 65
65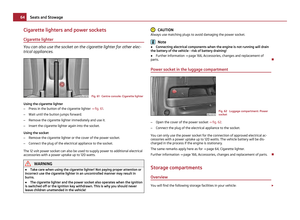 66
66 67
67 68
68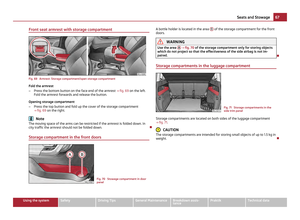 69
69 70
70 71
71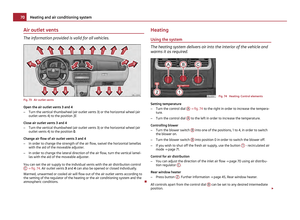 72
72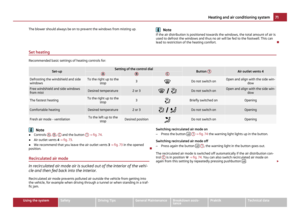 73
73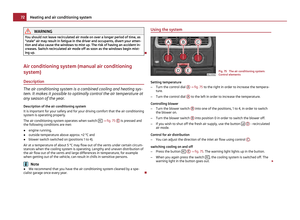 74
74 75
75 76
76 77
77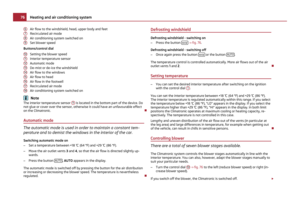 78
78 79
79 80
80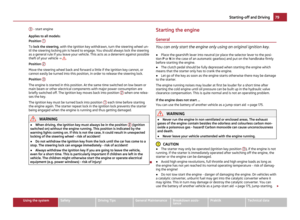 81
81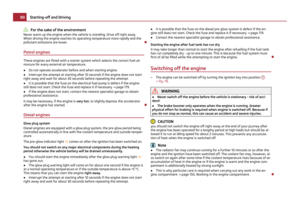 82
82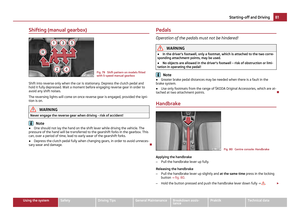 83
83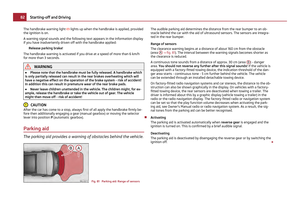 84
84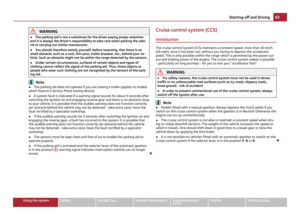 85
85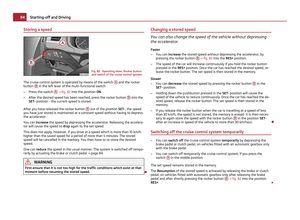 86
86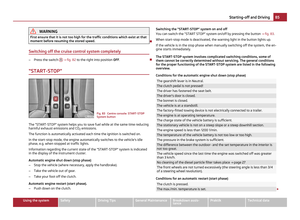 87
87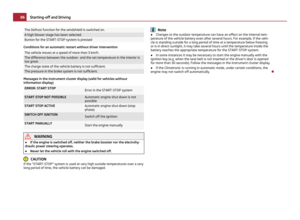 88
88 89
89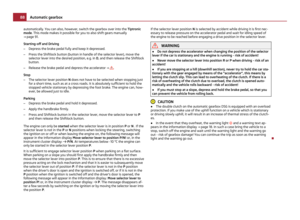 90
90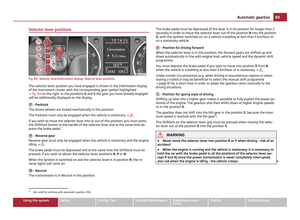 91
91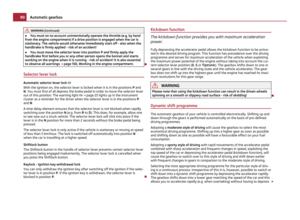 92
92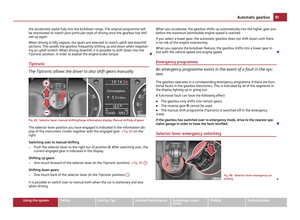 93
93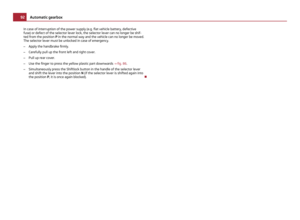 94
94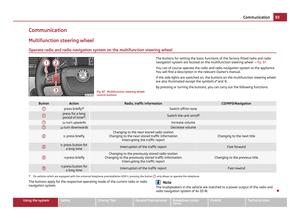 95
95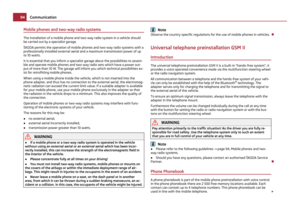 96
96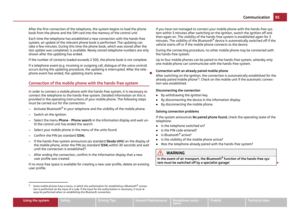 97
97 98
98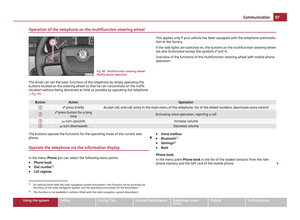 99
99 100
100 101
101 102
102 103
103 104
104 105
105 106
106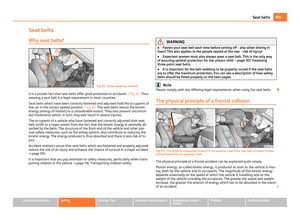 107
107 108
108 109
109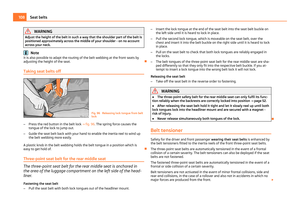 110
110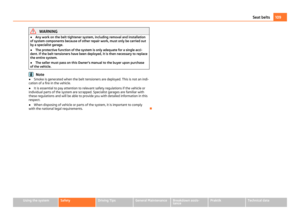 111
111 112
112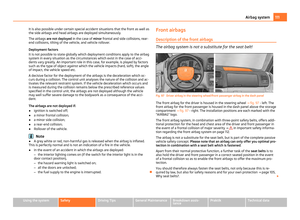 113
113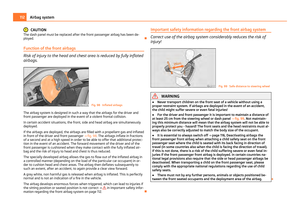 114
114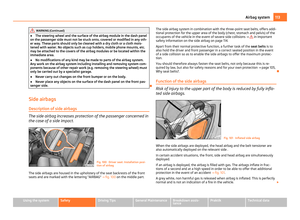 115
115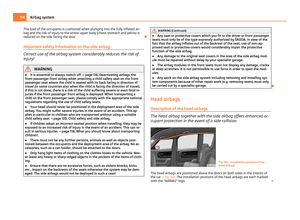 116
116 117
117 118
118 119
119 120
120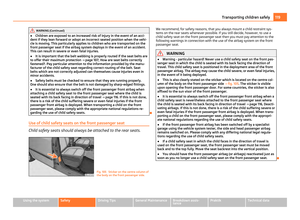 121
121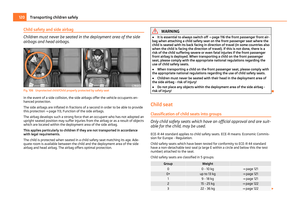 122
122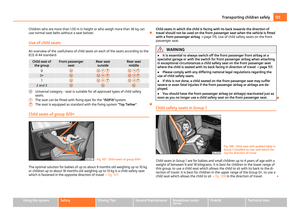 123
123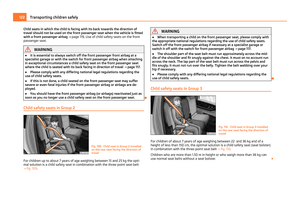 124
124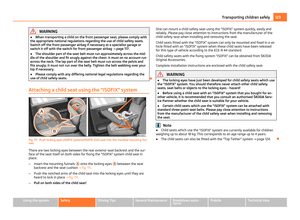 125
125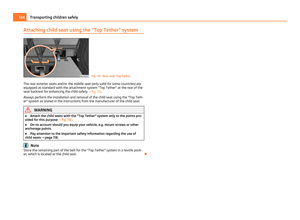 126
126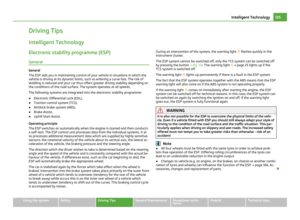 127
127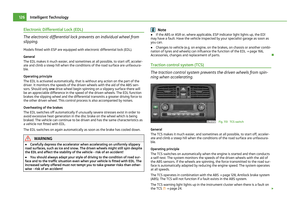 128
128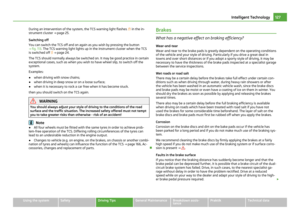 129
129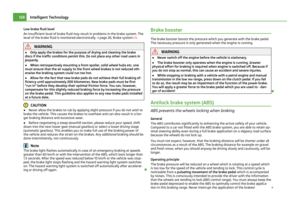 130
130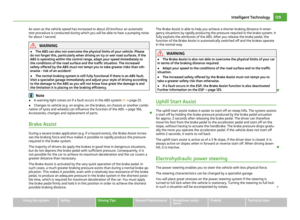 131
131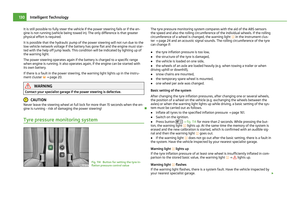 132
132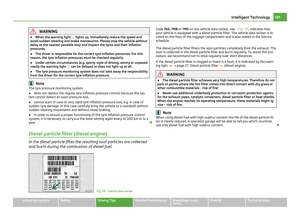 133
133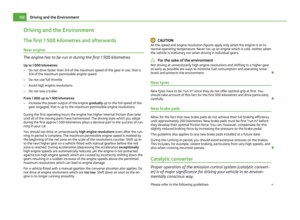 134
134 135
135 136
136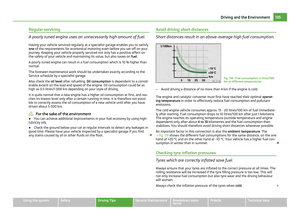 137
137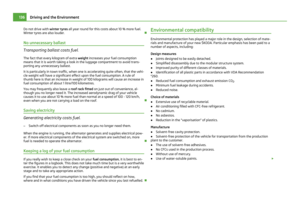 138
138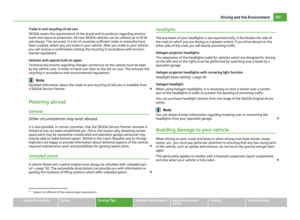 139
139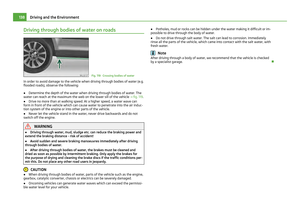 140
140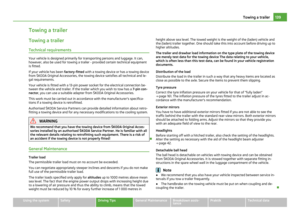 141
141 142
142 143
143 144
144 145
145 146
146 147
147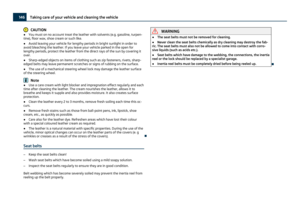 148
148 149
149 150
150 151
151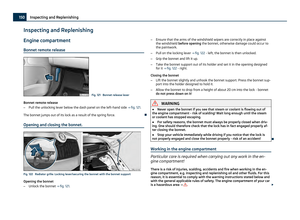 152
152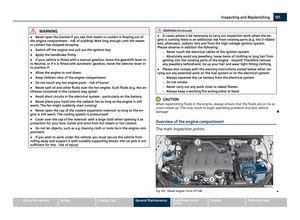 153
153 154
154 155
155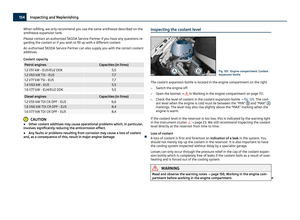 156
156 157
157 158
158 159
159 160
160 161
161 162
162 163
163 164
164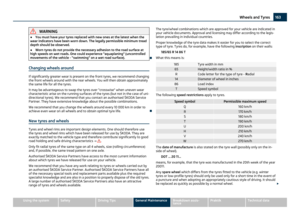 165
165 166
166 167
167 168
168 169
169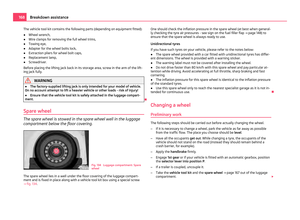 170
170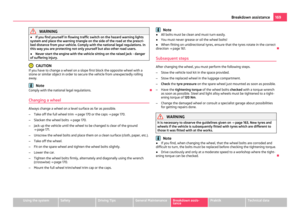 171
171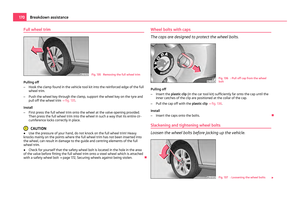 172
172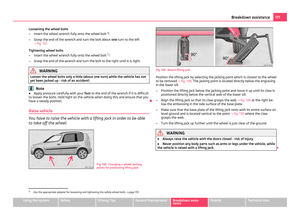 173
173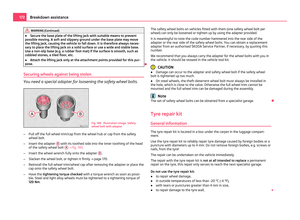 174
174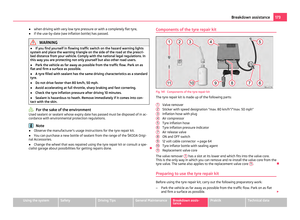 175
175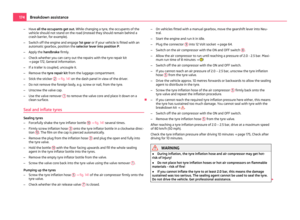 176
176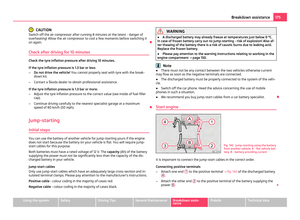 177
177 178
178 179
179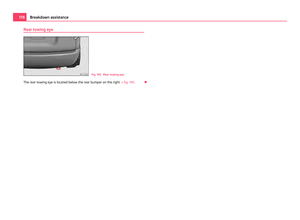 180
180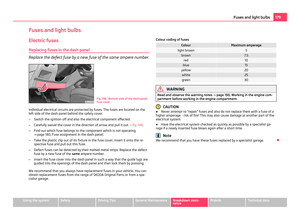 181
181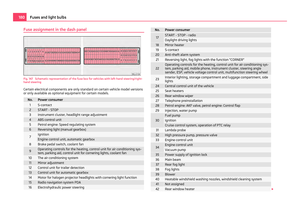 182
182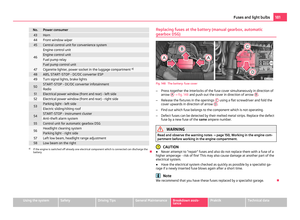 183
183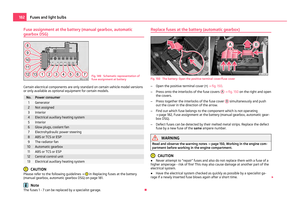 184
184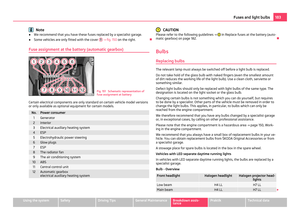 185
185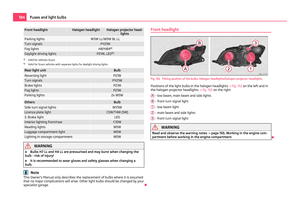 186
186 187
187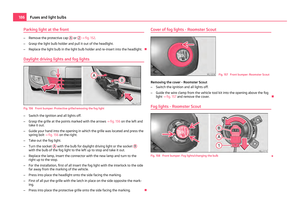 188
188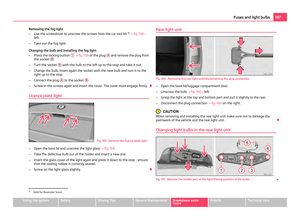 189
189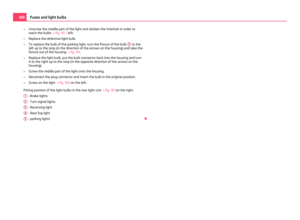 190
190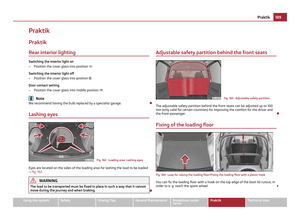 191
191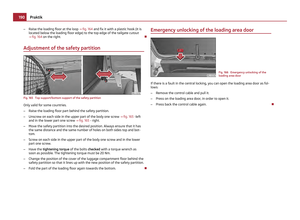 192
192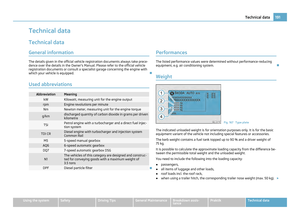 193
193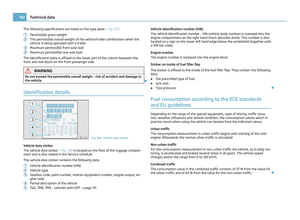 194
194 195
195 196
196 197
197 198
198 199
199 200
200 201
201 202
202 203
203 204
204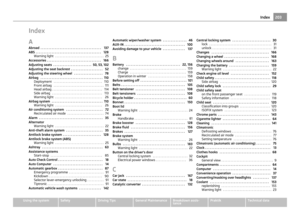 205
205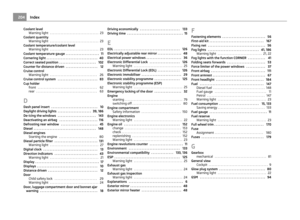 206
206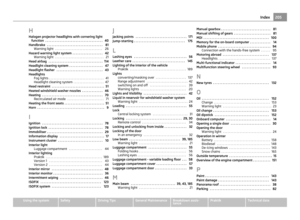 207
207 208
208 209
209 210
210 211
211