Page 2361 of 3787

DOOR OUTSIDE MOLDINGEI-31
< ON-VEHICLE REPAIR >
C
DE
F
G H
J
K L
M A
B
EI
N
O P
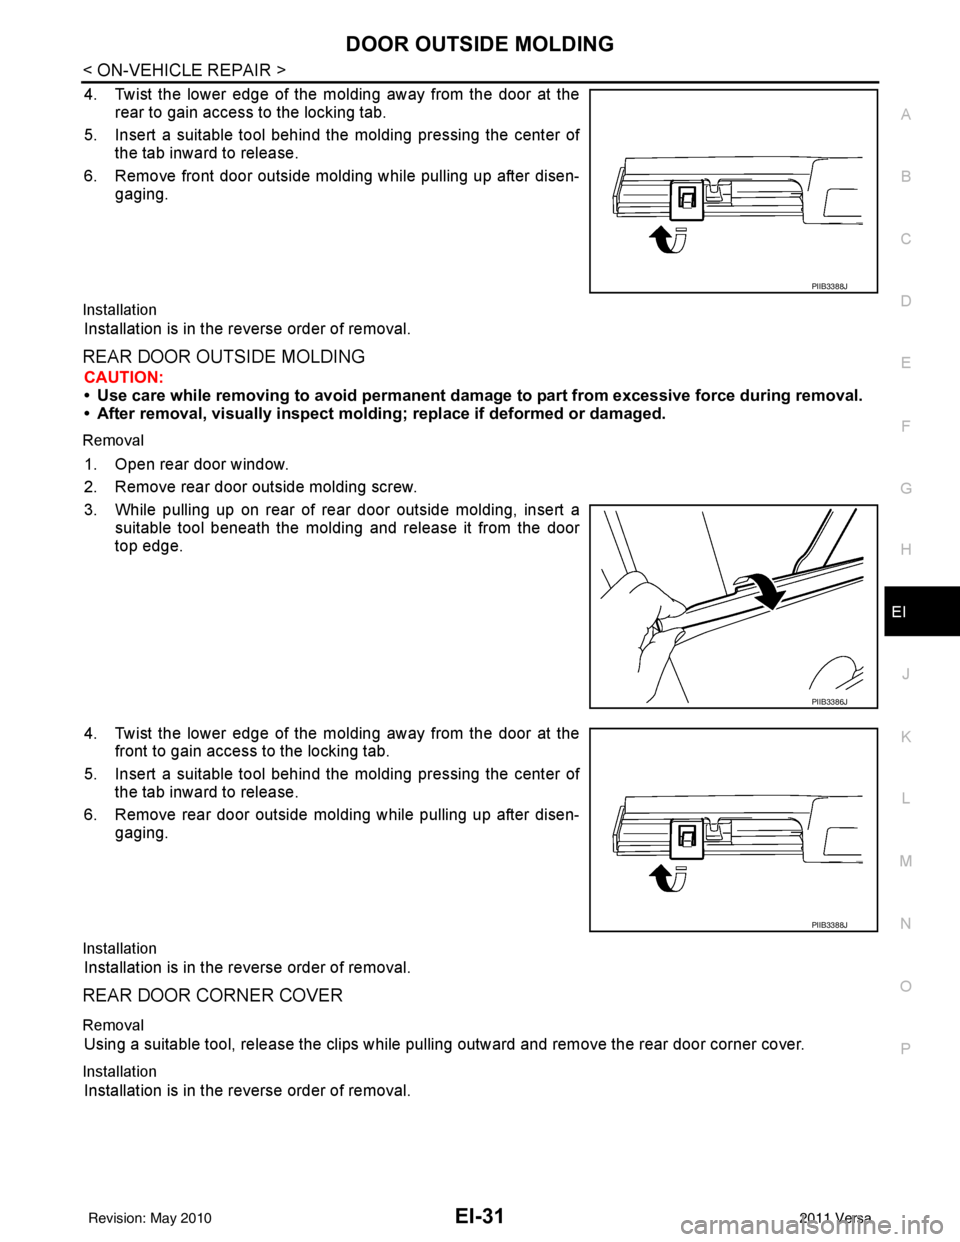
4. Twist the lower edge of the molding away from the door at the rear to gain access to the locking tab.
5. Insert a suitable tool behind the molding pressing the center of the tab inward to release.
6. Remove front door outside molding while pulling up after disen- gaging.
Installation
Installation is in the reverse order of removal.
REAR DOOR OUTSIDE MOLDING
CAUTION:
• Use care while removing to avoid permanent damage to part from excessive force during removal.
• After removal, visually inspect molding; replace if deformed or damaged.
Removal
1. Open rear door window.
2. Remove rear door outside molding screw.
3. While pulling up on rear of rear door outside molding, insert a
suitable tool beneath the molding and release it from the door
top edge.
4. Twist the lower edge of the molding away from the door at the front to gain access to the locking tab.
5. Insert a suitable tool behind the molding pressing the center of the tab inward to release.
6. Remove rear door outside molding while pulling up after disen- gaging.
Installation
Installation is in the reverse order of removal.
REAR DOOR CORNER COVER
Removal
Using a suitable tool, release the clips while pulling outward and remove the rear door corner cover.
Installation
Installation is in the reverse order of removal.
PIIB3388J
PIIB3386J
PIIB3388J
Revision: May 2010 2011 Versa
Page 2362 of 3787
EI-32
< ON-VEHICLE REPAIR >
CENTER MUD GUARD
CENTER MUD GUARD
Removal and InstallationINFOID:0000000005929566
REMOVAL
1. Remove center mud guard screws, front and rear.
2. Remove center mud guard bolts at bottom edge and release double-faced adhesive tape from body side.
3. Open front and rear doors, then using a suitable tool , remove the clips and remove the center mud guard
from the body side.
4. Release the sill cover cap clips, then remove sill cover cap.
INSTALLATION
Installation is in the reverse order of removal.
NOTE:
• Always replace double-faced adhesive tape on back of center mud guard when installing.
• Do not wash vehicle within 24 hours after installation.
1. Sill cover cap 2. Center mud guard 3. Double-faced adhesive tape
A. Clip C205 Clip C101Vehicle front
WIIA1412E
Revision: May 2010 2011 Versa
Page 2365 of 3787

REAR AIR SPOILEREI-35
< ON-VEHICLE REPAIR >
C
DE
F
G H
J
K L
M A
B
EI
N
O P
2. Remove inside trunk lid finisher. Refer to EI-59, "Removal and Installation".
3. Disconnect high mounted stop lamp connector.
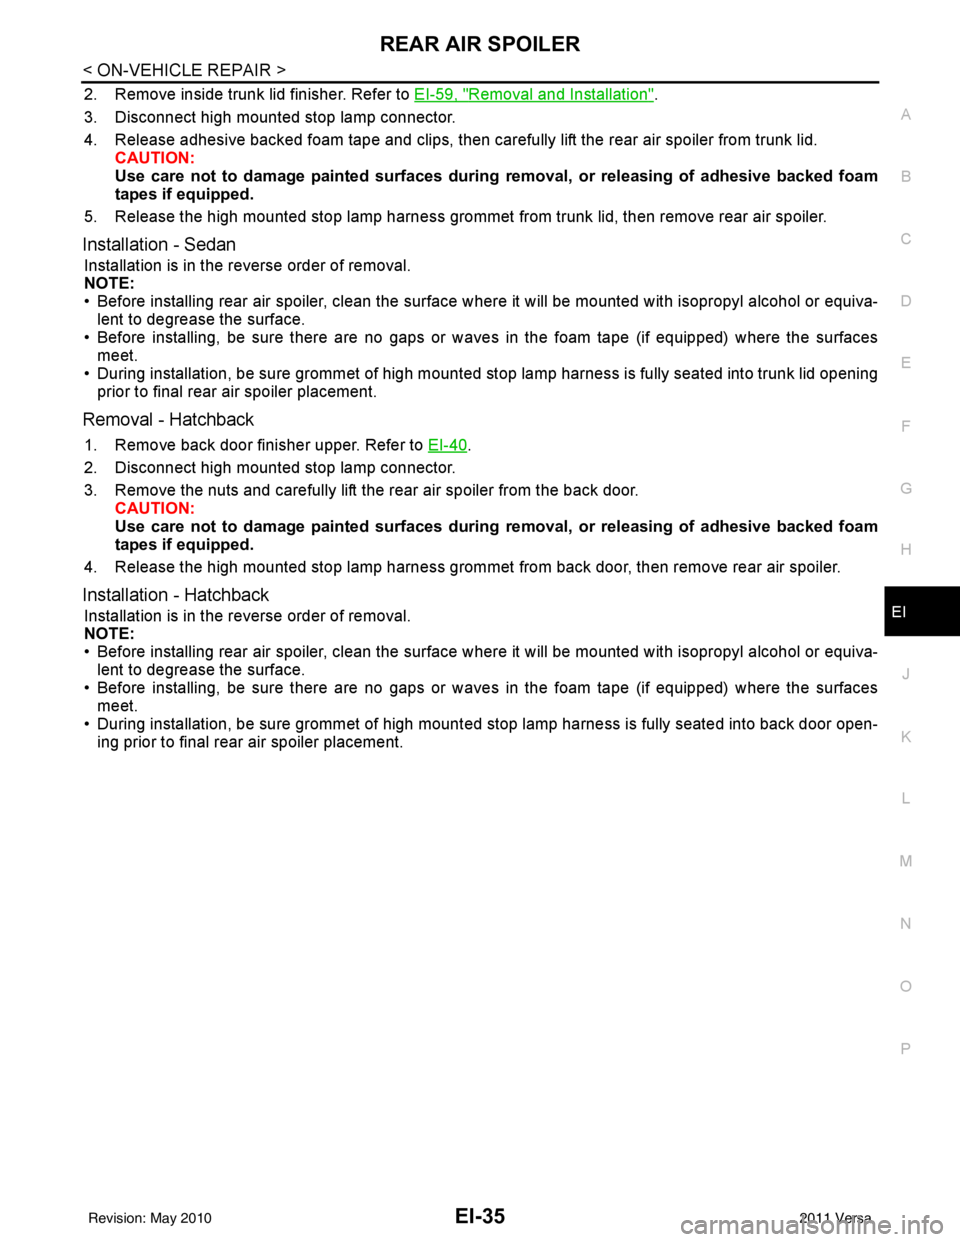
4. Release adhesive backed foam tape and clips, then carefully lift the rear air spoiler from trunk lid. CAUTION:
Use care not to damage painted surfaces during removal, or releasing of adhesive backed foam
tapes if equipped.
5. Release the high mounted stop lamp harness grommet from trunk lid, then remove rear air spoiler.
Installation - Sedan
Installation is in the reverse order of removal.
NOTE:
• Before installing rear air spoiler, clean the surface where it will be mounted with isopropyl alcohol or equiva-
lent to degrease the surface.
• Before installing, be sure there are no gaps or wa ves in the foam tape (if equipped) where the surfaces
meet.
• During installation, be sure grommet of high mounted stop lamp harness is fully seated into trunk lid opening prior to final rear air spoiler placement.
Removal - Hatchback
1. Remove back door finisher upper. Refer to EI-40.
2. Disconnect high mounted stop lamp connector.
3. Remove the nuts and carefully lift the rear air spoiler from the back door. CAUTION:
Use care not to damage painted surfaces during removal, or releasing of adhesive backed foam
tapes if equipped.
4. Release the high mounted stop lamp harness grommet from back door, then remove rear air spoiler.
Installation - Hatchback
Installation is in the reverse order of removal.
NOTE:
• Before installing rear air spoiler, clean the surface where it will be mounted with isopropyl alcohol or equiva-
lent to degrease the surface.
• Before installing, be sure there are no gaps or wa ves in the foam tape (if equipped) where the surfaces
meet.
• During installation, be sure grommet of high mount ed stop lamp harness is fully seated into back door open-
ing prior to final rear air spoiler placement.
Revision: May 2010 2011 Versa
Page 2366 of 3787
EI-36
< ON-VEHICLE REPAIR >
DOOR FINISHER
DOOR FINISHER
Removal and InstallationINFOID:0000000005929569
FRONT DOOR
Removal
1. Open front door and front door window.
2. Release the front door inside handle escutcheon pawls, thenslide the escutcheon rearward to remove from front door fin-
isher.
: Pawl
1. Power window and door lock/unlock switch finisher 2. Front door finisher 3. Inside handle escutcheon
Clip C101
LIIA2572E
AWJIA0421ZZ
Revision: May 2010 2011 Versa
Page 2367 of 3787
DOOR FINISHEREI-37
< ON-VEHICLE REPAIR >
C
DE
F
G H
J
K L
M A
B
EI
N
O P
3. Insert a trim stick (A) or suitable tool into back edge of front door power window and door lock/unlock switch finisher. Lift upward
to release the clips and remove.
4. Disconnect front door power window and door lock/unlock switch harness connector.
5. Remove the two front door finisher screws.
6. Release the clips, then lift front door finisher upward to remove it from door body panel.
Installation
Installation is in the reverse order of removal.
REAR DOOR
WIIA1237E
PIIB6042E
SIIA0810E
Revision: May 2010 2011 Versa
Page 2368 of 3787
EI-38
< ON-VEHICLE REPAIR >
DOOR FINISHER
Removal
1. Open rear door and rear door window.
2. Release the rear door inside handle escutcheon pawls, thenslide the escutcheon rearward to re move from rear door finisher.
: Pawl
3. Insert a trim stick (A), or suitable tool into back edge of rear door power window switch finisher. Lift upward to release the clips
and remove.
4. Disconnect rear door power window switch harness connector.
5. Remove rear door finisher screw.
1. Rear power window switch finisher 2. Rear door finisher 3. Inside handle escutcheon
Clip C101
LIIA2573E
AWJIA0421ZZ
WIIA1238E
Revision: May 2010 2011 Versa
Page 2369 of 3787
DOOR FINISHEREI-39
< ON-VEHICLE REPAIR >
C
DE
F
G H
J
K L
M A
B
EI
N
O P
6. Release the clips, then lift rear door finisher upward to remove it from door body panel.
Installation
Installation is in the reverse order of removal.
SIIA0810E
Revision: May 2010 2011 Versa
Page 2370 of 3787

EI-40
< ON-VEHICLE REPAIR >
BACK DOOR TRIM
BACK DOOR TRIM
Removal and InstallationINFOID:0000000005929570
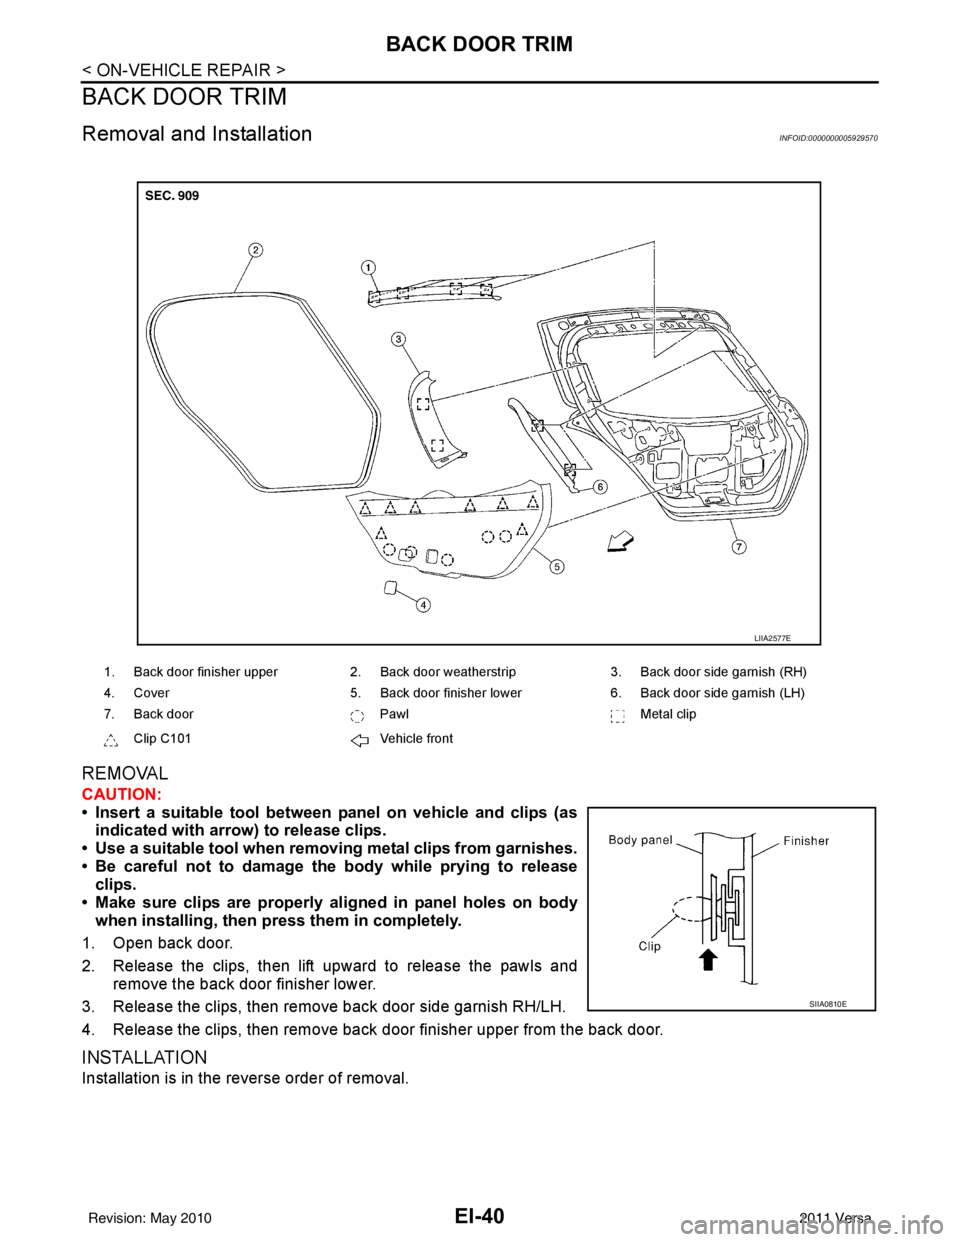
REMOVAL
CAUTION:
• Insert a suitable tool between panel on vehicle and clips (asindicated with arrow) to release clips.
• Use a suitable tool when removing metal clips from garnishes.
• Be careful not to damage the body while prying to release clips.
• Make sure clips are properly al igned in panel holes on body
when installing, then pr ess them in completely.
1. Open back door.
2. Release the clips, then lift upward to release the pawls and remove the back door finisher lower.
3. Release the clips, then remove back door side garnish RH/LH.
4. Release the clips, then remove back door finisher upper from the back door.
INSTALLATION
Installation is in the reverse order of removal.
1. Back door finisher upper 2. Back door weatherstrip 3. Back door side garnish (RH)
4. Cover 5. Back door finisher lower 6. Back door side garnish (LH)
7. Back door PawlMetal clip
Clip C101 Vehicle front
LIIA2577E
SIIA0810E
Revision: May 2010 2011 Versa