2011 INFINITI QX56 display
[x] Cancel search: displayPage 4348 of 5598

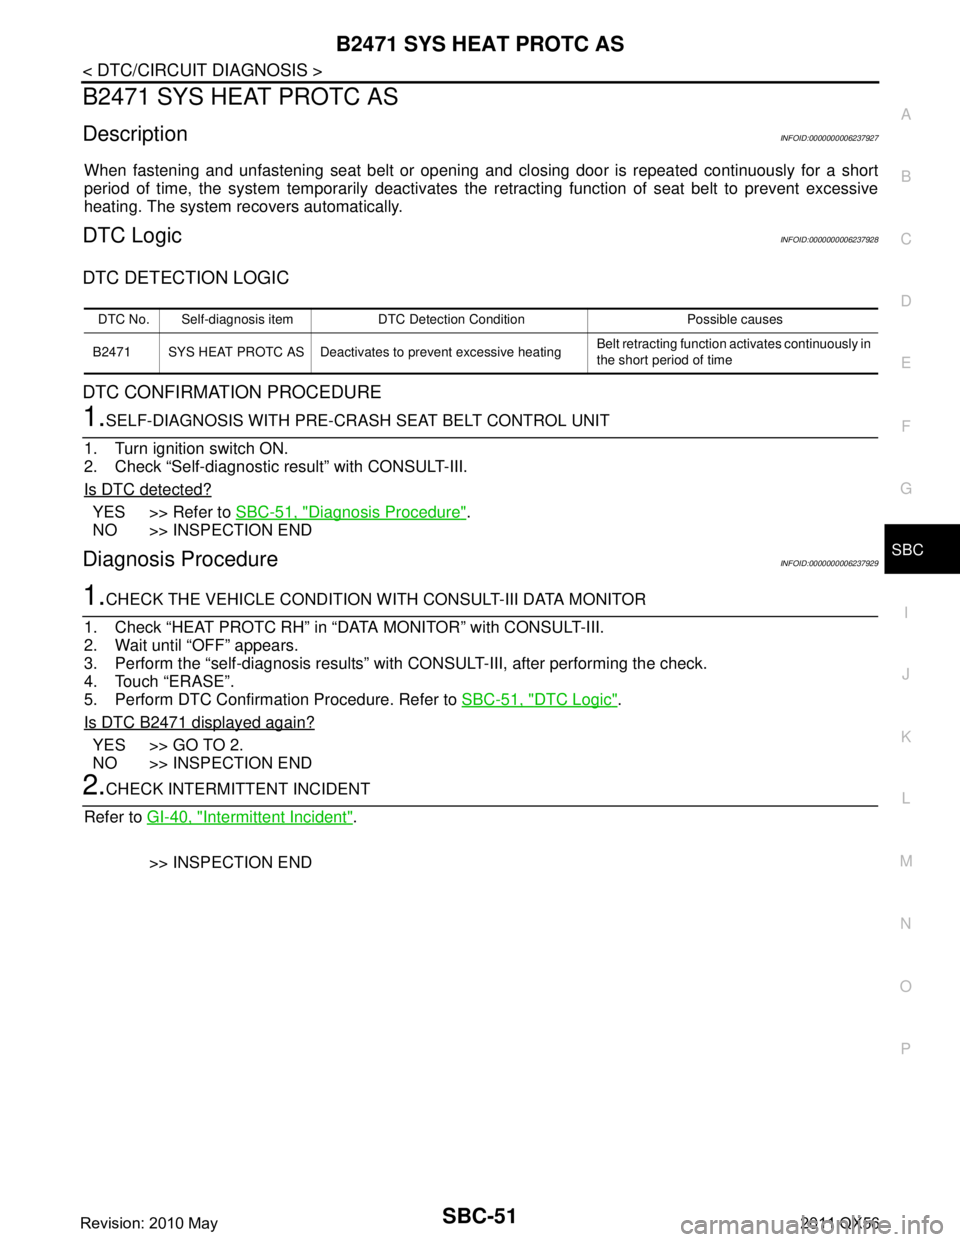
B2471 SYS HEAT PROTC ASSBC-51
< DTC/CIRCUIT DIAGNOSIS >
C
DE
F
G
I
J
K L
M A
B
SBC
N
O P
B2471 SYS HEAT PROTC AS
DescriptionINFOID:0000000006237927
When fastening and unfastening seat belt or opening and cl osing door is repeated continuously for a short
period of time, the system temporar ily deactivates the retracting function of seat belt to prevent excessive
heating. The system recovers automatically.
DTC LogicINFOID:0000000006237928
DTC DETECTION LOGIC
DTC CONFIRMATION PROCEDURE
1.SELF-DIAGNOSIS WITH PRE-CRASH SEAT BELT CONTROL UNIT
1. Turn ignition switch ON.
2. Check “Self-diagnostic result” with CONSULT-III.
Is DTC detected?
YES >> Refer to SBC-51, "Diagnosis Procedure".
NO >> INSPECTION END
Diagnosis ProcedureINFOID:0000000006237929
1.CHECK THE VEHICLE CONDITION WITH CONSULT-III DATA MONITOR
1. Check “HEAT PROTC RH” in “DATA MONITOR” with CONSULT-III.
2. Wait until “OFF” appears.
3. Perform the “self-diagnosis results” wit h CONSULT-III, after performing the check.
4. Touch “ERASE”.
5. Perform DTC Confirmation Procedure. Refer to SBC-51, "
DTC Logic".
Is DTC B2471 displayed again?
YES >> GO TO 2.
NO >> INSPECTION END
2.CHECK INTERMITTENT INCIDENT
Refer to GI-40, "
Intermittent Incident".
>> INSPECTION END
DTC No. Self-diagnosis item DTC Detection Condition Possible causes
B2471 SYS HEAT PROTC AS Deactivate s to prevent excessive heating Belt retracting function activates continuously in
the short period of time
Revision: 2010 May2011 QX56
Page 4350 of 5598

SEAT BELT BUCKLE SWITCH (DRIVER SIDE)
SBC-53
< DTC/CIRCUIT DIAGNOSIS >
C
D E
F
G
I
J
K L
M A
B
SBC
N
O P
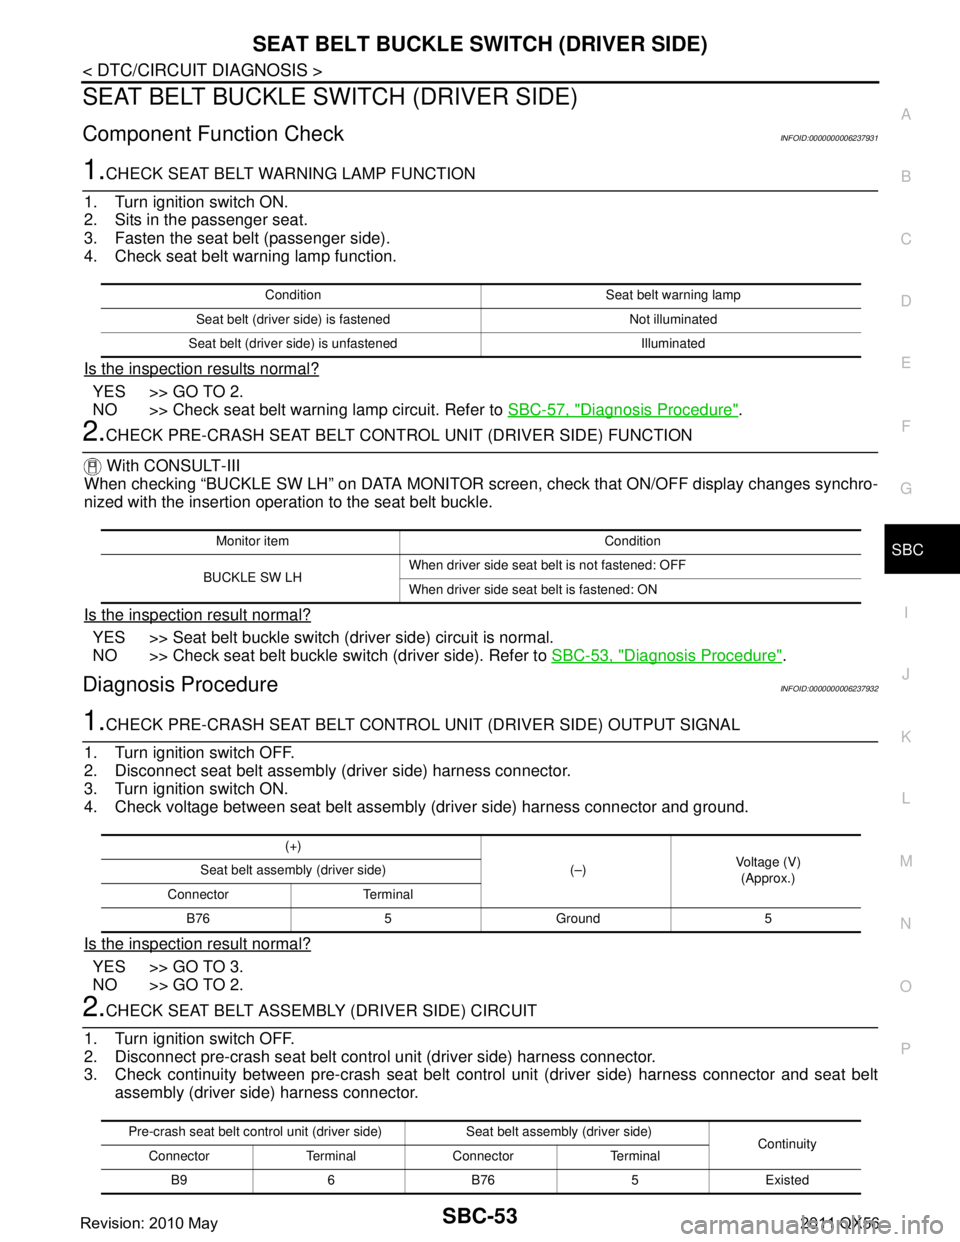
SEAT BELT BUCKLE SW ITCH (DRIVER SIDE)
Component Function CheckINFOID:0000000006237931
1.CHECK SEAT BELT WARNING LAMP FUNCTION
1. Turn ignition switch ON.
2. Sits in the passenger seat.
3. Fasten the seat belt (passenger side).
4. Check seat belt warning lamp function.
Is the inspection results normal?
YES >> GO TO 2.
NO >> Check seat belt warning lamp circuit. Refer to SBC-57, "
Diagnosis Procedure".
2.CHECK PRE-CRASH SEAT BELT CONTROL UNIT (DRIVER SIDE) FUNCTION
With CONSULT-III
When checking “BUCKLE SW LH” on DATA MONITOR scr een, check that ON/OFF display changes synchro-
nized with the insertion operat ion to the seat belt buckle.
Is the inspection result normal?
YES >> Seat belt buckle switch (driver side) circuit is normal.
NO >> Check seat belt buckle switch (driver side). Refer to SBC-53, "
Diagnosis Procedure".
Diagnosis ProcedureINFOID:0000000006237932
1.CHECK PRE-CRASH SEAT BELT CONTROL UNIT (DRIVER SIDE) OUTPUT SIGNAL
1. Turn ignition switch OFF.
2. Disconnect seat belt assembly (driver side) harness connector.
3. Turn ignition switch ON.
4. Check voltage between seat belt assembly (driver side) harness connector and ground.
Is the inspection result normal?
YES >> GO TO 3.
NO >> GO TO 2.
2.CHECK SEAT BELT ASSEMB LY (DRIVER SIDE) CIRCUIT
1. Turn ignition switch OFF.
2. Disconnect pre-crash seat belt control unit (driver side) harness connector.
3. Check continuity between pre-crash seat belt cont rol unit (driver side) harness connector and seat belt
assembly (driver side) harness connector.
Condition Seat belt warning lamp
Seat belt (driver side) is fastened Not illuminated
Seat belt (driver side) is unfastened Illuminated
Monitor item Condition
BUCKLE SW LH When driver side seat belt is not fastened: OFF
When driver side seat belt is fastened: ON
(+)
(–)Voltage (V)
(Approx.)
Seat belt assembly (driver side)
Connector Terminal B76 5 Ground 5
Pre-crash seat belt control unit (driver side) Seat belt assembly (driver side) Continuity
Connector Terminal Connector Terminal
B9 6 B76 5 Existed
Revision: 2010 May2011 QX56
Page 4352 of 5598

SEAT BELT BUCKLE SWITCH (PASSENGER SIDE)SBC-55
< DTC/CIRCUIT DIAGNOSIS >
C
DE
F
G
I
J
K L
M A
B
SBC
N
O P
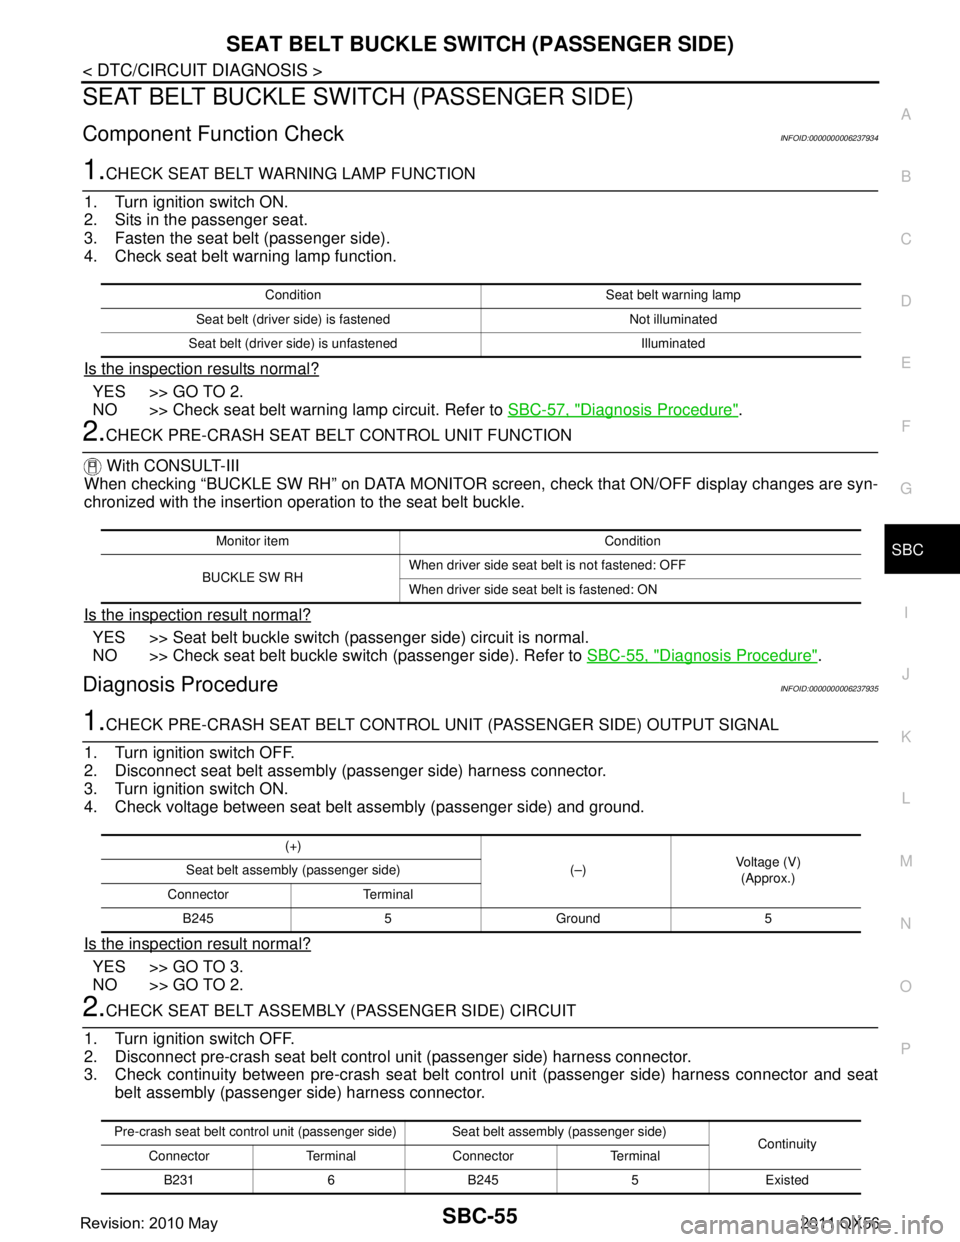
SEAT BELT BUCKLE SW ITCH (PASSENGER SIDE)
Component Function CheckINFOID:0000000006237934
1.CHECK SEAT BELT WARNING LAMP FUNCTION
1. Turn ignition switch ON.
2. Sits in the passenger seat.
3. Fasten the seat belt (passenger side).
4. Check seat belt warning lamp function.
Is the inspection results normal?
YES >> GO TO 2.
NO >> Check seat belt warning lamp circuit. Refer to SBC-57, "
Diagnosis Procedure".
2.CHECK PRE-CRASH SEAT BELT CONTROL UNIT FUNCTION
With CONSULT-III
When checking “BUCKLE SW RH” on DATA MONITOR scr een, check that ON/OFF display changes are syn-
chronized with the insertion operation to the seat belt buckle.
Is the inspection result normal?
YES >> Seat belt buckle switch (passenger side) circuit is normal.
NO >> Check seat belt buckle switch (passenger side). Refer to SBC-55, "
Diagnosis Procedure".
Diagnosis ProcedureINFOID:0000000006237935
1.CHECK PRE-CRASH SEAT BELT CONTROL UNIT (PASSENGER SIDE) OUTPUT SIGNAL
1. Turn ignition switch OFF.
2. Disconnect seat belt assembly (passenger side) harness connector.
3. Turn ignition switch ON.
4. Check voltage between seat belt assembly (passenger side) and ground.
Is the inspection result normal?
YES >> GO TO 3.
NO >> GO TO 2.
2.CHECK SEAT BELT ASSEMBLY (PASSENGER SIDE) CIRCUIT
1. Turn ignition switch OFF.
2. Disconnect pre-crash seat belt contro l unit (passenger side) harness connector.
3. Check continuity between pre-crash seat belt c ontrol unit (passenger side) harness connector and seat
belt assembly (passenger side) harness connector.
Condition Seat belt warning lamp
Seat belt (driver side) is fastened Not illuminated
Seat belt (driver side) is unfastened Illuminated
Monitor item Condition
BUCKLE SW RH When driver side seat belt is not fastened: OFF
When driver side seat belt is fastened: ON
(+)
(–)Voltage (V)
(Approx.)
Seat belt assembly (passenger side)
Connector Terminal B245 5 Ground 5
Pre-crash seat belt control unit (passenger side) Seat belt assembly (passenger side) Continuity
Connector Terminal Connector Terminal
B2316B2455Existed
Revision: 2010 May2011 QX56
Page 4416 of 5598
![INFINITI QX56 2011 Factory Service Manual
SCS-56
< SYSTEM DESCRIPTION >[AIR LEVELIZER CONTROL SYSTEM]
DIAGNOSIS SYSTEM (AIR
LEVELIZER CONTROL MODULE)
DIAGNOSIS SYSTEM (AIR LE VELIZER CONTROL MODULE)
CONSULT-III FunctionINFOID:00000000062560 INFINITI QX56 2011 Factory Service Manual
SCS-56
< SYSTEM DESCRIPTION >[AIR LEVELIZER CONTROL SYSTEM]
DIAGNOSIS SYSTEM (AIR
LEVELIZER CONTROL MODULE)
DIAGNOSIS SYSTEM (AIR LE VELIZER CONTROL MODULE)
CONSULT-III FunctionINFOID:00000000062560](/manual-img/42/57033/w960_57033-4415.png)
SCS-56
< SYSTEM DESCRIPTION >[AIR LEVELIZER CONTROL SYSTEM]
DIAGNOSIS SYSTEM (AIR
LEVELIZER CONTROL MODULE)
DIAGNOSIS SYSTEM (AIR LE VELIZER CONTROL MODULE)
CONSULT-III FunctionINFOID:0000000006256052
CONSULT-III APPLICATION ITEMS
WORK SUPPORT
CAUTION:
Perform the procedure when the vehicle is stopped.
SELF DIAGNOSTIC RESULTS
Refer to SCS-59, "DTC Index".
When “CRNT” is displayed on self-diagnosis result,
The system is presently malfunctioning.
When “PAST” is displayed on self-diagnosis result, System malfunction in the past is detect ed, but the system is presently normal.
Freeze frame data (FFD)
DATA MONITOR
Diagnostic test mode Function
Work Support This mode enables a technician to adjust some devices faster and more accurately.
Self Diagnostic Results Retrieve DTC from ECU and display diagnostic items.
Data Monitor Monitor the input/output signal of the control unit in real time.
CAN Diagnosis This mode displays a network diagnosis result about CAN by a diagram.
CAN Diagnostic Support
Monitor It monitors the status of CAN communication.
ECU Identification Display the ECU identification number (part number etc.) of the selected system.
Active Test Send the drive signal from CONSULT-III to the actuator. The operation check can be performed.
Item name Description
STANDARD HEIGHT LEVEL Forcibly sets vehicle height to the set standard vehicle height.
ADJUST HEIGHT INI Sets standard vehicle height.
CLEAR HEIGHT INI Erases standard vehicle height.
Item name Description
IGN COUNTER The number of times that ignition switch is turned ON after the DTC is detected is displayed.
When “0” is displayed: It indicates that the system is presently malfunctioning.
When except “0” is displayed: It indicates that system malfunction in the past is detected, but the system
is presently normal.
NOTE:
Each time when ignition switch is turned OFF to ON, numerical number increases in 1 → 2 → 3...38 → 39.
When the operation number of times exceeds 39, the number do not increase and “39” is displayed until
self-diagnosis is erased.
Monitored item (Unit) Remarks
IGN VOLT (V) Displays the power supply voltage of air levelizer control module.
VHCL HT INTLZ STA Displays setting status of standard vehicle height.
VHCL HT INIT SLCT Displays setting status of standard vehicle height.
VHCL HEIGHT SEN (V) Displays the signal voltage of vehicle height sensor.
VHCL HT CNVSN VL (mm) Displays the vehicle height recognized by air levelizer control module.
VHCL HGT FIX TIME (hour) Displays period of time that signal from vehicle height sensor does not change.
Revision: 2010 May2011 QX56
Page 4417 of 5598
![INFINITI QX56 2011 Factory Service Manual
DIAGNOSIS SYSTEM (AIR LEVELIZER CONTROL MODULE)
SCS-57
< SYSTEM DESCRIPTION > [AIR LEVELIZER CONTROL SYSTEM]
C
D
F
G H
I
J
K L
M A
B
SCS
N
O P
ACTIVE TEST
CAUTION:
Perform the procedure when the ve INFINITI QX56 2011 Factory Service Manual
DIAGNOSIS SYSTEM (AIR LEVELIZER CONTROL MODULE)
SCS-57
< SYSTEM DESCRIPTION > [AIR LEVELIZER CONTROL SYSTEM]
C
D
F
G H
I
J
K L
M A
B
SCS
N
O P
ACTIVE TEST
CAUTION:
Perform the procedure when the ve](/manual-img/42/57033/w960_57033-4416.png)
DIAGNOSIS SYSTEM (AIR LEVELIZER CONTROL MODULE)
SCS-57
< SYSTEM DESCRIPTION > [AIR LEVELIZER CONTROL SYSTEM]
C
D
F
G H
I
J
K L
M A
B
SCS
N
O P
ACTIVE TEST
CAUTION:
Perform the procedure when the vehicle is stopped.
Be careful that battery is not discharged when pe rforming the procedure while engine is stopped.
VHCL HGT INIT VAL (V) Displays voltage when standard vehicle height is set.
Value does not change until setting of standard vehicle height is performed again.
COMPRESSOR Displays operation status of air compressor.
EXH SOLENOID Displays operation status of exhaust solenoid.
ENG SPEED SIG Displays operation status of engine.
WARNING LAMP Displays turning ON st atus of CK SUSP indicator lamp.
Monitored item (Unit) Remarks
Item name Description
COMPRESSOR Air compress or can be operated.
EXHAUST SOLENOID Ehaust solenoid of air compressore can be operated.
WARNING LAMP CK SUSP indicator lamp can be turned ON or OFF.
Revision: 2010 May2011 QX56
Page 4419 of 5598
![INFINITI QX56 2011 Factory Service Manual
AIR LEVELIZER CONTROL MODULESCS-59
< ECU DIAGNOSIS INFORMATION > [AIR LEVELIZER CONTROL SYSTEM]
C
D
F
G H
I
J
K L
M A
B
SCS
N
O P
Fail-safeINFOID:0000000006256054
If malfunction is detected, control INFINITI QX56 2011 Factory Service Manual
AIR LEVELIZER CONTROL MODULESCS-59
< ECU DIAGNOSIS INFORMATION > [AIR LEVELIZER CONTROL SYSTEM]
C
D
F
G H
I
J
K L
M A
B
SCS
N
O P
Fail-safeINFOID:0000000006256054
If malfunction is detected, control](/manual-img/42/57033/w960_57033-4418.png)
AIR LEVELIZER CONTROL MODULESCS-59
< ECU DIAGNOSIS INFORMATION > [AIR LEVELIZER CONTROL SYSTEM]
C
D
F
G H
I
J
K L
M A
B
SCS
N
O P
Fail-safeINFOID:0000000006256054
If malfunction is detected, control stops.
The system may enter fail-safe mode under certain condi tions (for example, over-laden conditions) when elec-
tronic circuit is normal.
In this case, always check that the system re turns to normal by starting engine after unloading load.
DTC Inspection Priority ChartINFOID:0000000006256055
If some DTCs are displayed at the same time, per form inspections one by one based on the following priority
chart.
DTC IndexINFOID:0000000006256056
5
(W) Ground Vehicle height sensor
(SIGNAL) InputIGN ON 0.2 – 4.6 V
IGN OFF 0 V
7
(P) 16
(L) CAN-L
Input/
Output — 54 – 69
Ω
9
(P/L) Ground Air levelizer co
ntrol module
power supply InputIGN ON 10 – 16 V
IGN OFF 0 V
11
(V/W) Ground Exhaust solenoid Output IGN ON Exhaust solenoid: ON 9 – 16 V
Exhaust solenoid: OFF Less than 2 V
13
(R) Ground Vehicle height sensor
(Power supply)
OutputIGN ON 4.5 – 5.5 V
IGN OFF 0 V
16
(L) 7
(P) CAN-H Input/
Output — 54 – 69
Ω
Te r m i n a l
(Wire color) Description
ConditionReference value
(Approx.)
+ − Signal name Input/
Output
Priority Detected items (DTC)
1 U1000 CAN COMM CIRCUIT
U1010 CONTROL UNIT (CAN)
2 C1801 VHCL HEIGHT SENSOR
C1802 AIR SUS COMPRS RELAY
C1803 AIR SUS EXH SOL
C1806 VHCL HEIGHT SEN FIX
C1807 VHCL HEIGHT SEN VOLT
3 C1804 VHCL HEIGHT ADJ UP
C1805 VHCL HEIGHT ADJ DOWN
C1808 AIR SUS COMPRS FNCTN
DTC CONSULT-III display Reference page
C1801 VHCL HEIGHT SENSOR SCS-69
C1802 AIR SUS COMPRS RELAYSCS-72
C1803 AIR SUS EXH SOLSCS-74
C1804 VHCL HEIGHT ADJ UPSCS-77
C1805 VHCL HEIGHT ADJ DOWNSCS-80
C1806 VHCL HEIGHT SEN FIXSCS-81
C1807 VHCL HEIGHT SEN VOLTSCS-82
C1808 AIR SUS COMPRS FNCTNSCS-84
Revision: 2010 May2011 QX56
Page 4429 of 5598
![INFINITI QX56 2011 Factory Service Manual
C1801 VHCL HEIGHT SENSORSCS-69
< DTC/CIRCUIT DIAGNOSIS > [AIR LEVELIZER CONTROL SYSTEM]
C
D
F
G H
I
J
K L
M A
B
SCS
N
O P
DTC/CIRCUIT DIAGNOSIS
C1801 VHCL HEIGHT SENSOR
DTC LogicINFOID:00000000062560 INFINITI QX56 2011 Factory Service Manual
C1801 VHCL HEIGHT SENSORSCS-69
< DTC/CIRCUIT DIAGNOSIS > [AIR LEVELIZER CONTROL SYSTEM]
C
D
F
G H
I
J
K L
M A
B
SCS
N
O P
DTC/CIRCUIT DIAGNOSIS
C1801 VHCL HEIGHT SENSOR
DTC LogicINFOID:00000000062560](/manual-img/42/57033/w960_57033-4428.png)
C1801 VHCL HEIGHT SENSORSCS-69
< DTC/CIRCUIT DIAGNOSIS > [AIR LEVELIZER CONTROL SYSTEM]
C
D
F
G H
I
J
K L
M A
B
SCS
N
O P
DTC/CIRCUIT DIAGNOSIS
C1801 VHCL HEIGHT SENSOR
DTC LogicINFOID:0000000006256062
DTC DETECTION LOGIC
DTC CONFIRMATION PROCEDURE
1.PRECONDITIONING
If “DTC CONFIRMATION PROCEDURE” has been previous ly conducted, always turn ignition switch OFF
andwait at least 10 seconds before conducting the next test.
>> GO TO 2.
2.CHECK DTC DETECTION
With CONSULT-III
1. Turn ignition switch ON and wait 60 seconds or more.
2. Perform “Self Diagnostic Results” in “E-SUS”.
Is
“C1801” detected ?
YES >> Go to SCS-69, "DiagnosisProcedure".
NO >> INSPECTION END
Diagnosis ProcedureINFOID:0000000006256063
1.CHECK APPEARANCE
Visually check for malfunction of suspension components, installing malfunction, or deformation of vehicle
height sensor.
Is the inspection result normal?
YES >> GO TO 2.
NO >> Repaire or replace damaged parts.
2.CHECK POWER SUPPLY CIRCUIT (PART 1)
1. Disconnect vehicle height sensor connector.
2. Turn ignition switch ON. CAUTION:
Never start the engine.
3. Check voltage between vehicle height sensor harness connector and ground.
Is the inspection result normal?
YES >> GO TO 4.
NO >> GO TO 3.
3.CHECK POWER SUPPLY CIRCUIT (PART 2)
1. Turn ignition switch OFF.
2. Disconnect air levelizer control module connector.
DTC Display itemI Malfunction detected condition Possible cause
C1801 VHCL HEIGHT SENSOR Signal voltage of the vehicle height sensor remains 0.2
V or less or 4.6 V or more continuously for 60 seconds
during sensor voltage (4.5 – 5.5 V) output by the air lev-
elizer control module. Harness or connectors
(Sensor circuit is open.)
Vehicle height sensor
Air levelizer control module
Rear suspension component parts
Vehicle height sensor —Voltage
Connector Terminal
C13 1 Ground 4.5 – 5.5 V
Revision: 2010 May2011 QX56
Page 4432 of 5598
![INFINITI QX56 2011 Factory Service Manual
SCS-72
< DTC/CIRCUIT DIAGNOSIS >[AIR LEVELIZER CONTROL SYSTEM]
C1802 AIR SUS COMPRS RELAY
C1802 AIR SUS COMPRS RELAY
DTC LogicINFOID:0000000006256065
DTC DETECTION LOGIC
DTC CONFIRMATION PROCEDURE
1. INFINITI QX56 2011 Factory Service Manual
SCS-72
< DTC/CIRCUIT DIAGNOSIS >[AIR LEVELIZER CONTROL SYSTEM]
C1802 AIR SUS COMPRS RELAY
C1802 AIR SUS COMPRS RELAY
DTC LogicINFOID:0000000006256065
DTC DETECTION LOGIC
DTC CONFIRMATION PROCEDURE
1.](/manual-img/42/57033/w960_57033-4431.png)
SCS-72
< DTC/CIRCUIT DIAGNOSIS >[AIR LEVELIZER CONTROL SYSTEM]
C1802 AIR SUS COMPRS RELAY
C1802 AIR SUS COMPRS RELAY
DTC LogicINFOID:0000000006256065
DTC DETECTION LOGIC
DTC CONFIRMATION PROCEDURE
1.PRECONDITIONING
If “DTC CONFIRMATION PROCEDURE” has been previous ly conducted, always turn ignition switch OFF
andwait at least 10 seconds before conducting the next test.
>> GO TO 2.
2.CHECK DTC DETECTION
With CONSULT-III
1. Turn ignition switch ON and wait 10 seconds or more.
2. Select “COMPRESSOR” in “Active Test” in “E-SUS”.
3. Touch “ON” and wait 5 seconds or more.
4. Select “Self Diagnostic Result” in “E-SUS”.
Is
“C1802” detected ?
YES >> Go to SCS-72, "DiagnosisProcedure".
NO >> INSPECTION END
Diagnosis ProcedureINFOID:0000000006256066
1.CHECK AIR COMPRESSOR ON SIGNAL FROM AIR LEVELIZER CONTROL MODULE
CONSULT-III
1. Disconnect air compressor relay connector.
2. Turn ignition switch ON. CAUTION:
Never start the engine.
3. Select “COMPRESSOR” in “Active Test” in “E-SUS”.
4. Touch “ON”.
5. While operating test item, check voltage betw een air compressor relay harness connector and ground.
Is the inspection result normal?
YES >> GO TO 4.
NO >> GO TO 2.
2.CHECK HARNESS BETWEEN AIR LEVELIZER CO NTROL MODULE AND AIR COMPRESSOR RELAY
1. Turn ignition switch OFF.
2. Disconnect air levelizer control module connector.
DTC Display item Malfunction detected condition Possible cause
C1802 AIR SUS COMPRS RELAY Output voltage of the air compressor relay remains
9 V or less continuously for 5 seconds during air
compressor ON signal output by the air levelizer
control module.
Output voltage of the air compressor relay remains
2 V or more continuously for 10 seconds during air
compressor OFF signal output by the air levelizer
control module. Harness or connector
Air compressor relay
Air levelizer control module
Air compressor relay
—Voltage
Connector Terminal
E116 2 Ground 9 – 16 V
Revision: 2010 May2011 QX56