Page 9 of 350

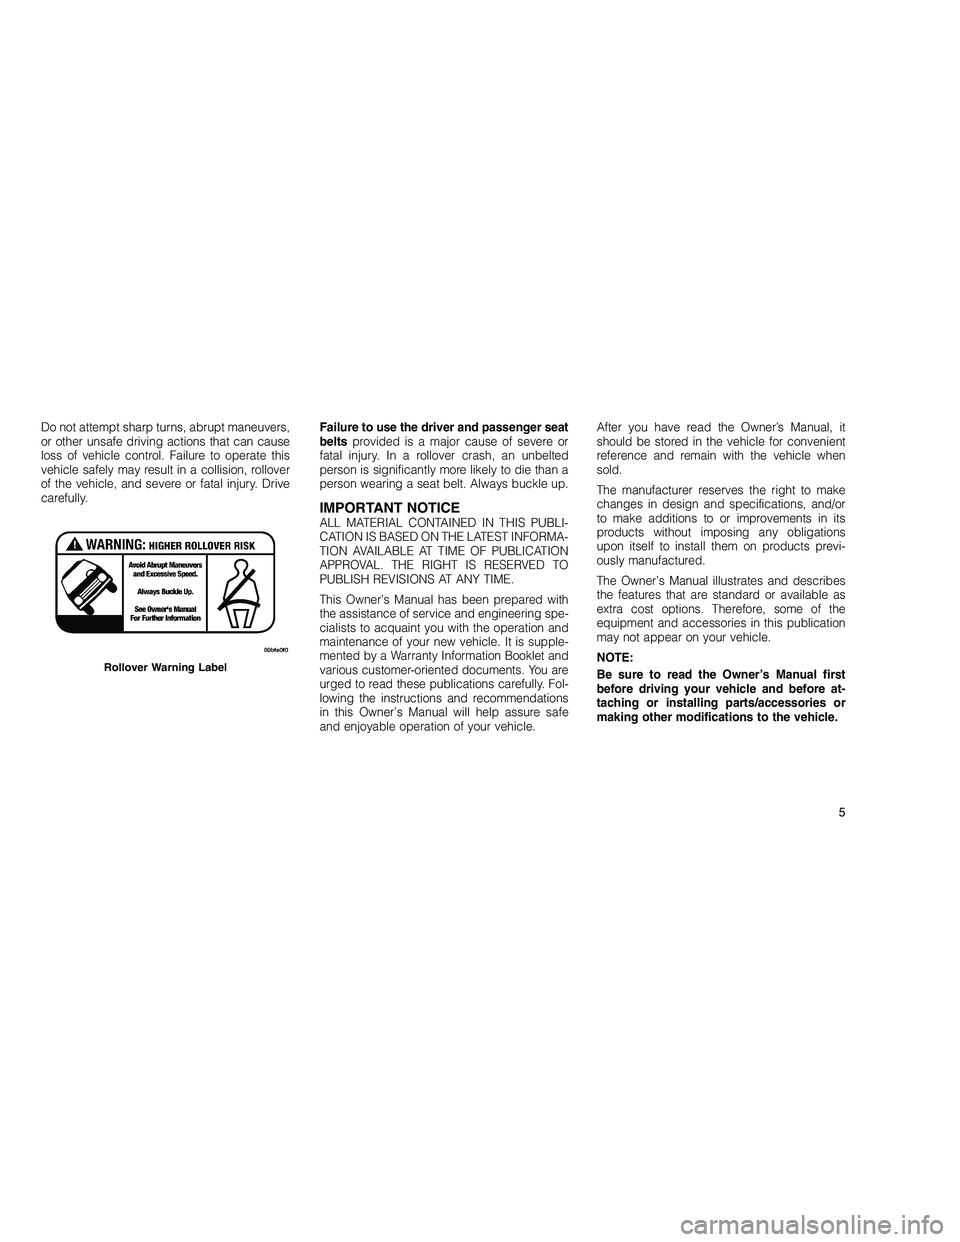
Do not attempt sharp turns, abrupt maneuvers,
or other unsafe driving actions that can cause
loss of vehicle control. Failure to operate this
vehicle safely may result in a collision, rollover
of the vehicle, and severe or fatal injury. Drive
carefully.Failure to use the driver and passenger seat
belts
provided is a major cause of severe or
fatal injury. In a rollover crash, an unbelted
person is significantly more likely to die than a
person wearing a seat belt. Always buckle up.
IMPORTANT NOTICEALL MATERIAL CONTAINED IN THIS PUBLI-
CATION IS BASED ON THE LATEST INFORMA-
TION AVAILABLE AT TIME OF PUBLICATION
APPROVAL. THE RIGHT IS RESERVED TO
PUBLISH REVISIONS AT ANY TIME.
This Owner’s Manual has been prepared with
the assistance of service and engineering spe-
cialists to acquaint you with the operation and
maintenance of your new vehicle. It is supple-
mented by a Warranty Information Booklet and
various customer-oriented documents. You are
urged to read these publications carefully. Fol-
lowing the instructions and recommendations
in this Owner’s Manual will help assure safe
and enjoyable operation of your vehicle. After you have read the Owner’s Manual, it
should be stored in the vehicle for convenient
reference and remain with the vehicle when
sold.
The manufacturer reserves the right to make
changes in design and specifications, and/or
to make additions to or improvements in its
products without imposing any obligations
upon itself to install them on products previ-
ously manufactured.
The Owner’s Manual illustrates and describes
the features that are standard or available as
extra cost options. Therefore, some of the
equipment and accessories in this publication
may not appear on your vehicle.
NOTE:
Be sure to read the Owner’s Manual first
before driving your vehicle and before at-
taching or installing parts/accessories or
making other modifications to the vehicle.
Rollover Warning Label
5
Page 10 of 350

In view of the many replacement parts and
accessories from various manufacturers avail-
able on the market, the manufacturer cannot be
certain that the driving safety of your vehicle
will not be impaired by the attachment or instal-
lation of such parts. Even if such parts are
officially-approved (for example, by a general
operating permit for the part or by constructing
the part in an officially approved design), or if
an individual operating permit was issued for
the vehicle after the attachment or installation
of such parts, it cannot be implicitly assumed
that the driving safety of your vehicle is unim-
paired. Therefore, neither experts nor official
agencies are liable. Therefore the manufacturer
only assumes responsibility when parts, which
are expressly authorized or recommended by
the manufacturer, are attached or installed at
an authorized dealer. The same applies when
modifications to the original condition are sub-
sequently made on the manufacturer’s ve-
hicles.Your warranties do not cover any part that the
manufacturer did not supply. Nor do they cover
the cost of any repairs or adjustments that
might be caused or needed because of the
installation or use of non-manufacturer parts,
components, equipment, materials, or addi-
tives. Nor do your warranties cover the costs of
repairing damage or conditions caused by any
changes to your vehicle that do not comply with
the manufacturers specifications.
Original Mopar
parts and accessories and
other products approved by the manufacturer,
including qualified advice, are available at your
authorized dealer.
When it comes to service, remember that your
authorized dealer knows your vehicle best, has
the factory-trained technicians and genuine
Mopar parts, and is interested in your satis-
faction.
Copyright © 2010 Chrysler International.HOW TO USE THIS MANUALConsult the Table of Contents to determine
which section contains the information you de-
sire.
Since the specification of your vehicle depends
on the items of equipment ordered, certain
descriptions and illustrations may differ from
your vehicle’s equipment
The detailed index at the back of this Owner’s
Manual contains a complete listing of all sub-
jects.
Consult the following table for a description of
the symbols that may be used on your vehicle
or throughout this Owner’s Manual:
6
Page 11 of 350
Page 12 of 350

WARNINGS AND CAUTIONSThis Owner’s Manual containsWARNINGS
against operating procedures that could result
in a collision or bodily injury. It also contains
CAUTIONS against procedures that could re-
sult in damage to your vehicle. If you do not
read this entire manual, you may miss impor-
tant information. Observe all Warnings and
Cautions.
VEHICLE IDENTIFICATION NUMBERThe Vehicle Identification Number (VIN) is
found on a plate located on the left front corner
of the instrument panel pad, visible from out-
side of the vehicle through the windshield. This
number also is stamped into the right front
body, behind the right front seat. Move the right
front seat forward to allow better viewing of the
stamped VIN.
NOTE:
It is illegal to remove or alter the VIN.
VEHICLE MODIFICATIONS/
ALTERATIONS
WARNING!
Any modifications or alterations to this vehicle
could seriously affect its roadworthiness and
safety and may lead to a collision resulting in
serious injury or death.
VIN Location
Right Front Body VIN Location
8
Page 13 of 350
2
THINGS TO KNOW BEFORE STARTING
YOUR VEHICLE
•A WORD ABOUT YOUR KEYS ................... 12
• Wireless Ignition Node (WIN) .................. 12
• KeyFob ............................... 12
• Removing Key Fob From Ignition ............... 13
• Key-In-Ignition Reminder .................... 14
• SENTRY KEY ............................. 14
• Replacement Keys ........................ 14
• Customer Key Programming .................. 15
• General Information ....................... 15
• VEHICLE SECURITY ALARM — IF EQUIPPED .......... 15
• To Arm the System ........................ 15
• To Disarm the System ...................... 16
• ILLUMINATED ENTRY ........................ 16
• REMOTE KEYLESS ENTRY (RKE) ................. 17
• To Unlock the Doors ....................... 17
9
Page 14 of 350

•To Lock the Doors ........................ 18
• To Release the Liftgate Flipper Glass ............. 18
• Remote Open Window Feature — If Equipped ........ 18
• Programming Additional Transmitters ............. 18
• Transmitter Battery Replacement ................ 18
• General Information ....................... 19
• DOOR LOCKS ............................. 20
• Power Door Locks ........................ 20
• Child-Protection Door Lock System — Rear Doors ..... 21
• KEYLESS ENTER-N-GO ....................... 22
• WINDOWS ............................... 24
• Power Windows .......................... 24
• Wind Buffeting ........................... 26
• LIFTGATE ............................... 26
• Liftgate Flipper Glass ...................... 26
• Power Liftgate — If Equipped .................. 27
• OCCUPANT RESTRAINTS ...................... 28
• Lap/Shoulder Belts ........................ 29
• Lap/Shoulder Belt Operating Instructions ........... 30
• Lap/Shoulder Belt Untwisting Procedure ........... 32
• Adjustable Upper Shoulder Belt Anchorage ......... 32
• Energy Management Feature .................. 32
10
Page 15 of 350

•Automatic Locking Retractors (ALR) Mode —
If Equipped ............................. 33
• Seat Belts In Passenger Seating Positions .......... 33
• Seat Belt Pretensioners ..................... 34
• Supplemental Active Head Restraints (AHR) ......... 34
• Enhanced Seat Belt Use Reminder System (BeltAlert )..36
• Seatbelt Lock Out ......................... 36
• Seat Belts and Pregnant Women ................ 36
• Supplemental Restraint System (SRS) — Airbags ...... 37
• Advanced Front Airbag Features ................ 38
• Airbag Deployment Sensors and Controls .......... 41
• Event Data Recorder (EDR) ................... 45
• Child Restraints .......................... 46
• ENGINE BREAK-IN RECOMMENDATIONS ............. 54
• Additional Requirements For Diesel Engine —
If Equipped ............................. 54
• SAFETY TIPS ............................. 55
• Transporting Passengers .................... 55
• Exhaust Gas ............................ 55
• Safety Checks You Should Make Inside the Vehicle ..... 56
• Periodic Safety Checks You Should Make Outside the
Vehicle ............................... 57
11
Page 16 of 350

A WORD ABOUT YOUR KEYSYour vehicle uses a keyless ignition system.
This system consists of a Key Fob with Remote
Keyless Entry (RKE) transmitter and a Wireless
Ignition Node (WIN) with integral ignition
switch. You can insert the Key Fob into the
ignition switch with either side up.
Keyless Enter-N-Go Feature
This vehicle is equipped with the Keyless Enter-
N-Go feature, refer to “Starting Procedures” in
“Starting And Operating” for further informa-
tion.
Wireless Ignition Node (WIN)The Wireless Ignition Node (WIN) operates
similar to an ignition switch. It has four operat-
ing positions, three of which are detented and
one spring-loaded. The detented positions are
LOCK, ACC, and ON/RUN. The START position
is a spring-loaded momentary contact position.
When released from the START position, the
switch automatically returns to the detented
ON/RUN position.NOTE:
With the Keyless Enter-N-Go feature, the
Electronic Vehicle Information Center (EVIC)
will display the ignition switch position
(OFF/ACC/RUN). Refer to “Electronic Ve-
hicle Information Center (EVIC)” in “Under-
standing Your Instrument Panel” for further
information.
Key FobThe Key Fob operates the ignition switch. It
also contains the Remote Keyless Entry (RKE)
transmitter and an emergency key, which
stores in the rear of the Key Fob.
The emergency key allows for entry into the
vehicle on the driver’s side should the battery in
the vehicle or the RKE transmitter go dead. The
emergency key is also for locking the glove
box. You can keep the emergency key with you
when valet parking.
NOTE:
Entering a vehicle using the emergency key
with the theft alarm armed, will result in the
alarm sounding. Insert the Key Fob (even if
the Key Fob battery is dead) into the ignition
switch to disarm theft alarm.
To remove the emergency key, slide the me-
chanical latch at the top of the Key Fob side-
ways with your thumb and then pull the key out
with your other hand.
Wireless Ignition Node (WIN)
1 — LOCK
2 — ACC (ACCESSORY)
3 — ON/RUN
4—START
12