Page 1396 of 3039
Published: 11-May-2011
Electronic Engine Controls - V8 S/C 5.0L Petrol - Heated Oxygen Sensor
(HO2S) RH
Removal and Installation
Removal
NOTE: Removal steps in this procedure may contain installation details.
1. Refer to: Battery Disconnect and Connect (414-01 Battery, Mounting and Cables, General Procedures).
2. WARNING: Do not work on or under a vehicle supported only by a jack.
Always support the vehicle on safety stands.
Raise and support the vehicle.
3. Refer to: Air Deflector (501-02 Front End Body Panels, Removal and Installation).
4. Refer to: Catalytic Converter RH (309-00C Exhaust System - V8 5.0L Petrol/V8 S/C 5.0L Petrol, Removal and Installation).
5. CAUTION: Note the fitted position of the component prior
to removal. 310-121
Wrench, H02S Special Tool(s) www.JagDocs.com
Page 1402 of 3039
Published: 11-May-2011
Electronic Engine Controls - V8 S/C 5.0L Petrol - Rear Knock Sensor (KS) LH
Removal and Installation
Removal
NOTE: Removal steps in this procedure may contain installation details.
1. Refer to: Battery Disconnect and Connect (414-01 Battery, Mounting and Cables, General Procedures).
2. WARNING: Do not work on or under a vehicle supported only by a jack.
Always support the vehicle on safety stands.
Raise and support the vehicle.
3. Refer to: Supercharger (303-12D Intake Air Distribution and Filtering - V8 S/C 5.0L Petrol, Removal and Installation).
Installation
4. Torque: 20 Nm
1. To install, reverse the removal procedure.
Page 1403 of 3039
Published: 11-May-2011
Electronic Engine Controls - V8 S/C 5.0L Petrol - Rear Knock Sensor (KS) RH
Removal and Installation
Removal
NOTE: Removal steps in this procedure may contain installation details.
1. Refer to: Battery Disconnect and Connect (414-01 Battery, Mounting and Cables, General Procedures).
2. WARNING: Do not work on or under a vehicle supported only by a jack.
Always support the vehicle on safety stands.
Raise and support the vehicle.
3. Refer to: Supercharger (303-12D Intake Air Distribution and Filtering - V8 S/C 5.0L Petrol, Removal and Installation).
Installation
4. Torque: 20 Nm
1. To install, reverse the removal procedure.
Page 1404 of 3039
Published: 11-May-2011
Electronic Engine Controls - V8 S/C 5.0L Petrol - Variable Valve Timing (VVT)
Oil Control Solenoid LH
Removal and Installation
Removal
NOTE: Removal steps in this procedure may contain installation details.
1. Disconnect the battery ground cable.
Refer to: Specifications (414-00, Specifications).
2. WARNING: Make sure to support the vehicle with axle stands.
Raise and support the vehicle.
3. Refer to: Thermostat Housing - Vehicles With: Supercharger (303-03,
Removal and Installation).
4. NOTE: Some variation in the illustrations may occur, but
the essential information is always correct.
Torque: 10 Nm
5. CAUTION: Evenly and progressively, remove the VVT
units from each side.
NOTE: Some variation in the illustrations may occur,
but the essential information is always correct.
Page 1406 of 3039
Published: 11-May-2011
Electronic Engine Controls - V8 S/C 5.0L Petrol - Variable Valve Timing (VVT)
Oil Control Solenoid RH
Removal and Installation
Removal
NOTE: Removal steps in this procedure may contain installation details.
1. Disconnect the battery ground cable.
Refer to: Specifications (414-00, Specifications).
2. WARNING: Make sure to support the vehicle with axle stands.
Raise and support the vehicle.
3. Refer to: Thermostat Housing - Vehicles With: Supercharger (303-03,
Removal and Installation).
4. NOTE: Some variation in the illustrations may occur, but
the essential information is always correct.
5. NOTE: Some variation in the illustrations may occur,
but the essential information is always correct.
Torque: 10 Nm www.JagDocs.com
Page 1449 of 3039

Published: 11-May-2011
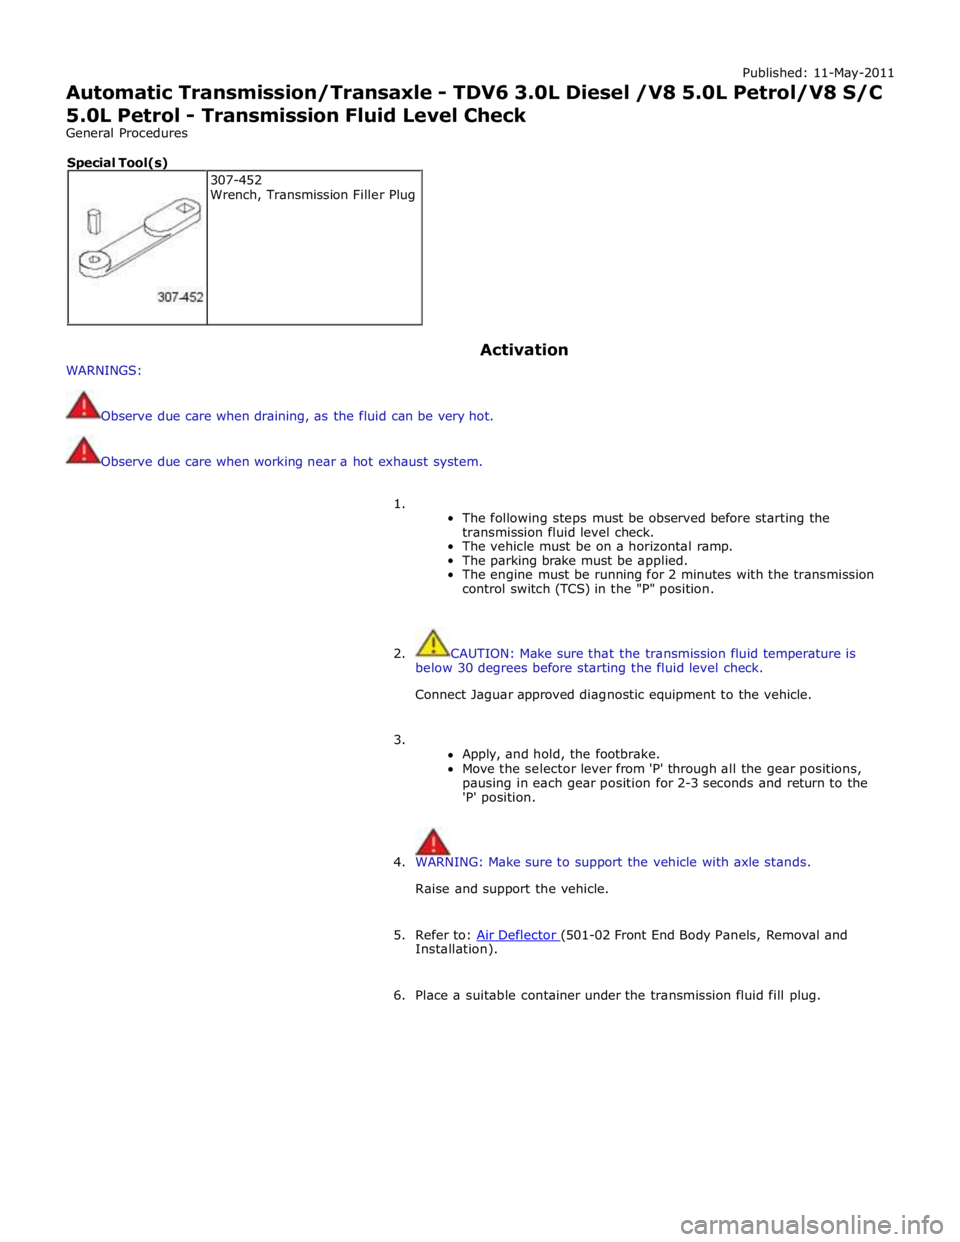
Automatic Transmission/Transaxle - TDV6 3.0L Diesel /V8 5.0L Petrol/V8 S/C 5.0L Petrol - Transmission Fluid Level Check
General Procedures
WARNINGS: Activation
Observe due care when draining, as the fluid can be very hot.
Observe due care when working near a hot exhaust system.
1.
The following steps must be observed before starting the
transmission fluid level check.
The vehicle must be on a horizontal ramp.
The parking brake must be applied.
The engine must be running for 2 minutes with the transmission
control switch (TCS) in the "P" position.
2. CAUTION: Make sure that the transmission fluid temperature is
below 30 degrees before starting the fluid level check.
Connect Jaguar approved diagnostic equipment to the vehicle.
3.
Apply, and hold, the footbrake.
Move the selector lever from 'P' through all the gear positions,
pausing in each gear position for 2-3 seconds and return to the
'P' position.
4. WARNING: Make sure to support the vehicle with axle stands.
Raise and support the vehicle.
5. Refer to: Air Deflector (501-02 Front End Body Panels, Removal and Installation).
6. Place a suitable container under the transmission fluid fill plug. 307-452
Wrench, Transmission Filler Plug Special Tool(s)
Page 1453 of 3039
Published: 11-May-2011
Automatic Transmission/Transaxle - TDV6 3.0L Diesel /V8 5.0L Petrol/V8 S/C 5.0L Petrol - Transmission Fluid Drain and Refill
General Procedures
WARNINGS:
Observe due care when draining, as the fluid can be very hot.
Observe due care when working near a hot exhaust system.
1. WARNING: Make sure to support the vehicle with axle stands.
Raise and support the vehicle.
2. Refer to: Air Deflector (501-02 Front End Body Panels, Removal and Installation).
3. Place a container under the transmission.
4. CAUTION: Discard the seal.
Special Tool(s): 307-452 307-452
Wrench, Transmission Filler Plug Special Tool(s)
Page 1457 of 3039
Published: 11-May-2011
Automatic Transmission/Transaxle - TDV6 3.0L Diesel /V8 5.0L Petrol/V8 S/C 5.0L Petrol - Input Shaft Seal
Removal and Installation
Special Tool(s)
100-012
Slide Hammer
100-012-01
Slide Hammer Adapter
307-613
Holding Pins, Torque Converter
308-246
Installer, Front Seal
308-375
Remover, Input and Output Seal Removal
NOTE: Removal steps in this procedure may contain installation details.
1. Refer to: Battery Disconnect and Connect (414-01 Battery, Mounting and Cables, General Procedures).
2. WARNING: Do not work on or under a vehicle supported only by a jack.
Always support the vehicle on safety stands.
Raise and support the vehicle. www.JagDocs.com