Page 1266 of 3039

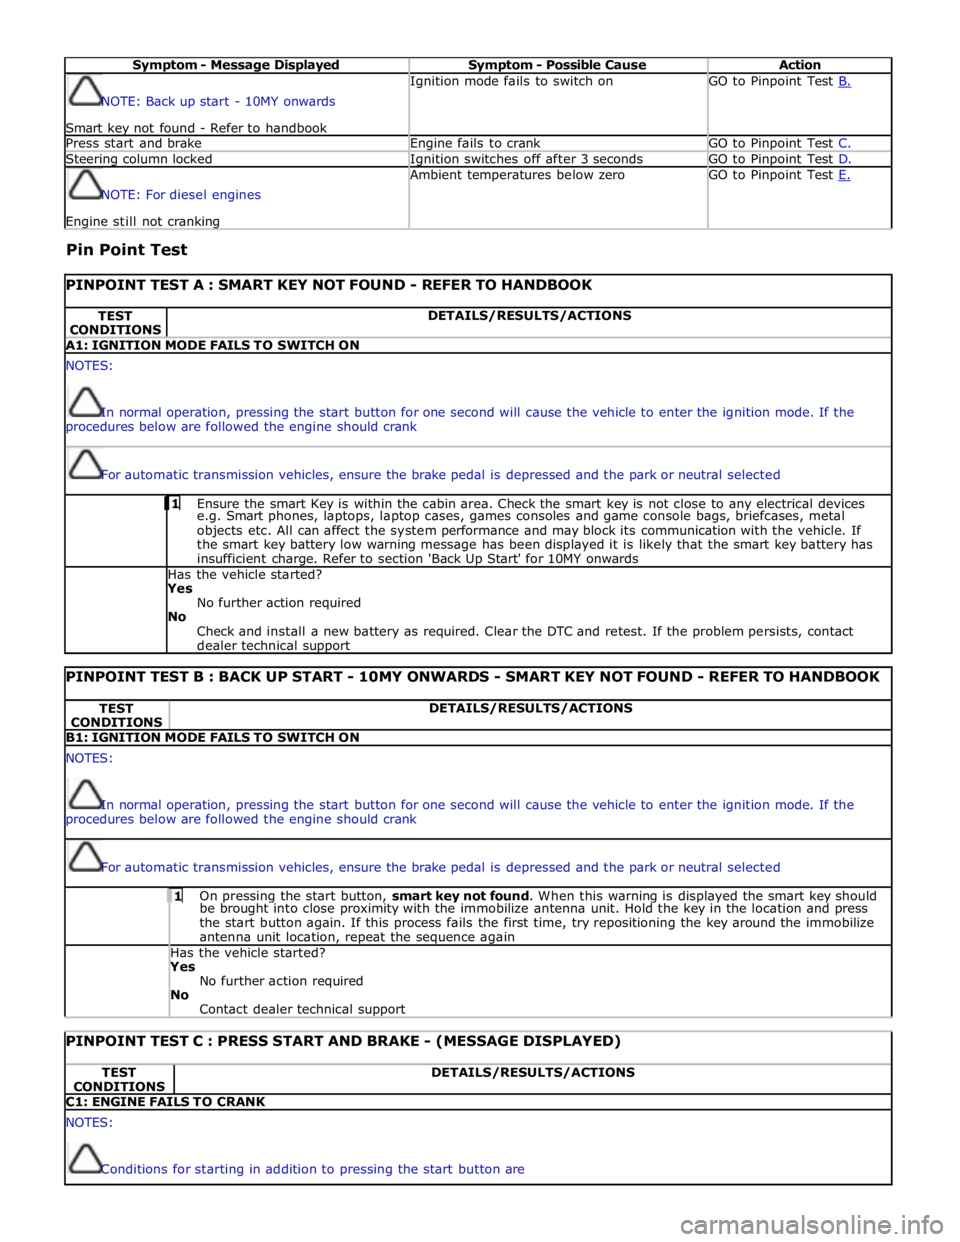
Symptom - Message Displayed Symptom - Possible Cause Action NOTE: Back up start - 10MY onwards
Smart key not found - Refer to handbook Ignition mode fails to switch on GO to Pinpoint Test B. Press start and brake Engine fails to crank GO to Pinpoint Test C. Steering column locked Ignition switches off after 3 seconds GO to Pinpoint Test D. NOTE: For diesel engines Engine still not cranking Ambient temperatures below zero GO to Pinpoint Test E.
Pin Point Test
PINPOINT TEST A : SMART KEY NOT FOUND - REFER TO HANDBOOK TEST
CONDITIONS DETAILS/RESULTS/ACTIONS A1: IGNITION MODE FAILS TO SWITCH ON NOTES:
In normal operation, pressing the start button for one second will cause the vehicle to enter the ignition mode. If the
procedures below are followed the engine should crank
For automatic transmission vehicles, ensure the brake pedal is depressed and the park or neutral selected 1 Ensure the smart Key is within the cabin area. Check the smart key is not close to any electrical devices e.g. Smart phones, laptops, laptop cases, games consoles and game console bags, briefcases, metal
objects etc. All can affect the system performance and may block its communication with the vehicle. If
the smart key battery low warning message has been displayed it is likely that the smart key battery has
insufficient charge. Refer to section 'Back Up Start' for 10MY onwards Has the vehicle started? Yes
No further action required
No
Check and install a new battery as required. Clear the DTC and retest. If the problem persists, contact
dealer technical support
PINPOINT TEST B : BACK UP START - 10MY ONWARDS - SMART KEY NOT FOUND - REFER TO HANDBOOK TEST
CONDITIONS DETAILS/RESULTS/ACTIONS B1: IGNITION MODE FAILS TO SWITCH ON NOTES:
In normal operation, pressing the start button for one second will cause the vehicle to enter the ignition mode. If the
procedures below are followed the engine should crank
For automatic transmission vehicles, ensure the brake pedal is depressed and the park or neutral selected 1 On pressing the start button, smart key not found. When this warning is displayed the smart key should be brought into close proximity with the immobilize antenna unit. Hold the key in the location and press
the start button again. If this process fails the first time, try repositioning the key around the immobilize
antenna unit location, repeat the sequence again Has the vehicle started? Yes
No further action required
No
Contact dealer technical support
PINPOINT TEST C : PRESS START AND BRAKE - (MESSAGE DISPLAYED) TEST
CONDITIONS DETAILS/RESULTS/ACTIONS C1: ENGINE FAILS TO CRANK NOTES:
Conditions for starting in addition to pressing the start button are
Page 1268 of 3039
Published: 11-May-2011
Starting System - V8 5.0L Petrol/V8 S/C 5.0L Petrol - Starter Motor
Removal and Installation
Removal
NOTE: Removal steps in this procedure may contain installation details.
1. Refer to: Battery Disconnect and Connect (414-01 Battery, Mounting and Cables, General Procedures).
2. WARNING: Make sure to support the vehicle with axle stands.
Raise and support the vehicle.
3. Refer to: Air Deflector (501-02 Front End Body Panels, Removal and Installation).
4. Torque: 6 Nm 5. CAUTION: Make sure that the protective cover is
correctly installed over the electrical connector.
Torque: 12 Nm www.JagDocs.com
Page 1312 of 3039

Published: 08-Nov-2013
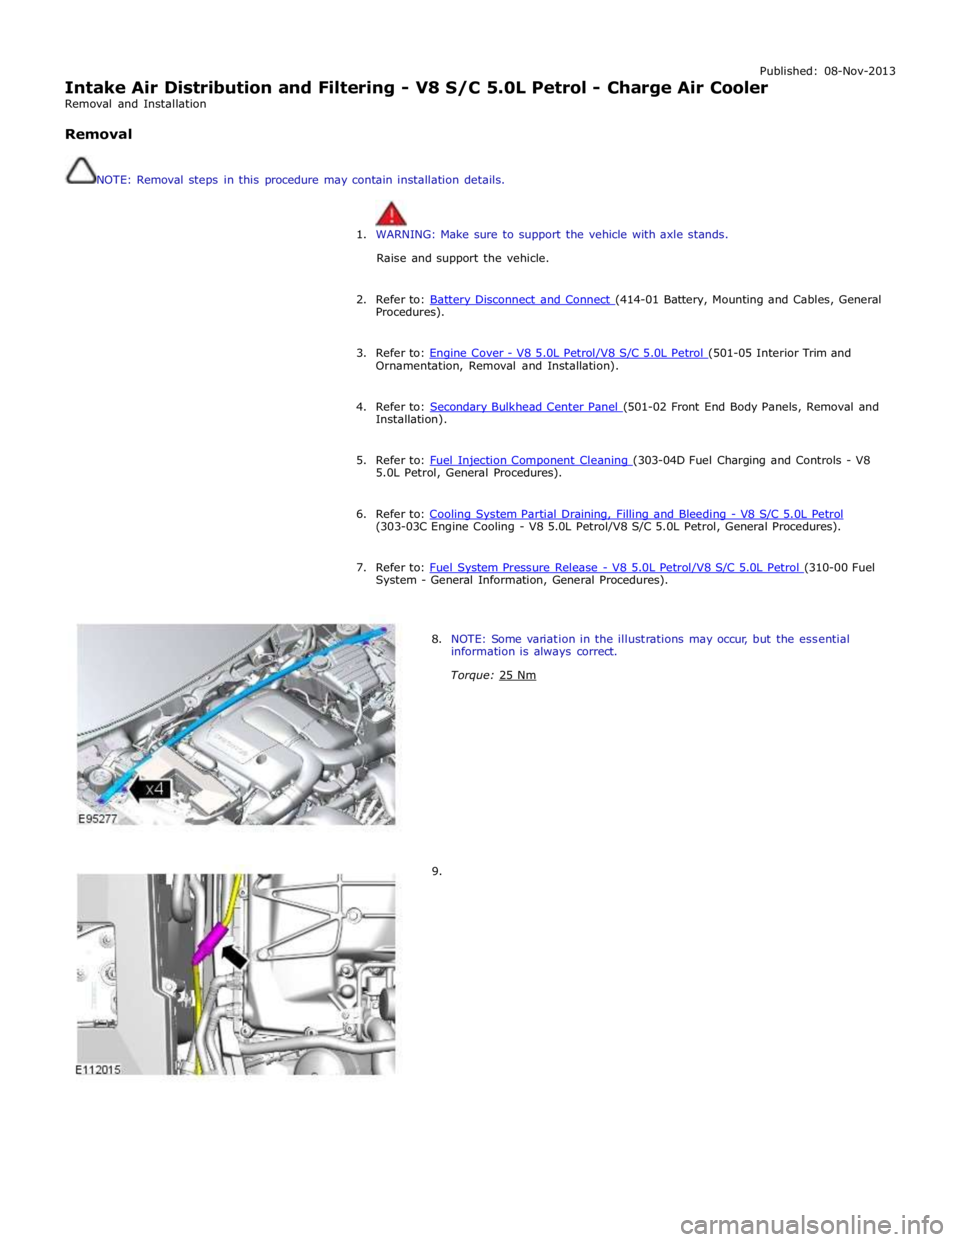
Intake Air Distribution and Filtering - V8 S/C 5.0L Petrol - Charge Air Cooler
Removal and Installation
Removal
NOTE: Removal steps in this procedure may contain installation details.
1. WARNING: Make sure to support the vehicle with axle stands.
Raise and support the vehicle.
2. Refer to: Battery Disconnect and Connect (414-01 Battery, Mounting and Cables, General Procedures).
3. Refer to: Engine Cover - V8 5.0L Petrol/V8 S/C 5.0L Petrol (501-05 Interior Trim and Ornamentation, Removal and Installation).
4. Refer to: Secondary Bulkhead Center Panel (501-02 Front End Body Panels, Removal and Installation).
5. Refer to: Fuel Injection Component Cleaning (303-04D Fuel Charging and Controls - V8 5.0L Petrol, General Procedures).
6. Refer to: Cooling System Partial Draining, Filling and Bleeding - V8 S/C 5.0L Petrol (303-03C Engine Cooling - V8 5.0L Petrol/V8 S/C 5.0L Petrol, General Procedures).
7. Refer to: Fuel System Pressure Release - V8 5.0L Petrol/V8 S/C 5.0L Petrol (310-00 Fuel System - General Information, General Procedures).
8. NOTE: Some variation in the illustrations may occur, but the essential
information is always correct.
Torque: 25 Nm
9.
Page 1314 of 3039
14.
15.
WARNINGS:
Do not
smoke or
carry lighted
tobacco or
open flame
of any type
when
working on
or near any
fuel related
components.
Highly
flammable
vapors are
always
present and
may ignite.
Failure to
follow these
instructions
may result
in personal
injury.
Do not
smoke or
carry lighted
tobacco or
open flame
of any type
when
working on
or near any
fuel related
components.
Highly
flammable
vapors are
always
present and
may ignite.
Failure to
follow these
instructions
may result
in personal
injury.
CAUTIONS:
Make
sure that
the fuel line
union does
not rotate.
Be
prepared to
collect
escaping
fluids.
Page 1317 of 3039
Installation
1. To install, reverse the removal procedure.
2.
WARNING:
Do not
smoke or
carry lighted
tobacco or
open flame
of any type
when
working on
or near any
fuel related
components.
Highly
flammable
vapors are
always
present and
may ignite.
Failure to
follow these
instructions
may result
in personal
injury.
NOTES:
Lubricate
only the
union
threads with
clean engine
oil.
Do not
tighten at
Page 1318 of 3039
this stage.
Remove and
discard the
blanking
caps.
3.
WARNING:
Do not
smoke or
carry lighted
tobacco or
open flame
of any type
when working
on or near
any fuel
related
components.
Highly
flammable
vapors are
always
present and
may ignite.
Failure to
follow these
instructions
may result in
personal
injury.
Torque:
Union 21 Nm M6 12 Nm
4. WARNINGS:
Do not smoke or carry lighted tobacco or open flame of any type when
working on or near any fuel related components. Highly flammable vapors
are always present and may ignite. Failure to follow these instructions may
result in personal injury.
After carrying out repairs, the fuel system must be checked visually for
leaks. Failure to follow these instructions may result in personal injury.
Torque: 21 Nm
Page 1319 of 3039

Published: 30-Jan-2014
Intake Air Distribution and Filtering - V8 S/C 5.0L Petrol - Supercharger
Removal and Installation
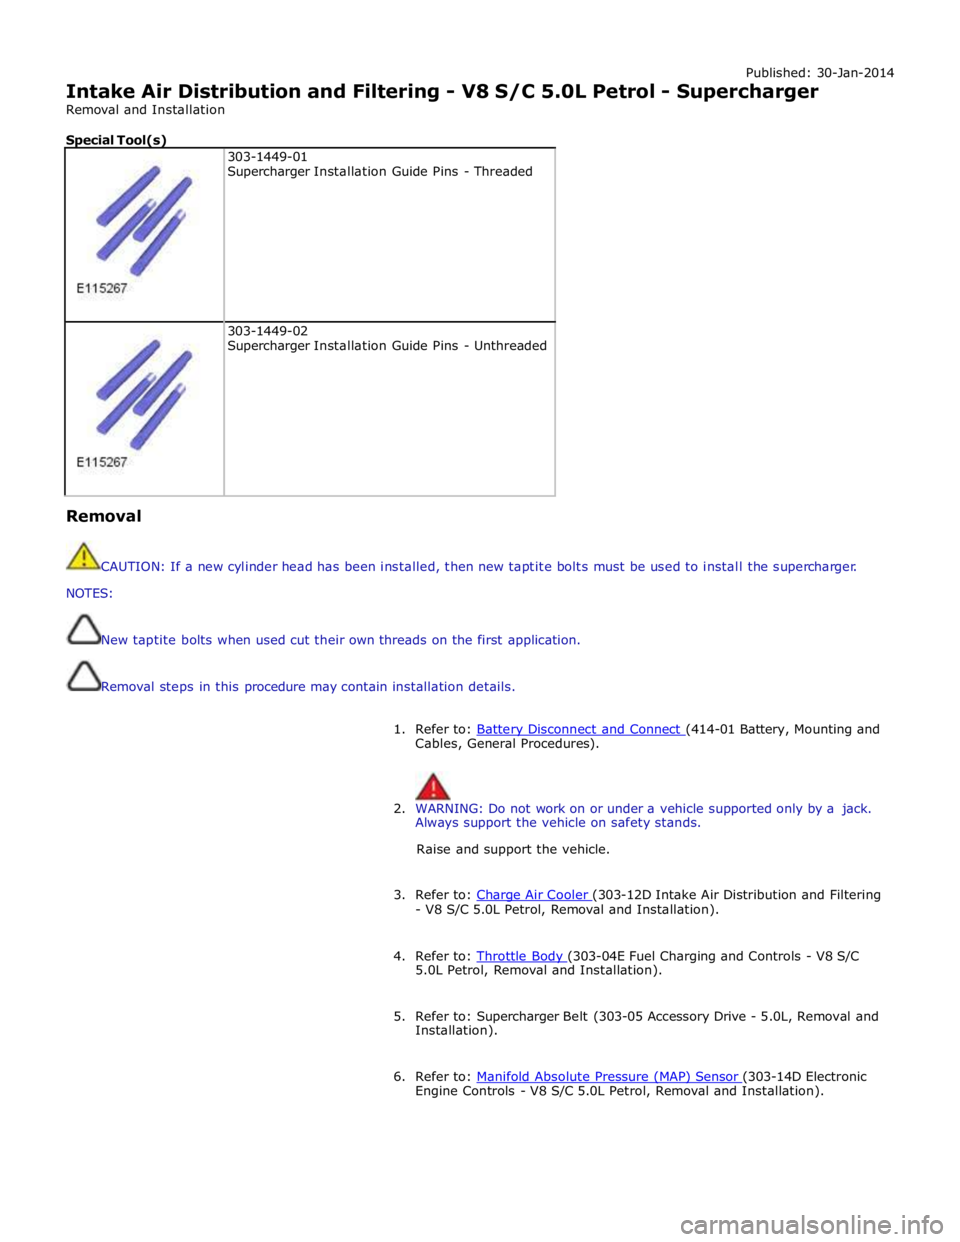
Special Tool(s)
303-1449-01
Supercharger Installation Guide Pins - Threaded
303-1449-02
Supercharger Installation Guide Pins - Unthreaded Removal
CAUTION: If a new cylinder head has been installed, then new taptite bolts must be used to install the supercharger.
NOTES:
New taptite bolts when used cut their own threads on the first application.
Removal steps in this procedure may contain installation details.
1. Refer to: Battery Disconnect and Connect (414-01 Battery, Mounting and Cables, General Procedures).
2. WARNING: Do not work on or under a vehicle supported only by a jack.
Always support the vehicle on safety stands.
Raise and support the vehicle.
3. Refer to: Charge Air Cooler (303-12D Intake Air Distribution and Filtering - V8 S/C 5.0L Petrol, Removal and Installation).
4. Refer to: Throttle Body (303-04E Fuel Charging and Controls - V8 S/C 5.0L Petrol, Removal and Installation).
5. Refer to: Supercharger Belt (303-05 Accessory Drive - 5.0L, Removal and
Installation).
6. Refer to: Manifold Absolute Pressure (MAP) Sensor (303-14D Electronic Engine Controls - V8 S/C 5.0L Petrol, Removal and Installation).
Page 1327 of 3039
Published: 20-Jun-2014
Intake Air Distribution and Filtering - V8 S/C 5.0L Petrol - Supercharger
Spring Isolator
Removal and Installation
Removal
CAUTION: Make sure that all open ports are covered to prevent any foreign material ingress.
NOTE: Some variation in the illustrations may occur, but the essential information is always correct.
1. WARNING: Make sure to support the vehicle with axle stands.
Raise and support the vehicle.
2. Refer to: Supercharger (303-12D Intake Air Distribution and Filtering - V8 S/C 5.0L Petrol, Removal and Installation).
3.