Page 130 of 3000
PP–16PREPARATION – 2GR-FE LUBRICATION
PP
LUBRICANT
Item Condition Capacity Classification
Oil grade - - 5W-30: API grade SL Energy-
Conserving, SM Energy-
Conserving or ILSAC multigrade
engine oil
Drain and refill with oil filter change 6.1 liters (6.4 US qts, 5.4 Imp.
qts)-
without oil filter change 5.7 liters (6.0 US qts, 5.0 Imp.
qts)-
Dry fill Dry fill 7.1 liters (7.5 US qts, 6.2Imp. qts) -
Page 144 of 3000
PREPARATION – TRANSFERPP–39
PP
LUBRICANT
Item Capacity Classification
Transfer oil 0.9 litters (0.95 US qts, 0.71 lmp.qts) Hypoid gear oil SAE 90 (GL-5)
Page 156 of 3000
PREPARATION – AIR CONDITIONINGPP–65
PP
LUBRICANT
Item Capacity Classification
Compressor oil - ND-OIL 8 or equivalent
Page 209 of 3000
AIR CONDITIONING – CONDENSERAC–239
AC
REASSEMBLY
1. INSTALL COOLER DRYER
(a) Using needle nose pliers, install the cooler dryer.
(b) Install a new O-ring on the cap.
(c) Sufficiently apply compressor oil to the fitting
surfaces of the O-ring and the cap.
Compressor oil:
ND-OIL 8 or equivalent
(d) Using a hexagon wrench 14 mm (0.55 in.), install
the cap to the cooler condenser assembly.
Torque: 2.9 N*m (30 kgf*cm, 25 in.*lbf)
INSTALLATION
1. INSTALL COOLER CONDENSER CORE
(a) Install the cooler condenser core with the 2 screws.
Torque: 3.9 N*m (40 kgf*cm, 35 in.*lbf)
HINT:
If the condenser is replaced with a new one, add
compressor oil to the new condenser.
Capacity:
40 cc (1.4 fl.oz.)
Compressor oil:
ND-OIL 8 or equivalent
2. INSTALL NO. 1 RADIATOR SUPPORT (See page CO-
40)
3. INSTALL RADIATOR SUPPORT CUSHION (See page
CO-41)
I032994
E055408
I032993E06
E145272
Page 1304 of 3000

LU–62GR-FE LUBRICATION – OIL AND OIL FILTER
LU
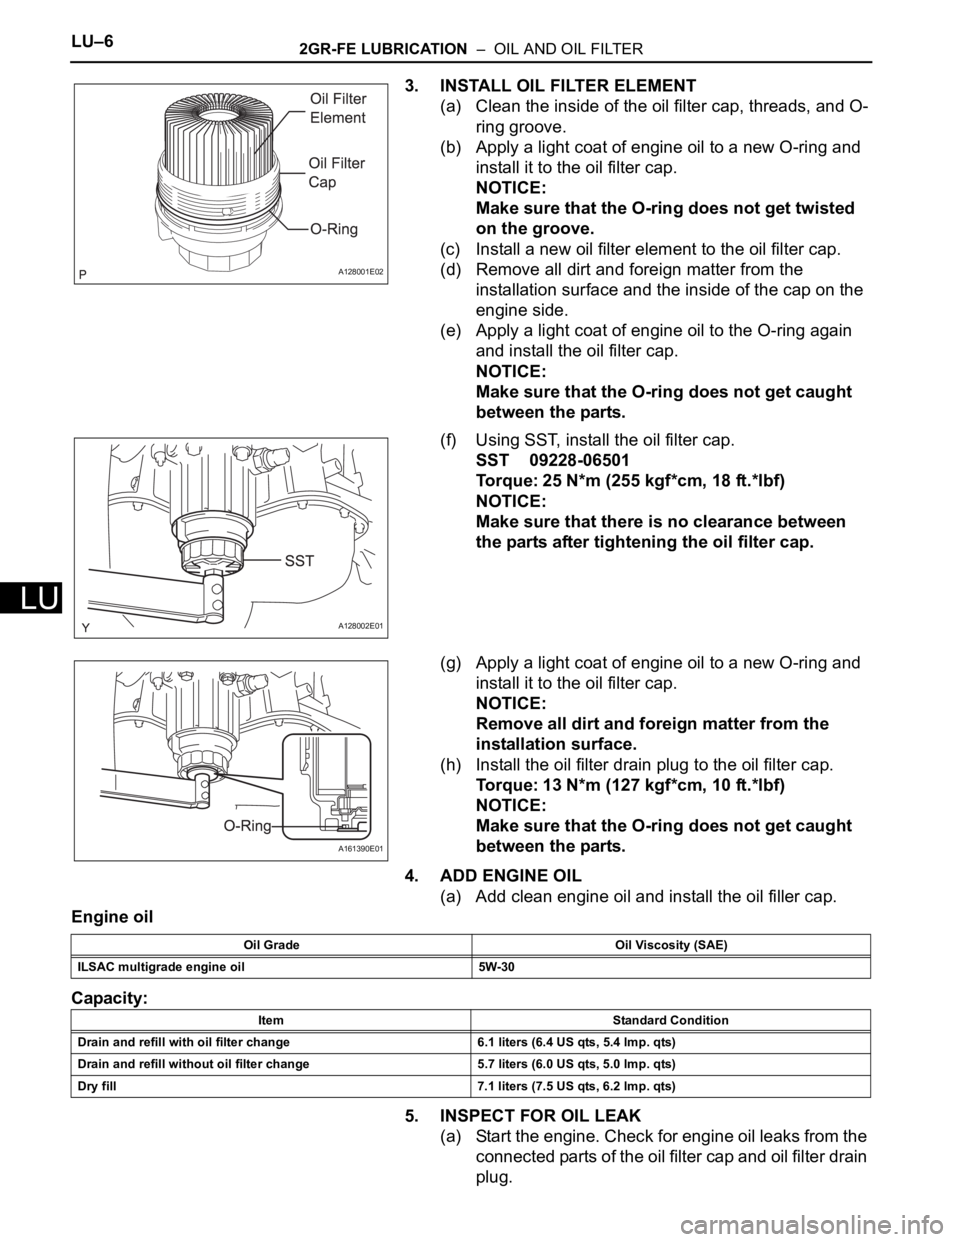
3. INSTALL OIL FILTER ELEMENT
(a) Clean the inside of the oil filter cap, threads, and O-
ring groove.
(b) Apply a light coat of engine oil to a new O-ring and
install it to the oil filter cap.
NOTICE:
Make sure that the O-ring does not get twisted
on the groove.
(c) Install a new oil filter element to the oil filter cap.
(d) Remove all dirt and foreign matter from the
installation surface and the inside of the cap on the
engine side.
(e) Apply a light coat of engine oil to the O-ring again
and install the oil filter cap.
NOTICE:
Make sure that the O-ring does not get caught
between the parts.
(f) Using SST, install the oil filter cap.
SST 09228-06501
Torque: 25 N*m (255 kgf*cm, 18 ft.*lbf)
NOTICE:
Make sure that there is no clearance between
the parts after tightening the oil filter cap.
(g) Apply a light coat of engine oil to a new O-ring and
install it to the oil filter cap.
NOTICE:
Remove all dirt and foreign matter from the
installation surface.
(h) Install the oil filter drain plug to the oil filter cap.
Torque: 13 N*m (127 kgf*cm, 10 ft.*lbf)
NOTICE:
Make sure that the O-ring does not get caught
between the parts.
4. ADD ENGINE OIL
(a) Add clean engine oil and install the oil filler cap.
Engine oil
Capacity:
5. INSPECT FOR OIL LEAK
(a) Start the engine. Check for engine oil leaks from the
connected parts of the oil filter cap and oil filter drain
plug.
A128001E02
A128002E01
A161390E01
Oil Grade Oil Viscosity (SAE)
ILSAC multigrade engine oil 5W-30
Item Standard Condition
Drain and refill with oil filter change 6.1 liters (6.4 US qts, 5.4 lmp. qts)
Drain and refill without oil filter change 5.7 liters (6.0 US qts, 5.0 lmp. qts)
Dry fill 7.1 liters (7.5 US qts, 6.2 lmp. qts)
Page 2104 of 3000
PREPARATION – DIFFERENTIALPP–49
PP
LUBRICANT
Item Capacity Classification
Differential oil 0.90 +- 0.05 liters (0.95 +- 0.05 US qts, 0.75
+- 0.04 lmp.qts)Hypoid gear oil API GL-5 Above -18
C (0F)
SAE 90 Below -18
C (0F) SAE 80W or 80W-
90
Page 2956 of 3000

AC–230AIR CONDITIONING – COMPRESSOR AND MAGNETIC CLUTCH
AC
2. INSPECT COMPRESSOR OIL
(a) When replacing the compressor and magnetic
clutch with a new one, after gradually removing the
refrigerant gas from the service valve, drain the
following amount of oil from the new compressor
and magnetic clutch before installation.
Standard:
(Oil capacity inside new compressor and
magnetic clutch:
225 + 15 cc (7.6 + 0.5 fl.oz.)) - (Remaining oil
amount in the removed compressor and
magnetic clutch) = (Oil amount to be
removed when replacing)
NOTICE:
• When checking the compressor oil level,
observe the precautions on the cooler
removal / installation.
• Because compressor oil remains in the pipes
of the vehicle, if a new compressor and
magnetic clutch is installed without removing
some oil inside, the oil amount becomes
excessive, preventing heat exchange in the
refrigerant cycle and causing refrigerant
failure.
• If the remaining oil in the removed
compressor and magnetic clutch is too small
in volume, check for oil leakage.
• Be sure to use ND-OIL 8 for compressor oil.
3. INSPECT COMPRESSOR AND MAGNETIC CLUTCH
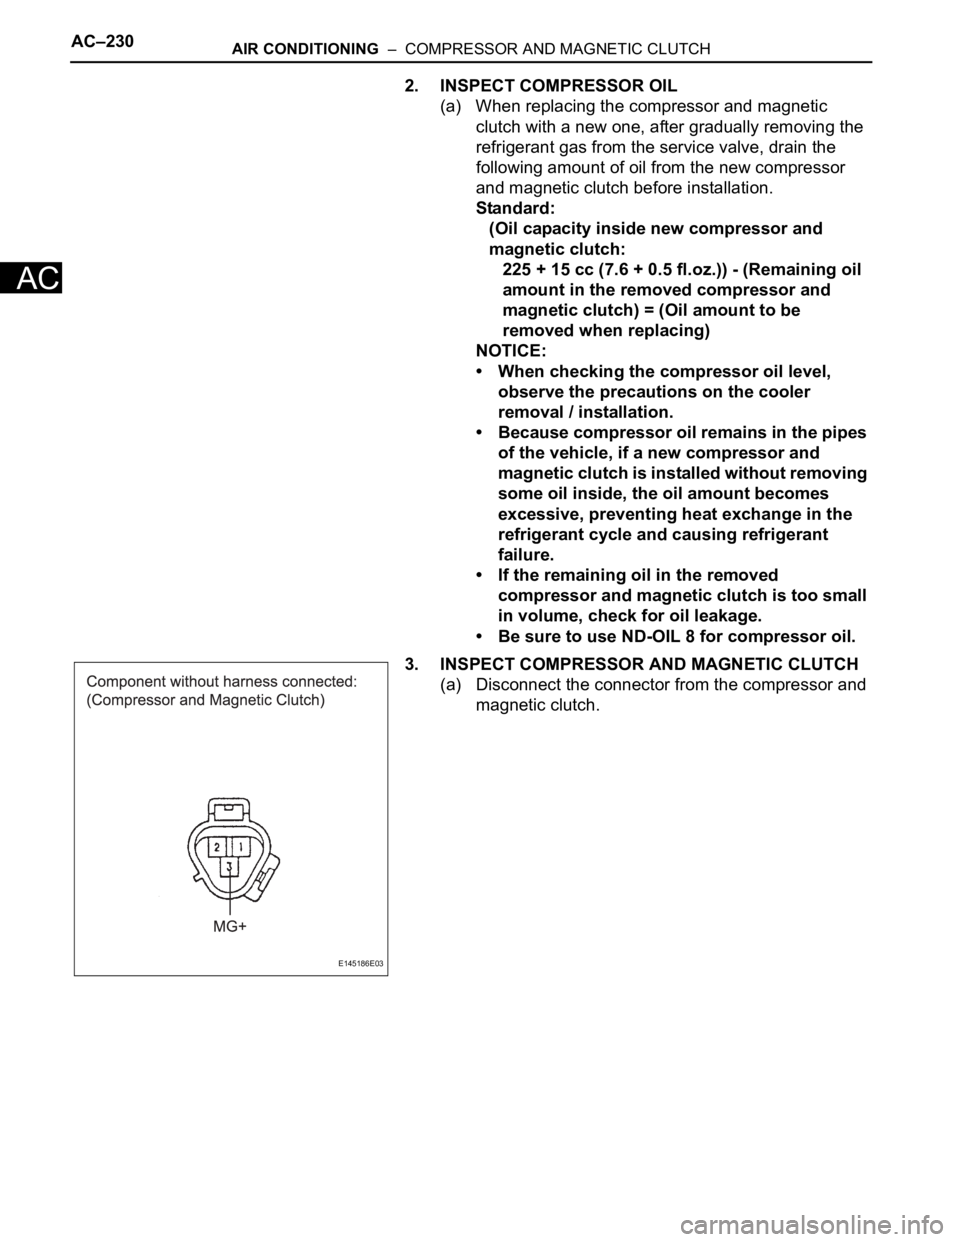
(a) Disconnect the connector from the compressor and
magnetic clutch.
E145186E03
Page 2970 of 3000

AC–230AIR CONDITIONING – COMPRESSOR AND MAGNETIC CLUTCH
AC
2. INSPECT COMPRESSOR OIL
(a) When replacing the compressor and magnetic
clutch with a new one, after gradually removing the
refrigerant gas from the service valve, drain the
following amount of oil from the new compressor
and magnetic clutch before installation.
Standard:
(Oil capacity inside new compressor and
magnetic clutch:
225 + 15 cc (7.6 + 0.5 fl.oz.)) - (Remaining oil
amount in the removed compressor and
magnetic clutch) = (Oil amount to be
removed when replacing)
NOTICE:
• When checking the compressor oil level,
observe the precautions on the cooler
removal / installation.
• Because compressor oil remains in the pipes
of the vehicle, if a new compressor and
magnetic clutch is installed without removing
some oil inside, the oil amount becomes
excessive, preventing heat exchange in the
refrigerant cycle and causing refrigerant
failure.
• If the remaining oil in the removed
compressor and magnetic clutch is too small
in volume, check for oil leakage.
• Be sure to use ND-OIL 8 for compressor oil.
3. INSPECT COMPRESSOR AND MAGNETIC CLUTCH
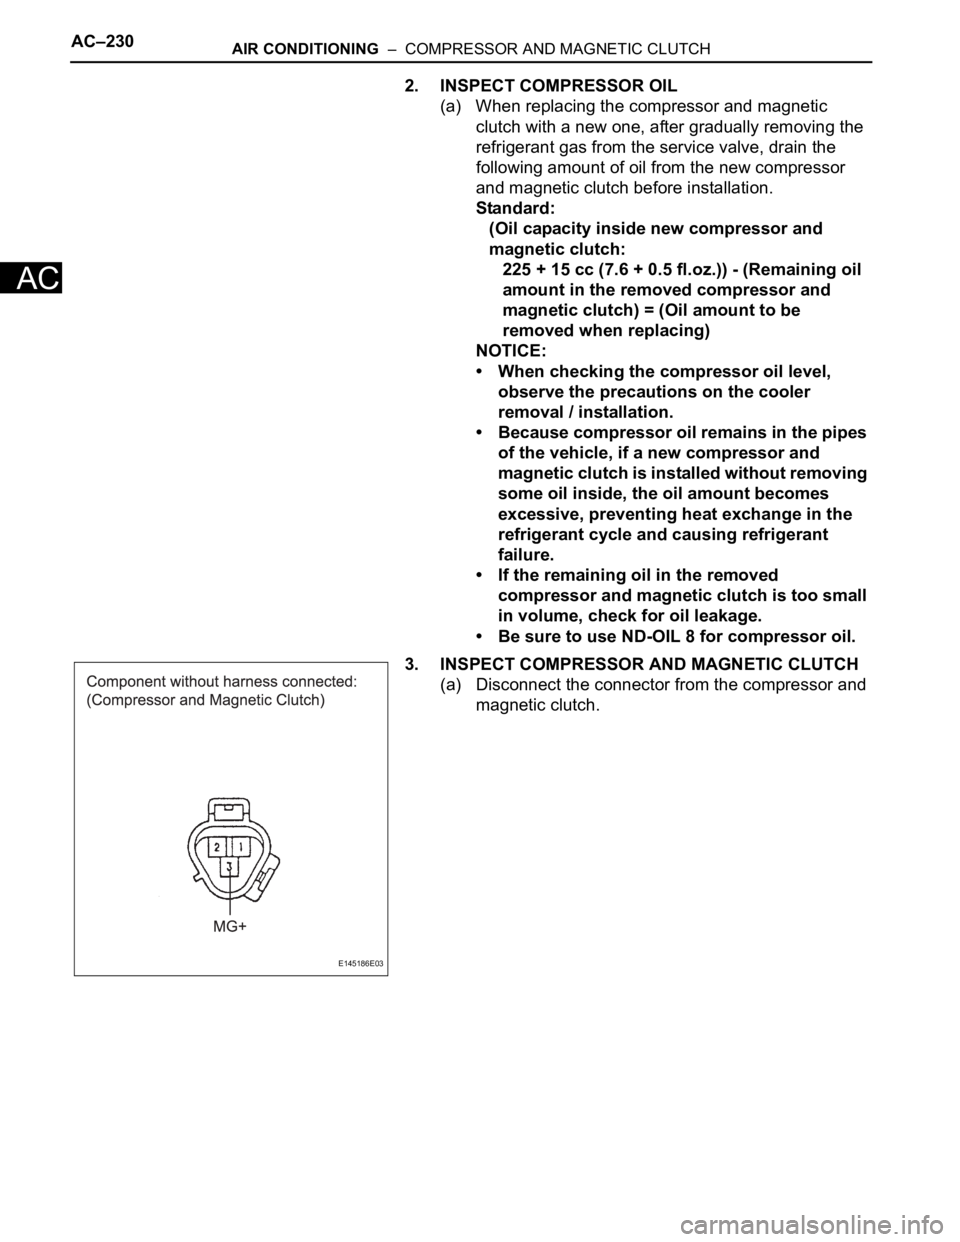
(a) Disconnect the connector from the compressor and
magnetic clutch.
E145186E03