Page 1740 of 3061
CLIP AND FASTENER
EI-11
< SERVICE INFORMATION >
C
D
E
F
G
H
J
K
L
MA
B
EI
N
O
P
CG101
CR103
CS101
CF118
C205 Symbol
No.Shapes Removal & Installation
SBF145BSBF085B
SBF768BSBF770B
SBF078BSBF992G
LIIA1341ELIIA1342E
LIIA1344ELIIA1345E
Page 1741 of 3061
EI-12
< SERVICE INFORMATION >
FRONT BUMPER
FRONT BUMPER
Removal and InstallationINFOID:0000000003533122
REMOVAL
1. Disconnect the negative battery cable.
2. Remove side screws from front fascia assembly.
3. Remove screws from front of fender protector. Refer to EI-22
.
4. Remove fog turn/fog lamp finisher and fog turn/fog lamp.
1. Lower energy absorber 2. Front bumper side bracket RH 3. Front bumper stay RH
4. Upper bumper reinforcement 5. Clip C103 6. Upper energy absorber (part of up-
per bumper reinforcement)
7. Clip CS101 8. Front fascia assembly 9. Engine undercover
10. Front fascia bracket 11. License plate bracket 12. Fog turn/fog lamp finisher LH/RH
13. Fog turn/fog lamp 14. Front bumper stay LH 15. Front bumper side bracket LH
16. Headlamp finisher (RH shown)
WIIA0952E
Page 1742 of 3061
FRONT BUMPER
EI-13
< SERVICE INFORMATION >
C
D
E
F
G
H
J
K
L
MA
B
EI
N
O
P
• Disconnect harnesses.
5. Remove engine undercover.
6. Remove fasteners, release clips and remove front fascia assembly.
7. Remove plastic clips and remove upper energy absorber.
8. Remove upper bumper reinforcement.
9. Remove plastic clips and remove lower energy absorber.
10. Remove front bumper stays and front bumper side brackets, LH and RH.
INSTALLATION
Installation is in the reverse order of removal.
Page 1743 of 3061
EI-14
< SERVICE INFORMATION >
REAR BUMPER
REAR BUMPER
Removal and InstallationINFOID:0000000003533123
1. Retainer assembly 2. Clip C103 3. S clip
4. Reinforcement assembly 5. Energy absorber 6. Sonar sensor
7. Quarter panel trim cover LH 8. Drafter duct 9. Retainer clip
WIIA0953E
Page 1744 of 3061

REAR BUMPER
EI-15
< SERVICE INFORMATION >
C
D
E
F
G
H
J
K
L
MA
B
EI
N
O
P
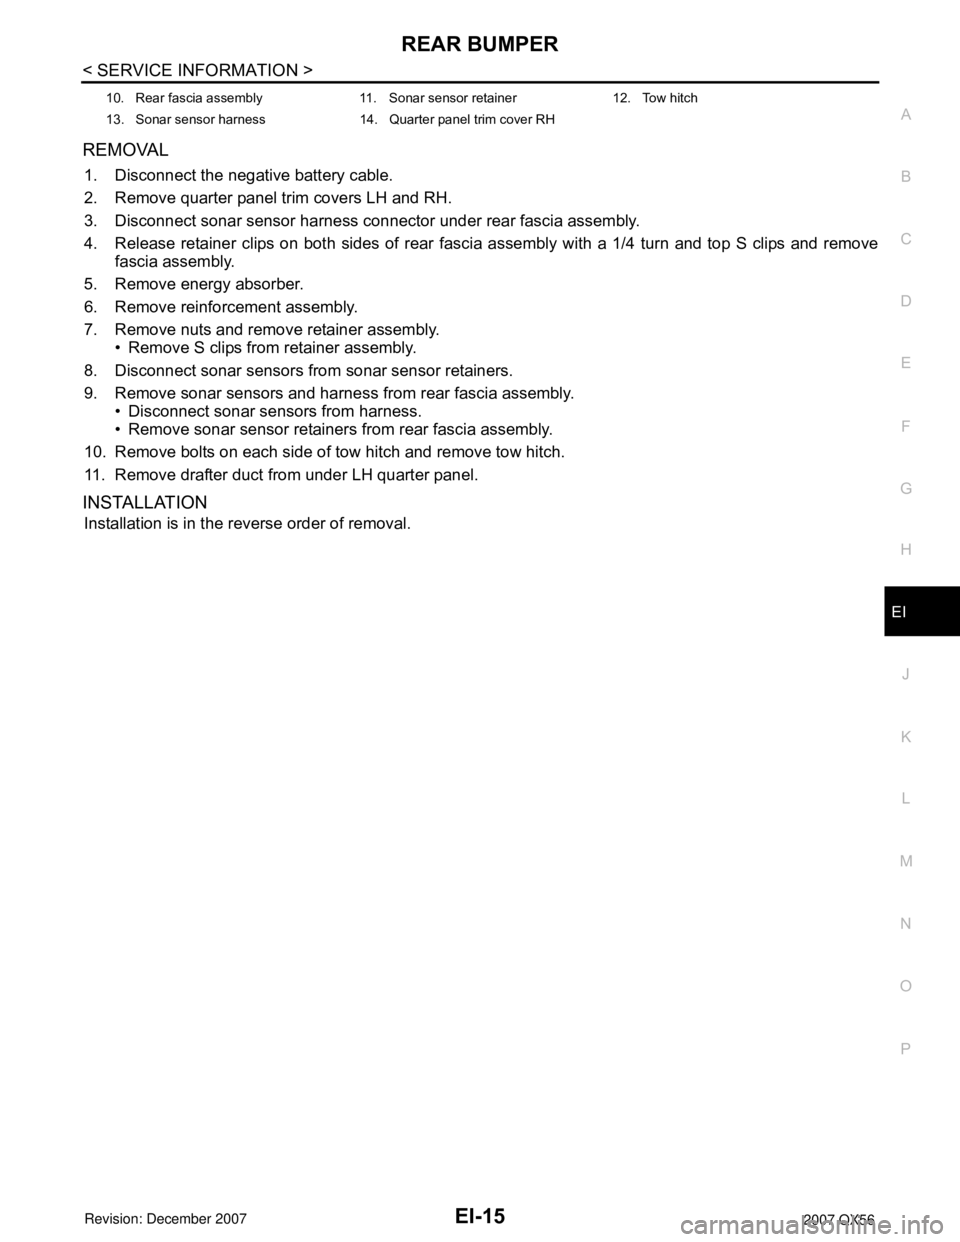
REMOVAL
1. Disconnect the negative battery cable.
2. Remove quarter panel trim covers LH and RH.
3. Disconnect sonar sensor harness connector under rear fascia assembly.
4. Release retainer clips on both sides of rear fascia assembly with a 1/4 turn and top S clips and remove
fascia assembly.
5. Remove energy absorber.
6. Remove reinforcement assembly.
7. Remove nuts and remove retainer assembly.
• Remove S clips from retainer assembly.
8. Disconnect sonar sensors from sonar sensor retainers.
9. Remove sonar sensors and harness from rear fascia assembly.
• Disconnect sonar sensors from harness.
• Remove sonar sensor retainers from rear fascia assembly.
10. Remove bolts on each side of tow hitch and remove tow hitch.
11. Remove drafter duct from under LH quarter panel.
INSTALLATION
Installation is in the reverse order of removal.
10. Rear fascia assembly 11. Sonar sensor retainer 12. Tow hitch
13. Sonar sensor harness 14. Quarter panel trim cover RH
Page 1745 of 3061
EI-16
< SERVICE INFORMATION >
FRONT GRILLE
FRONT GRILLE
Removal and InstallationINFOID:0000000003533124
REMOVAL
1. Remove bolts and nuts attaching grille.
2. Remove grille.
INSTALLATION
Installation is in the reverse order of removal.
1. Front grille 2. J-Clip 3. Clip C101
WIIA0954E
Page 1746 of 3061

COWL TOP
EI-17
< SERVICE INFORMATION >
C
D
E
F
G
H
J
K
L
MA
B
EI
N
O
P
COWL TOP
Removal and InstallationINFOID:0000000003533125
REMOVAL
1. Disconnect the negative and positive battery cables, then wait at least 3 minutes.
2. Remove right and left wiper arms. Refer to WW-21, "
Front Wiper Arms" .
3. Remove cowl top seal.
• Release plastics clips on cowl top seal which go through cowl tops LH and RH and cowl top extension.
4. Remove cowl top covers LH and RH.
• Release plastic clips under cowl top covers attaching to grommets on hoodledge.
• Disconnect washer tubes from washer nozzles under cowl top covers.
5. Remove cowl top extension brackets LH and RH.
• Disconnect wiper motor harness from cowl top extension bracket LH.
• Cowl top extension bracket LH must be removed prior to removal of wiper motor and connecting rod
assembly.
6. Remove wiper motor and connecting rod linkage. Refer to WW-22, "
Wiper Motor and Linkage" .
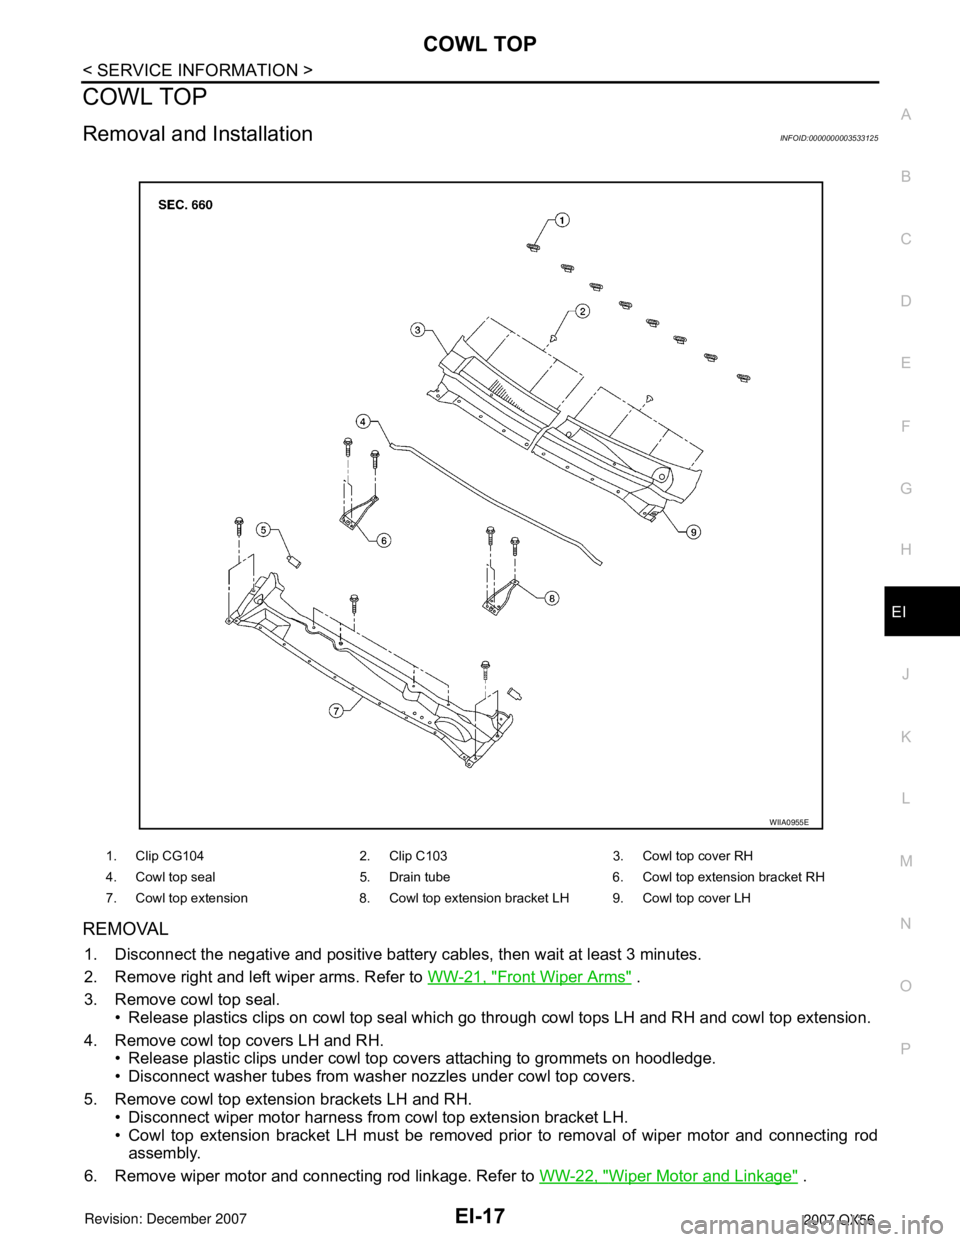
1. Clip CG104 2. Clip C103 3. Cowl top cover RH
4. Cowl top seal 5. Drain tube 6. Cowl top extension bracket RH
7. Cowl top extension 8. Cowl top extension bracket LH 9. Cowl top cover LH
WIIA0955E
Page 1747 of 3061
EI-18
< SERVICE INFORMATION >
COWL TOP
7. Disconnect windshield washer tube. Refer to WW-23, "Washer Tube Layout" .
8. Remove water cut valve bracket from cowl top extension. Refer to CO-20
.
9. Remove A/C line bracket from cowl top extension. Refer to ATC-150
.
10. Remove drain tube from each side of cowl top extension.
11. Remove cowl top extension.
INSTALLATION
Installation is in the reverse order of removal.